element14 Community
element14 Community
    Register Log In
  • Site
  • Search
  • Log In Register
  • About Us
  • Community Hub
    Community Hub
    • What's New on element14
    • Feedback and Support
    • Benefits of Membership
    • Personal Blogs
    • Members Area
    • Achievement Levels
  • Learn
    Learn
    • Ask an Expert
    • eBooks
    • element14 presents
    • Learning Center
    • Tech Spotlight
    • STEM Academy
    • Webinars, Training and Events
    • Learning Groups
  • Technologies
    Technologies
    • 3D Printing
    • FPGA
    • Industrial Automation
    • Internet of Things
    • Power & Energy
    • Sensors
    • Technology Groups
  • Challenges & Projects
    Challenges & Projects
    • Design Challenges
    • element14 presents Projects
    • Project14
    • Arduino Projects
    • Raspberry Pi Projects
    • Project Groups
  • Products
    Products
    • Arduino
    • Avnet Boards Community
    • Dev Tools
    • Manufacturers
    • Multicomp Pro
    • Product Groups
    • Raspberry Pi
    • RoadTests & Reviews
  • Store
    Store
    • Visit Your Store
    • Choose another store...
      • Europe
      •  Austria (German)
      •  Belgium (Dutch, French)
      •  Bulgaria (Bulgarian)
      •  Czech Republic (Czech)
      •  Denmark (Danish)
      •  Estonia (Estonian)
      •  Finland (Finnish)
      •  France (French)
      •  Germany (German)
      •  Hungary (Hungarian)
      •  Ireland
      •  Israel
      •  Italy (Italian)
      •  Latvia (Latvian)
      •  
      •  Lithuania (Lithuanian)
      •  Netherlands (Dutch)
      •  Norway (Norwegian)
      •  Poland (Polish)
      •  Portugal (Portuguese)
      •  Romania (Romanian)
      •  Russia (Russian)
      •  Slovakia (Slovak)
      •  Slovenia (Slovenian)
      •  Spain (Spanish)
      •  Sweden (Swedish)
      •  Switzerland(German, French)
      •  Turkey (Turkish)
      •  United Kingdom
      • Asia Pacific
      •  Australia
      •  China
      •  Hong Kong
      •  India
      •  Korea (Korean)
      •  Malaysia
      •  New Zealand
      •  Philippines
      •  Singapore
      •  Taiwan
      •  Thailand (Thai)
      • Americas
      •  Brazil (Portuguese)
      •  Canada
      •  Mexico (Spanish)
      •  United States
      Can't find the country/region you're looking for? Visit our export site or find a local distributor.
  • Translate
  • Profile
  • Settings
Enchanted Objects
  • Challenges & Projects
  • Design Challenges
  • Enchanted Objects
  • More
  • Cancel
Enchanted Objects
Blog Enchanted Objects Design Challenge - Sleeping Golem
  • Blog
  • Forum
  • Documents
  • Polls
  • Files
  • Events
  • Mentions
  • Sub-Groups
  • Tags
  • More
  • Cancel
  • New
  • Share
  • More
  • Cancel
Group Actions
  • Group RSS
  • More
  • Cancel
Engagement
  • Author Author: Workshopshed
  • Date Created: 21 May 2015 8:19 AM Date Created
  • Views 2259 views
  • Likes 5 likes
  • Comments 13 comments
  • enchanted_cottage
  • sleep
  • enchanted_object
  • winners
  • arduino_yun
Related
Recommended

Enchanted Objects Design Challenge - Sleeping Golem

Workshopshed
Workshopshed
21 May 2015

Putting the Arduino Yun to sleep


Hans and Matilda thought back to the Golem and how he slept between each activity, that could also work for their Yún.


The key things were:


  • Turning the Linino power off
  • Turning the Linino power back on
  • Low power on the ATMega side
  • Waking back up.
  • Timers and servo.


Poweroff is not enough


The Linino O/S uses BusyBox for a lot of the tasks of it's shell. One of these is the "poweroff" command. http://www.busybox.net/BusyBox.html#poweroff

Running this with the multimeter in the loop to check the current we see that running poweroff makes no difference to the current draw, the Yún still takes 200mA.


/*
  Running shell commands using Process class.
  based on http://arduino.cc/en/Tutorial/ShellCommands
*/

#include <Process.h>

int ledPin = 13;                 // LED connected to pin 13

void setup() {
  pinMode(ledPin, OUTPUT);      // sets the digital pin as output

  pinMode(A5, OUTPUT);
  digitalWrite(A5, HIGH);    // sets the Linino on

  Bridge.begin();    // Initialize the Bridge

  Process p;
  p.runShellCommandAsynchronously("poweroff"); // Run in background so process returns

  digitalWrite(ledPin, HIGH);   // sets the LED on
}

void loop() {
}


Test points and wired control


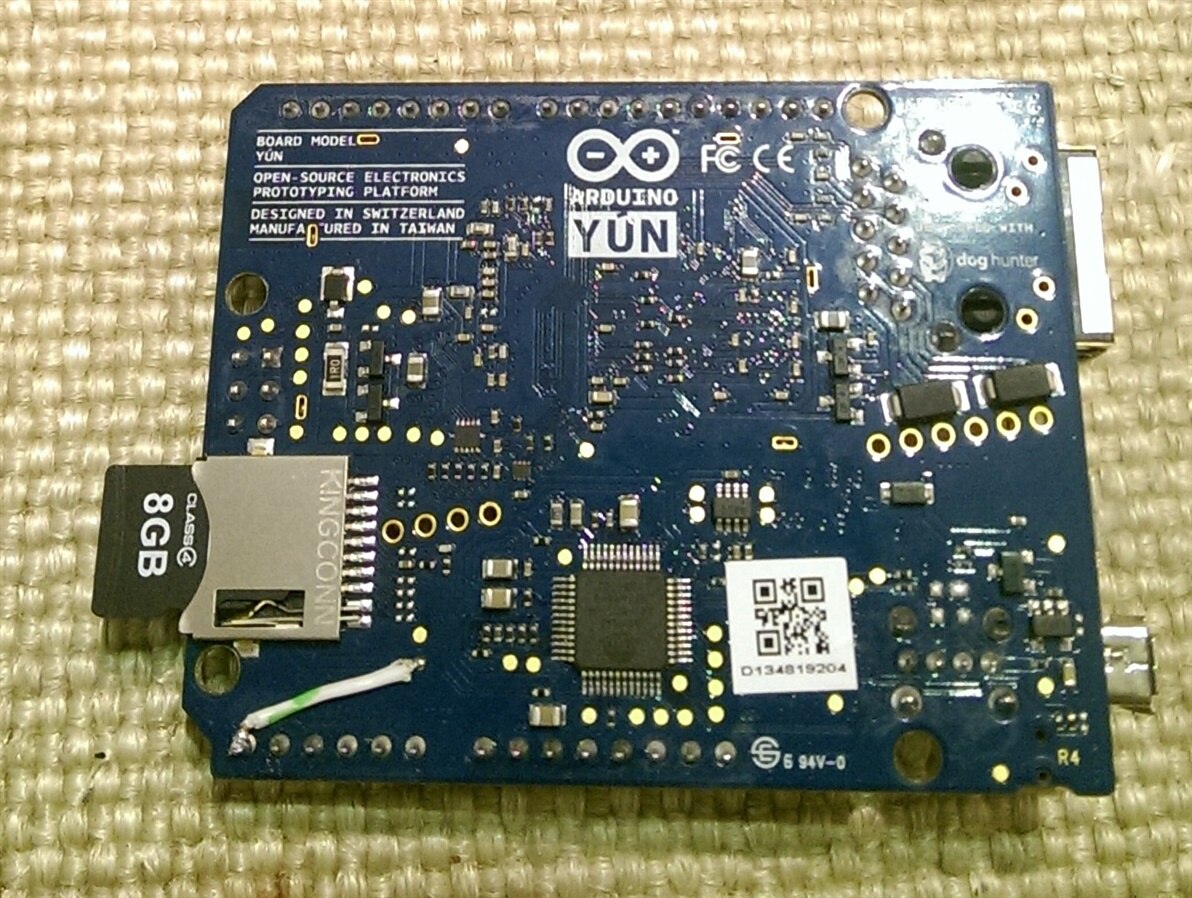
A discussion on the Arduino forum lead to a part of the schematic that controlled the 3.3v regulator. The RT8010 regulator has a two test points TP51 and TP52 (bridged by a 0ohm resistor). The author kindly points out where those test points are located as there's no silk screen indicating which are which. As per the example the corner I/O pin was used, A5.

image

image

Retrospectively they remembered that the A5 pin is shared with the I2C bus on the Uno, luckily this is not the case for the Yún.

The software control for this is pretty straight forward too, it can be controlled as a digital pin. You'd want to wait until any writing to disk was complete before powering off so that will need to be factored into the software. Using that control the consumption drops to 30mA.


int ledPin = 13;                 // LED connected to pin 13

void setup()
{
  pinMode(ledPin, OUTPUT);      // sets the digital pin as output
  pinMode(A5, OUTPUT);
}

void loop()
{
  digitalWrite(A5, LOW);   // sets the Linino off
  digitalWrite(ledPin, HIGH);   // sets the LED on
  delay(8000);                  // waits for a 8 seconds
  digitalWrite(A5, HIGH);    // sets the Linino on
  digitalWrite(ledPin, LOW);    // sets the LED off
  delay(8000);                  // waits for 8 seconds
}


You don't have permission to edit metadata of this video.
Edit media
x
image
Upload Preview
image


You are getting sleepy, very sleepy

But it's possible to even better than that. The commands to put the Arduino to sleep are pretty straightforward even so Hans took the approach of using a library. RocketScream had produced one that made life pretty simple so the code example was extended to incorporate that.


//Library from http://www.rocketscream.com/blog/2011/07/04/lightweight-low-power-arduino-library/#sthash.PhJ0PF9f.dpuf
#include "LowPower.h"

int ledPin = 13;                 // LED connected to pin 13

void setup()
{
  pinMode(ledPin, OUTPUT);      // sets the digital pin as output
  pinMode(A5, OUTPUT);
  delay(25000);                 // Nice long delay to help with reprogramming    
}

void loop()
{
  digitalWrite(A5, HIGH);    // sets the Linino on
  digitalWrite(ledPin, LOW);    // sets the LED off
  delay(8000);

  digitalWrite(A5, LOW);   // sets the Linino off
  digitalWrite(ledPin, HIGH);   // sets the LED on

  delay(8000);                  // waits for a second
  digitalWrite(ledPin, LOW);   // both lights off, power and P13

  //Sleep
  LowPower.powerDown(SLEEP_8S, ADC_OFF, BOD_OFF);
}


The multimeter uses a different socket for currents over 200mA so a cable swap and photo was taken to get a more accurate reading of the lowest current. For the powerDown the Watchdog timer is used and hence Timer0 which is used for Millis() is turned off and Timer1, used by the Servo() library is also off. This will affect the flashing/colour cycling of the LED and servo so that needs to be factored in the the code.


This brings the power down to 2.5mA, approx 80th of the original power required or 33 days of runtime from the battery. Obviously the bursts of activity will bring this down but a week's run time seems achievable.


You don't have permission to edit metadata of this video.
Edit media
x
image
Upload Preview
image


image

It may also be possible to reduce even more power by permanently turning off those peripherals such as the ADC which are not used although because of the devices used in the project most of the peripherals are used and there may be more effective ways to save power such as minimising the time that the Linino part is powered up.


Next: Enchanted Objects Design Challenge - The townsfolk get Rickrolled


Reference


BusyBox - The Swiss Army Knife of Embedded Linux

Arduino Yun - put linux environment to sleep or halt

Arduino, Zigbee and Embedded Development: Sleeping Arduino - Part 1

http://www.rocketscream.com/blog/2011/07/04/lightweight-low-power-arduino-library/

Advanced Arduino: direct use of ATmega counter/timers

<avr/power.h>: Power Reduction Management

Sparkfun Adventures in Low Power Land

  • Sign in to reply

Top Comments

  • Workshopshed
    Workshopshed over 10 years ago +2
    Caution: If you've copied the original code I recommend swapping it with this updated version as the sleep makes it challenging to re-programme the device. I'll do something with the final version of the…
  • Workshopshed
    Workshopshed over 10 years ago +2
    Looking at Gammon Forum : Electronics : Microprocessors : Power saving techniques for microprocessors it would appear that I can turn off the ADC for a bit of power consumption improvements. Jan Cumps…
  • Workshopshed
    Workshopshed over 10 years ago in reply to Jan Cumps +1
    You can see it in the lower picture, all the lights are off on the Yún. I'm measuring the current after the power board so that super bright blue LED isn't included in the measurement, so that would be…
Parents
  • var27rag
    var27rag over 8 years ago

    Hi,


    This is a brilliant idea. I was looking at replicating this on the Arduino Industrial 101 which is based of the Yun. Unfortunately Arduino has not given the layout of the board, so I don't know where the 3.3V regulator is. I can find it on the schematic but I am not able to figure it out on the board. Is there anyone who can help with this?


    Best Regards,

    Varun

    • Cancel
    • Vote Up 0 Vote Down
    • Sign in to reply
    • More
    • Cancel
  • Workshopshed
    Workshopshed over 8 years ago in reply to var27rag

    Looking at the schematic for the https://store.arduino.cc/arduino-industrial-101 I can see that the regulator but it does not come with the same test points


    image

    However, on link above there is a download for the PCB designs in Eagle so if you can work out where R37 is then you could potentially tap into that or even off the regulator chip, obviously it's a lot harder to solder to that and you'd risk frying the regulator.  I'd expect it to be somewhere near the top left of the board where there 2R2 is marked on the inductor.

    Image result for Arduino Industrial 101

    • Cancel
    • Vote Up 0 Vote Down
    • Sign in to reply
    • More
    • Cancel
  • var27rag
    var27rag over 8 years ago in reply to Workshopshed

    Thanks Andy!

    The eagle files in the link above aren't actually eagle files. One you pointed out the inductor (for whatever reason I missed it, should probably stop working on this for today) I was able to figure out the orientation of the chip next to it. From there it is a matter of some fine soldering which I will be taking up tomorrow. I will let you know how it goes.


    Thanks again for the quick response.


    Regards,

    Varun

    • Cancel
    • Vote Up +1 Vote Down
    • Sign in to reply
    • More
    • Cancel
  • Workshopshed
    Workshopshed over 8 years ago in reply to var27rag

    Good luck, hopefully, you won't brick the 101

    • Cancel
    • Vote Up +1 Vote Down
    • Sign in to reply
    • More
    • Cancel
Comment
  • Workshopshed
    Workshopshed over 8 years ago in reply to var27rag

    Good luck, hopefully, you won't brick the 101

    • Cancel
    • Vote Up +1 Vote Down
    • Sign in to reply
    • More
    • Cancel
Children
  • var27rag
    var27rag over 8 years ago in reply to Workshopshed

    So short update.

    After a bit of delicate soldering this works. The "sleep mode" draws a current of 28mA. I might be able to get it down further if i turn off the ADCs and BOD. That is for a bit later.


    For now I run into an interesting problem.


    My basic project is a data logger that uses FileSystem.begin() and FileSystem.open() to write to a file that is sent over wifi.


    When I plug in the arduino it reads the data the first time then goes into the sleep mode.  After a 2 minute (will be either half an hour or more in the final implementation) delay it wakes up again but this time the file system is not working.


    This I know because when I print FileSystem.exists(/tmp) on the serial monitor gives a 0.


    Any idea what is happening. Does something specific need to take place during boot of the Lininio?


    Regards,

    Varun

    • Cancel
    • Vote Up +1 Vote Down
    • Sign in to reply
    • More
    • Cancel
  • Workshopshed
    Workshopshed over 8 years ago in reply to var27rag

    I'm not sure of anything specific but I do know that the boot time is quite long, maybe 30-60 seconds.


    Perhaps some of these might help?

    Enchanted Objects Design Challenge - A tale of two bridges

    Swapping out the bridge

    Booting the Yún

    • Cancel
    • Vote Up 0 Vote Down
    • Sign in to reply
    • More
    • Cancel
element14 Community

element14 is the first online community specifically for engineers. Connect with your peers and get expert answers to your questions.

  • Members
  • Learn
  • Technologies
  • Challenges & Projects
  • Products
  • Store
  • About Us
  • Feedback & Support
  • FAQs
  • Terms of Use
  • Privacy Policy
  • Legal and Copyright Notices
  • Sitemap
  • Cookies

An Avnet Company © 2025 Premier Farnell Limited. All Rights Reserved.

Premier Farnell Ltd, registered in England and Wales (no 00876412), registered office: Farnell House, Forge Lane, Leeds LS12 2NE.

ICP 备案号 10220084.

Follow element14

  • X
  • Facebook
  • linkedin
  • YouTube