


I welcome you to my next blog as part of Experimenting with Current Sense Amplifiers Design Challenge. In my previous blog post #1 I described my experiment plans as part of contest. In blogs #2, #3 and #4 I shown basic usage of MAX40080 Current Sense Amplifier sensor. Then I created libraries Libraries for automating usage of MAX40080 CSA sensor. In previous blogs #5 and #6 I announced my Libraries. In this blog I will describe my Python Library in more details similarly like I introduced C Library in previous blog post #6.
I originally did not plan to make this library, but very soon after starting experimenting with MAX40080 I and other challengers realized that it is very hard to use this sensor with Rapsberry Pi because there are no code or example provided by both chip and click board vendors. So, I decided to utilize my skills and write Python library which can be used on Rapsberry Pi for interacting with MAX40080 Current Sense Amplifier sensor. I am posting this blog late because I was very busy last two weeks. In the meantime some other challengers utilized my library and you can read their independent thoughts for example in this blog post written by colporteur.
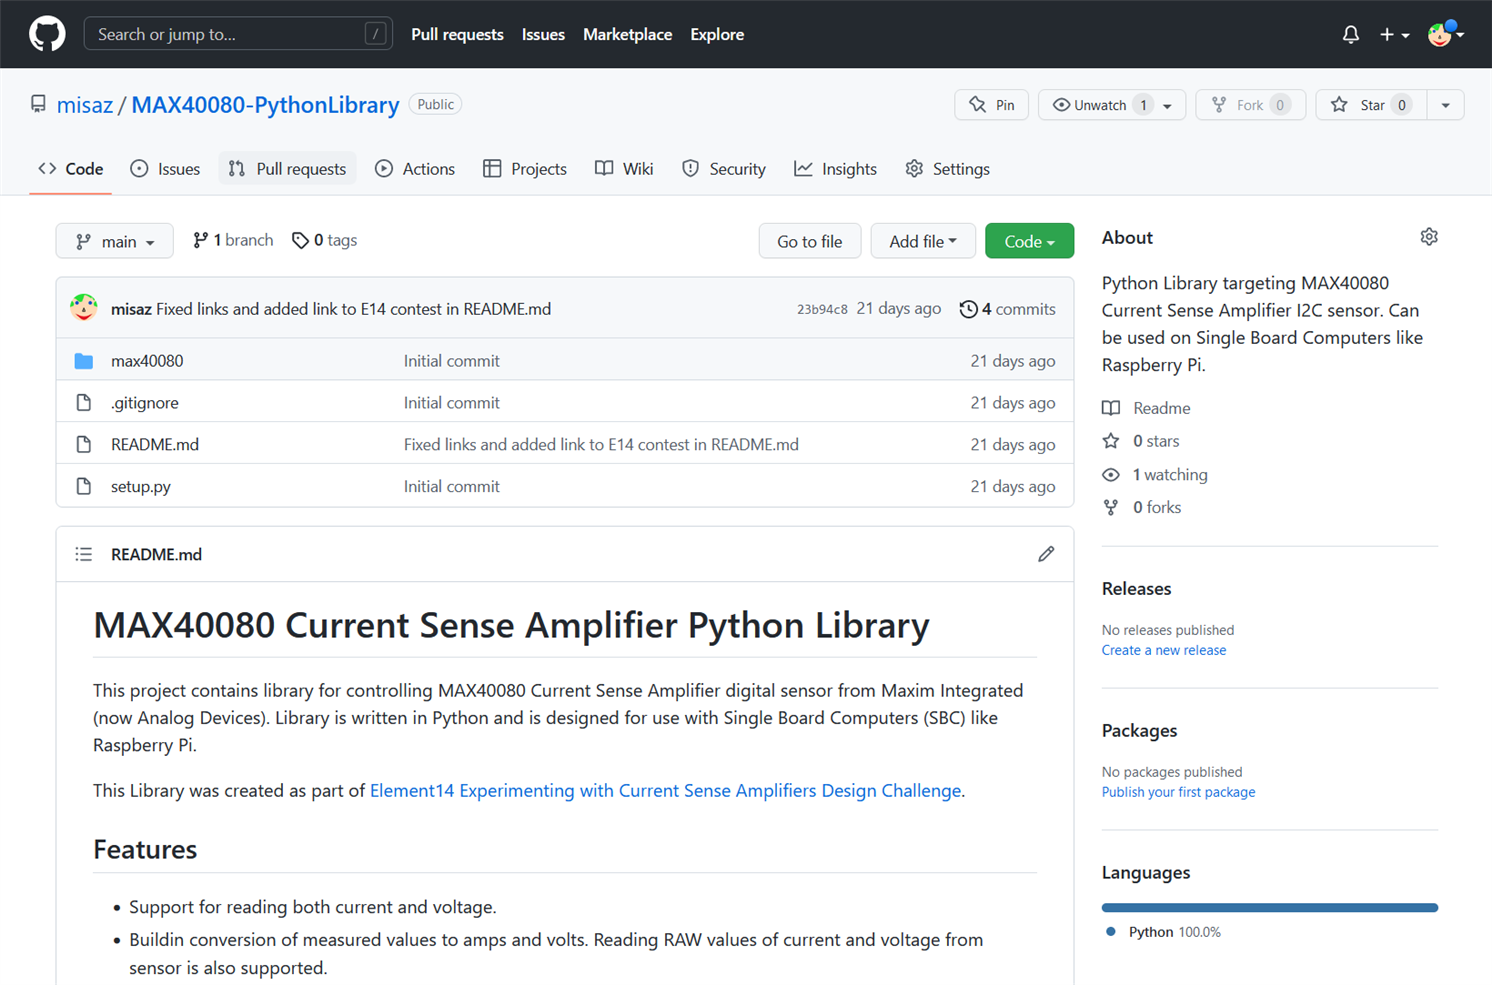
Github
My Python library is available at GitHub. Github contains library itself and description of the library. Availability at github has in case of Python Library benefit, that library can be directly installed using pip and I do not need to publish library in some public repositories.
You can install library using following command in terminal:
pip3 install git+https://github.com/misaz/MAX40080-PythonLibrary
Supported platforms
Library is written in Python and requires running on Linux computers. Internally it uses smbus library which I have used in first blogs. Library also depends on crc library for computing packets CRC (in first blogs I did computations manually using online calculator). From this design we can deduce supported platforms which are all computers running Linux with I2C kernel driver loaded. From practical point of view supported platforms are all Linux based single board computers like Raspberry Pi. This is difference from my C library which targets tiny microcontrollers and not the powerful SBCs.
Library basics and features
In comparison with my C library, I designed this library differently. While C library is designed for allowing developers to use all features of the chip, Python library does not follow the same goal. C library allows you to use every feature of chip, but you need to understand using these features and in fact library is very low level. In opposition this library does not support everything but is higher level and abstract you from most MAX40080 internal details.
Python library provides class named MAX40080. In constructor you can change some core settings. Default values matches usage with MikroE Current 6 Click and if you want other board, you need to specify custom values of these parameters. Parameters are i2c_controller_no for specifying I2C controller if your system has more controllers, i2c_address is I2C address of target MAX40080 which depends on configuration resistor (in case of both Current 6 Click Board and MAX40080EVSYS it is 0x21), and finally you can configure value of shunt resistor which is used for recalculating measured values to current in ampere unit. Default value of shunt parameter is 0.010 and matches shunt resistor used on Current 6 Click Board. In case of MAX40080EVSYS or custom board you need to manually set this parameter to 0.050.
After instantiation of MAX40080 class you can call its methods. Before reading any values form sensor you need to configure it. Configuration is done using configure function. You can reconfigure sensor multiple times when using MAX40080 class. Configuration function is used to set mode of operation and enable some advanced features of MAX40080. Function has 4 parameters, and all have default values. If you do not specify any parameter, then sensor will be configured to measure current at sample rate of 15 ksps and disabled digital filter. You can manually adjust parameters. There are two Boolean parameters measure_current (defaults to True) and measure_voltage (defaults to False). Set this parameter to true if you are interested in measuring specified variable. If you set both variables to true, then some restrictions to sample rates apply according to datasheet, so library will throw exception when you try to use unsupported configuration. If you set both variables to False, then library will turn sensor to standby mode. Next parameter which you can specify is ADC sample rate in kHz and lastly you can set digital filter. Digital filter (alias averaging) is feature of MAX40080 works in the way that sensor will internally accumulate multiple consecutive samples and then returns average of them. You can configure number of averaged samples. This feature is used for reducing noise.
After configuration you can call read functions. There are three methods for reading measured samples: read_current, read_voltage and read_current_and_voltage. The first two returns measured values as a float in Ampere and Volt units. The last mentioned returns two values as a tuple.
Hello Current Sensing World Example
Following Python code shows simple reading of current from the sensor and printing it:
from max40080 import MAX40080

max = MAX40080()
max.configure()
print(max.read_current())
Output should look like on following screenshot. Value is measured current (in Ampere unit). If you want to get miliamperes, multiple it by 1000.
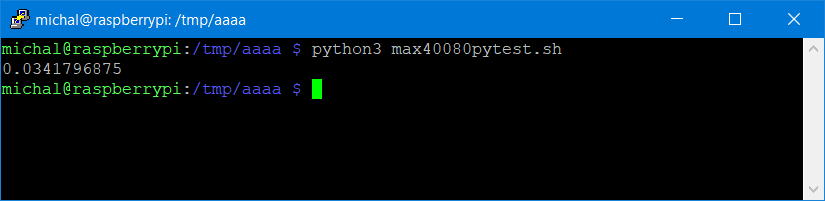
As you can see, code is much simpler than in case of the same example written using my C library. But in opposition C library allows you to do more tasks.
Summary and future plans
This is all from this blog. By this blog post I am closing subsection about my libraries which I did as part of design challenge. In the meantime I received PCBs for my main experiments which I promised in first blog. So, I am starting to work on it. You can expect some blog post about my experiments which I promised in the first blog soon. In the meantime, I describe my last software related project – command line utility for experimenting with MAX40080 CSA without need to write any line of code. Thank you for reeding this blog. I would appreciate any feedback, so feel free to let comment below.