


Hello everyone,
I welcome you to my serie of blog posts which I wrote as part of Experimenting with Current Sense Amplifiers Design Challenge. Until now I wrote this and previous 7 blog posts as part of this contest. In my first blog post #1 I described my experiment plans as part of contest. In blogs #2, #3 and #4 I shown basic usage of MAX40080 Current Sense Amplifier sensor. Then I introduced my libraries for simplifying use of MAX40080 CSA sensor in blog posts #5, #6 and #7. This 8th blog post will completely close subsection of my software projects. In this blog I will introduce my software utility which I created for using MXA40080 on Raspberry Pi from command line without need to write any program. I create this utility with help of my C library which I described in blog #6. If you read this blog, you maybe remember that I ported this library to something which I referred as an userspace Linux. Utility which I will show in this blog is based on this port. Utility is used for controlling and collecting data from MAX40080 CSA directly by executing command in terminal.
Installation
Prebuild binaries for 64-bit ARM can be installed using following commands:
wget 'https://github.com/misaz/MAX40080-CLI/releases/download/v1.0/max40080_aarch64'
chmod +x max40080_aarch64
sudo mv max40080_aarch64 /usr/bin/max40080
Enabling power
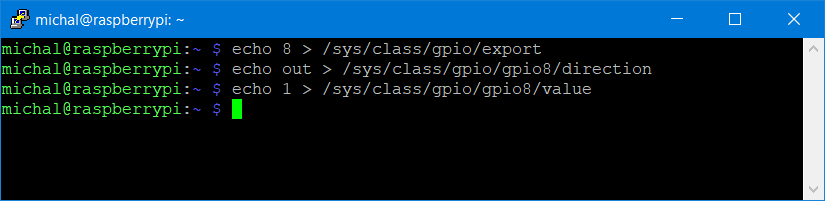
When used with MikroE Current 6 Click Board you need to enable power for the MAX40080 chip first. When Click Board is fitted to first slot run following commands in terminal:
echo 8 > /sys/class/gpio/export
echo out > /sys/class/gpio/gpio8/direction
echo 1 > /sys/class/gpio/gpio8/value
echo 8 > /sys/class/gpio/unexport
In case when you are using Click Board fitted in second slot, then replace 8 with 7 in previous commands.
Testing setup
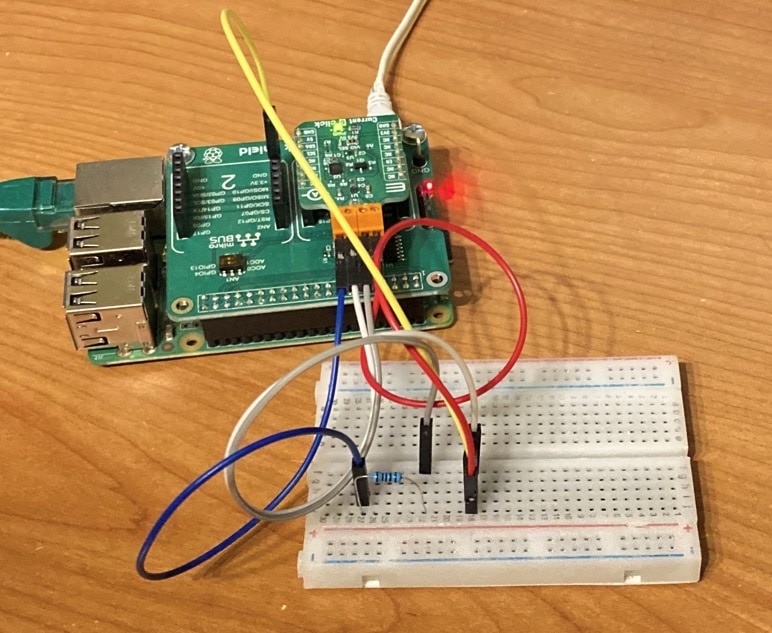
In next section I will show screenshots of output from my utility. When I was making these screenshots, I used the same setup known from my previous blogs. It was simple resistor. So current is static about 30mA and voltage 3.3V. I swapped RS+ and RS- so I got negative current in this case.
Usage
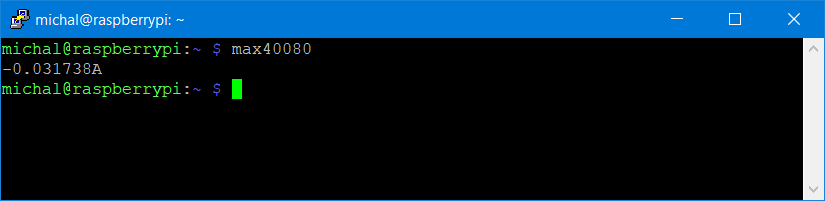
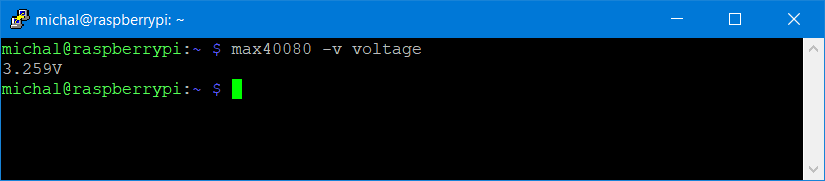
After installing you can directly execute max40080 command. By default, it takes one measurement of current and print it.
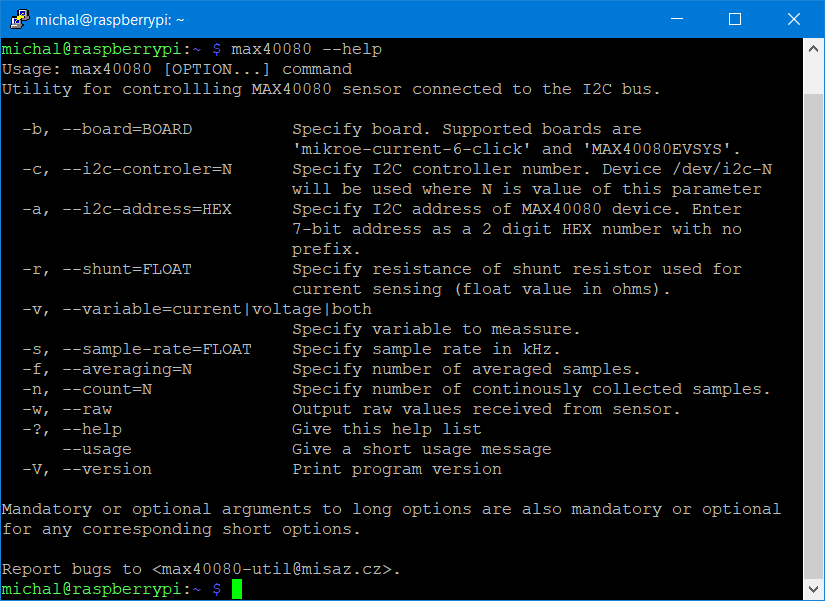
You can change mode of operation and sensor parameters using command line arguments. You can use standard --help command line flag for printing list of all available command line parameters.
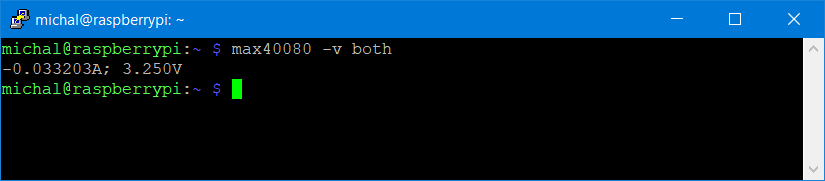
Except current, utility can also read voltage on VS pin of the MAX40080 chip (referred as VIN on MikroE Current 6 Click Board).
You can read both current and voltage at the same time:
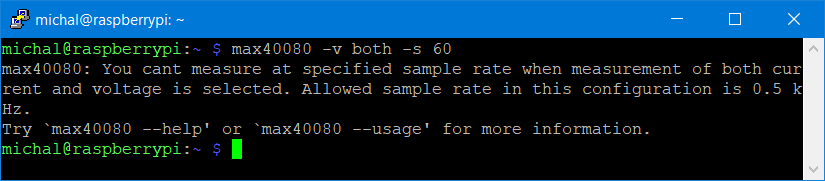
When reading both current and voltage some restrictions apply because sensor work in this mode differently and alternate between measurements. If you attempt to use invalid configuration, you get error. One of the restrictions is that sample rate is restricted to 0.5 kHz. If you try different sample rate, you get following error:
As you have seen in previous screenshot, sample rate is selectable using -s parameter. Value is float in kHz. You can select any sample rate which is supported by sensor. If you enter unsupported sample rate, then you get error with listing permissible sample rates.
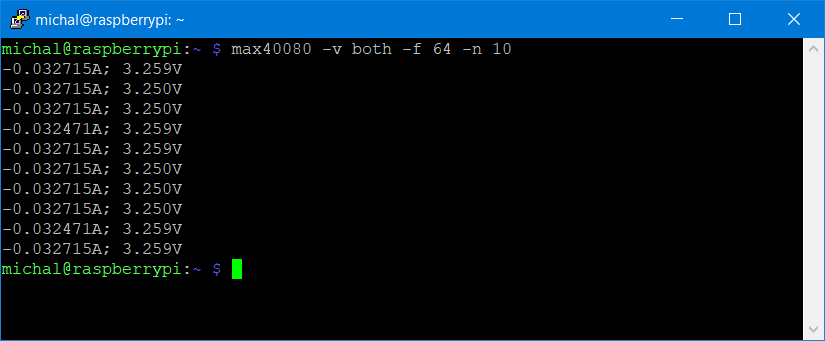
Except sample rate, you can also configure digital filter. Digital filter is feature of MAX40080 CSA which cause that sensor averages consecutive samples which reduces noise in measured samples. As a consequence, you get less samples and interval between receiving samples increase.

You can also select number of collected samples. By default, utility collects single sample. You can change this by -n parameter.
You can set -n param to -1 for collecting samples indefinitely. Then you can stop sampling by pressing Ctrl + C.

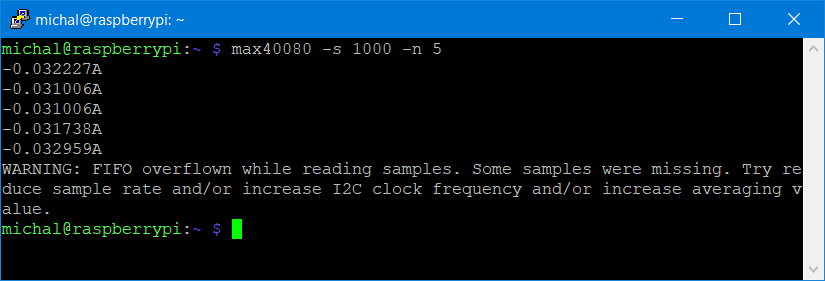
After receiving samples utility checks for status of FIFO and warns you in case when FIFO overflow happened. So if you configure sample rate too high, then you receive warning message after collecting last sample:
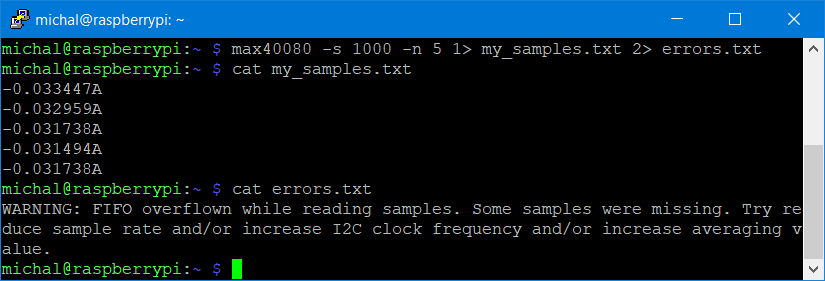
You can also receive warning message in the middle of collecting. This happens for example when some I2C error occurs. This happens for example when CRC of transaction received from sensor do not match expected one, but it is hard to simulate these errors under normal operation. Library implements retry logic in main part of collecting samples, so when some error like CRC mismatch occurs, then it prints warning and retry operation again. Utility writes all errors and warnings to stderr, so if you need data for further analysis without these warnings, you can redirect error output to file (recommended) or /dev/null (not recommended).
You maybe noticed that you do not need to specify nothing about board containing MAX40080. By default parameters matches MikroE Current 6 Click Board, but if you are using different evaluation board or custom board, you can specify I2C address and value of shunt resistor manually using -a and -r parameters.
Internal details
I programmed this utility in C, so it is distributed as a single lightweight executable. Application is compiled using standard GCC compiler. Sources are available at github. Little bit interesting is that utility is based on my C Library which I described in my 6th blog even it is designed for using with MCUs rather than SBCs. Source code is pretty short. Most code is responsible for parsing command line arguments. After parsing arguments, source code is made of simple library calls, printfs and lot of stuff related to error checking. Library is completely open source. Its sources are available at github, so you can look to sources directly.
Purpose
I originally had not any reason to create this utility, but very soon after starting experimenting with MAX40080 I and other challengers realized that there are no code example or library for using MAX40080 with Raspberry Pi. So I decided to make Python library (which I described in blog 7th blog) and also I got idea to make this utility which allows me to make experiment with sensor without any programming needed (ok, I have to program a lot, but now you do not need at all). Maxim offers GUI utility for their MAX40080EVSYS board, but this tool does not work with Current 6 Click Board, so this CLI utility can be considered as an alternative to this software from some point of view.
Summary and future
In the next blog I will start to make experiments described in my first blog. The first experiment which I will show is Raspberry Pi power consumption self-monitoring. Before showing self-monitoring, I will use simpler setup with analysing power consumption of other USB device – flash drive. Currently I have already completed some other experiments, but writing blog posts is time consuming, so there is small latency between experimenting and publishing summary of experiments as blog posts.
Thank you for your patience and stay tuned.
Next blog: Blog #9: Measuring USB Flash Disk Power Consumption
Top Comments