


After discussing the project idea here The Project Plan - RGB for RadiantGoofyBulbs and setting up prismatic tool for display colour extraction Display Colour Extraction - RGB for RadiantGoofyBulbs , where is my hardware!
Through this blog, I will take you through the my steps assembling the LEDs, bringing together in a frame, adding diffusers and finally building the RGB LED towers.
Materials and Components Used
- Size 15×20 cm perfboard sheet
- SMD 5050 LEDs of P/N 1315050930246
- Breakout boards for 5050 LEDs
- NodeMCU ESP board
- Size 2.54mm JST connectors
- Wires, Solder Setup
- Standoffs or Spacers
- Acrylic Sheets
The Process
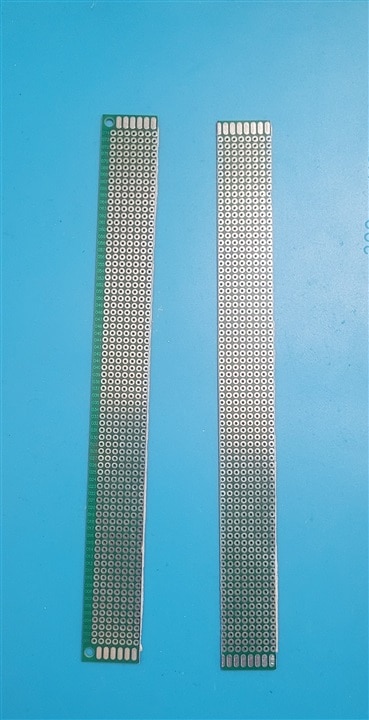
Preparing Perf-Board by cutting it from 15cm × 20cm dimension to LED strip sized lengths to fit in the enclosure.
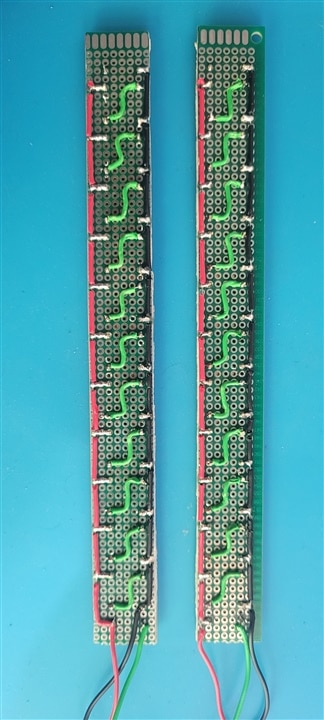
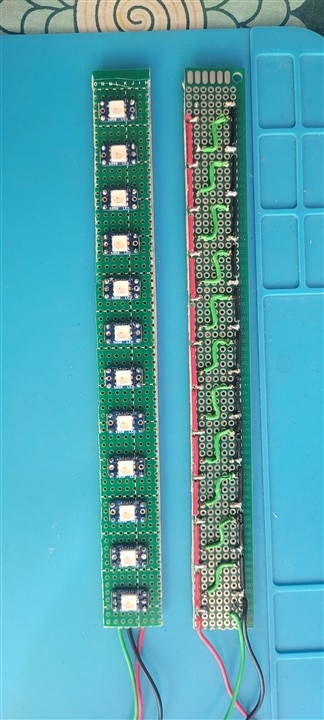
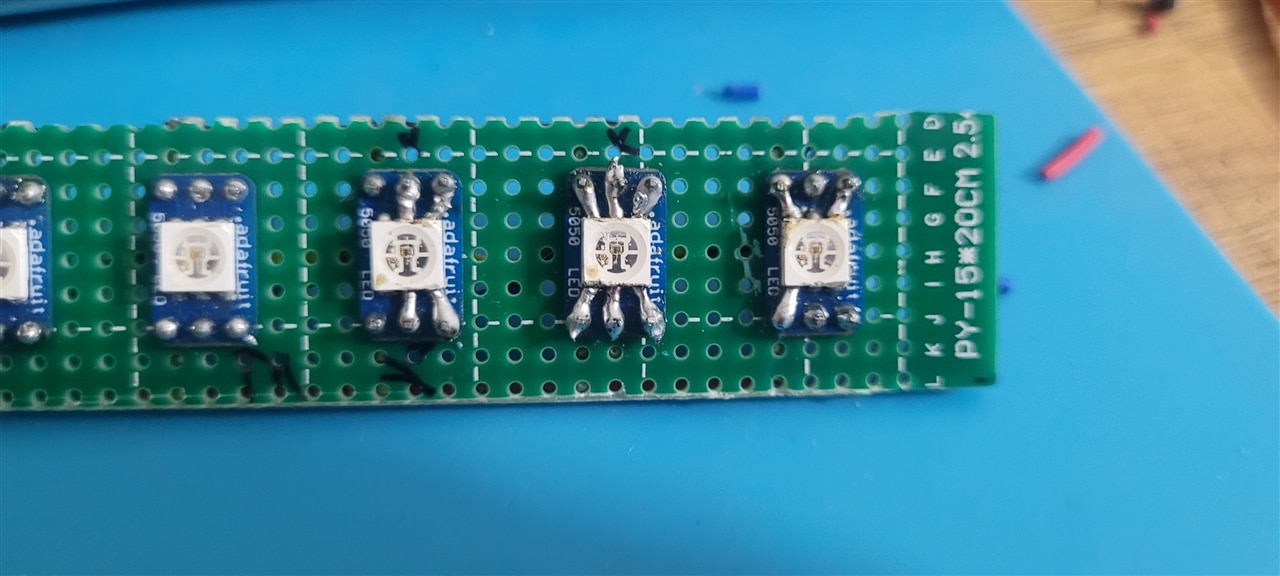
LEDs are now soldered along with 5050 size breakout boards provided and mounted on the perf board.
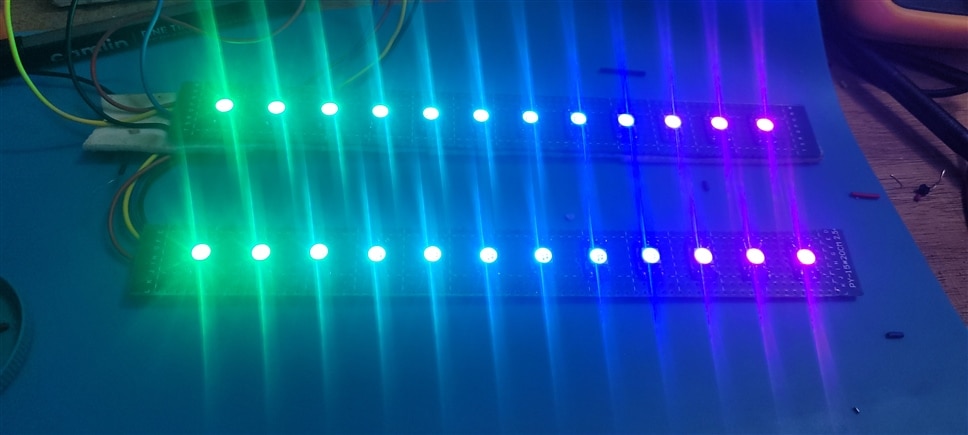
A much later image, but everything then works :)
Before the above image, some of the LEDs were having issues as they didn’t light during testing. Root cause was then found to be the LED pins were actually not making contact on the breakout board with the berg pins soldered. Had to solder bridge in some places - ewww, that's messy, yes and would kill the OCD of any healthy electrical engineer.
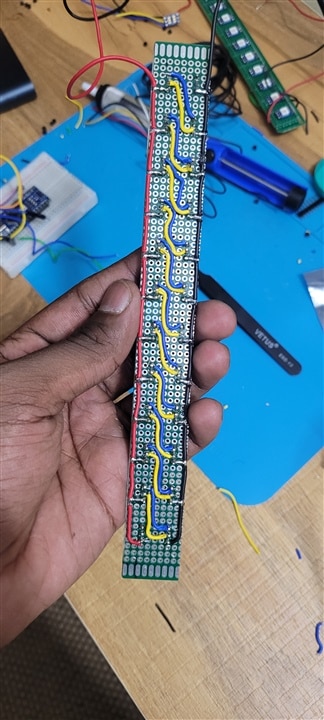
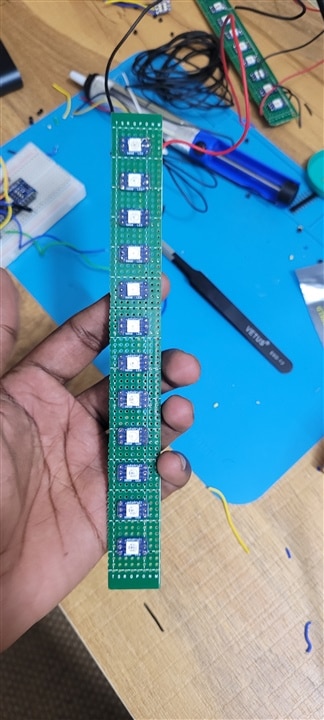
Completed LED Strips ready to go inside the tube looks like this and after making two of then, doing a polarity and continuity check, clean wire management, they're good to go.
The mechanical assembly is slightly more messy - we'll discuss about it in the next blog :)
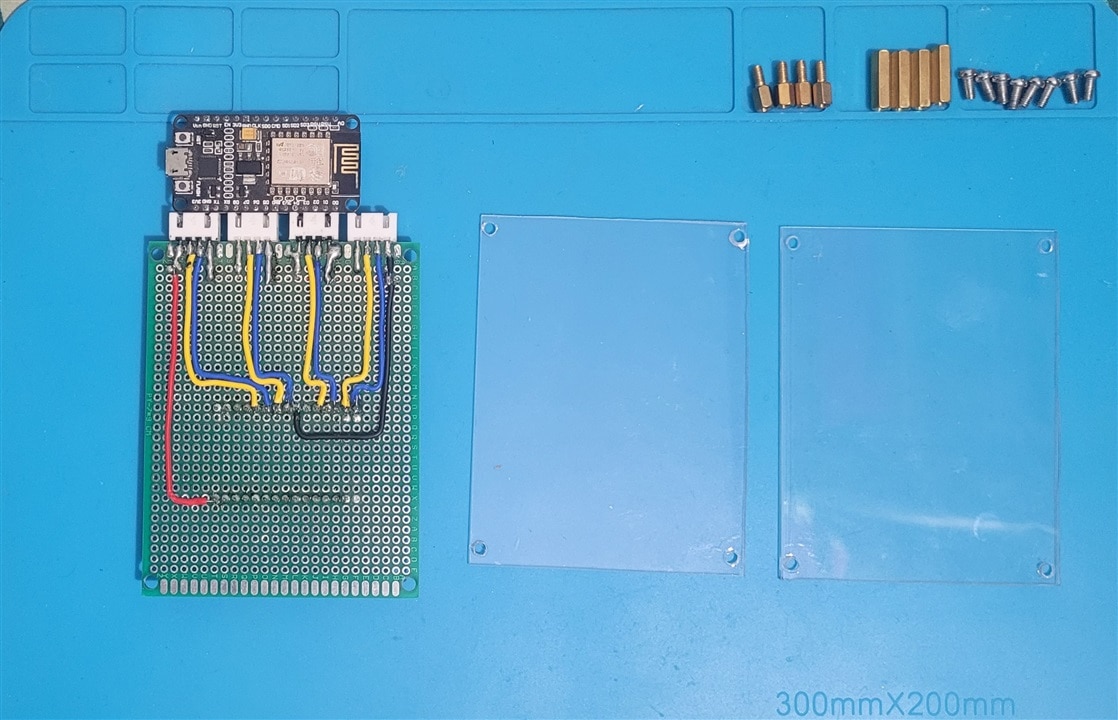
Building the Control Unit
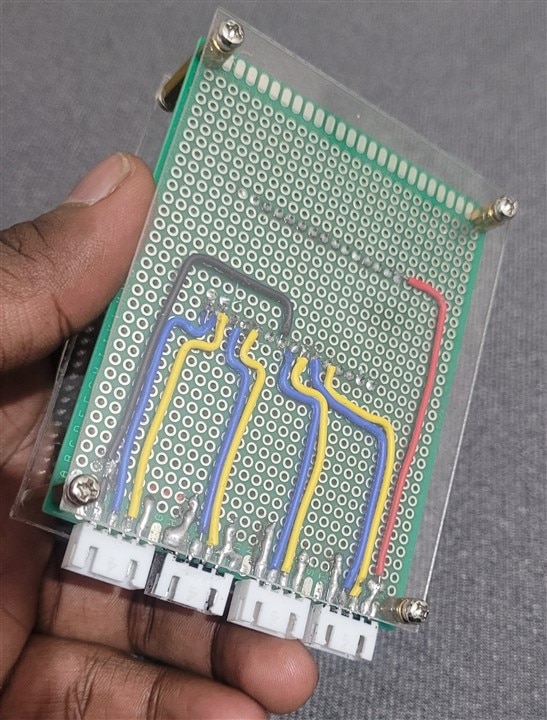
Now to control the RGB LED bar, NodeMCU based unit is brought together. Although the supplied Arduino was used during earlier evaluations, the idea is to keep it simple, bare minimum hardware and the one that has wireless capability. JST connectors are preferred for modular plug-and-play connection with the LED bars. Again, a small perf-board PCB is made for connections power section routing.
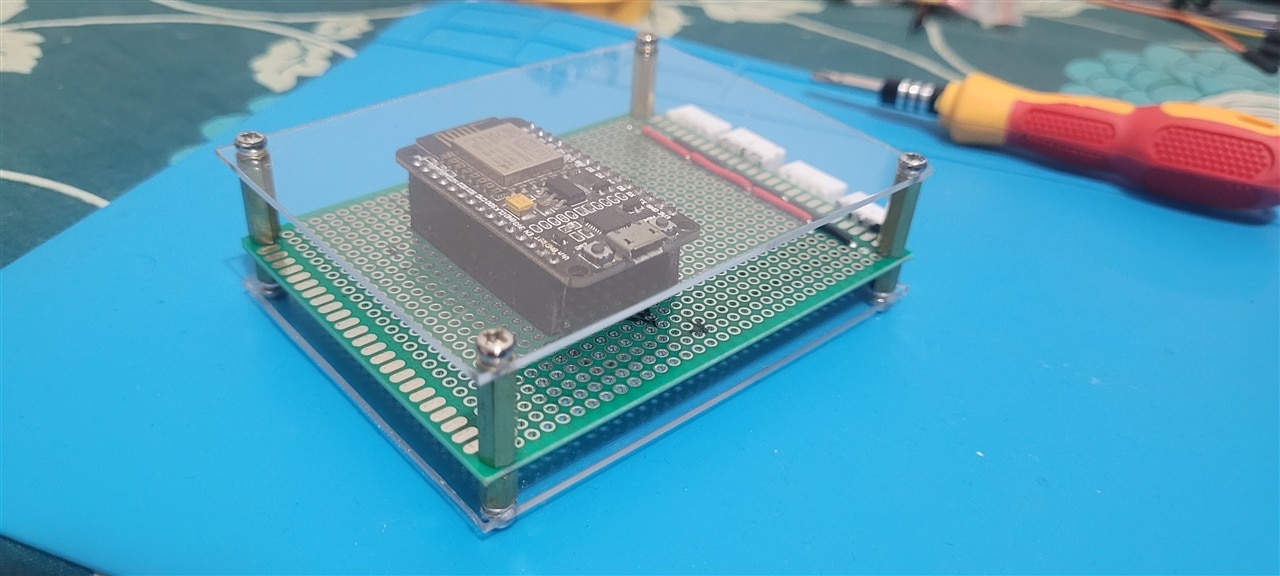
Assembled between two acrylic sheets using standoffs for a neat finish and durability. Please rate my standards out of 10...haha ;)
In the next blog, we'll look at the assembled tubes, integration and bring-up of the full system. Until then cheers and do share your comments and ideas!