


After testing the LEDs initially and pivoting on the Prismatic tool for display colour extraction and encoding LEDs, the custom LED bar is soldered and tested with the control unit discussed here Building Custom LED Bar and Control Unit - RGB for RadiantGoofyBulbs . Now is the time to do final integration by bringing together mechanicals (cutting, filing, spray paints). End of the blog, we'll see a short demo of how it all work in sync.
This blog gives a little extra attention to the aesthetics with the objective of creating diffuser bars with good light distribution and mechanical stability.
Materials and Tools Used
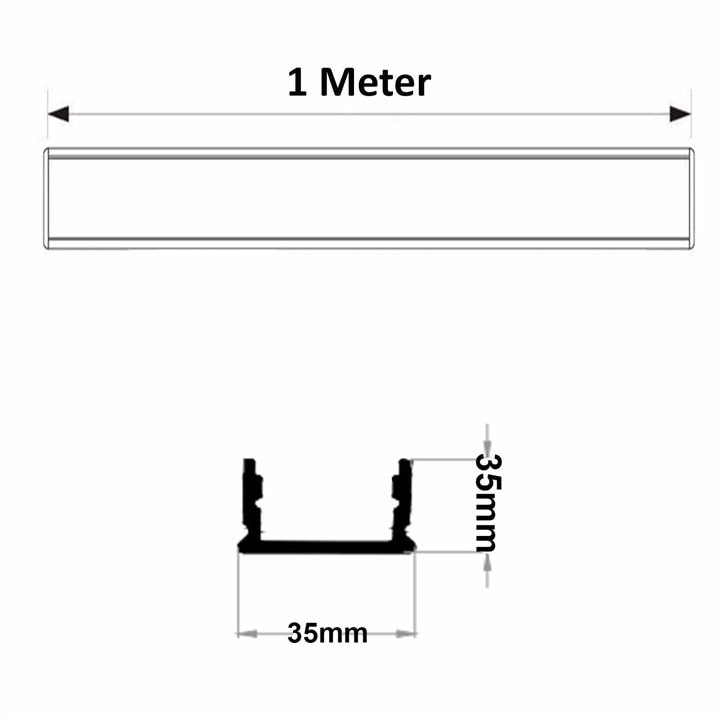
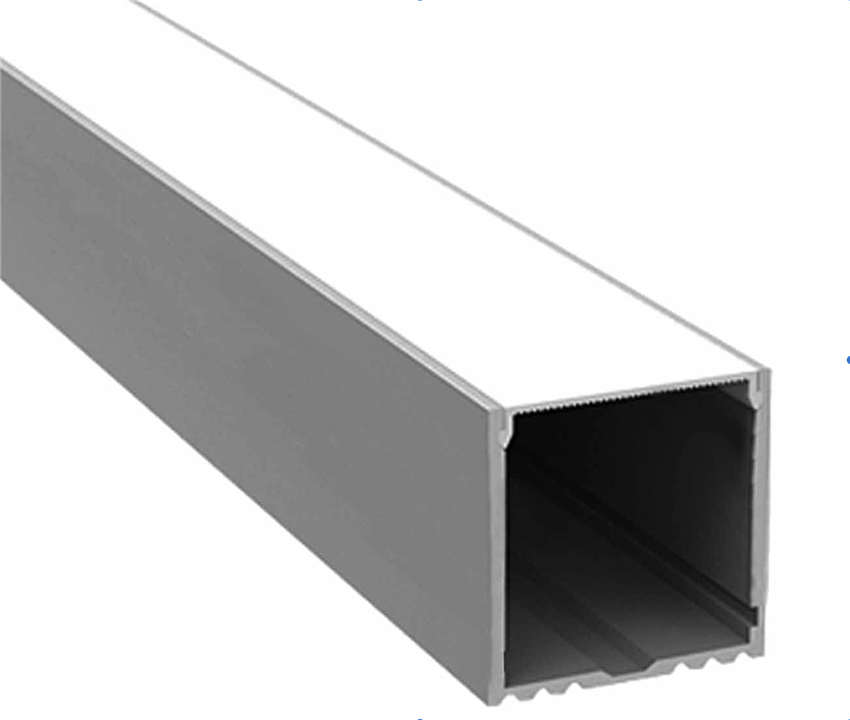
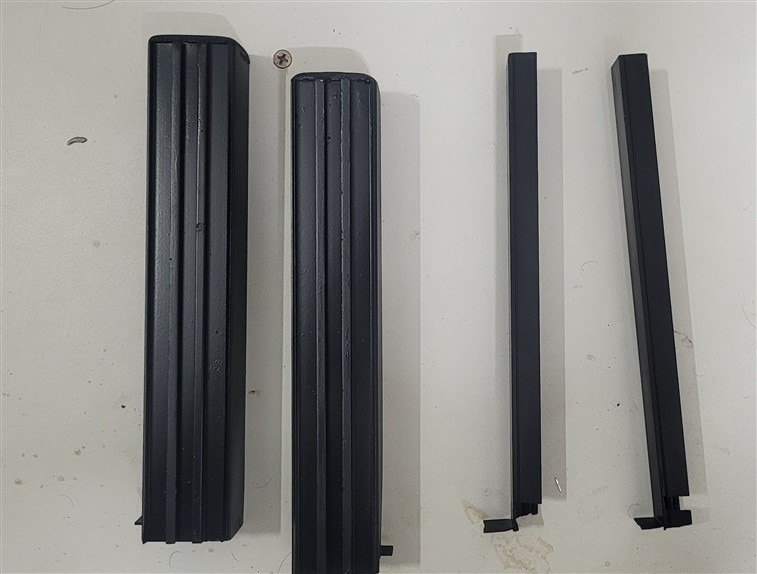
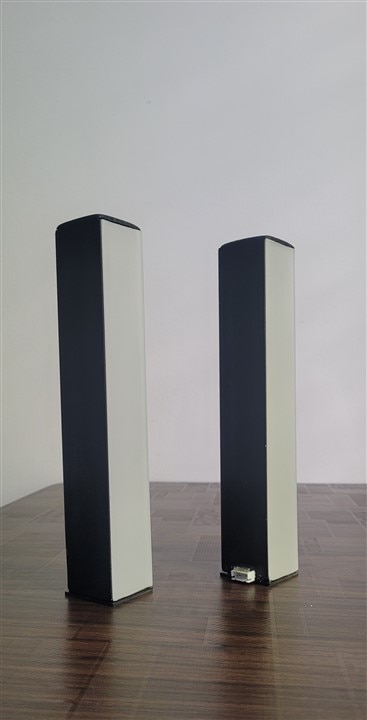
- Aluminum LED Diffuser Bars (standard off the shelf, cut into custom size)
- Type 1: 35mm × 35mm profile
- Type 2: 25mm × 12mm profile
- Light Diffuser Covers
- Black Spray Paint
- MDF Board, cut to pieces of custom size
- JST Connectors and Wires
- Cutting Tools + Sandpaper + Measuring scale
- Standoffs and Screws for Mounting
Step1: Cutting Bars to required size
- Chopped bars into uniform lengths for the project design
- Ensured smooth edges using sanding
- Goal: 20cm height for each bar - 4 total bars (2 of each type)
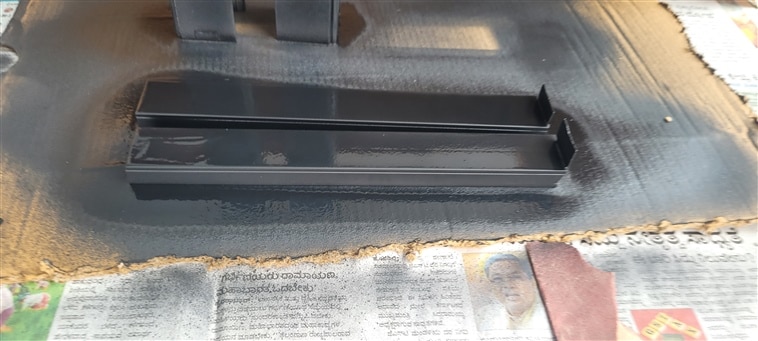
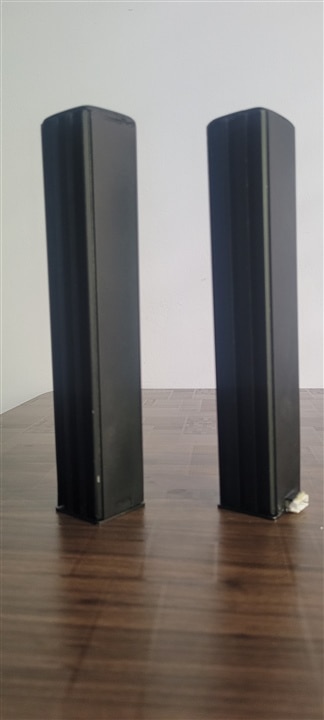
Step2: Painting the Bars
- Bars bought from Amazon came with chrome finish and to match the overall aesthetics, it is spray painted
- Painted matte black for and sleek modern look and reduced unwanted reflections
- Allowed proper drying before next steps
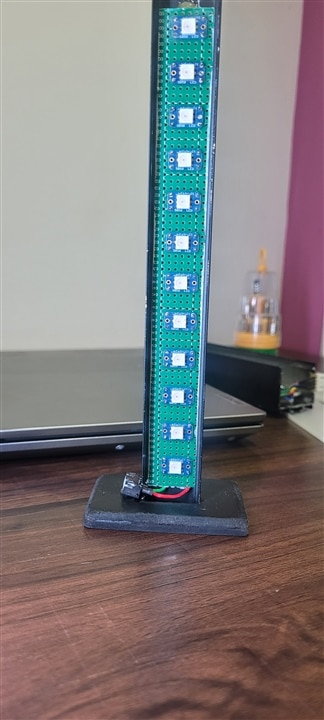
Step 3: Creating Stands/bottom plates Using MDF
- Designed simple wooden bottom plates to hold smaller pair of bars upright
- Precise spacing to later mount LED strips inside
- Mounted a JST connector on the stand base for easy plug-in to the Control Unit
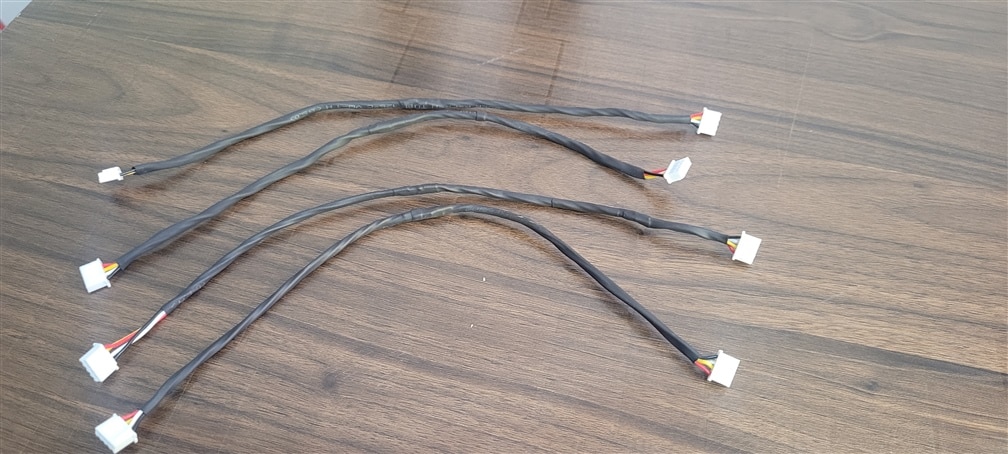
Step 4: Cable Assembly
- Made 2 pairs of wires for powering each LED bar pair
- Total cables created are 4 with 4-pin, 2.54mm JST to JST socket ends
- Clean modular design to connect LED bars to the Control Unit

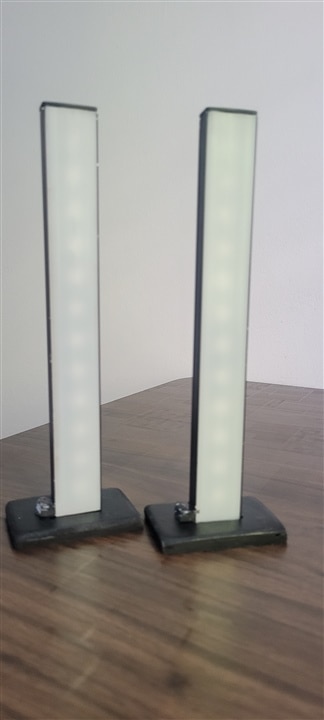
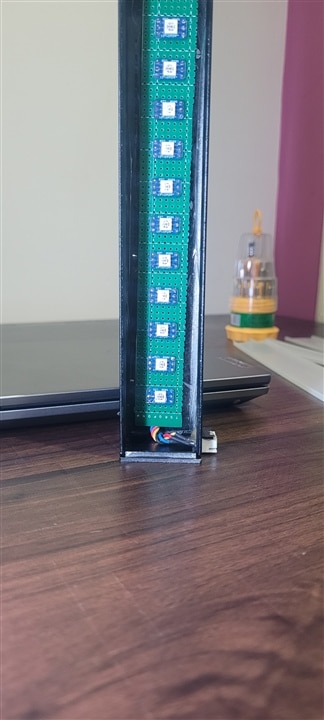
7. Final Assembly and Dry Fit Check
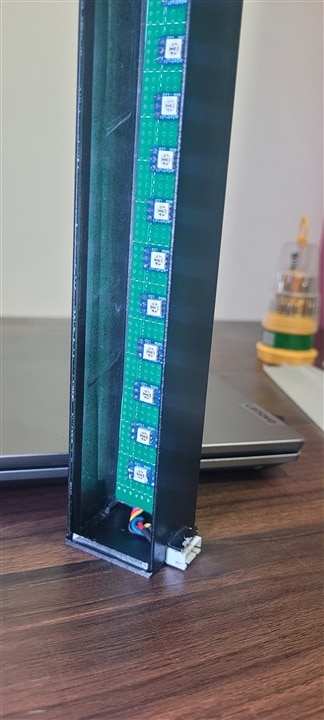
- Inserted LED strips (from previous blog) inside diffuser bar channels
- Positioned stands and checked stability and spacing
- Confirmed cable reach and connector fit
That's all about assembly and integration. Here's a short demo video 


