element14 Community
element14 Community
    Register Log In
  • Site
  • Search
  • Log In Register
  • Community Hub
    Community Hub
    • What's New on element14
    • Feedback and Support
    • Benefits of Membership
    • Personal Blogs
    • Members Area
    • Achievement Levels
  • Learn
    Learn
    • Ask an Expert
    • eBooks
    • element14 presents
    • Learning Center
    • Tech Spotlight
    • STEM Academy
    • Webinars, Training and Events
    • Learning Groups
  • Technologies
    Technologies
    • 3D Printing
    • FPGA
    • Industrial Automation
    • Internet of Things
    • Power & Energy
    • Sensors
    • Technology Groups
  • Challenges & Projects
    Challenges & Projects
    • Design Challenges
    • element14 presents Projects
    • Project14
    • Arduino Projects
    • Raspberry Pi Projects
    • Project Groups
  • Products
    Products
    • Arduino
    • Avnet & Tria Boards Community
    • Dev Tools
    • Manufacturers
    • Multicomp Pro
    • Product Groups
    • Raspberry Pi
    • RoadTests & Reviews
  • About Us
  • Store
    Store
    • Visit Your Store
    • Choose another store...
      • Europe
      •  Austria (German)
      •  Belgium (Dutch, French)
      •  Bulgaria (Bulgarian)
      •  Czech Republic (Czech)
      •  Denmark (Danish)
      •  Estonia (Estonian)
      •  Finland (Finnish)
      •  France (French)
      •  Germany (German)
      •  Hungary (Hungarian)
      •  Ireland
      •  Israel
      •  Italy (Italian)
      •  Latvia (Latvian)
      •  
      •  Lithuania (Lithuanian)
      •  Netherlands (Dutch)
      •  Norway (Norwegian)
      •  Poland (Polish)
      •  Portugal (Portuguese)
      •  Romania (Romanian)
      •  Russia (Russian)
      •  Slovakia (Slovak)
      •  Slovenia (Slovenian)
      •  Spain (Spanish)
      •  Sweden (Swedish)
      •  Switzerland(German, French)
      •  Turkey (Turkish)
      •  United Kingdom
      • Asia Pacific
      •  Australia
      •  China
      •  Hong Kong
      •  India
      • Japan
      •  Korea (Korean)
      •  Malaysia
      •  New Zealand
      •  Philippines
      •  Singapore
      •  Taiwan
      •  Thailand (Thai)
      • Vietnam
      • Americas
      •  Brazil (Portuguese)
      •  Canada
      •  Mexico (Spanish)
      •  United States
      Can't find the country/region you're looking for? Visit our export site or find a local distributor.
  • Translate
  • Profile
  • Settings
MusicTech
  • Challenges & Projects
  • Design Challenges
  • MusicTech
  • More
  • Cancel
MusicTech
Blog Vintage Toy Synthesiser - BeagleBone Proto Cape
  • Blog
  • Forum
  • Documents
  • Polls
  • Files
  • Mentions
  • Sub-Groups
  • Tags
  • More
  • Cancel
  • New
  • Share
  • More
  • Cancel
Group Actions
  • Group RSS
  • More
  • Cancel
Engagement
  • Author Author: liamtmlacey
  • Date Created: 21 Feb 2016 4:38 PM Date Created
  • Views 532 views
  • Likes 0 likes
  • Comments 0 comments
  • cape
  • music tech
  • beagle bone black
  • beagle-bone-black
  • mtc
  • musictech
  • project_vintage
Related
Recommended

Vintage Toy Synthesiser - BeagleBone Proto Cape

liamtmlacey
liamtmlacey
21 Feb 2016

Over the past week I've been working on various parts of my project - designing the front panel, starting on the panel electronics, as well as optimising the sound engine software. All of these things are only half-finished so I don't want to document them in a blog post yet, however one small yet important thing I have completed this week is the wiring and soldering of the BeagleBone Proto Cape, so I thought I'd do a quick and short (for a change!) blog post on how I've used the proto shield.


image

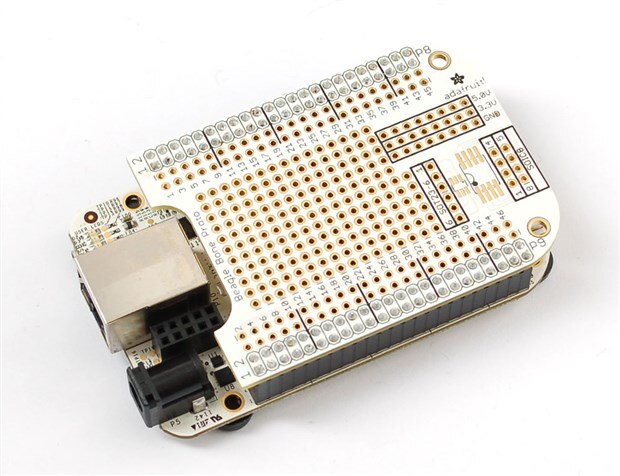
The BeagleBone Proto Cape


The Proto Cape is important for my project, and probably for most serious BBB projects, as it allows you to solder your connections to the board so that things don't accidentally become unconnected during use. Saying that, the idea of permanently soldering all of my connections on my BBB didn't appeal to me, so instead I soldered a set of screw terminals to my proto cape (like I did with the MIDI interface circuit for my project), allowing me to disconnect certain connections and circuits from the BBB if needed (which is very useful during development), but at the same time providing a way to securely connect everything when needed.


Here are a couple of photos of my proto cape:


image

image

image


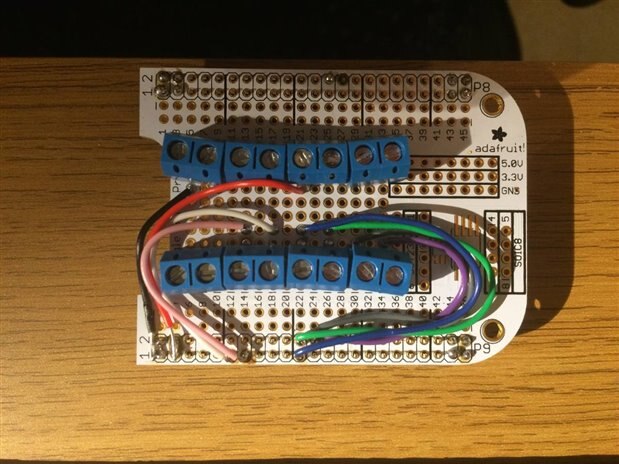
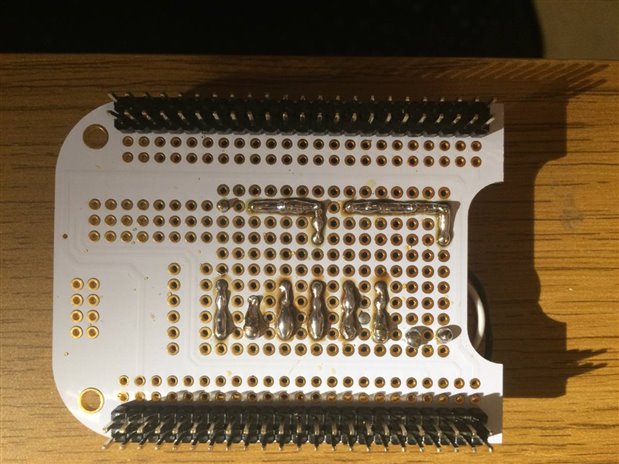
As can be seen from the above photos I've attached four pairs of screw terminals to the cape. These are for the following connections:

  • Three pairs for connecting my keyboard, panel, and MIDI interface circuits to the BBB via the UART serial pins (both TX and RX for each circuit).
  • Two pairs for providing 3.3V power to my three circuits (leaving one terminal currently unused)
  • Two pairs for connecting the GND of my circuits to the BBB (leaving one terminal currently unused)
  • A spare pair, just incase.


Here's a photo of the cape in use, with the keyboard, MIDI interface, and panel fully connected:


image

  • Sign in to reply
element14 Community

element14 is the first online community specifically for engineers. Connect with your peers and get expert answers to your questions.

  • Members
  • Learn
  • Technologies
  • Challenges & Projects
  • Products
  • Store
  • About Us
  • Feedback & Support
  • FAQs
  • Terms of Use
  • Privacy Policy
  • Legal and Copyright Notices
  • Sitemap
  • Cookies

An Avnet Company © 2025 Premier Farnell Limited. All Rights Reserved.

Premier Farnell Ltd, registered in England and Wales (no 00876412), registered office: Farnell House, Forge Lane, Leeds LS12 2NE.

ICP 备案号 10220084.

Follow element14

  • X
  • Facebook
  • linkedin
  • YouTube