


In Path to Programmable Blog 6 - Hardware Debugging & some more TCL I finished Module 1 of Path the Programmable - Developing Zynq Hardware. Module 1 was centered around designing peripherals in the PL and interfacing them with the PS using Vivado, and now we move on to the software that will run on the PS.
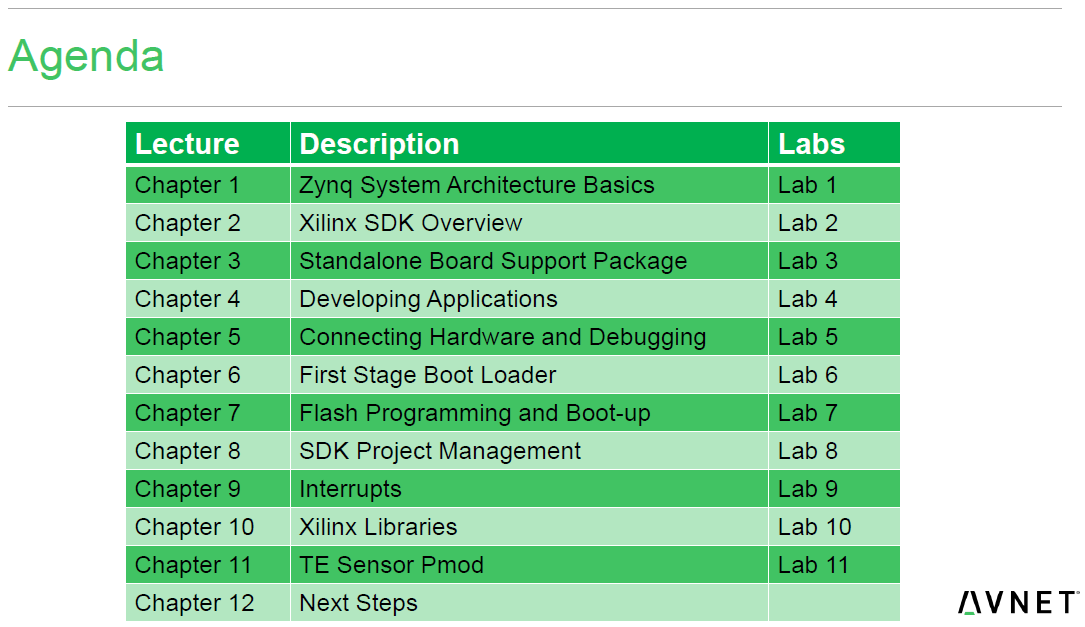
Module 2 - Developing Zynq Software
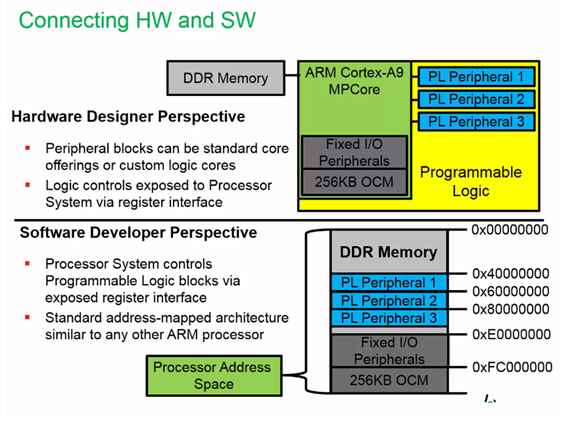
Chapter 1 Video - Zynq System Architecture Basics
The introductory video went over the overall flow of software development for Zynq. As shown, software development starts after the hardware platform file that is exported from Vivado is imported into Xilinx SDK. In Vivado, the hardware designer creates peripherals in the PL that are connected to the PS, and accessible as memory mapped locations. The software designer uses the peripherals via registers - just like microcontroller peripherals are controlled using registers mapped to memory locations.

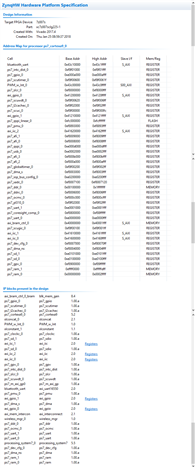
Lab 1 - Explore a Zynq Hardware Platform
This lab had a look at the hardware wrapper file that is exported from Vivado (system_wrapper.hdf). This is a compressed file that contains all the data required to start software development, and since it is the only file that a software developer needs, hardware developers need to transfer this only this file over to software developers. The .hdf file contains these files:

Chapter 2 Video - Xilinx SDK Overview
The chapter 2 video introduced Xilinx SDK features: GCC toolchain, C/C++ code editor, BSP generator, debugger, hardware/software downloader, cross-probing with the Vivado Analyzer in hardware, multiprocessor debugging (for the higher end Zynq parts with multiple ARM cores), boot image creation, flash programming and so on. Xilinx SDK is based on Eclipse, so the next couple of slides were a quick review of Eclipse perspectives, workspaces etc. Additionally, Xilinx includes a couple of plugins for programming the FPGA, Flash, generating a BSP etc.
Lab 2 - Importing the Hardware Platform into SDK
Instructions for this lab were to open Xilinx SDK, create a workspace and create a new project using the provided .hdf (hardware wrapper exported from Vivado). The .hdf file is the file we created at the end of Module 1 i.e. Developing Zynq Hardware, but a .hdf file was provided along with this lab for users who hadn't completed the 'hardware' course.
Opening the .hdf file reveals the entire address map, and the IP blocks in the design. For example, the AXI_GPIO0 block that was implemented in the PL, and connected to the PS over AXI has these registers:

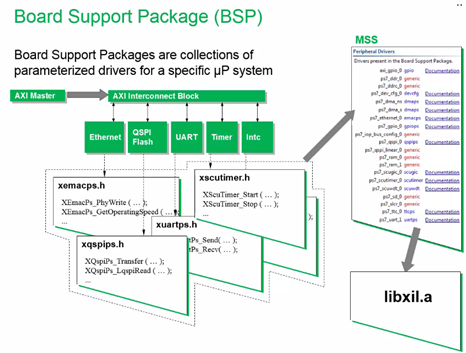
Chapter 3 Video - Standalone Board Support Package
Xilinx SDK can generate a BSP (Board Support Package) based on the info it receives in the hardware wrapper. For example, if a UART peripheral is enabled in Vivado, the BSP generator will detect this and add Xilinx header files for the specific peripheral. The drivers include functions that users can invoke to interact with the hardware, just like HALs provided by microcontroller vendors.

Lab 3 - Bare Metal Board Support Package
This lab included instructions for generating a BSP, which was very similar to what we did in Module 1. The wizard that generates the BSP is easy to use, and includes a couple of settings - like which UART instance to use, where to direct stdin & stdout etc.

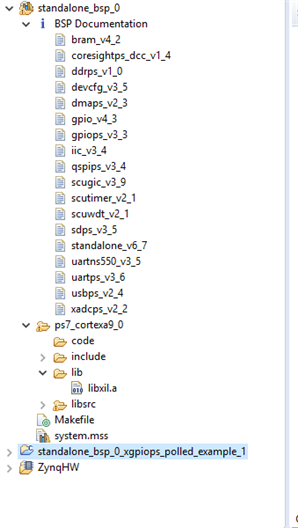
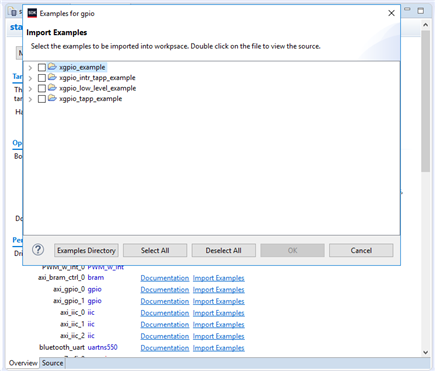
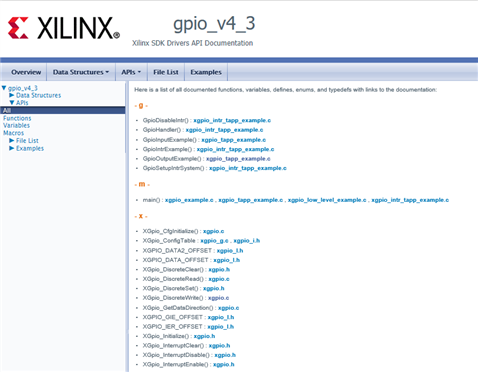
The required files are included, along with documentation. The documentation for the GPIO was in the form of HTML files, and SDK also allows you to import examples without much of a hassle.
The rest of the lab involved going through the generated files, with a brief explanation of what each of them did.
Progress:
