


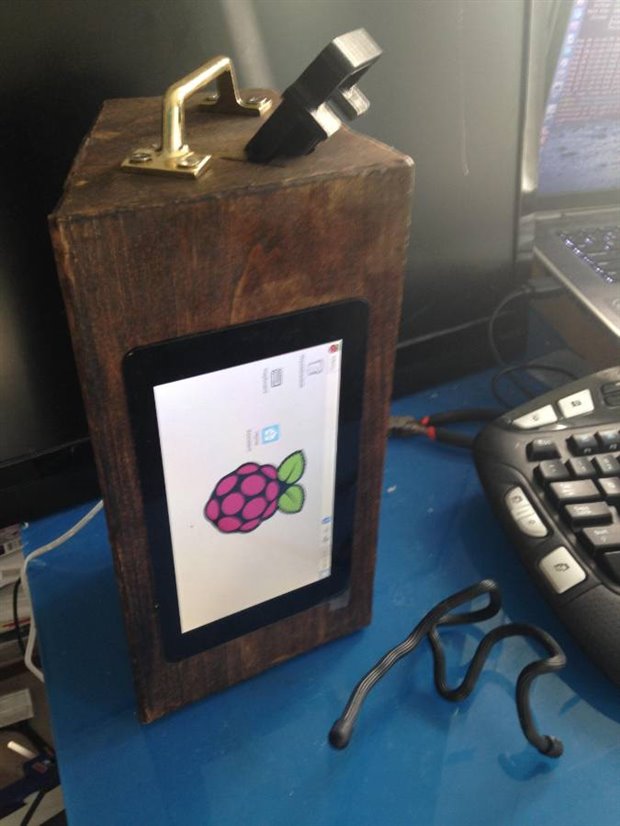
It is now time!! to put the all the electronic components together into a nice enclosure, which I am calling the HUB  ,using some 3D printing with Wood filament and some basic wood working using a Dremel tool.Here is a gallery of the finished HUB
| {gallery}Pi3 Control HUB |
|---|
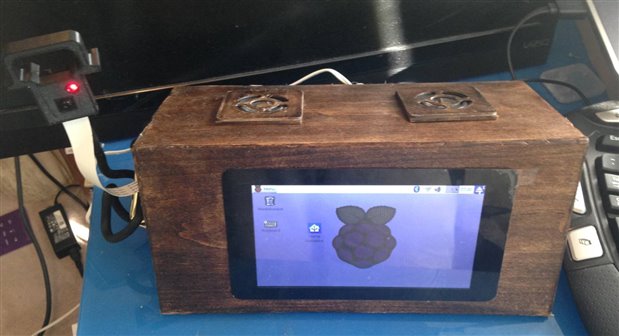
Front |
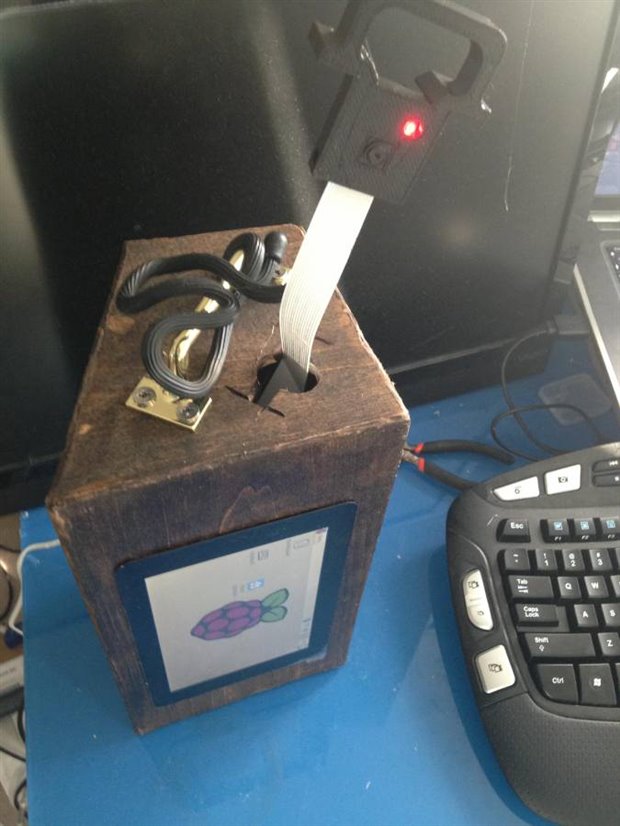
Top - with the Pi Camera just out of its slot |
Pi Camera which can be easily moved around with a flexible gear tie and a 3D printed holder |
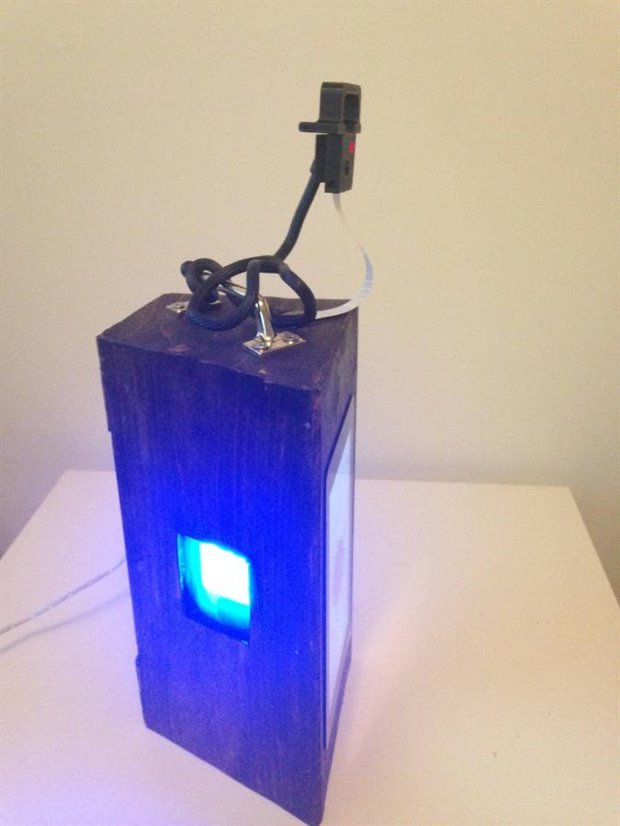
Bottom, sense Hat connected to Pi 3, this is to use at night in the dark.. |
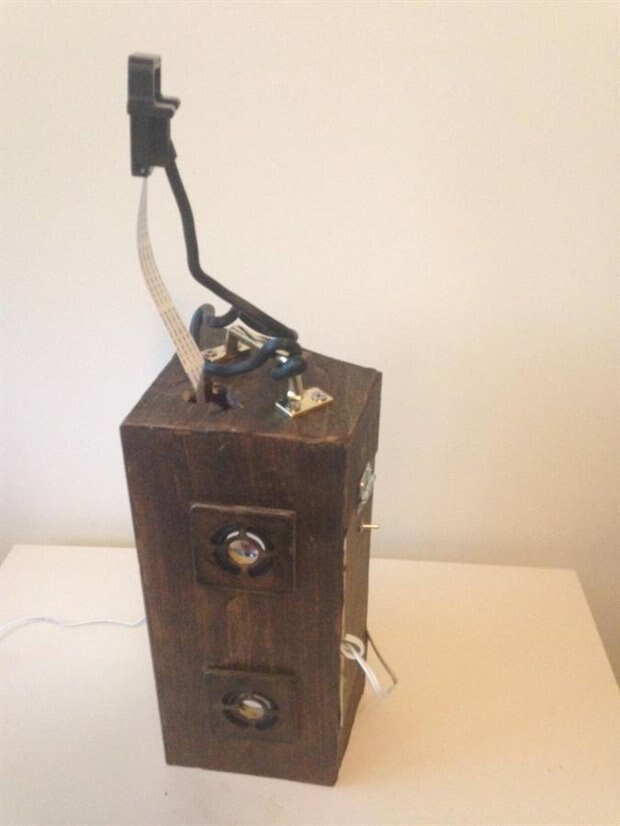
Top - speakers to play music |

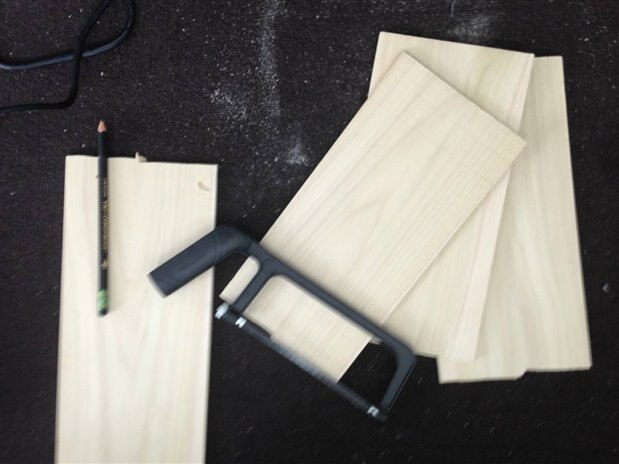
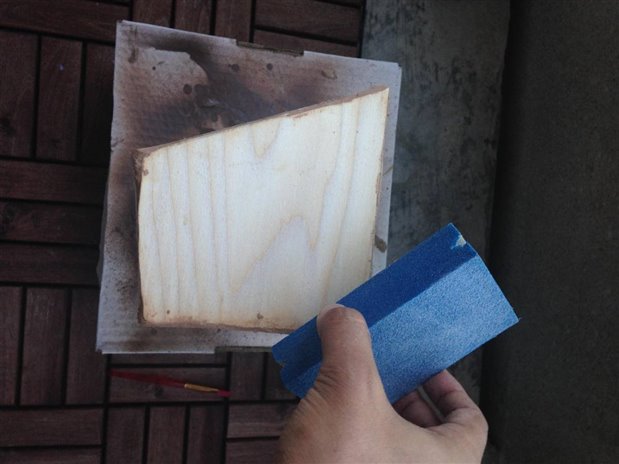
As part of the build , start of by cutting a couple of Hobby wood board as shown in the pictures below
| {gallery}Building the Wooden Frame |
|---|
Mark the size of the components like the Pi 7 inch screen , Speakers .. |
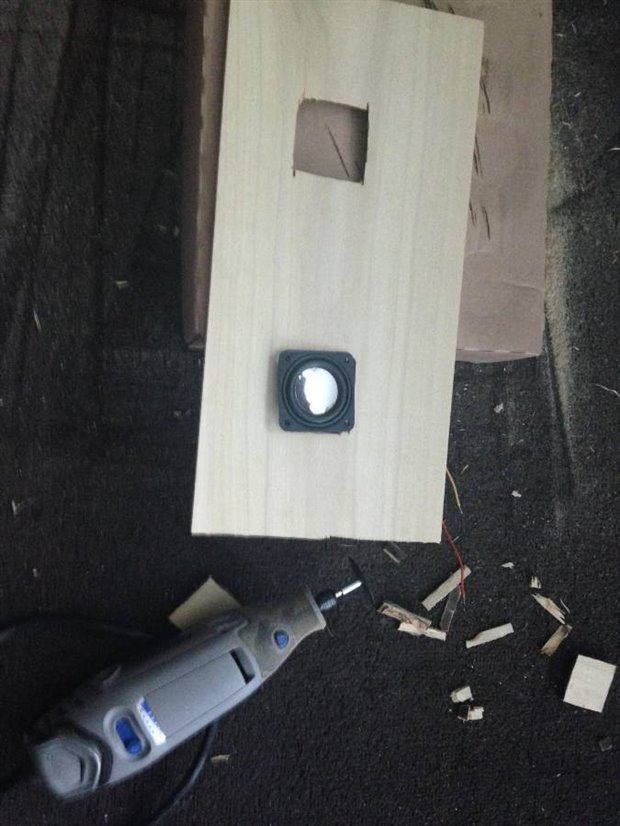
Use the Dremel with a cutting bit, for the 7 inch display |
Cutting slots for the speakers |
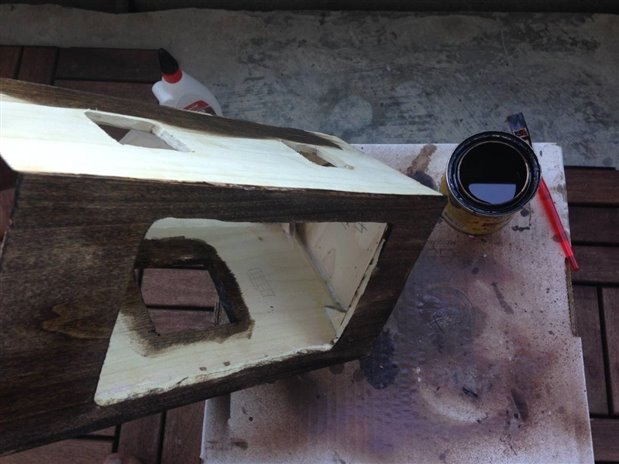
slot for the Sense Hat mounted on the Pi3 |
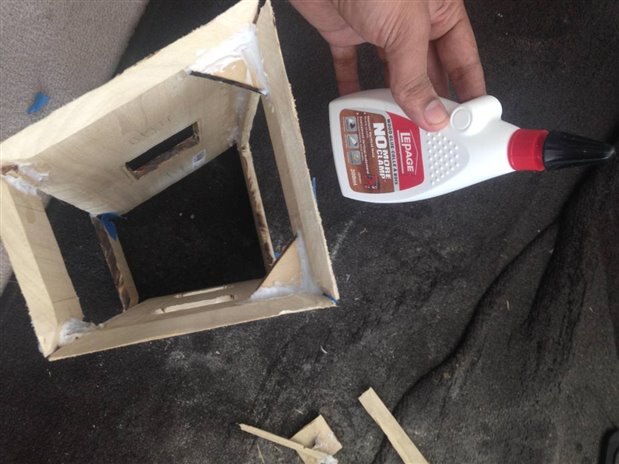
Gluing to build the frame, and leaving to dry over night |
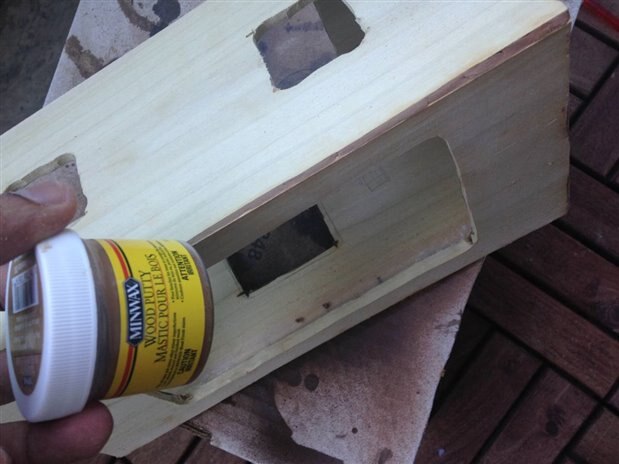
Adding wood putty to fill in the gaps |
Sanding any rough edges |
Staining and leaving in to dry for a couple of hours |
Finishing of with Painters Touch, which gives it a nice glossy and semi waterproof finish |


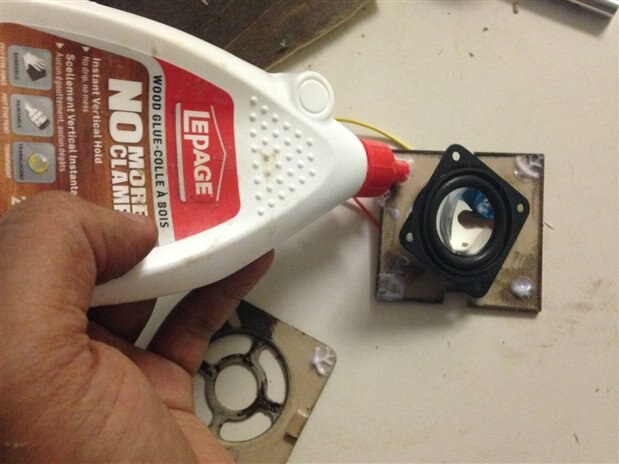
Putting the speakers together, download and 3D print the STL files attached below, using wood filament. Here I am using wood filament to 3D print, so that I can sand it and then Stain it, so that it matches with the wooden fame .
Also 3D print a holder for the Sense hat and the Raspberry Pi 3 using wood filament, here is the link to the wood filament I am using from digitmakers.ca
https://digitmakers.ca/product/3d-printer-wood-filament-natural-brown/
Suggest slicer setting to use for 3D printing with wood filament
Layer height - 0.2 mm
Infill density - 40%
Temperature - 200 C
| {gallery} Putting the Speaker together |
|---|
3D printing the speaker holder, you will need another copy of this .. |
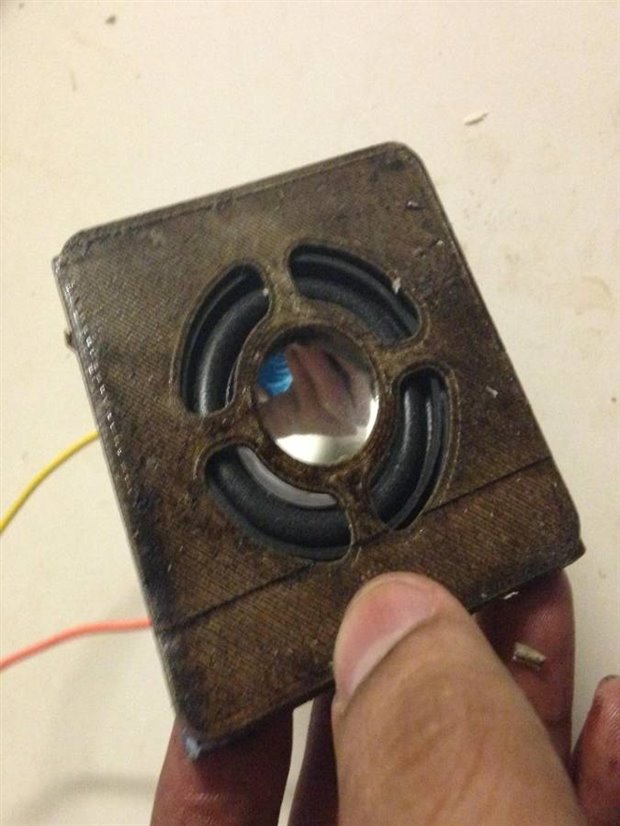
Staining the 3D printed parts. Dont forget to sand the parts before staining |
Glue the componets together, here you can use the same wood glue used for the wooden frame |
Adding the Grid |


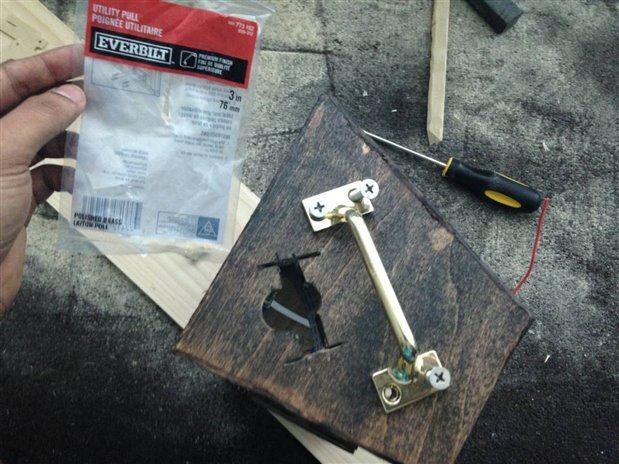
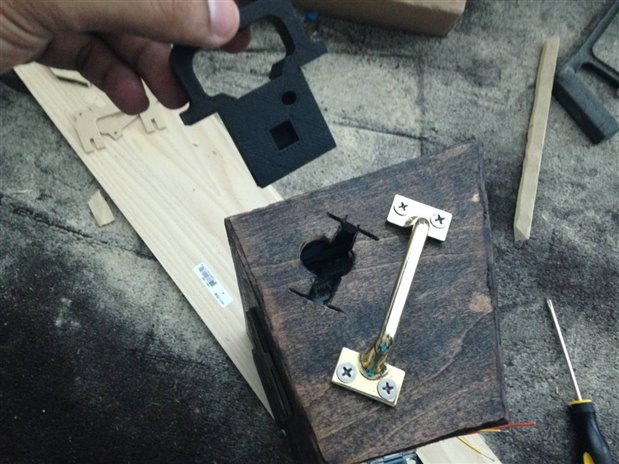
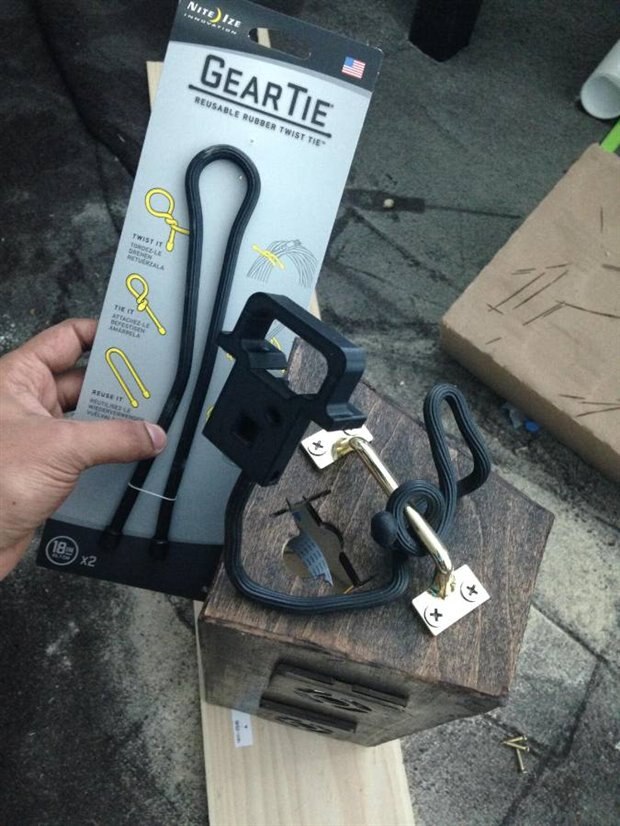
Now, lets add a Handle and the 3D printing part for the Pi Camera to top of the Hub frame. To hold the camera I decided to use a flexible gear tie , which means you can point the camera in any direction you want, by warping the gear tie to the handle.
For 3D printing the Pi Camera holder I am using black 1.75mm PLA and here are some suggested slicer setting to use for 3D printing with wood filament
Layer height - 0.3 mm
Infill density - 20%
Temperature - 205 C
I purchased the handle and the Gear tie at a local hardware store called HomeDepot.ca and also bought matching screws and nuts..
| {gallery}Adding Handle and Pi Camera |
|---|
Screwing the Handle to the top |
3D print the Pi Camera holder |
Camera will fit in the slot and can be pulled out the stream video when ever required |
To hold the camera in place use a flexible gear tie |

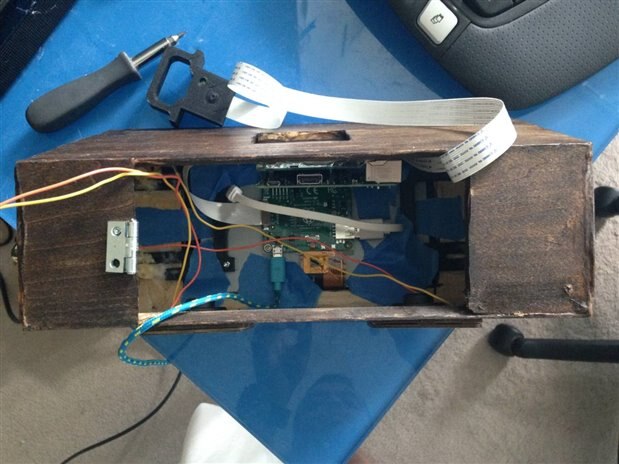
Adding the Pi3 , sense hat and all the other components to the inside of the hub frame. For more info on the speaker circuit and how to setup Mopidy to play music, check out the blog at
Pi Control Hub: Music with Mopidy and Home Assistant
| {gallery} Adding Pi3 and other components inside the frame |
|---|
Add the sense hat to the 3D printed holder |
Cut out a piece of plastic to diffuse the RGB leds of the sense hat , I am using a cover piece from an old notebook |
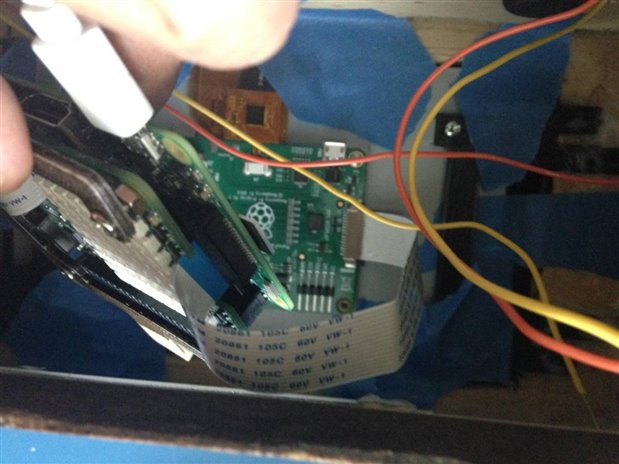
Add the Pi Screen and the Pi3 to the frame, attach the cable for the screen , here I am using the Pi camera cable to connect the Pi3 and Screen driver |
Add the speakers and the Pi Camera |
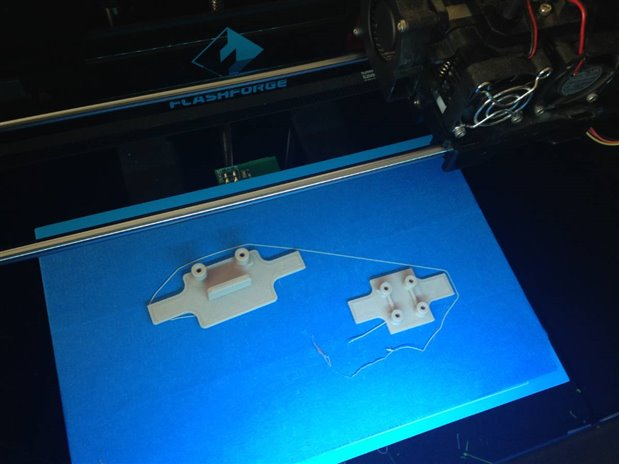
3D print holder for the Audio Amplifier and the Lipo charger |
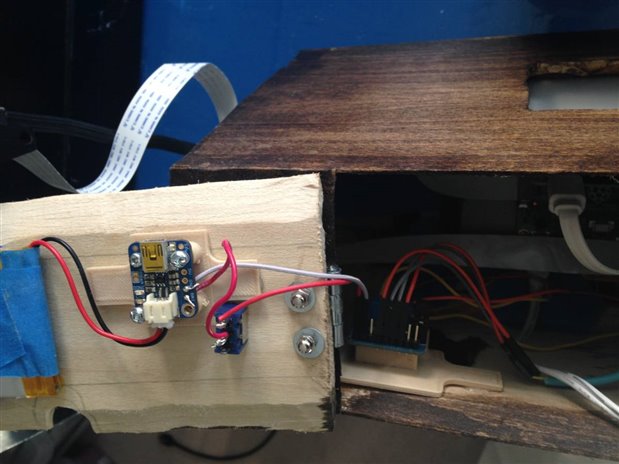
Adding Lipo, Audio Amp, switch and Lipo charger to the frame. |
Gluing the components together |
 |


Now to run Home-Assistant on Pi touch screen as shown in the picture below, we will have to install Chrome. Chromium is not part of the default Raspbian packages , which means we will have to run the following commands to work around this
wget -qO - http://bintray.com/user/downloadSubjectPublicKey?username=bintray | sudo apt-key add -
echo "deb http://dl.bintray.com/kusti8/chromium-rpi jessie main" | sudo tee -a /etc/apt/sources.list
sudo apt-get update
sudo apt-get install chromium-browser rpi-youtube -y

Here is the link to the Raspberry Pi forum post,where I found this workaround
