


Hello!
The goal - A smart range hood to send images of dinner and to do other smart things 
Links to all posts found in Post #1: Smart Range Hood - Pi Chef Challenge Blog post #1
I powered up the Pi for the first time today [a few weeks ago; this post took a while to write]. I have it sitting down in my "server bay" for the time being.
Objectives:
- Initial OS install
- Run all updates; (update username/password!!!!!)
- Validate SSH is configured (aka remote access via command line)
- Install Node-Red
- Install drivers for 4D systems touchscreen (really excited to run this!!!!)
I am starting with the 8MP camera plugged in, but the 4D Pi Hat removed as per the instructions. I am running the 2.5 amp supply from Newark. This will be very beneficial since anyone who has run Kodi knows that you can never have enough power. I've used a 500 mAh iPhone charger on rPi before and it can certainly cause issues. 1.5-2.5 amps is the real supply area to keep a complex power hungry system going.
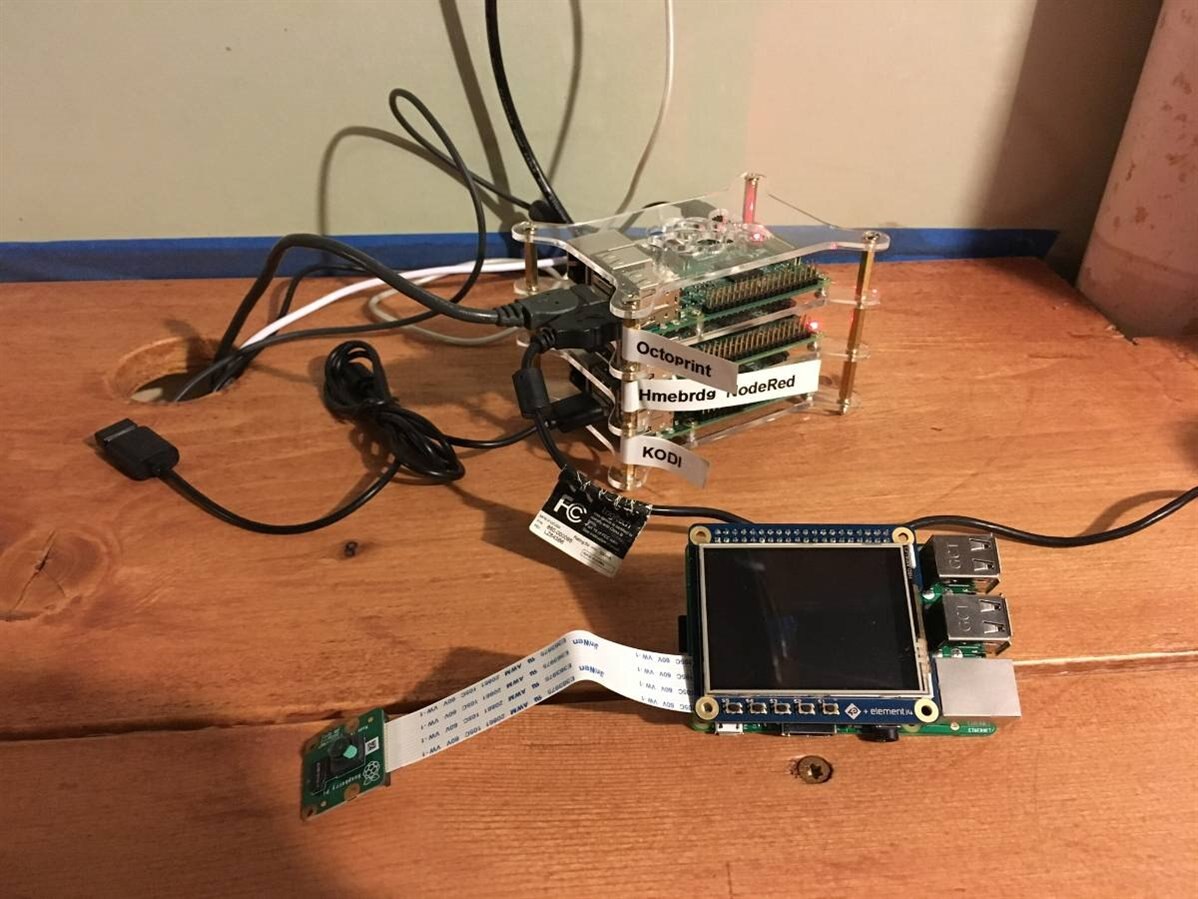
The 32 GB SD card from Newark comes preinstalled with NOOBS - On first boot, NOOBS (New, Out Of Box Software https://www.raspberrypi.org/downloads/noobs/ ) shows an option to install Raspian. This is the desired OS. Firstly, however I join my wifi network and am then presented with multiple options for OS installations such as KODI for a multimedia server and Lakka for retro game emulation. Windows 10 IoT Core is also an option, but I'll have to explore that another day. I also choose English (US) as the language. I then press "Install". I accept the warning that everything else on the SD card will be erased, and that is fine since there is nothing else.
Install took about 20 minutes, during which time I nursed my recently crashed 3D printer back to health.
Updates -
I then updated the username/password and ran Update/upgrade as per usual...
sudo apt-get update
sudo apt-get upgrade
The update went very quickly. Upgrade took a few more minutes for all the packages to download and unpack.
Then I updated the Hostname. This means that I can SSH & browse to Node-Red using the hostname instead of the IP Address. I used "rangehood" as the new hostname.
This can be found in Preferences --> Raspberry Pi Configuration.
I also enabled SSH here, Camera (R Pi Cam), VNC, SPI, I2C. This will come in useful later on.
I rebooted and validated that SSH was working correctly!
Node-Red install -
Getting Node-Red going is a breeze with this OS - It shows up in the menu under Programming. It even shows you how to get Node-Red running by default on boot with the following command:
sudo systemctl enable nodered.service
To disable -
sudo systemctl disable nodered.service
A quick reboot later and I could log into Node-Red from my laptop!
The last bit for this objective is to get the screen up and running. I'll have a post later talking about the specific hardware connections since I need to use an extension cable and I may run into some issues...
As per the instructions from Farnel, start with these commands:
sudo su
wget http://www.4dsystems.com.au/downloads/4DPi/4DPi-24-HAT/4DPi-24-HAT_kernel_R_1_0.tar.gz
tar -xzvf 4DPi-24-HAT_kernel_R_1_0.tar.gz -C /
I didn't need to modify the kernel to use for booting since my config.txt was already correct.
Next, set up the Pi to boot to desktop by default -
sudo nano /et/rc.local
(then add the following line right before the 'exit 0' line)
sudo -u pi FRAMEBUFFER=/dev/fb1 startx &
Save, exit, then shutdown the Pi. Remove power supply
Install screen, power back on.
BUT ---
NOTHING HAPPENED!!!
Blank screen! No backlight! Nothing!!!
Then I followed this document which spec'd out a different file to download -
http://www.farnell.com/datasheets/2172058.pdf
$wget http://www.4dsystems.com.au/downloads/4 DPi/All/4d-hats_4-4-21_v1.0.tar.gz
sudo tar -xzvf 4d-hats_4-4- 21_v1.0.tar.gz -C /
I had to reformat the SD card with SDFormatter then download and image the latest Raspbian NOOBS image (Insert a two-day delay here)
Then try again with the updated Kernel -
And that failed also...
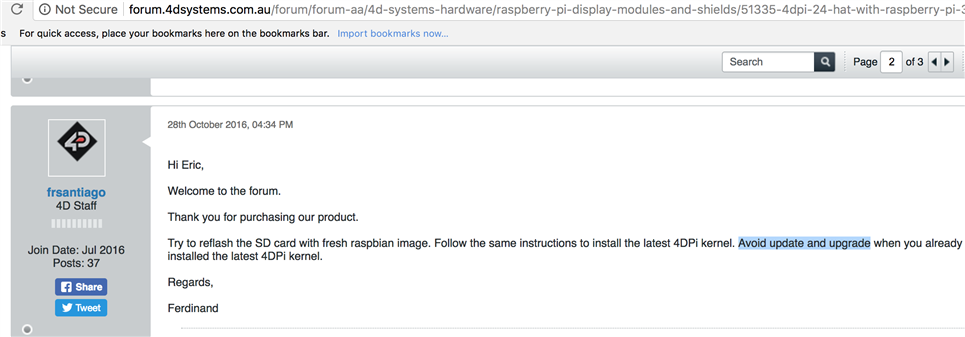
After two or three more failures, I found that the instructions included in the box, and even the ones available online seem to miss a critical step. Essentially, one must find a forum post from 4D systems to get a Dropbox link to a custom Raspbian image with the drivers pre-installed. And once the custom drivers are installed, DO NOT "sudo apt-get upgrade" since it will brick your Raspberry Pi. Seems like a sketchy as a way ofdoing things with a commercially available product. I bricked my Raspberry about 5-6 times in the process and I really hope to not do it again later since I will have a lot of custom work done. I guess the best thing that happened here is that I spent a lot of time documenting each and every step since I had to re-create it every time.
Here is the link I used to the forum post i eventually found, complete with the dropbox link - 4DPi-24-HAT with Raspberry pi 3 - 4D Systems Forum and a screenshot showing a forum post from 4D telling users NOT to run updates...
The Datasheet from 4D systems - http://www.4dsystems.com.au/productpages/4DPi-24-HAT/downloads/4DPi-24-HAT_datasheet_R_1_10.pdf is the most useful document. It shows that the screen itself is using the SPI interface, and the touchscreen and physical buttons use I2C interface. This will be useful later on as I plan out the physical mapping of components. For instance, the only extension cable I found readily available (from Adafruit - https://www.adafruit.com/product/1337 ) doesn't technically work/fit on the Model 3. After reviewing the schematics, however, this should actually work just fine since the additional IO from the 26 to the 40 pin header is not relevant to the 4D systems Hat.
However - With all the lost time on this one component, I am not very satisfied. I will put the screen off to the side for the time being and proceed with the rest of the important development and decide later on what to do for the UI.
Here is a video of the power up - meant to be a victorious "first boot" video...
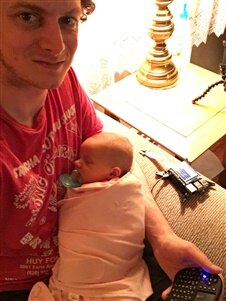
To supplement - here is a photo of some 'pair programming."
Link to the mounts I created:
https://www.thingiverse.com/thing:2792231 (The raspberry Pi case was just one I found on Thingiverse)
In the meantime, I have re-imaged hopefully a final time with Raspbian and have updates and Node-red going. I am using a normal monitor for now until I decide what to do for the user interface. I think a 7" touchscreen would be too big... Does anyone have any ideas?
Top Comments