


Blog List:
1. Raspberry Pi-based Experiment Logger and Analyzer with Remote Lab Control
2. Raspberry Pi-based Experiment Logger: Glimpses of the Kit
3. Raspberry Pi-based Experiment Logger: Wiring up Raspberry Pi 4 B
4. Raspberry Pi-based Experiment Logger: System Concept & Workflow
5. Raspberry Pi-based Experiment Logger and Analyzer with Remote Lab Control: Ready, Set, Go!
Introduction:
In this blog, I will go through the steps for setting up your Raspberry Pi 4 Model B for the first along with some prerequisites.
Prerequisites:
Firstly, we need to connect the Micro HDMI adapter to the Raspberry Pi and connect the other end to the monitor. Also, we can connect the mouse and keyboard for interfacing.
Then, we can connect a type C power adapter to the Raspberry Pi. Once that is done, we will see the bootloader screen.
Now, as we did not connect a Micro SD Card, we will not be able to boot just yet. Let us see how we can configure the Micro SD Card

Setting up the Micro SD Card:
First step to setup Micro SD Card
You can buy microSD cards with NOOBS (New Out Of the Box Software) pre-installed
enabling you to easily install Raspberry Pi OS for your Raspberry Pi.
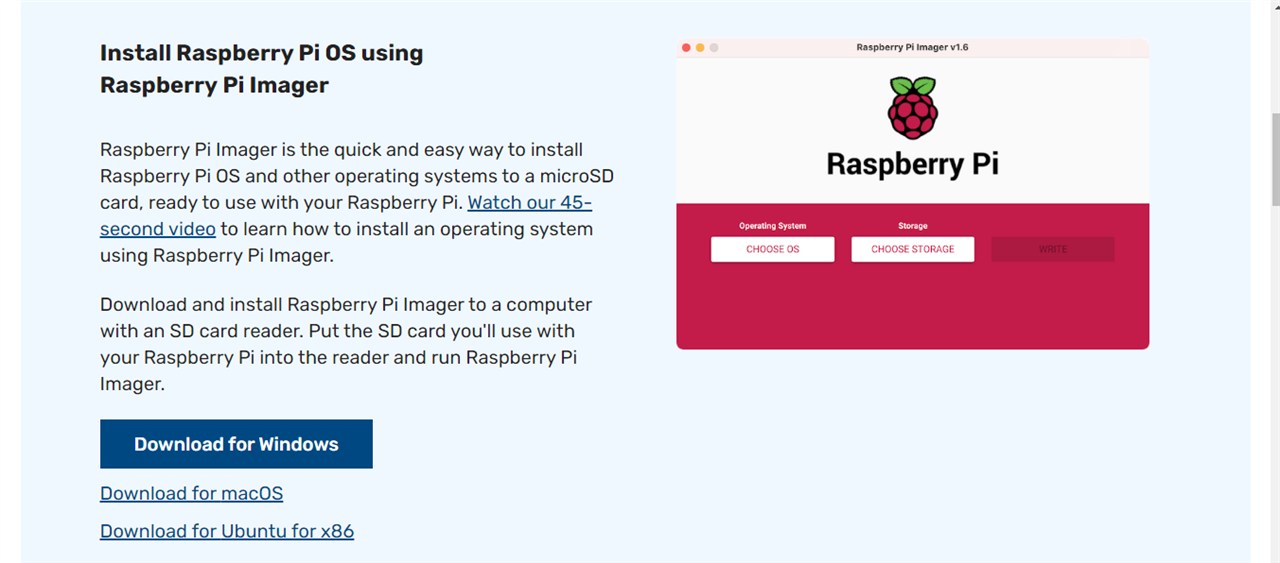
Alternatively, you can use the following instructions to use the Raspberry Pi Imager tool to install an operating system
manually to your blank microSD card.
Download Raspberry Pi Imager
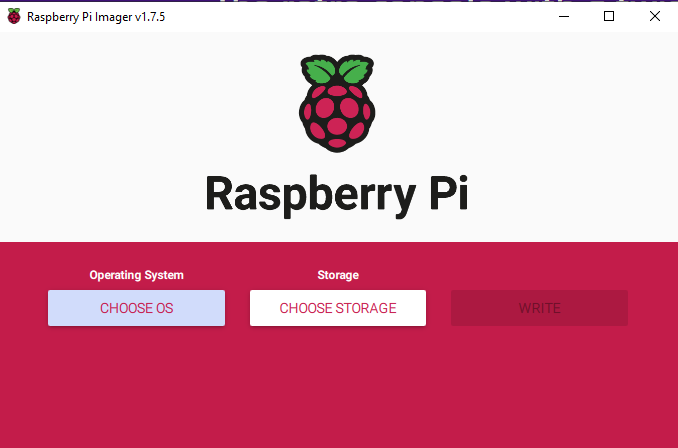
Write the OS to the microSD card
Attach your microSD card to your PC: you’ll need a microSD card USB adapter
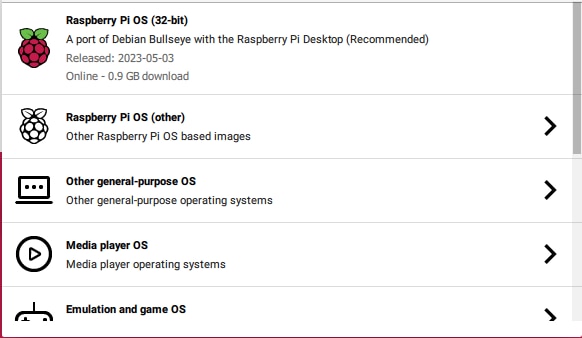
Launch the Raspberry Pi Imager application. Click the ‘Choose OS’ button to select which
operating system you would like to install. The top option is standard Raspberry Pi OS – if
you’d prefer the slimmed-down Lite version, or the Full version (with all the recommended
software pre-installed), select ‘Raspberry Pi OS (other)’. There are also options to install
LibreELEC and Ubuntu Core or Server.
Note: If you want to install a different OS, simply download its image file
from the relevant website, then select the ‘Use Custom’ option in Raspberry Pi Imager.
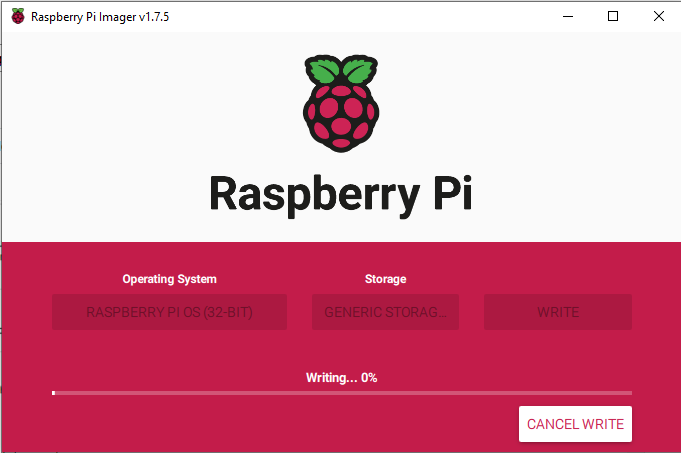
With an OS selected, click the ‘Choose SD card’ button and select your microSD card
Finally, click the ‘Write’ button and wait while the utility writes the selected OS to your card
and then verifies it. When complete, you may remove the microSD card. You can then insert it
into your Raspberry Pi and boot it up into the operating system you just installed.
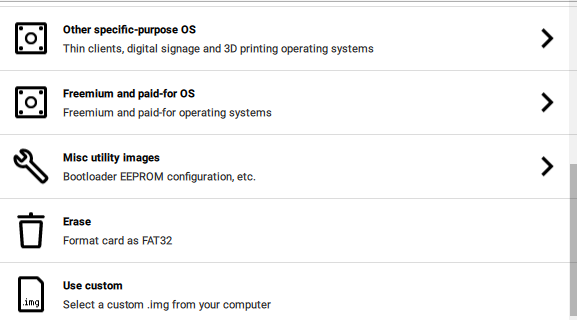
Some Specific purpose OS options:
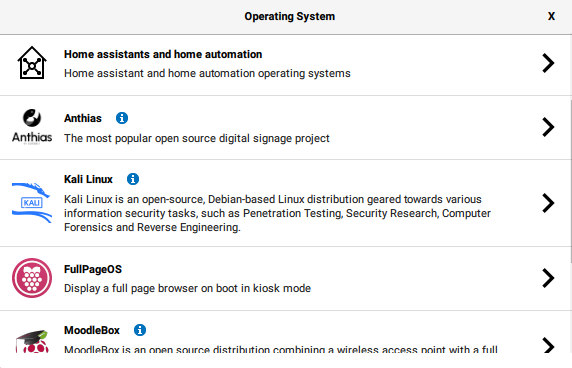
Select storage after mounting micro SD card and then click on write
Note: All previous data will be removed so be aware of that
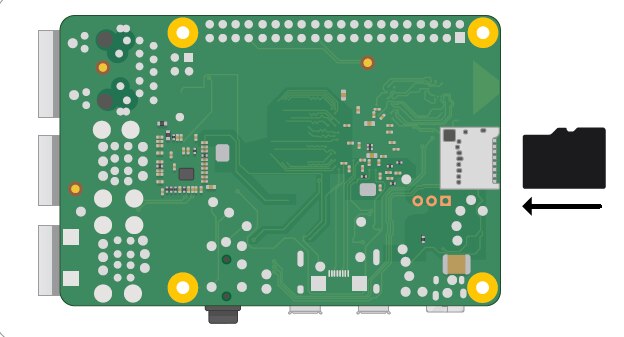
Once it is ready, eject the memory card
Now, we can insert the Micro SD Card into the Raspberry Pi
Connect a display having a Micro HDMI port or using a Micro HDMI Adapter
Then connect a type C power Supply along with a keyboard and a mouse
We can also connect an ethernet cable in place of WIFI though Raspberry Pi 4 supports WIFI as well
Now, we are ready to see the Raspberry Pi in action!
We can next complete the basic setup steps like language, time zone, adding passwords, WIFI setup and doing the updates
Raspberry Pi Configuration tool
It allows you to change various settings in Raspberry Pi OS
Shutting down
Now you’ve explored the Raspberry Pi OS desktop, it’s time to learn a very important skill:
safely shutting your Raspberry Pi down. Like any computer, Raspberry Pi keeps the files you’re
working on in volatile memory – memory which is emptied when the system is switched off.
For documents you’re creating, it’s enough to save each in turn – which takes the file from
volatile memory to non-volatile memory, the microSD card – to ensure you don’t lose anything.
The documents you’re working on aren’t the only files open, though. Raspberry Pi OS
itself keeps a number of files open while it’s running, and pulling the power cable from your
Raspberry Pi while these are still open can result in the operating system becoming corrupt
and needing to be reinstalled.
To prevent this from happening, you need to make sure you tell Raspberry Pi OS to save all
its files and make itself ready for being powered off – a process known as shutting down the
operating system.
Click on the raspberry icon at the top left of the desktop and then click on Shutdown.
A window will appear with three options: Shutdown, Reboot, and Logout.
Shutdown is the option you’ll use most: clicking on this will tell Raspberry Pi OS to close all
open software and files, then shut Raspberry Pi down. Once the display has gone black, wait a
few seconds until the flashing green light on Raspberry Pi goes off; then it’s safe to turn off the
power supply.
To turn Raspberry Pi back on, simply disconnect then reconnect the power cable, or toggle
the power at the wall socket.
You can refer the setup guide here
Some issues I encountered:
For me, the Micro SD card writing step with my PC did not work smoothly. I believe the card reader or the USB port was having some issues.
Basically after following the steps, the Card was no longer getting recognized in my PC. Also, it took a long while to complete the write step with Raspberry Pi Imager tool
But anyways I decided to insert the microSD card in the Raspberry Pi and power it up. After connecting I saw the bootloader screen which said that the memory card was not readable. Then I just plugged by keyboard and mouse to see if I can do something. When I connected them I was automatically taken to another screen which allowed me to download the Raspberry Pi Imager on the Raspberry Pi itself. For this, I had to connect an ethernet cable for the network connectivity.
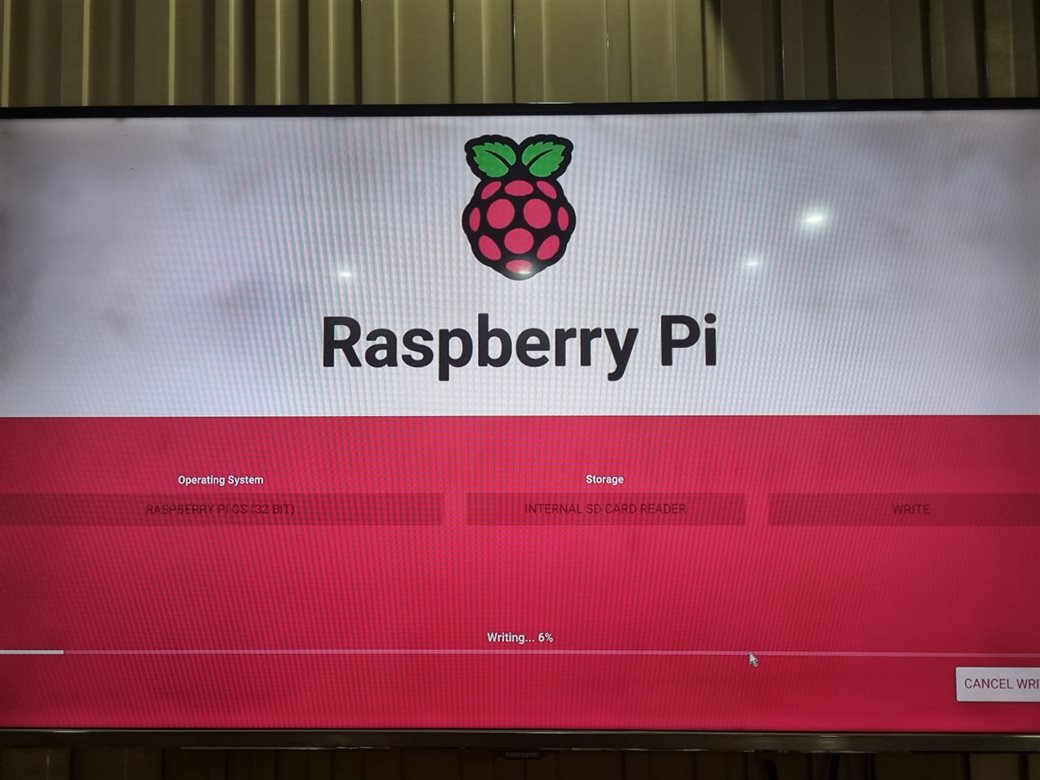
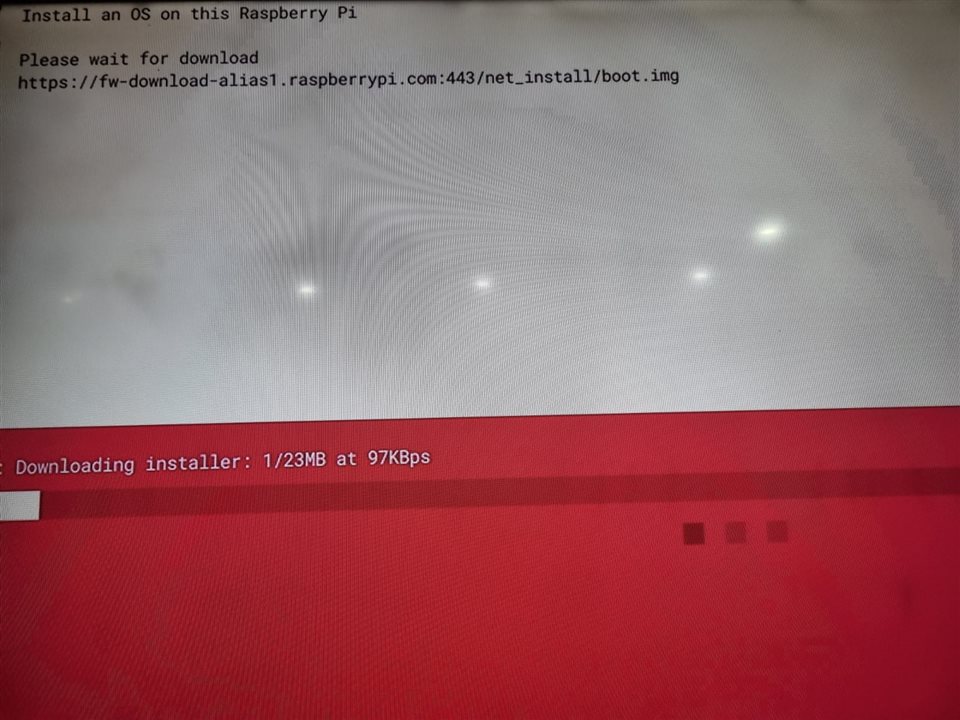
After the tool was installed, the steps were the same as the PC tool. But this process was much more faster and took hardly a few minutes as compared to over an hour with my windows PC. So, I would suggest anyone trying to setup your memory card to directly connect the MicroSD card to Raspberry Pi and power it up. This also removes the need to use another PC to setup the memory card and this step can be completed much more smoothly on the Pi itself.
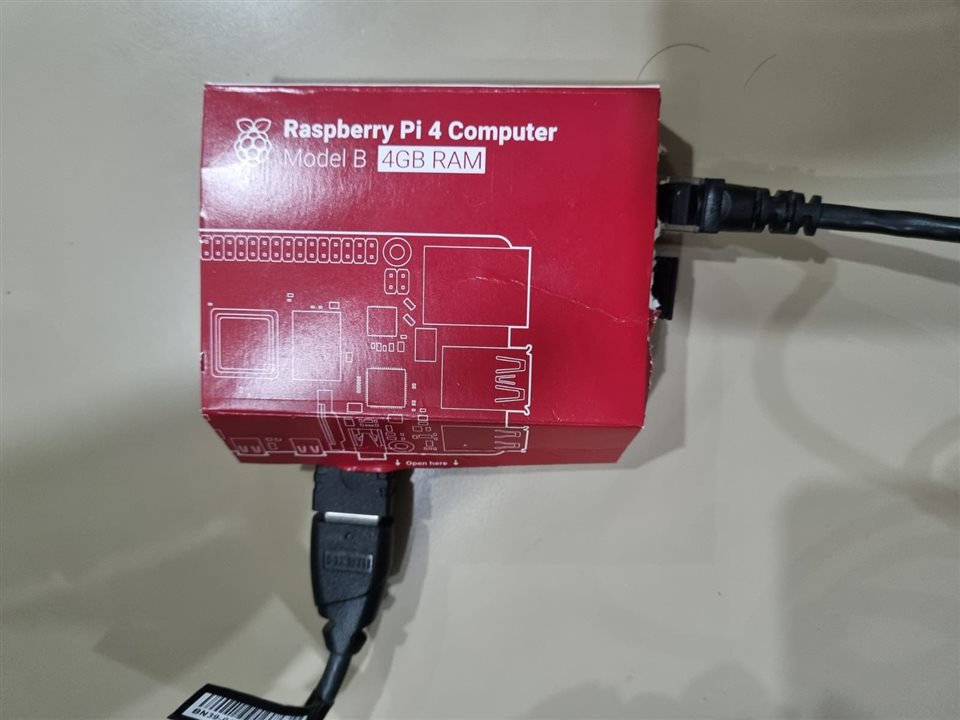
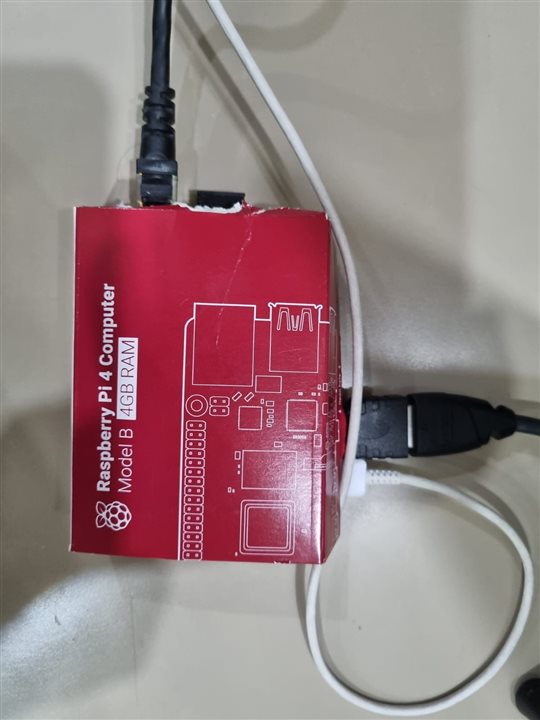
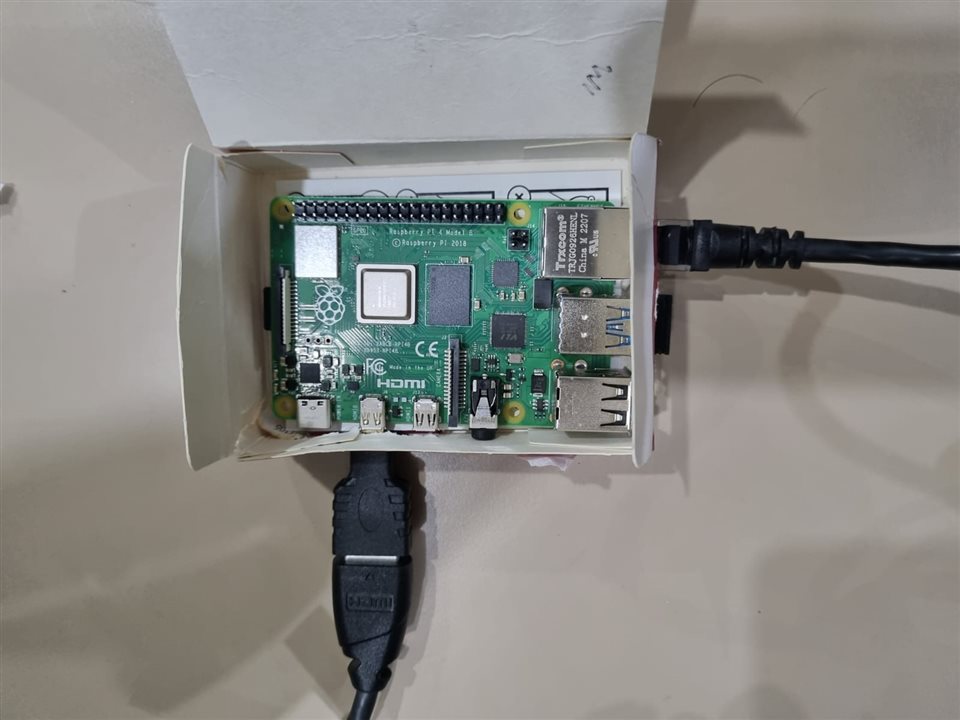
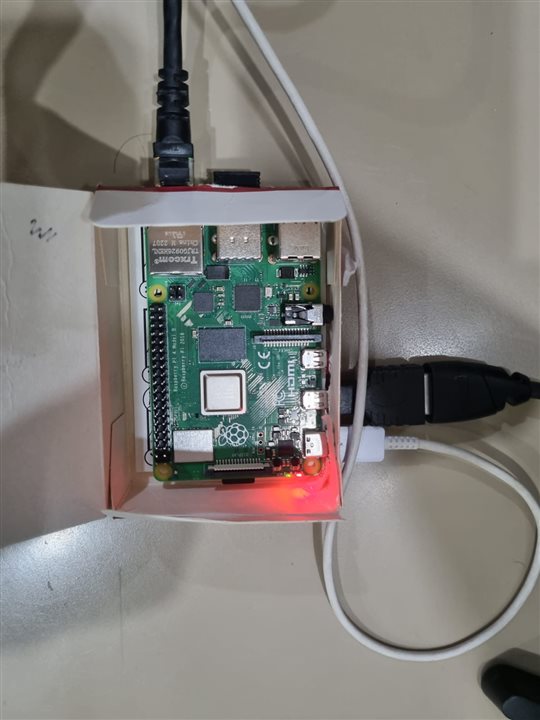
My setup:
I created a temporary setup and case using the Raspberry Pi 4 box itself. Sharing some pictures below to give an idea! 
In the next blog, I will go into the details of the system design and workflow concept for the Remote Lab as detailed in Blog 1.

