1 Prepare Xilinx Shell Architecture (XSA) file for Vitis
After successfully create the first Block Diagram , it is time to perpare the Xilinx Shell Architecture (XSA) file for Vitis
1.1 Click the Validate Design buttonin the Diagram pane's toolbar (or press the F6 key) to check the integraty of the design, there is one mistake in the design.
Fortunately, it is minor one and can be solved automately. The address of GPIO is not set proper in last step. Just press OK.
1.2 One HDL wrapper must be created for the block design. This process translates the block design into a source file that can be read by the Vivado tools, and is used to build the actual design.
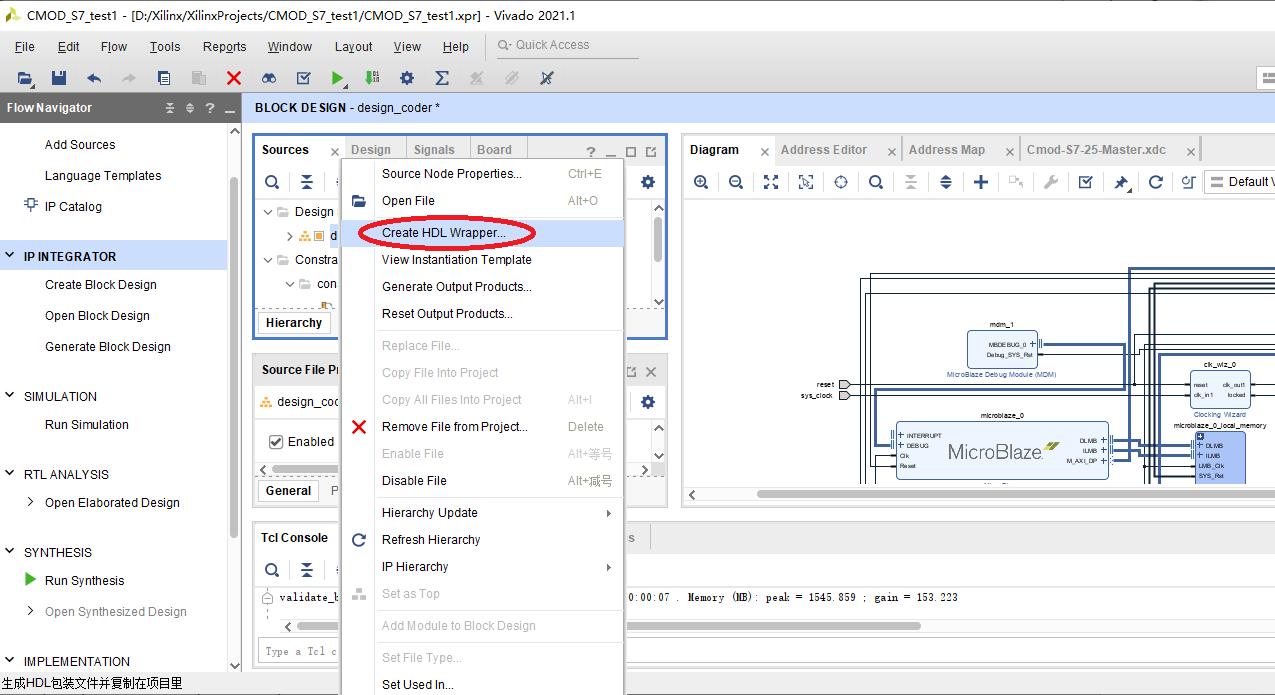
Open the Sources pane and locate the block design file (.bd) under the Design Sources dropdown. Right click on it and select Create HDL Wrapper.

Select auto-update, there is not much to do for most programmers. It takes some time to finish, I let the computer run and did not record the time to complete.
1.3 Build a Vivado Project
At this point, the Vivado Project is ready to be built, by running it through Synthesis and Implementation, and finally generating a bitstream. It can be done manually in Flow Navigator, it is easy to Click the Generate Bitstream button in the Program and Debug section directly .
A dialog will pop up with several options for how Synthesis and Implementation should be run. Most should be left as defaults. Just press OK one by one.
When complete, a dialog will pop up that presents several options for what to do next.
Here shows the manul update steps,
but there are errors in implementation
Revise the design and update the implementation until it passed.
1.4 Then Export a Fixed Post-Synthesis Hardware Platform
Click Export → Export Hardware in the File menu to export the hardware design.
Choose a name for the Xilinx Shell Architecture (XSA) file, export the xsa file
1.5 Redo again after correct errors
Create HDL Wrapper, it takes a lot time, I put it run overnight. The run
Run synthesis,
Run implementation after synthesis completed.
got implementation designs,
Then Generate Bitstream,
Generate fixed hardware platform in xsa file
2 Launch Vitis and coding
2.1 Launch Vitis
Create new platform project
use xsa export in vivada project
after import platform , create one new project based on one template
here is sample hello program in C++ with printf for uart output. build the project
Download and run the program, the hello world is print out in UART console,
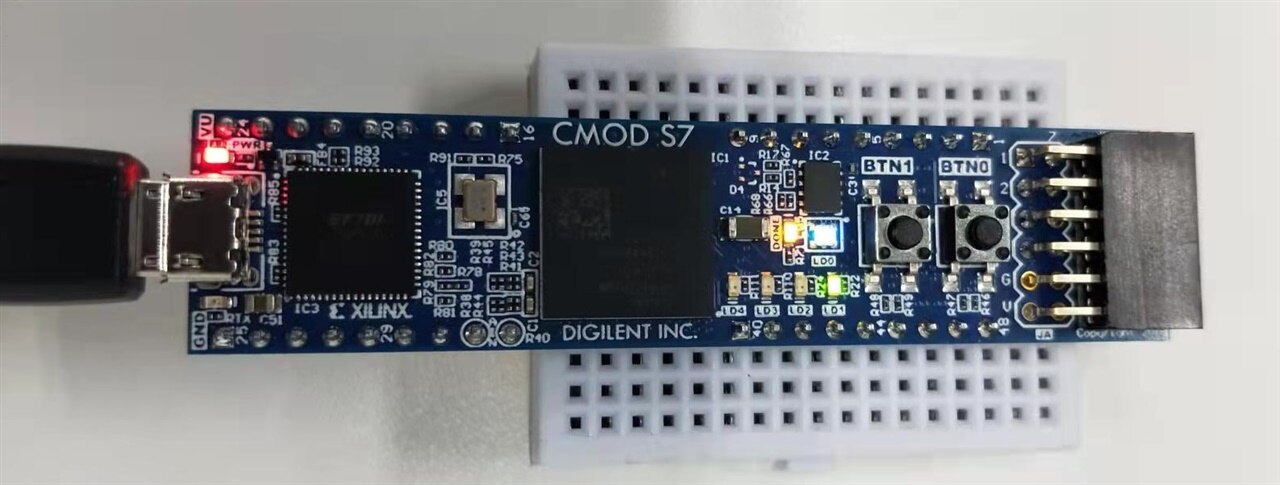
Now revise the code with GPIO set in vivado, put led01 on,
bingo, it works,

3 Now the full development chain is shown clearly. The FPGA provides super flexible in coding whatever in hardware or software part.
Do any modification as one is willing to.
