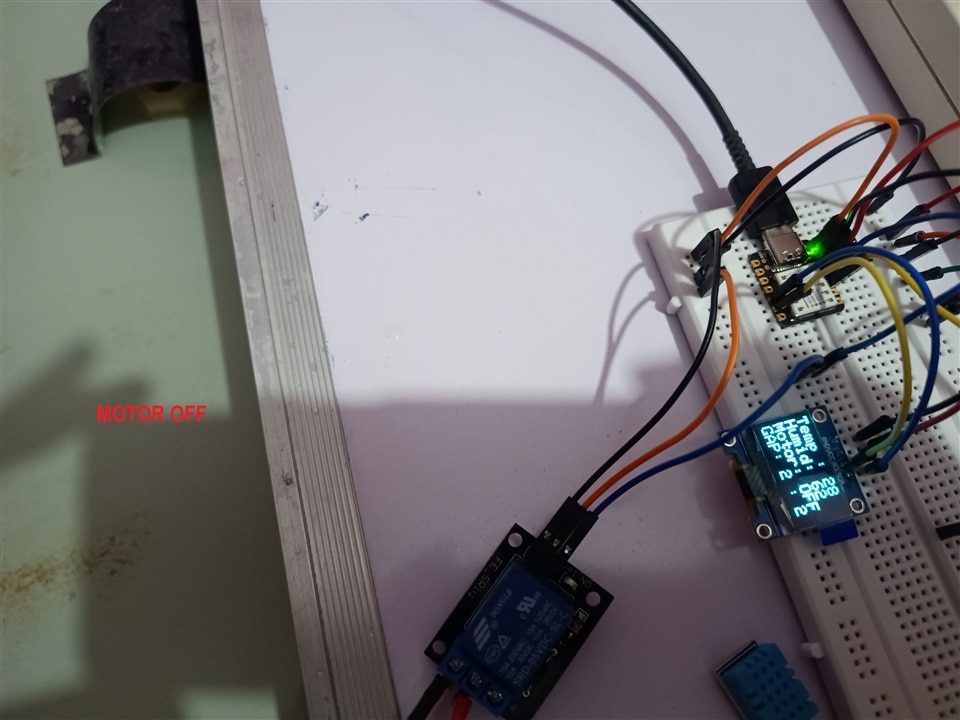
In this blog post, we'll go through the process of creating a simple yet effective energy saving system using a Seeeduino Xiao microcontroller, a DHT11 sensor, a generic OLED display module, and a single-channel relay module. By following these steps and connecting the components as described, you'll be able to display temperature and humidity data on the OLED display and control an external device using the relay module.
Components Needed:
1. Seeeduino Xiao
2. Generic OLED Display Module
3. DHT11 Sensor
4. Single-Channel Relay Module
Circuit Connection:
To create this weather monitoring system, follow these steps to connect the components correctly:
1. OLED Display Module:
- Connect the GND pin of the OLED to the GND pin of the Seeeduino Xiao.
- Connect the VCC pin of the OLED to the 3.3V pin of the Seeeduino Xiao.
- Connect the SCL (Serial Clock) pin of the OLED to the SCL pin (D5) of the Seeeduino Xiao.
- Connect the SDA (Serial Data) pin of the OLED to the SDA pin (D4) of the Seeeduino Xiao.
2. DHT11 Sensor:
- Connect the positive pin of the DHT11 to the 3.3V pin of the Seeeduino Xiao.
- Connect the GND pin of the DHT11 to the GND pin of the Seeeduino Xiao.
- Connect the signal pin of the DHT11 to the A9 pin of the Seeeduino Xiao.
3. Single-Channel Relay Module:
- Connect the positive pin of the Single-Channel Relay Module to the 3.3V pin of the Seeeduino Xiao.
- Connect the GND pin of the Single-Channel Relay Module to the GND pin of the Seeeduino Xiao.
- Connect the signal pin of the relay module to pin 10 of the Seeeduino Xiao.


In the next blog we will see programming part.
#3 Energy Saver Cooler : Setting up Seeduino with Arduino IDE
#4 Energy Saver Cooler : Circuit Assembly on Breadbord
#5 Energy Saver Cooler : Final Programming and working model
