element14 Community
element14 Community
    Register Log In
  • Site
  • Search
  • Log In Register
  • About Us
  • Community Hub
    Community Hub
    • What's New on element14
    • Feedback and Support
    • Benefits of Membership
    • Personal Blogs
    • Members Area
    • Achievement Levels
  • Learn
    Learn
    • Ask an Expert
    • eBooks
    • element14 presents
    • Learning Center
    • Tech Spotlight
    • STEM Academy
    • Webinars, Training and Events
    • Learning Groups
  • Technologies
    Technologies
    • 3D Printing
    • FPGA
    • Industrial Automation
    • Internet of Things
    • Power & Energy
    • Sensors
    • Technology Groups
  • Challenges & Projects
    Challenges & Projects
    • Design Challenges
    • element14 presents Projects
    • Project14
    • Arduino Projects
    • Raspberry Pi Projects
    • Project Groups
  • Products
    Products
    • Arduino
    • Avnet Boards Community
    • Dev Tools
    • Manufacturers
    • Multicomp Pro
    • Product Groups
    • Raspberry Pi
    • RoadTests & Reviews
  • Store
    Store
    • Visit Your Store
    • Choose another store...
      • Europe
      •  Austria (German)
      •  Belgium (Dutch, French)
      •  Bulgaria (Bulgarian)
      •  Czech Republic (Czech)
      •  Denmark (Danish)
      •  Estonia (Estonian)
      •  Finland (Finnish)
      •  France (French)
      •  Germany (German)
      •  Hungary (Hungarian)
      •  Ireland
      •  Israel
      •  Italy (Italian)
      •  Latvia (Latvian)
      •  
      •  Lithuania (Lithuanian)
      •  Netherlands (Dutch)
      •  Norway (Norwegian)
      •  Poland (Polish)
      •  Portugal (Portuguese)
      •  Romania (Romanian)
      •  Russia (Russian)
      •  Slovakia (Slovak)
      •  Slovenia (Slovenian)
      •  Spain (Spanish)
      •  Sweden (Swedish)
      •  Switzerland(German, French)
      •  Turkey (Turkish)
      •  United Kingdom
      • Asia Pacific
      •  Australia
      •  China
      •  Hong Kong
      •  India
      •  Korea (Korean)
      •  Malaysia
      •  New Zealand
      •  Philippines
      •  Singapore
      •  Taiwan
      •  Thailand (Thai)
      • Americas
      •  Brazil (Portuguese)
      •  Canada
      •  Mexico (Spanish)
      •  United States
      Can't find the country/region you're looking for? Visit our export site or find a local distributor.
  • Translate
  • Profile
  • Settings
Summer of Green Tech Design Challenge
  • Challenges & Projects
  • Design Challenges
  • Summer of Green Tech Design Challenge
  • More
  • Cancel
Summer of Green Tech Design Challenge
Blog Cool Wave - The Physical Build
  • Blog
  • Forum
  • Documents
  • Leaderboard
  • Polls
  • Files
  • Members
  • Mentions
  • Sub-Groups
  • Tags
  • More
  • Cancel
  • New
Join Summer of Green Tech Design Challenge to participate - click to join for free!
  • Share
  • More
  • Cancel
Group Actions
  • Group RSS
  • More
  • Cancel
Engagement
  • Author Author: Alistair
  • Date Created: 11 Oct 2023 10:16 AM Date Created
  • Views 1100 views
  • Likes 8 likes
  • Comments 8 comments
  • summer of green tech design challenge
Related
Recommended

Cool Wave - The Physical Build

Alistair
Alistair
11 Oct 2023
Cool Wave - The Physical Build

Now comes the part of the build where everything visually starts to come together. 

The idea of the Cool Wave project is that it can be instilled over any opening to a property. This may be a window, ventilation hole, or even a cat flap (subject to the cat’s approval, obviously). For my house I will be using an air brick. My house has several and I am using this one because I can feed a wire thought for the external sensor without needing to drill any new holes in my property.

The Main Enclosure

For the main body of the Cool Wave unit I decided to use some plywood offcuts that I could laser cut and the glue into an appropriate enclosure. My intention is to paint the cover and use silicone sealant to remove any leaks, but I will do this after I have tested the design and have the code debugged.

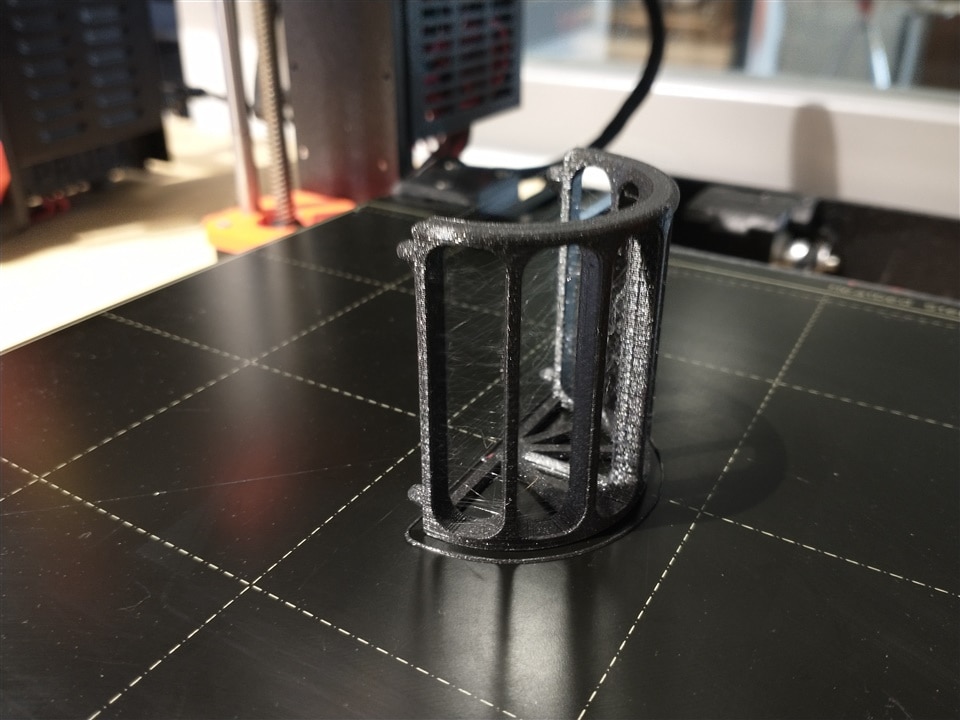
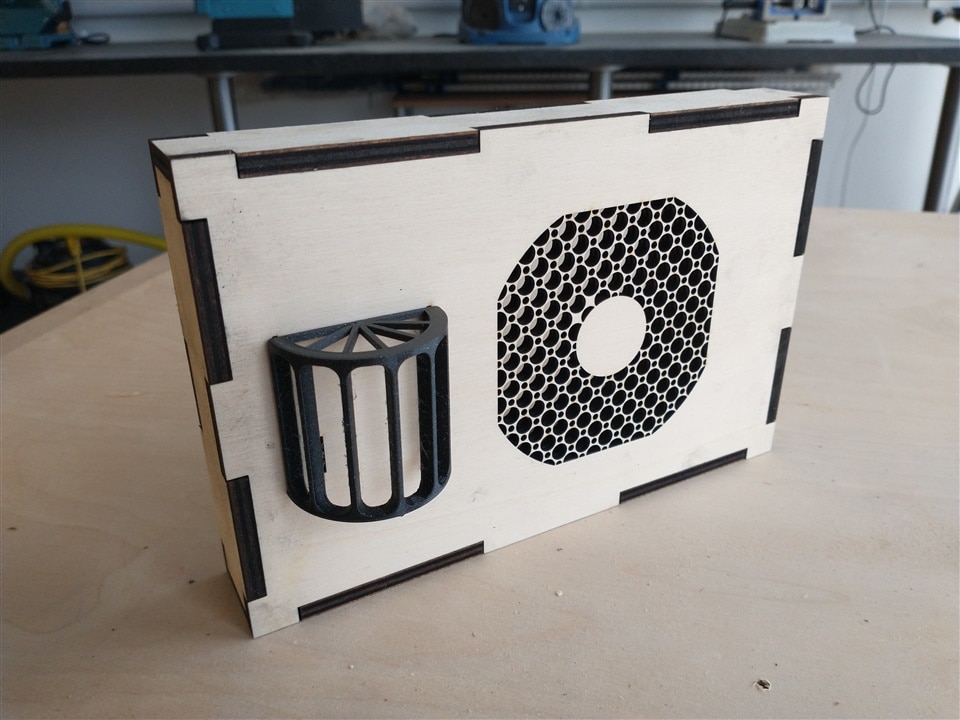
There is also a 3D printed guard to protect the internal sensor, but this is purely optional.
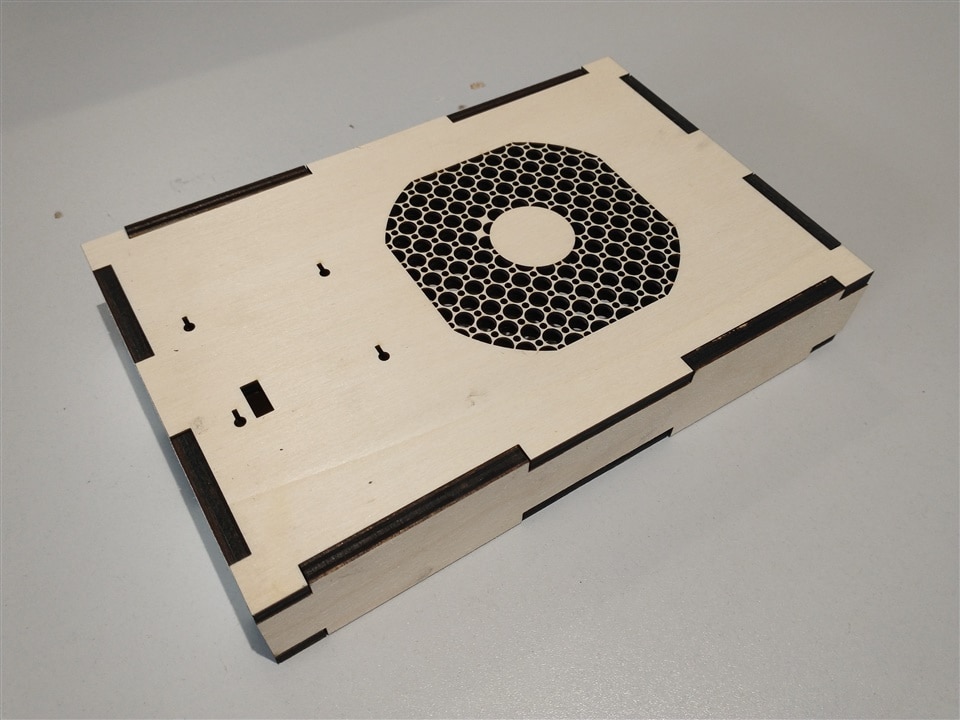
After cutting the parts they are glued as photographed with the front panel being a comfortable force fit.

{gallery}Cool Wave Main Enclosure Build

Laser cutting the enclosure

IMAGE TITLE: Laser cutting the enclosure

Enclosure parts

IMAGE TITLE: Enclosure parts

Enclosure part assembled

IMAGE TITLE: Enclosure part assembled

The sensor guard

IMAGE TITLE: The sensor guard

Enclosure fully assembled

IMAGE TITLE: Enclosure fully assembled

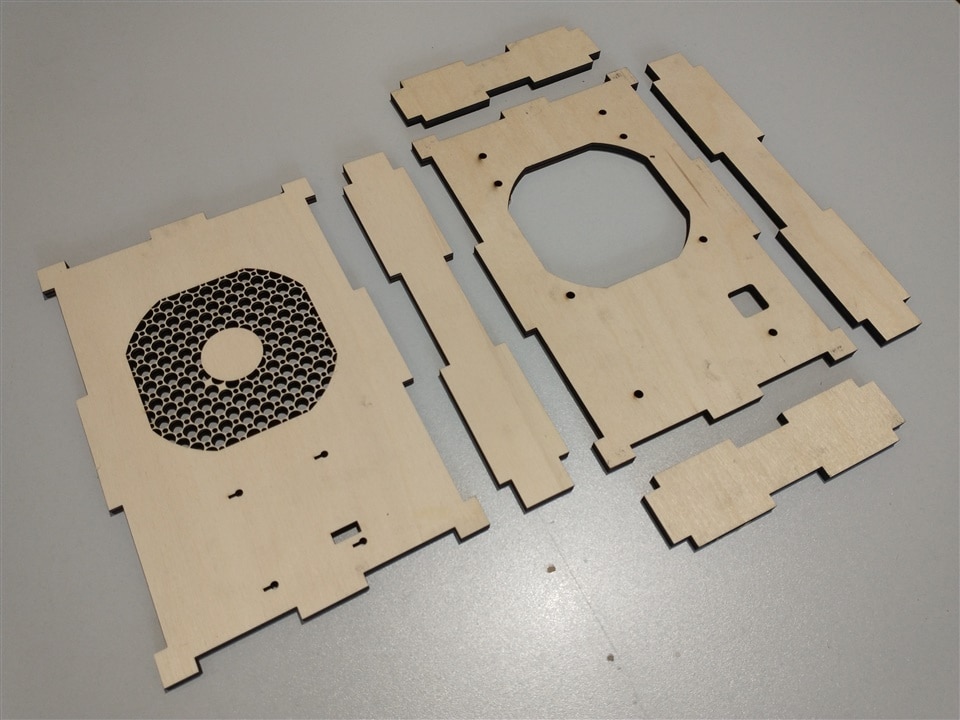
I have included the files for the design here. I spotted a couple of missing holes in my design that you may spot in the photographs, but they have been fixed in the files. I hole for the power supply needed manually drilling where you need it.

The External Enclosure

The outside sensor needs to be housed so air can get to it, but it is not susceptible to direct sunlight, wind or rain. I have taken a few design tips from weather station designs for this one. It is designed so it can be printed in just two parts and slide together once mounted on the wall.

{gallery}Cool Wave External Enclosure Build

3D Printing the back

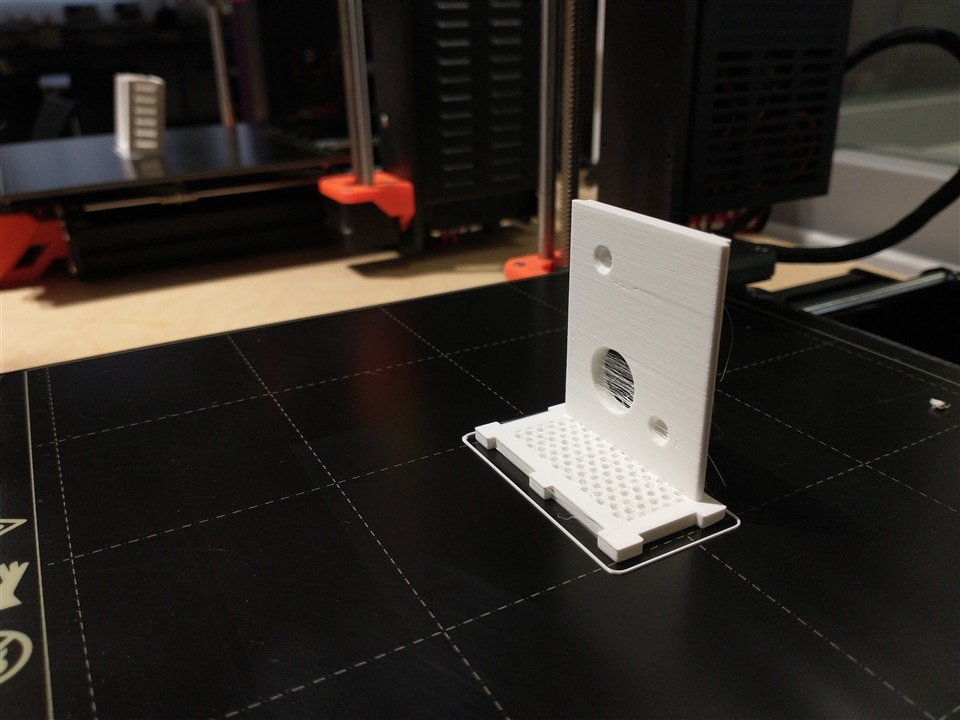
IMAGE TITLE: 3D Printing the back

3D Printing the front

IMAGE TITLE: 3D Printing the front

The front and back separate

IMAGE TITLE: The front and back separate

The front and back assembled

IMAGE TITLE: The front and back assembled

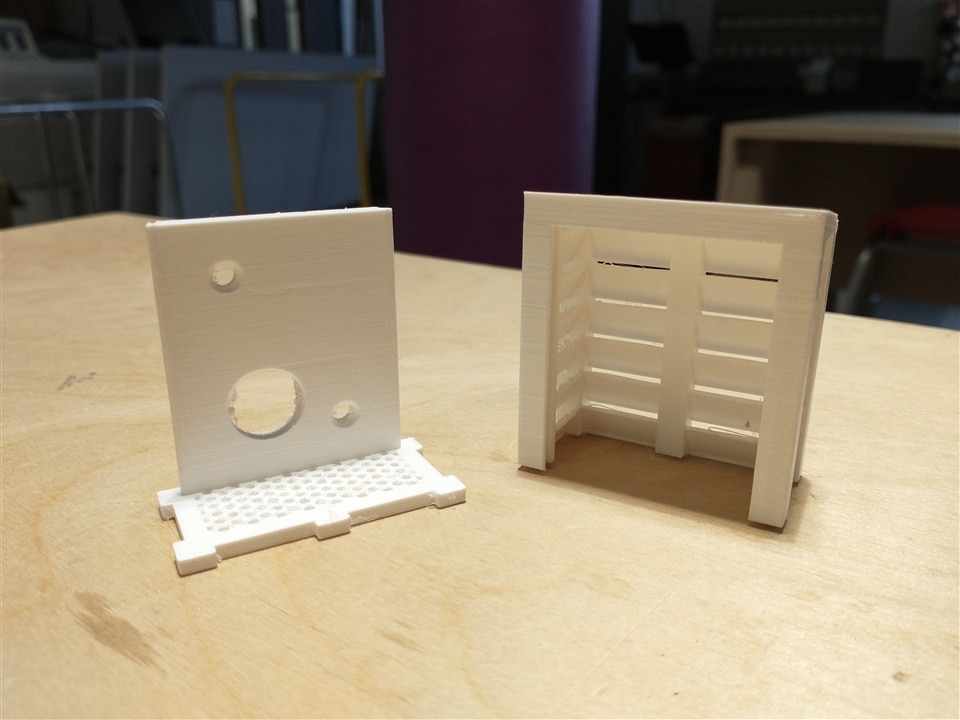
The files to print your own are here. It may seem odd to print one have at that odd angle, but I have designed it that way so the roof will allow rain to drip off instead of evaporating, while not needing to waste materials by printing supports.

Installing the Electronics

Now all the electronics from the last blog post need to be installed in to the enclosure.

Everything mounted inside


All ready to install

It is worth noting that there is no wrong direction to mount the fan. We are circulating air through the house and not creating or destroying it. If we suck air in, the equivalent amount of air will be pushed out through the various cracks and other vents in the building. If we blow air out then more air coming into the house in the same way.

Everything else now slots into place. I have not gone overboard in making the layout overly neat. If I had more time I would make some custom mounts for the modules, but I do not so I will not. If this works well I am likely to design a custom board with everything laid out appropriately so I can consider this as the prototype.

Installing the Finished Hardware

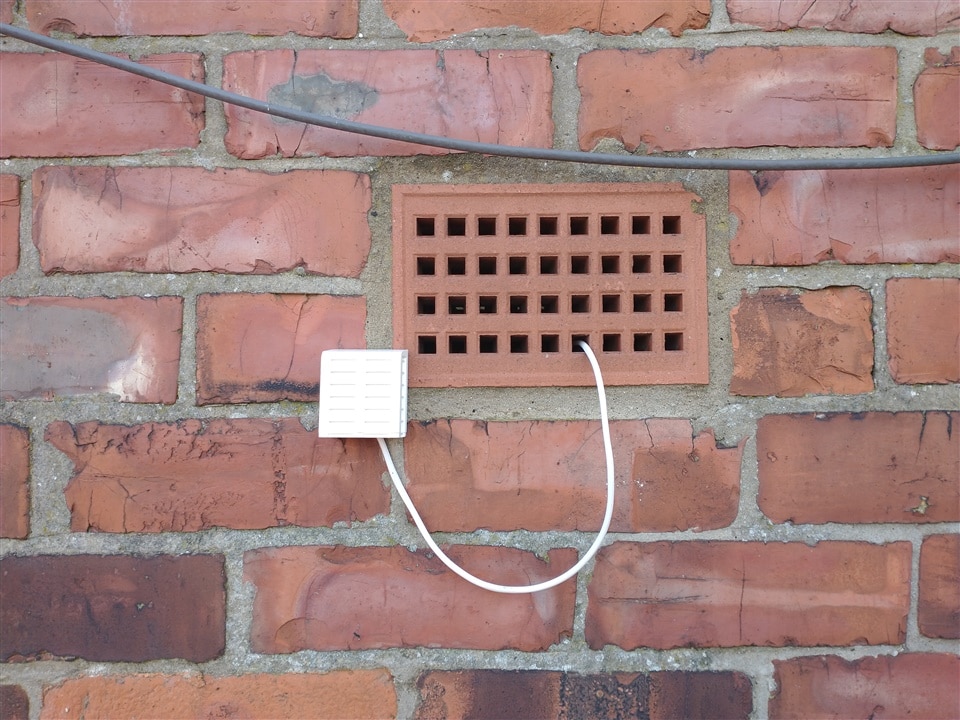
To mount it to the wall I inserted some custom plugs that I screwed in to and can drill out if no longer required. The layout of the enclosure has been measured to fit over the air brick’s holes as efficiently as possible so finding the location of the plugs when mounting to the wall was easy.

Inserting the plugs for mounting

One thing I did not realise until after I had started the installation is the holes get slightly smaller as they go into the wall. Only a little, but enough that I needed to change the connector going to the external sensor (most photos show the original). Also I was surprised that the air brick on the outside of the property was not exactly parallel with the inside, so the wire came out through a different hole than I thought it would.
Enclosure mounted on the wall

Sensor mounted on outside wall

Now that is done everything is in place and installed. It is effectively working with some basic test code and ready for the next heat wave. I am still improving the firmware and that will be my next blog post.

  • Sign in to reply
Parents
  • DAB
    DAB over 1 year ago

    Nice update and build design.

    • Cancel
    • Vote Up 0 Vote Down
    • Sign in to reply
    • More
    • Cancel
Comment
  • DAB
    DAB over 1 year ago

    Nice update and build design.

    • Cancel
    • Vote Up 0 Vote Down
    • Sign in to reply
    • More
    • Cancel
Children
No Data
element14 Community

element14 is the first online community specifically for engineers. Connect with your peers and get expert answers to your questions.

  • Members
  • Learn
  • Technologies
  • Challenges & Projects
  • Products
  • Store
  • About Us
  • Feedback & Support
  • FAQs
  • Terms of Use
  • Privacy Policy
  • Legal and Copyright Notices
  • Sitemap
  • Cookies

An Avnet Company © 2025 Premier Farnell Limited. All Rights Reserved.

Premier Farnell Ltd, registered in England and Wales (no 00876412), registered office: Farnell House, Forge Lane, Leeds LS12 2NE.

ICP 备案号 10220084.

Follow element14

  • X
  • Facebook
  • linkedin
  • YouTube