

Clem (aka mayermakes) builds a fully open-source, battery-powered desktop calculator from scratch, powered by an ATtiny3226 micro-controller for efficient 3V operation. It features a 20x4 FORDATA LCD, Cherry MX key switches, and a custom PCB designed for matrix scanning with N-key rollover. The case combines a repurposed Multicomp Pro die-cast aluminium lid with 3D-printed PETG panels and key-caps. Programmed in Arduino using the Adafruit Keypad and Liquid Crystal libraries, the code handles basic four-function maths while showing the limits of an 8-bit system. All design files and source code are free to download for modification.
Watch the Project
Building an Open-Source, Battery-Powered Desktop Calculator
Clem Mayer’s latest project for element14 Presents is a modern take on the classic desk calculator,fully open-source, battery-powered, and designed from the ground up with both practicality and hackability in mind. Inspired by the large, sturdy adding machines he once used daily, Clem set out to create a compact but equally satisfying device that could be built and customized by anyone. His goals were clear: mechanical keys for fast entry, a robust and repairable body, low-power operation, and a design that invites modification. As always, he keeps things practical and budget-friendly, using smart component choices to make a fully functional device that’s perfect for DIYers.
Choosing the Right Hardware - The Brains of the Build
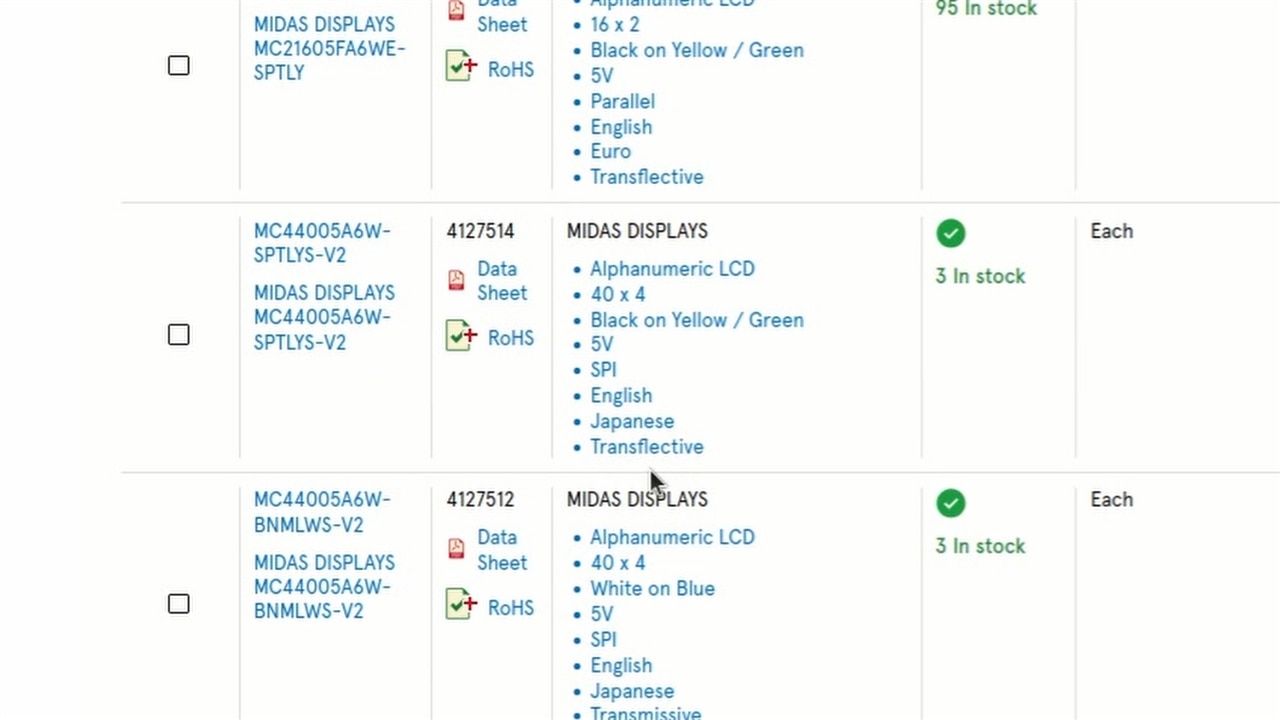
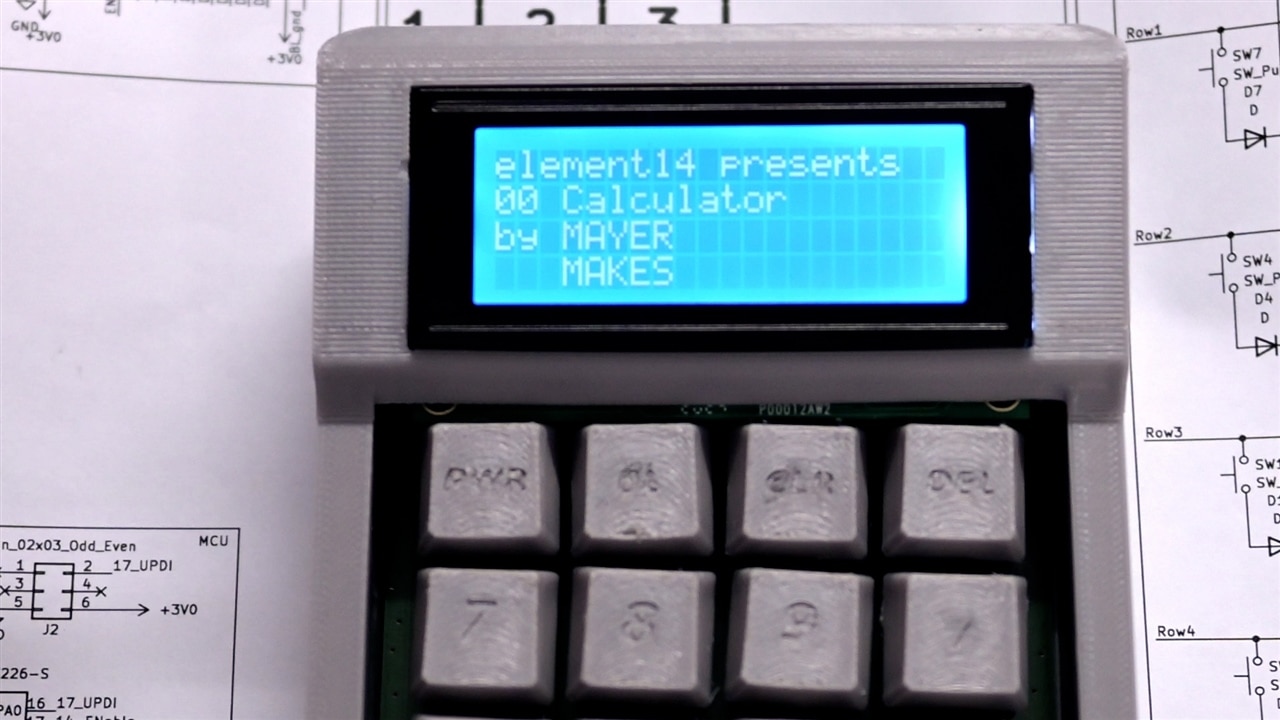
The heart of the build is an ATtiny3226 microcontroller, chosen not for raw processing power, but for its perfect match of features, pin count, and voltage range for this project. Running at 3V from two AAA batteries, the ATtiny3226 offers enough flash memory to comfortably accommodate the required Arduino libraries, unlike smaller ATtiny chips Clem has used in past projects. The keypad uses Cherry MX mechanical switches in a 4x5 diode-matrix layout, enabling N-key rollover without ghosting. For the display, Clem selected a 20x4 alphanumeric LCD from FORDATA, notable for being one of the few models that operates reliably at 3V. Together, these parts create a responsive, tactile, and low-power system suitable for everyday use. Since the whole thing runs on just 3V from two AAA batteries, every part had to be carefully picked to work within that power limit making the ATtiny3226 microcontroller, a solid choice for handling calculations while staying power-efficient.
The keys? Classic Cherry MX switches, giving that satisfying clicky feel that makes using the calculator a joy.
PCB and Building the Case
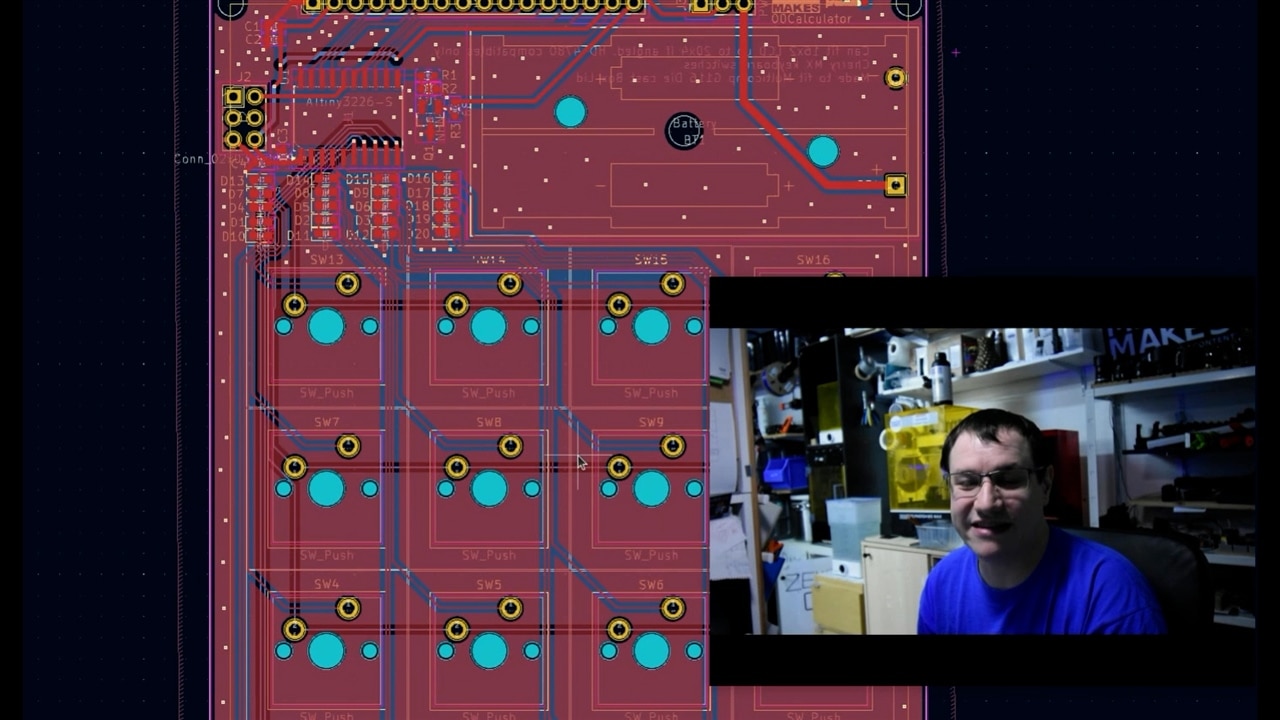
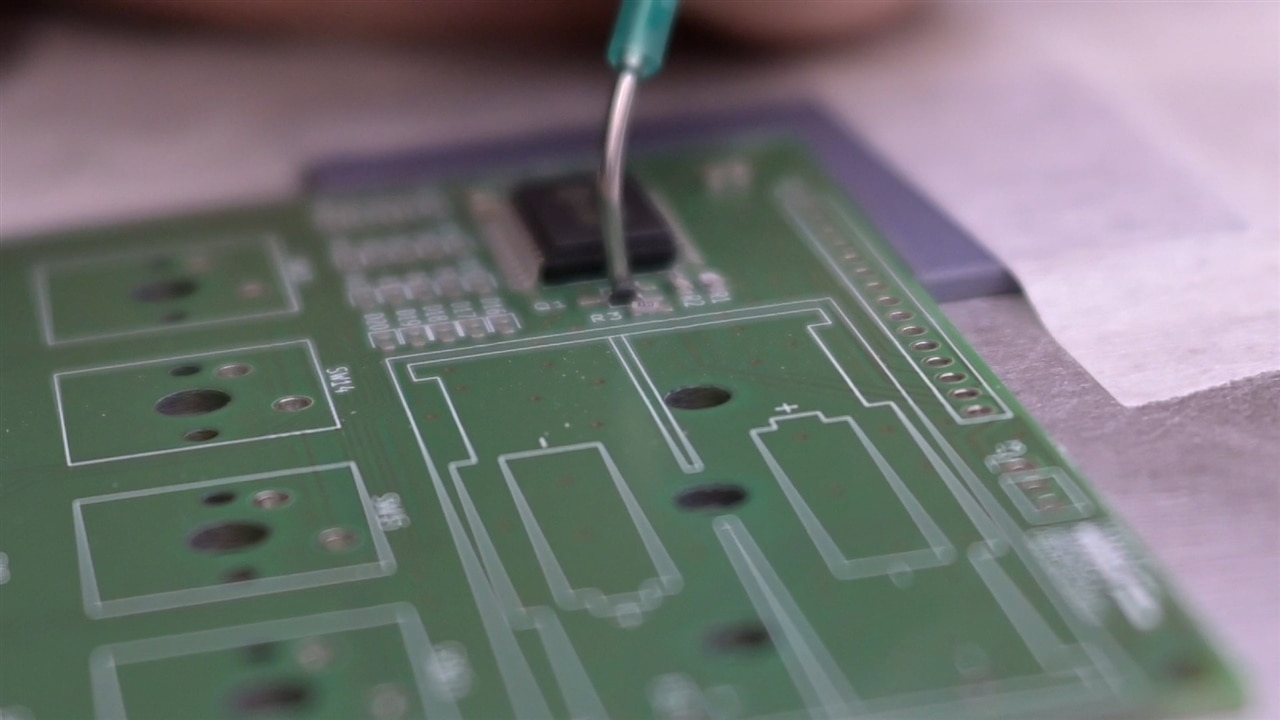
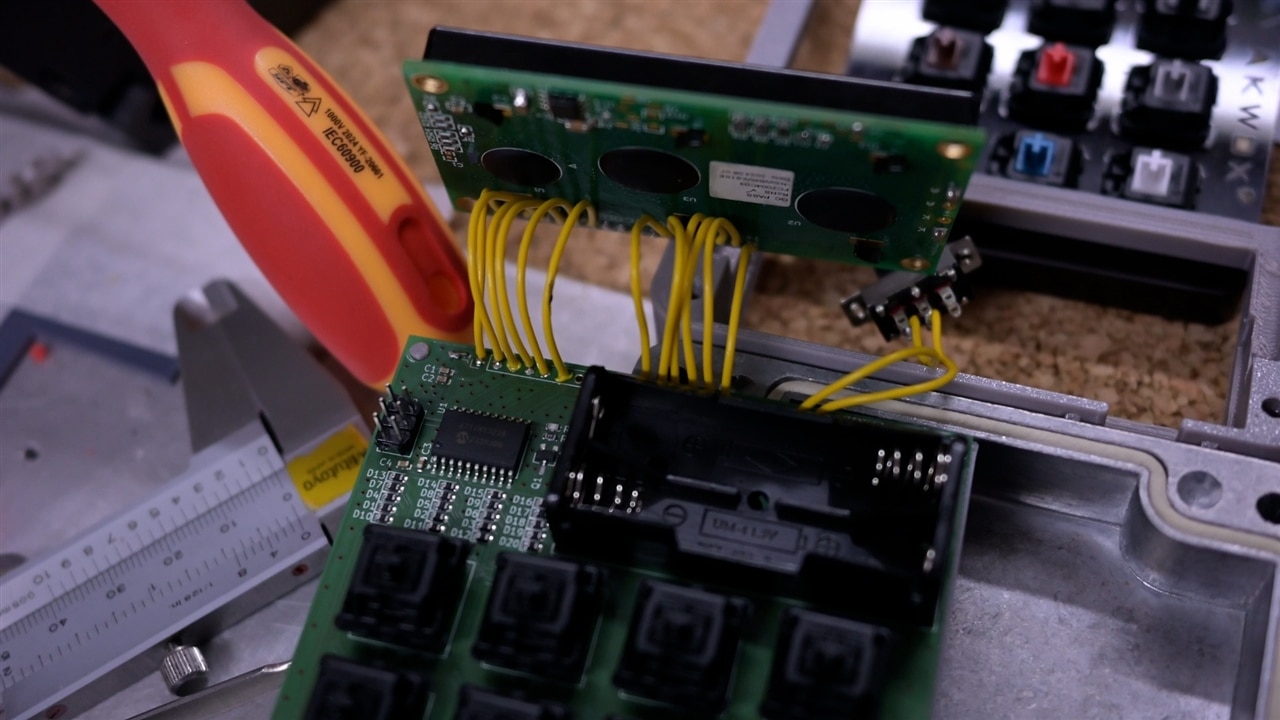
The custom PCB, designed in KiCad, routes the keypad matrix, display interface, and power circuitry in a clean, easily traceable layout. Diodes for the keys are grouped near the MCU for easier assembly and inspection. For the enclosure, Clem repurposed the lid of a Multicomp Pro die-cast aluminum box as a rigid base, topping it with a 3D-printed PETG shell and custom keycaps. This approach avoids costly custom milling while delivering a durable, repairable body. The aluminium base also ensures stability on the desk, and insulating spacers prevent shorts against the conductive surface. It’s super sturdy, way cheaper than custom milling, and leaves him with the rest of the box for another project. The front panel and buttons are 3D-printed in Multicomp PETG, and to keep things fun. All 3D models, including alternate keycap designs, are available for download below.
Code and Functionality
Programmed in the Arduino IDE, the calculator uses the Adafruit Keypad Library for scanning the button matrix and the LiquidCrystal Library for display control. The code processes basic four-function math, supports continuous operation entry (like traditional adding machines), and includes a delete function for correcting entries without clearing the entire calculation. Limitations of the 8-bit architecture are evident when handling large numbers,multiplying 65,535 by 65,535 demonstrates the maximum result it can display within its 8-bit limitations,yet these constraints provide an educational look at the boundaries of low-power microcontrollers. The code is fully open-source, inviting improvements such as expanded decimal handling, alternative display layouts, or additional functions.
Final Thoughts and Future Possibilities
Clem’s desk calculator is more than a nostalgic gadget,it’s a showcase of thoughtful component selection, clever reuse of materials, and open-source accessibility. While some planned features, like backlight control via transistor, need refinement, the core design is stable, functional, and ready for others to build upon. Future iterations could experiment with different display types, rechargeable batteries, or expanded maths functions. As it stands, this project is a ready-made platform for learning about microcontroller programming, low-power electronics, and hardware design. Whether you want to build an everyday tool, a classroom teaching aid, or simply a satisfying DIY calculator, Clem’s design offers a solid starting point.
Like most of his projects, Clem shares all the files for free, encouraging others to build their own versions or tweak his design. To give it a final touch, he laser-engraves the back of the case, adding to its rugged, utilitarian look.
Clem’s DIY calculator isn’t just a cool gadget, it’s proof that with a bit of creativity and smart part choices, you can make something awesome from scratch. He’s hoping to see people remix his design and push it even further. So, who’s up for the challenge?
Bill of Materials
| Product Name | Manufacturer | Quantity | Buy Kit |
|---|---|---|---|
| MX1A-11NW | CHERRY | 16 | Buy Now |
| ATTINY3226-SU | MICROCHIP | 1 | Buy Now |
| 2462 | KEYSTONE | 1 | Buy Now |
| FC2004C03-NSWBBW-91SE | FORDATA | 1 | Buy Now |
| TS391LT | CHIP QUIK | 1 | Buy Now |
| TS391SNL | CHIP QUIK | 1 | Buy Now |
| G116 | MULTICOMP PRO | 1 | Buy Now |
Top Comments
-

dougw
-
Cancel
-
Vote Up
0
Vote Down
-
-
Sign in to reply
-
More
-
Cancel
-

mayermakes
in reply to dougw
-
Cancel
-
Vote Up
0
Vote Down
-
-
Sign in to reply
-
More
-
Cancel
-

dougw
in reply to mayermakes
-
Cancel
-
Vote Up
0
Vote Down
-
-
Sign in to reply
-
More
-
Cancel
Comment-

dougw
in reply to mayermakes
-
Cancel
-
Vote Up
0
Vote Down
-
-
Sign in to reply
-
More
-
Cancel
Children