

Watch the Build
Animating an LED Snowflake with micro:bit
This project continues Natasha’s LED Snowflake circuit sculpture, moving on from the physical build and into animation and interaction. After spending time working with LED filament as a material, learning how fragile it is and how bright it can be, this stage of the project is about figuring out how to animate the sculpture in a way that feels natural once it is powered up.
Animation is not treated as a separate technical step, but as part of the same process that shaped the original build. The aim is not to add movement just for the sake of it, but to work out what kind of animation actually makes sense for the shape and layout of the snowflake.
From LED Groups to Early Animation Ideas
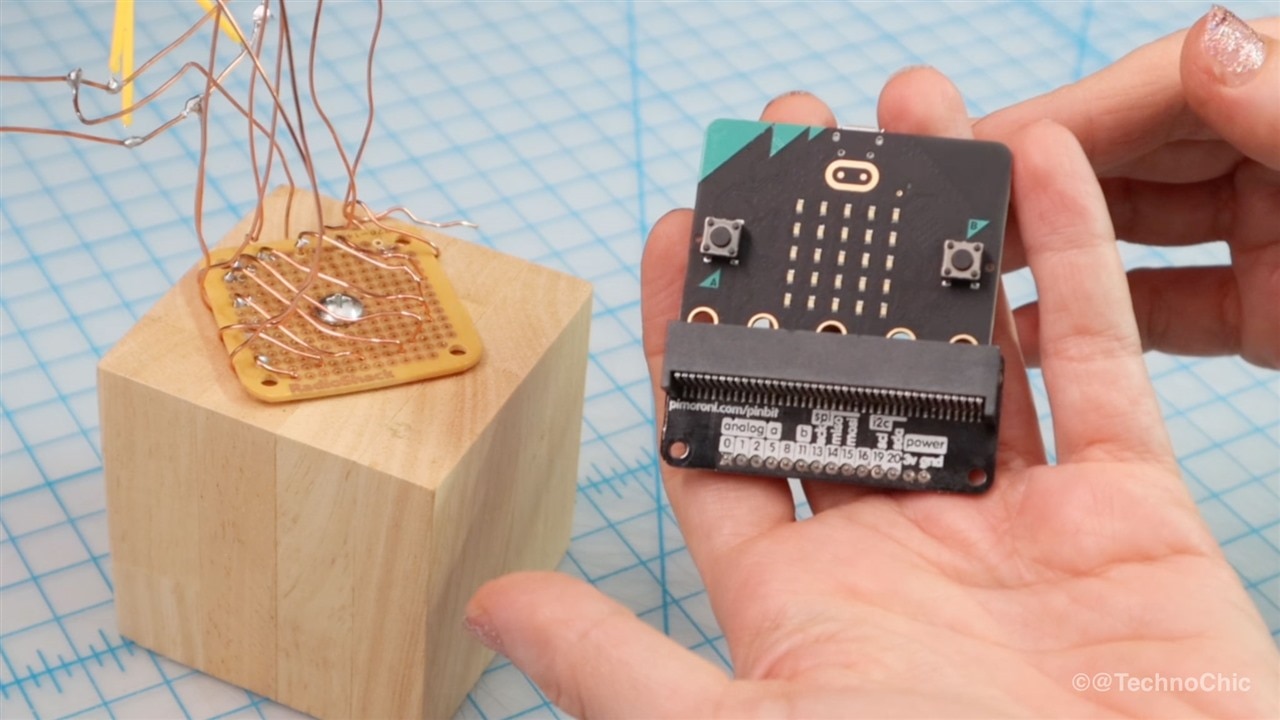
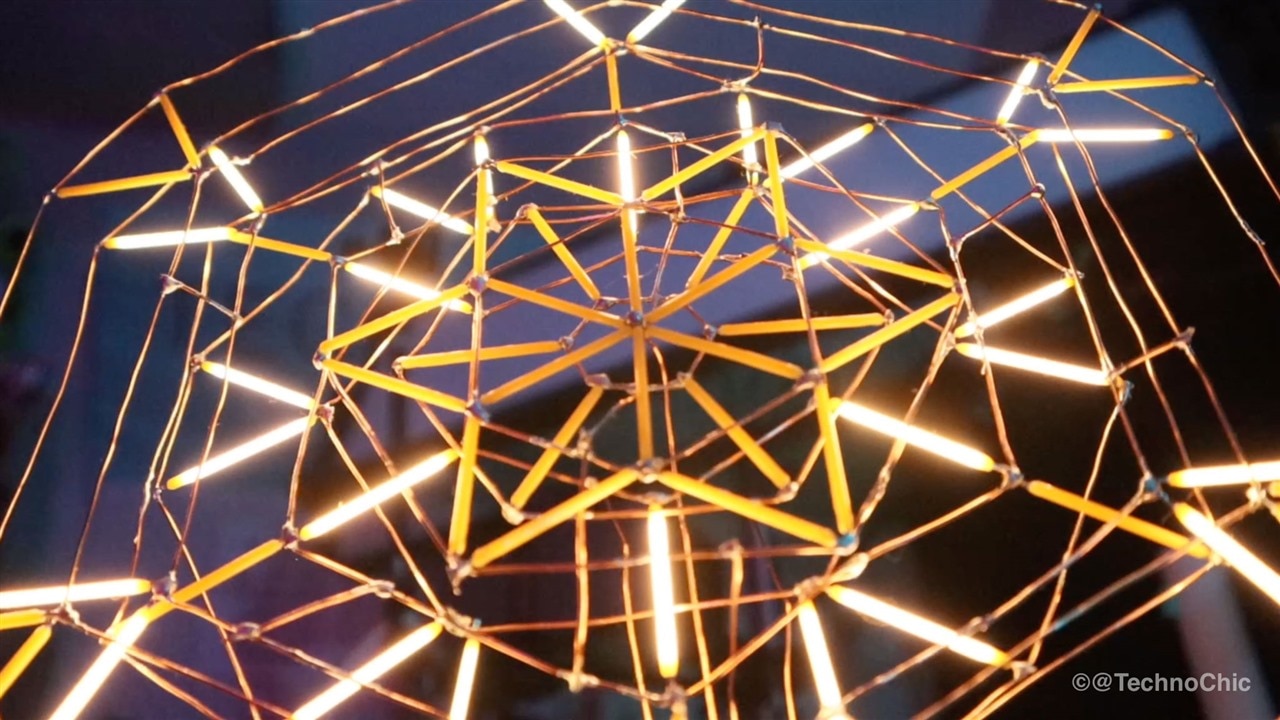
The snowflake is made up of eight separate groups of LED filament, each forming a visible section of the overall design. Electrically, each group is bundled together and connected to a single wire. This means the sculpture is animated by sections rather than by individual LEDs.
Before connecting anything to a micro:bit, Natasha powered the LED groups directly to see how they looked when switched on in different combinations. This simple step made a big difference later on. By turning sections on and off by hand, it became much easier to see which parts of the snowflake naturally stood out and which worked better as supporting elements.
Some activation orders felt messy very quickly, while others immediately suggested a direction for animation. It became clear early on that the order in which the sections were lit mattered far more than how fast they changed.


Prototyping with micro:bit and MakeCode
To keep things flexible, Natasha started with a temporary setup using a breadboard‑compatible micro:bit adapter that already had pins soldered on. This made it easy to connect and disconnect the LED groups using jumper wires and spring‑hook leads, without committing to solder before the behaviour was understood.
Because the LED groups were not wired to the micro:bit in numerical order, the first challenge in MakeCode was simply keeping things organised. Instead of rewiring the sculpture, Natasha created an array of pin assignments in the code. This made it much easier to experiment with different animation orders without touching the hardware.
Early test programs stepped through this array and turned each LED group on and off. While this confirmed that everything was wired correctly, it also showed that a basic linear sequence did not really suit the snowflake.
From there, the focus shifted to how the snowflake is actually laid out. The centre sections felt like obvious starting points, with outer layers responding after. Animations began to feel more like bursts that spread outward, with secondary sections filling in behind the main movement.
Learning the Limits of Analogue Control
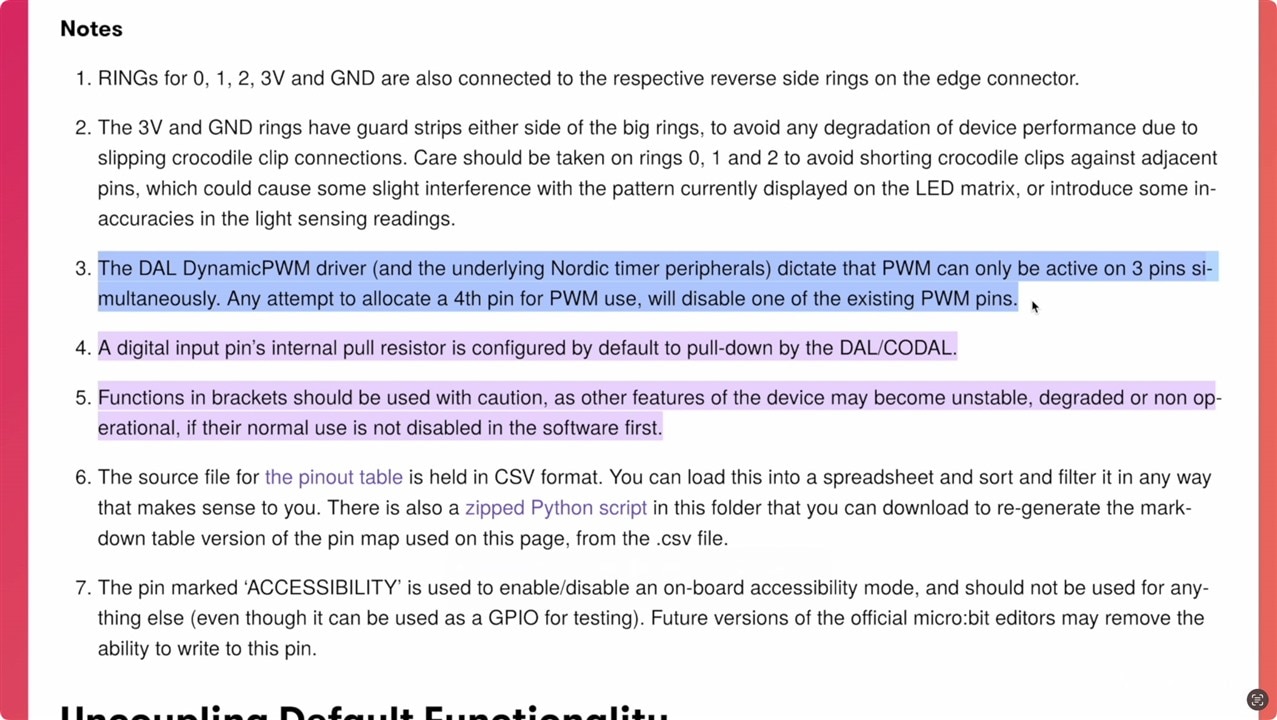
The original plan was to fade all of the LED groups smoothly using analogue PWM outputs. With the number of pins available on the micro:bit, this seemed like it should work. In practice, only a few groups would fade correctly at the same time.
After some troubleshooting, the reason became clear. Even though many micro:bit pins appear to support PWM, only three analogue outputs can be used at once. Trying to use more than that causes the others to stop working.
At that point, there was a decision to make. Switching to a different microcontroller would have solved the problem, but it would also have meant rethinking parts that had already been chosen for this build, including the edge connector and mounting method. Instead, Natasha chose to work within the limitation.
By dropping the idea of smooth fades and focusing on digital on and off animation, the sculpture actually started to look better. The sharper transitions suited the snowflake’s graphic shape, and the animations felt clearer and more intentional. What started as a frustration ended up defining the final look of the piece.

Final Assembly and Practical Details
Once the pin assignments and animation approach were decided, the sculpture was soldered permanently to a micro:bit edge connector. Each copper wire was bent into a small hook, threaded through the connector holes, and soldered securely. Excess wire was trimmed away to keep everything neat.
Mounting the connector brought its own challenges. Because it sat close to the edge of the wooden block, machine screws were used instead of wood screws to avoid damaging the edge. The micro:bit was mounted upside down on the back of the block, keeping it out of sight while still easy to access.
One last practical issue came up late in the build. With the micro:bit mounted so close to the block, a standard USB cable would not fit. A USB turnaround adapter solved the problem, redirecting the cable and switching the connection to USB‑C at the same time. It is a small part, but without it the whole mounting approach would have needed to change.
Adding Sound Interaction and Looking Ahead
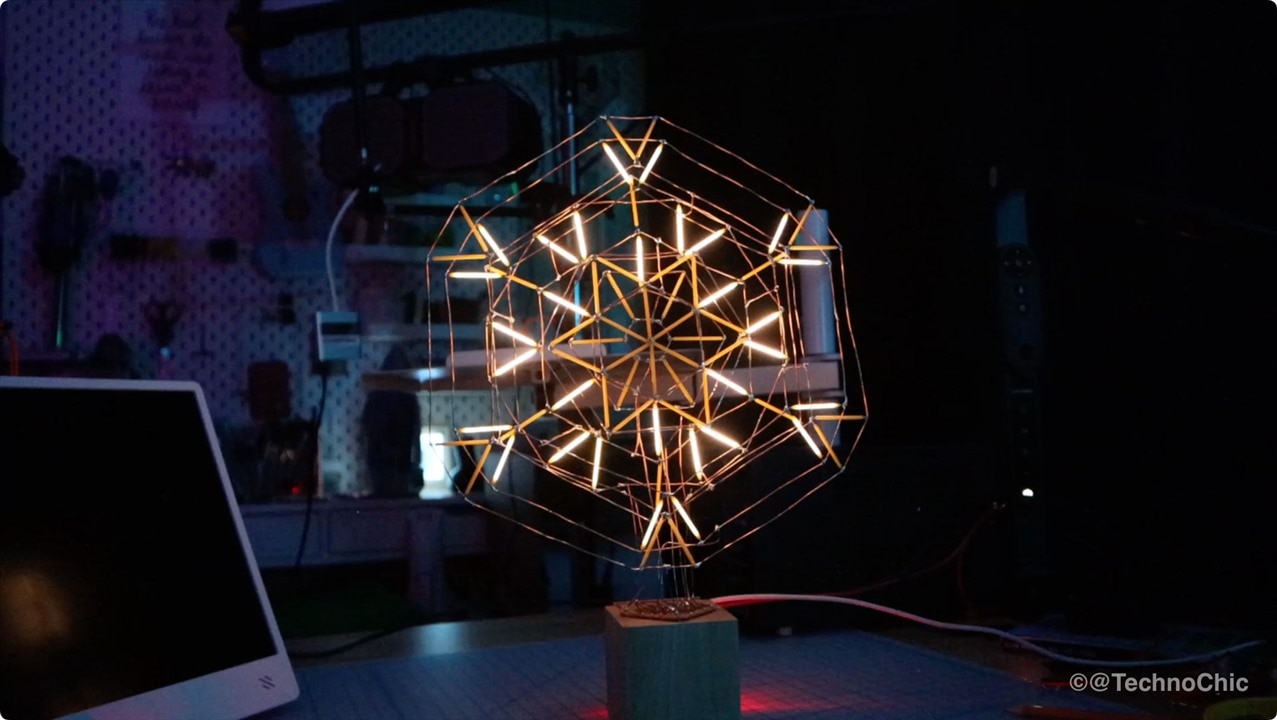
For interactivity, Natasha used the micro:bit’s built‑in microphone. This kept the project simple while still allowing the snowflake to respond to its surroundings. Loud sounds trigger bursts of animation, making the sculpture react to voices, laughter, and music.
Using analogue volume levels was tested briefly, but the results did not look right. Differences in brightness between layers felt accidental rather than deliberate, which reinforced the decision to stick with bold digital animation.
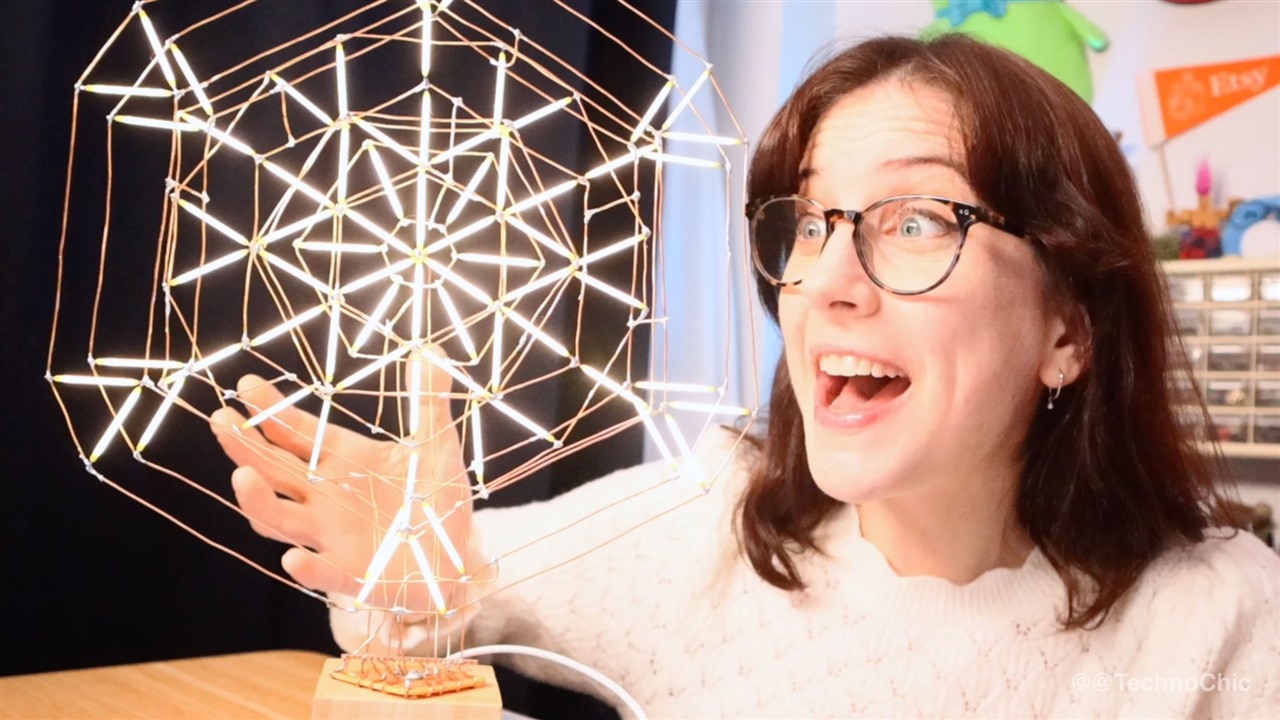
In its finished form, the animated snowflake feels playful and responsive. It invites interaction and rewards experimentation, working equally well as a decorative object, a light sculpture, and something to simply play with.
More than anything, this project shows how useful constraints can be. Limits in hardware, pins, and physical space did not get in the way of the outcome. They shaped it. With LED filament now firmly established as a favourite material, this snowflake feels less like a final piece and more like the start of whatever comes next.
Supporting Links and Files
- Building a Circuit Sculpture with LED Filament -- Episode 707
Bill of Materials
| Product Name | Manufacturer | Quantity | Buy Kit |
|---|---|---|---|
| Micro:bit SBC, BBC MICRO:BIT SINGLE, V2.21, nRF52833 | micro:bit | 1 | Buy Now |
| micro:bit Edge Connector | kitronik | 1 | Buy Now |
| Perf Board | phoenix contact | 1 | Buy Now |
Additional Parts
| Product Name | Manufacturer | Quantity |
|---|---|---|
| LED Filaments | Pretyzoom | 1 |
| 20 Guage Copper Wire | Therwen | 1 |
| Small LED Snowflake | anso | 1 |
.

