

It’s a cyberdeck. It’s a puppet. It’s also a handbag! Natasha Dzurny transforms an Arduino UNO Q into a portable media player and puppetry practice device, complete with a display, keyboard, webcam and gloriously fuzzy orange enclosure, while solving some surprisingly tricky power, cabling and space constraints along the way.
This Cyberdeck is Really, Really Great!
This Cyberdeck is a Puppet
What happens when a single-board computer, a media player, a puppet and a furry handbag all share the same enclosure? Natasha Dzurny’s answer is a bright orange cyberdeck inspired by Avenue Q, built around the Arduino UNO Q and designed to be as useful for puppetry practice as it is for watching a carefully chosen film collection.
The finished machine is deliberately personal. It opens like a clamshell laptop, runs from a battery, carries its keyboard and display inside a working puppet mouth, and can deploy a small webcam on a telescopic rod. Close it up, attach the strap and it becomes a bag. It is playful, but the engineering problems are familiar to anyone who has tried to package electronics into a tight, irregular space: power delivery, connector orientation, thermal clearance, service access and mechanical strength all compete for the same few centimetres.
A cyberdeck is broadly a custom computer made for a particular purpose, with its form and controls chosen by its builder. This one began with a word association between the Arduino UNO Q and Avenue Q, the puppet-led musical comedy that returned to London’s West End in 2026. The orange furball used in the show’s visual identity provided the enclosure concept, while the project’s functions came from Natasha’s own interests: local media, puppetry and wearable technology.
“The current cyberdeck movement is about taking control, designing simplicity into our tools, and making technology that speaks to us, not for us.”
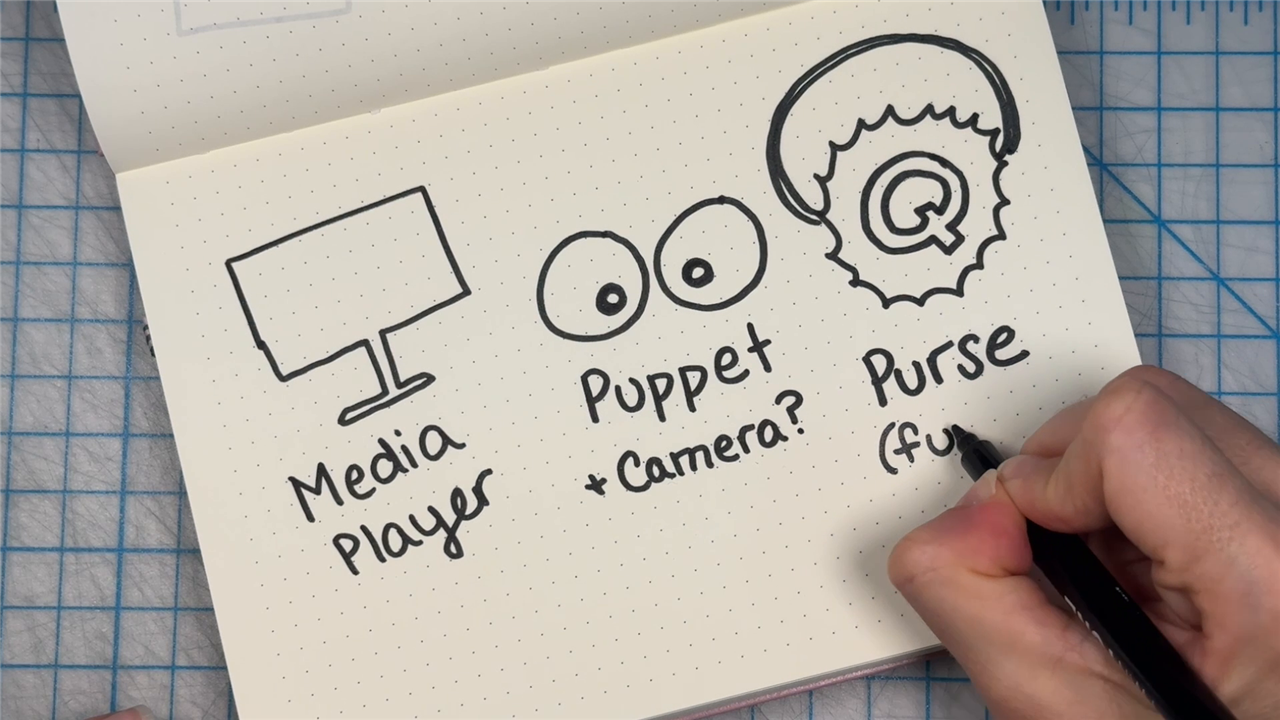
Instead of making a general-purpose laptop, Natasha selected a short list of jobs: play locally stored audio and video, provide a monitor for camera-based puppet practice, remain portable and still function as a hand-operated puppet. That narrow brief kept the build coherent even when the component layout changed repeatedly.
Choosing the electronics and getting the power right
The computing core is the Arduino UNO Q. It combines a Qualcomm Dragonwing QRB2210 application processor, capable of running Debian Linux, with an STM32U585 real-time microcontroller. The arrangement gives the board both a desktop-style Linux environment and Arduino-compatible real-time I/O. Natasha used the Linux side for this build, but the microcontroller leaves scope for later sensors, actuators or interface controls.
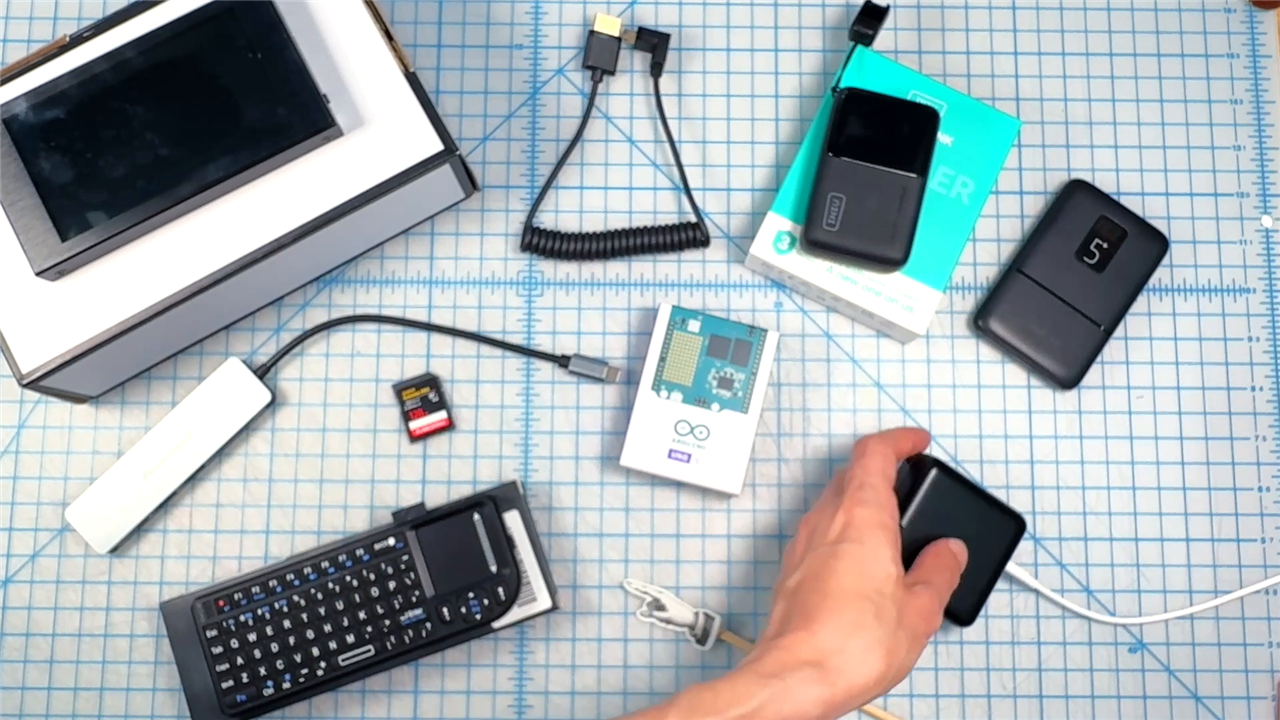
The UNO Q is available in 2 GB RAM/16 GB eMMC and 4 GB RAM/32 GB eMMC versions. For standalone computer use with a graphical desktop, Arduino recommends the 4 GB version. The project pairs it with a five-inch HDMI display, selected specifically to fit the puppet’s mouth and provide a 3.5 mm headphone output. HDMI carries audio and video together, avoiding a separate audio interface. A compact wireless keyboard with an integrated trackpad supplies the controls, while removable media holds the hand-picked film and music library.
Because the board has one USB-C connection for power and peripherals, a powered USB-C hub becomes the centre of the system. The selected hub supplies HDMI, USB-A connections and an SD or microSD card reader, while accepting USB Power Delivery. This is not just a convenience item: its port placement and ability to pass adequate power determine whether the complete computer can operate reliably.
“I started with a 5 volt 2.1 amp battery pack for a phone, which did power the project temporarily, but ended up browning out and resetting the board.”
The replacement pack could provide the recommended 5 V at 3 A. Builders should check the output mode of a prospective battery, not simply its capacity in mAh. A high-capacity pack may still have an unsuitable output limit, and some packs shut down at low loads or negotiate USB-PD modes differently. Bench-test the UNO Q, hub, display, keyboard receiver and webcam together before committing to the enclosure. For setup on mains power, we can use Arduino’s 45 W USB-C supply, and 60 W USB-C cable.
Core recommended bill of materials
- Arduino UNO Q: 4 GB version preferred for standalone desktop use.
- USB-C power supply: Arduino 45 W supply,
- USB-C cable: 1 m, 60 W, 5 Gbit/s Arduino cable
- USB-C hub: multiport hub with power delivery, HDMI, USB-A and card-reader connections
- Display: five-inch HDMI monitor with a headphone socket.
- Controls and storage: compact wireless keyboard/trackpad and removable card storage.
- Packaging parts: regular-to-mini HDMI ribbon cable, angled USB adapters, 90-degree 3.5 mm extension, USB splitter, compact webcam and USB-PD battery pack.
Turning a spherical mould into a computer chassis
A two-part plastic chocolate mould became the head shell. It was light enough to carry and strong enough to hold its shape, while leaving room for both the electronics and a hand. Heavy-duty foam display board formed the two inner mouth plates. Cut-outs allow the display and keyboard to sit flush, and a second foam-board layer adds stiffness around the openings.
The mechanical layout had to leave a clear hand path behind the display and below the electronics platform. Natasha trimmed the lower hemisphere to make a flat base, then removed part of the circular mouth plates to form the rear hinge. Gaffer tape provides a flexible hinge, while a band of corset boning restores stiffness after material was removed from the upper shell. This lets the mouth rest securely in its open, laptop-like position.
“Trying to find the perfect balance to leave enough room for my hand to fit in the back and the display and keyboard to fit inside the mouth like a clamshell computer.”
The UNO Q was first fixed to a separate piece of foam board rather than glued directly. This protects the PCB, provides a little thermal clearance and makes the subassembly easier to mount. Zip ties secure connections while retaining future access. These small choices turn a craft enclosure into a serviceable electronics chassis.
Cable routing was the real build challenge
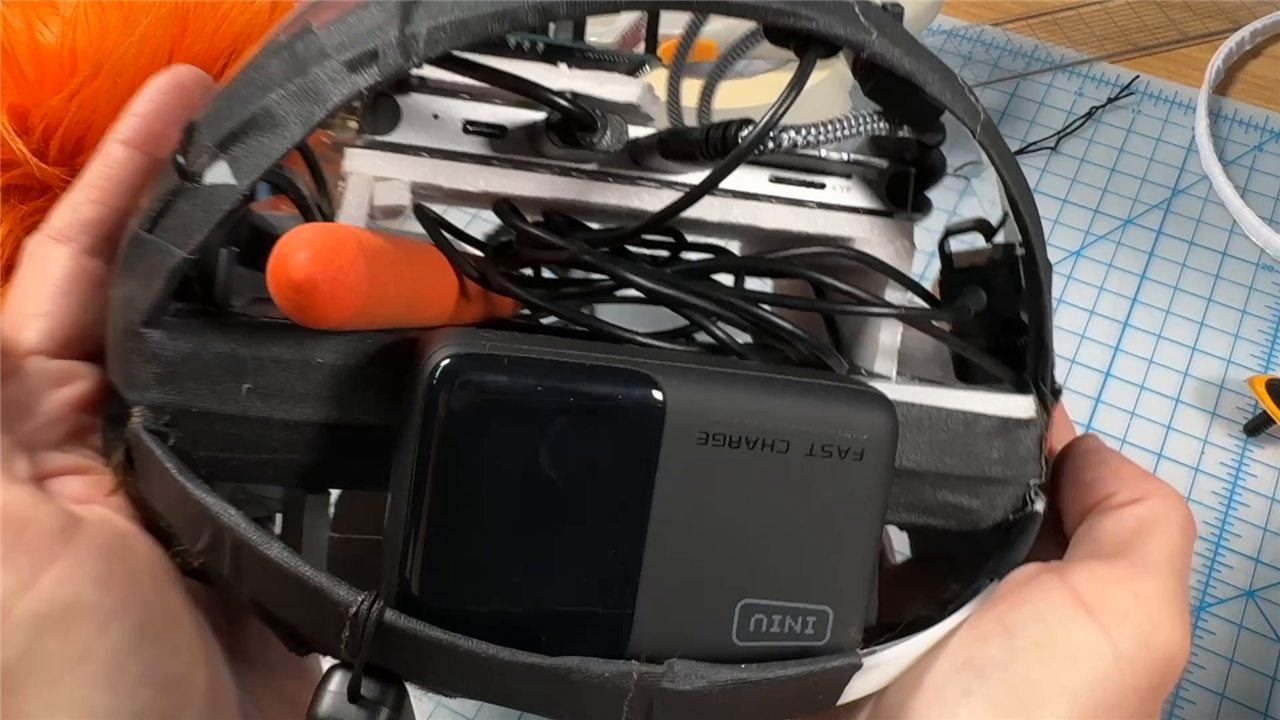
The assembly uses no exotic circuit, but its interconnects required repeated prototyping. Standard moulded plugs consume too much space and often point in the wrong direction. A thin HDMI ribbon cable solved the tightest route, but HDMI connector size and cable orientation both needed checking before purchase.
“There are three sizes of HDMI, and when you’re routing it 90 degrees, it also has an up or down, so I had to be extra careful to order the right one.”
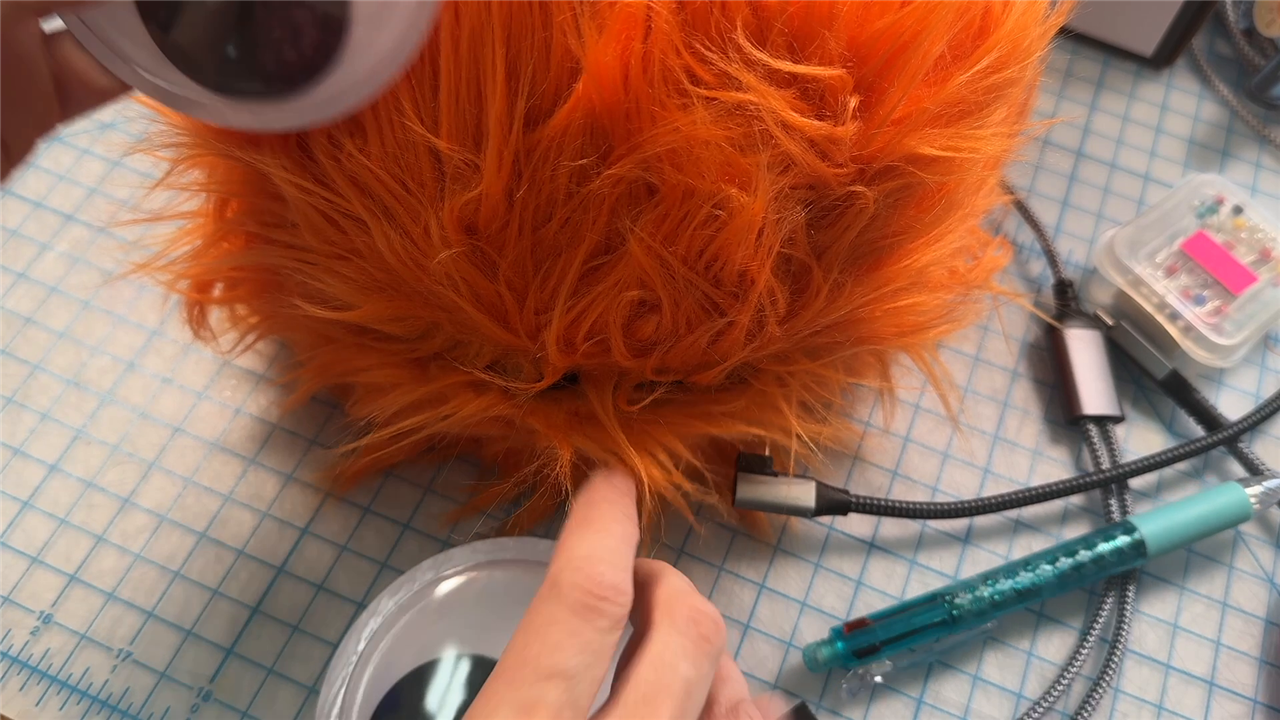
The headphone socket was brought to the inside of the mouth with a 90-degree 3.5 mm extension. Although the keyboard is wireless in use, it still needs charging, so an angled USB adapter lines its charging port up with a discreet access hole through the fur. This is a useful enclosure-design lesson: draw every plug with its cable bend radius, not merely the socket outline. Include access for charging, card removal and maintenance before covering the structure.
Linux setup, local media and an offline webcam
Initial setup was performed with the UNO Q powered from a laptop supply. On boot, the system guides the user through passwords and Wi-Fi credentials before opening Arduino App Lab. The cyberdeck does not need App Lab for media playback, so VLC was installed from the terminal:
sudo apt install vlcLocally stored files can then be selected in the file browser and opened in VLC. Keeping the collection on removable storage supports the original intention: decide what to carry, then use it without relying on a streaming catalogue or permanent network connection.
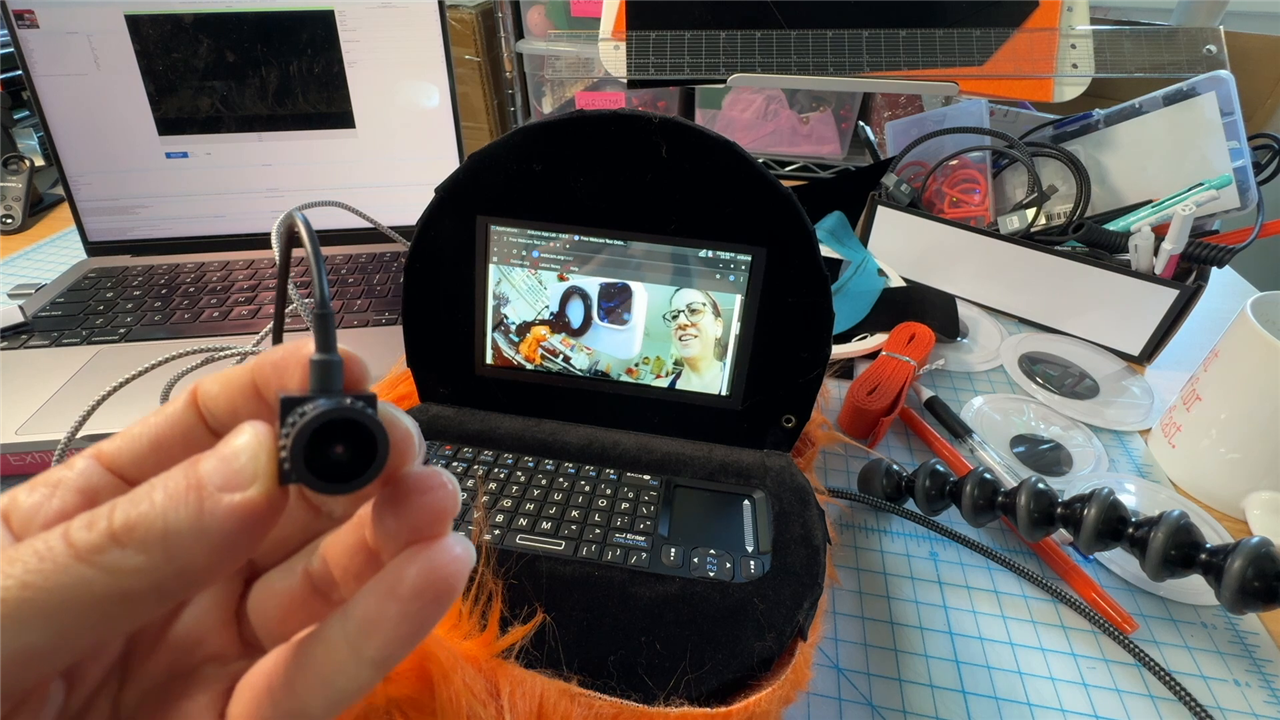
A tiny USB webcam turned the computer into a portable puppetry monitor. Mounted on a telescopic rod through a hidden opening in the head, the camera can frame the puppet while its operator remains below view. A USB splitter adds the extra connection. An online camera test was useful during development, but offline operation was essential, so Natasha installed Cheese, a simple Linux webcam viewer and recorder.
The result is a self-contained practice setup: extend the camera, open the mouth, monitor the camera feed on the built-in display, then fold everything back into the head. An element14 Community post on getting started with Arduino UNO Q also discusses USB webcam use and the practical need for a USB-C hub.
Fur, zips and knowing when not to add a feature
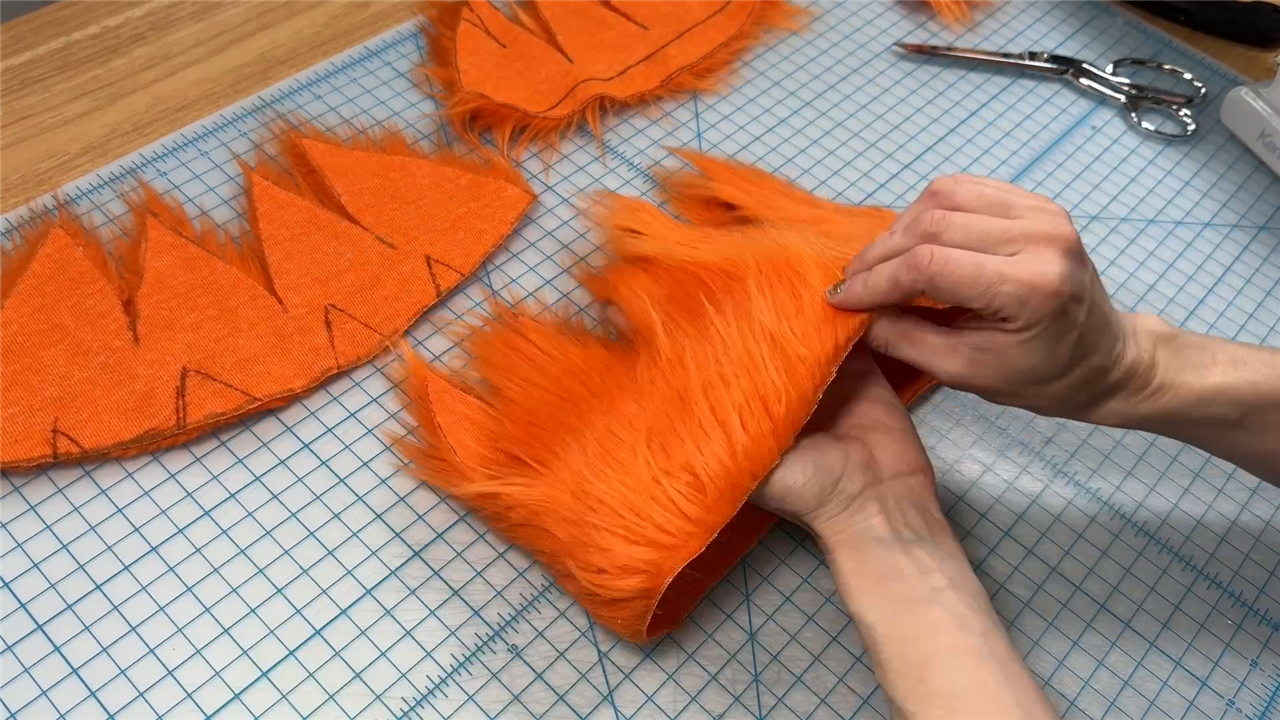
To create the outer skin, Natasha wrapped the assembled shell in plastic film and tape, marked seam lines, then transferred the resulting pattern pieces to orange faux fur. A double zip provides both a hand opening and a bag closure. Felt strips along the zip reduce the chance of long fibres catching in the teeth, and D-rings provide secure points for the shoulder strap.
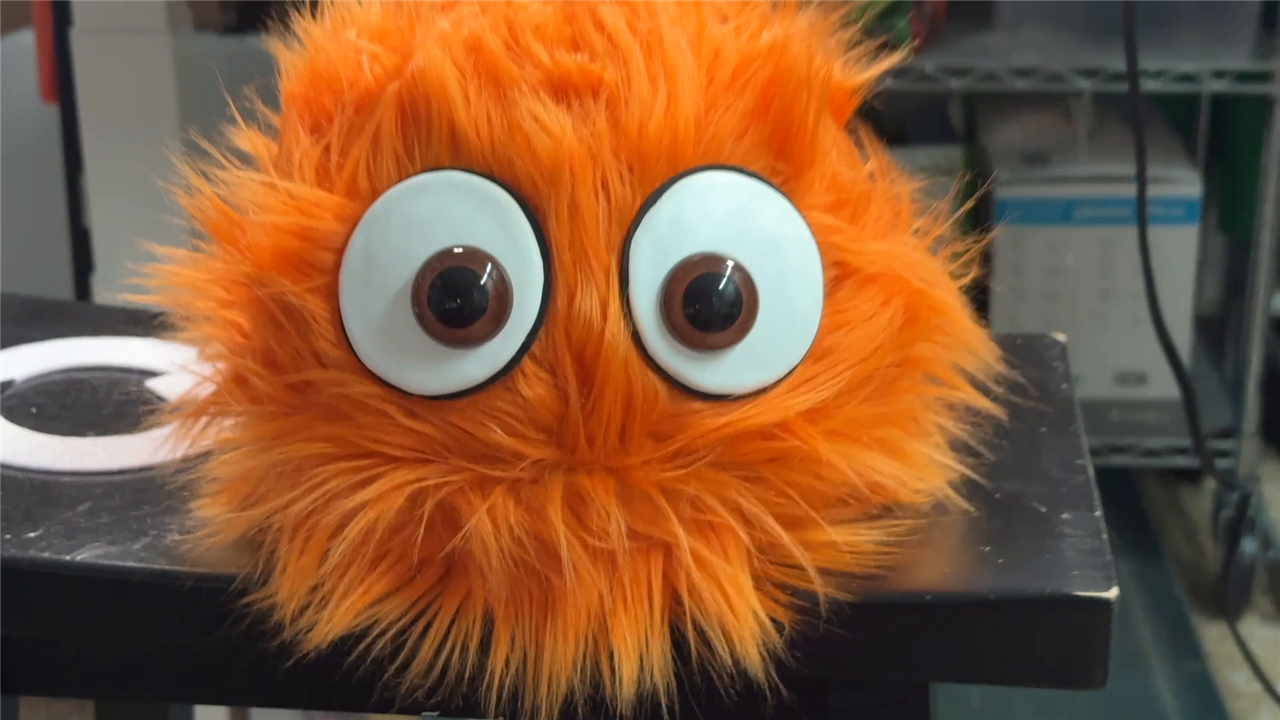
The eyes were formed from oversized googly-eye domes, sanded and finished with paint mixed with matt Mod Podge. Moving pupils driven by servos were considered because the UNO Q also provides a microcontroller, but the motion did not suit the visual style. The static version was the more deliberate design.
“Just because technology gives you a capability doesn’t mean using it is the right choice.”
That decision also avoids additional current draw, noise, wiring, weight and mechanical failure points. It is a strong reminder that unused capability is not wasted capability. Good project design is defined by the brief, not by the number of features enabled.
A computer that could only come from its maker
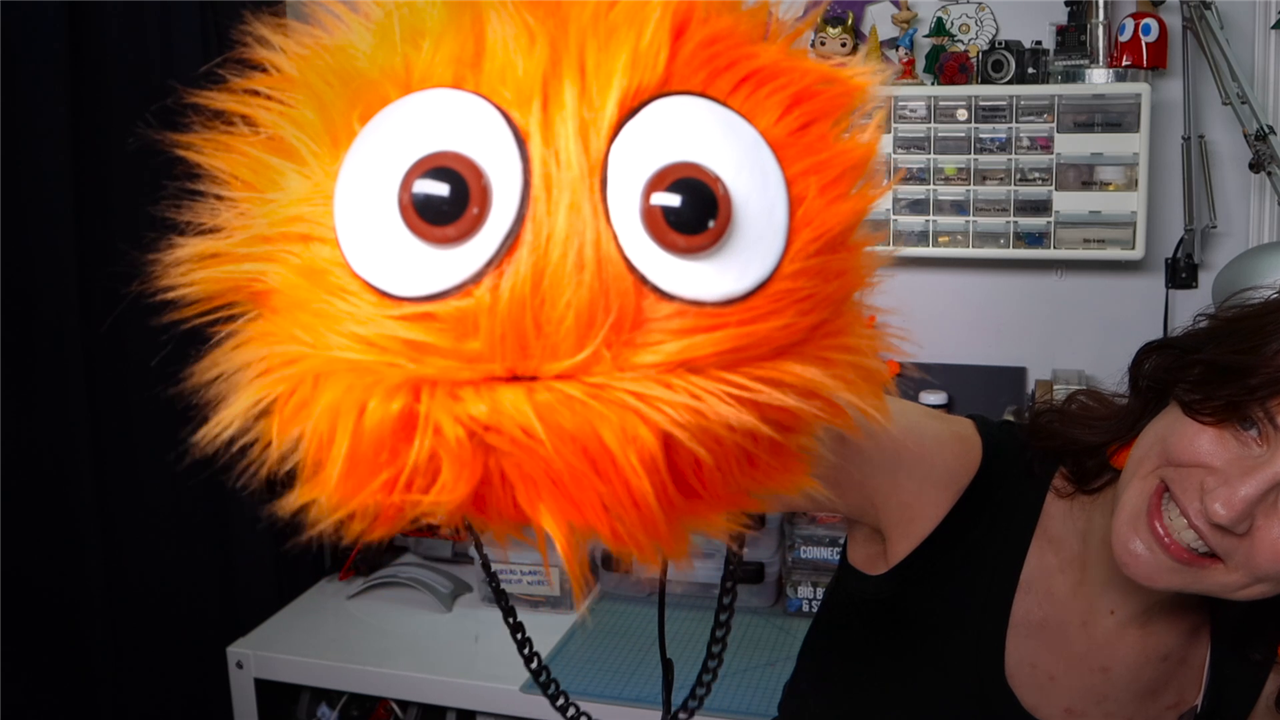
The completed cyberdeck plays a locally curated media library, supports offline camera practice, works as a puppet and carries as a furry shoulder bag. More importantly, its odd combination of functions forced practical solutions that a conventional rectangular enclosure would never demand.
“Create for yourself what nobody could have predicted that you would make.”
For anyone building a compact cyberdeck, the most transferable advice is to prototype the entire power and signal chain first, verify every angled connector, reserve space for hands and cable bends, and keep critical parts removable. Then choose a form that makes the machine unmistakably yours.
Parts Used
| Product Name | Manufacturer | Quantity | Buy Kit |
|---|---|---|---|
| USB-C Power Supply, 45W, for Arduino UNO Q SBC and Arduino Development Boards | ARDUINO | 1 | Buy Now |
| USB-C Cable, 24-Pin, 1M, 60W, 5 Gbps, Black, for Arduino UNO Q SBC and Arduino Development Boards | ARDUINO | 1 | Buy Now |
| Single Board Computer, Arduino UNO Q, QRB2210/STM32U585, 2GB, ARM Cortex-A53/M33F | ARDUINO | 1 | Buy Now |
| USB-C Hub, 8 in 1, 65W, Black, 5Gbps, Multiport Adapter, 0°C to 50°C | ARDUINO | 1 | Buy Now |
Additional Parts
| Product Name | Manufacturer | Quantity |
|---|---|---|
| Keyboard | Any | 1 |
| Mouse | Any | 1 |
| Portable USB Power Pack with USB-PD | Any | 1 |
| Angled USB Adapter | Any | 1 |
| 3.5mm Jack Extender | Any | 1 |
| HDMI Ribbon Cable (Regular to Mini) | Any | 1 |
| 5inch HDMI Display with headphone jack | Any | 1 |
Top Comments