In Workbench Wednesdays #76, I looked at Diglent's Analog Discovery 3. This device is a long-anticipated, by me anyway, update to their incredibly powerful and useful Analog Discovery 2.
One of the first things that struck me about the AD3 is that there were no screws like the AD2. Nor were the screws needed on the Analog Discovery 2 since you could see inside.
Initially, I planned to open up the Analog Discovery 3. But after struggling with the plastic pieces for a few minutes, I decided I was more likely to damage it than open it.
Fortunately, before I tried to open it up, I had the idea to "bash" it open on video. I was going to do some clever editing to slip the PCB inside a pile of broken plastic pieces as the "tear down."
I had already created the breakable mock-up before I realized I couldn't open it. So, I decided to do the joke anyway.
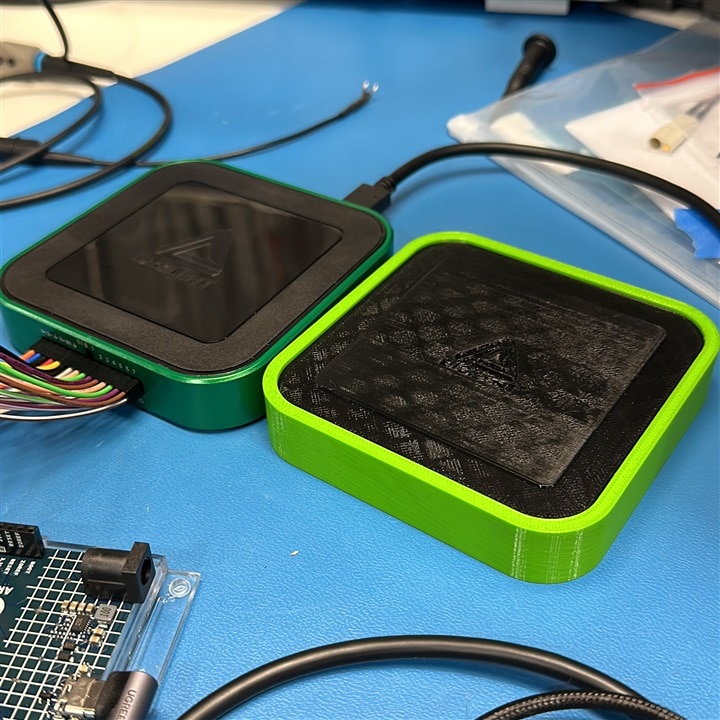
I made the model using two pieces. One for the outer frame and one for the "lid." The outer edge has a small lip where I glued the "lid." Physically, this matched the real AD3 reasonably well. But, it had two significant problems. First, my green filament was nowhere near the dark Digilent color. And the lid had noticeable 3d printing artifacts.
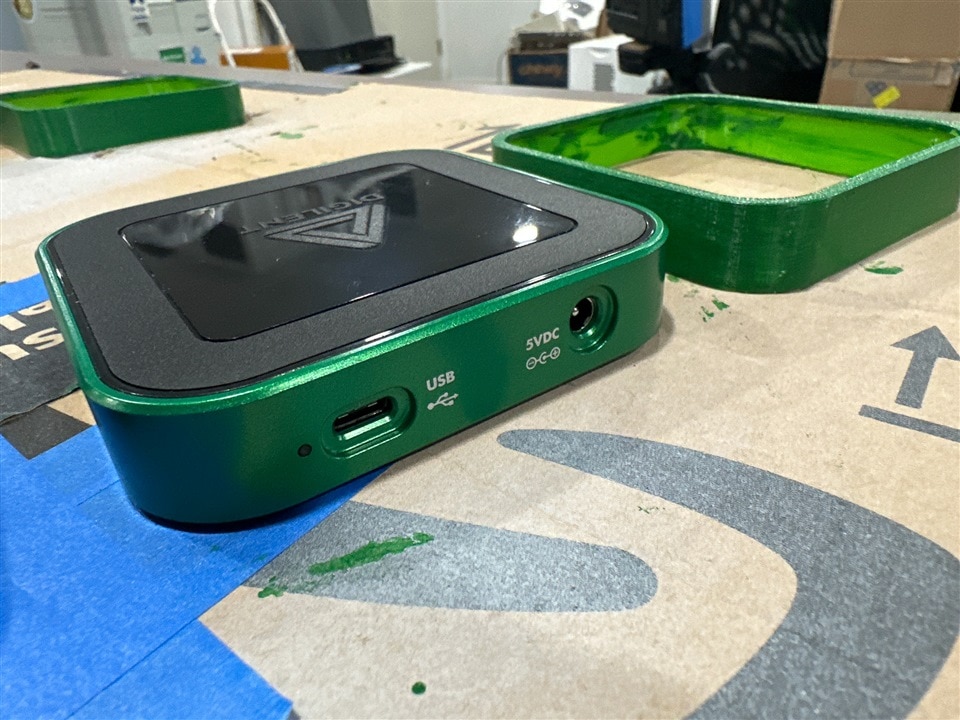
The color was an easy fix. I found some green paint at a craft supply store. Without mixing it, the result was shockingly close to the original color. And with a few coats, the 3D-printed lines mostly went away.
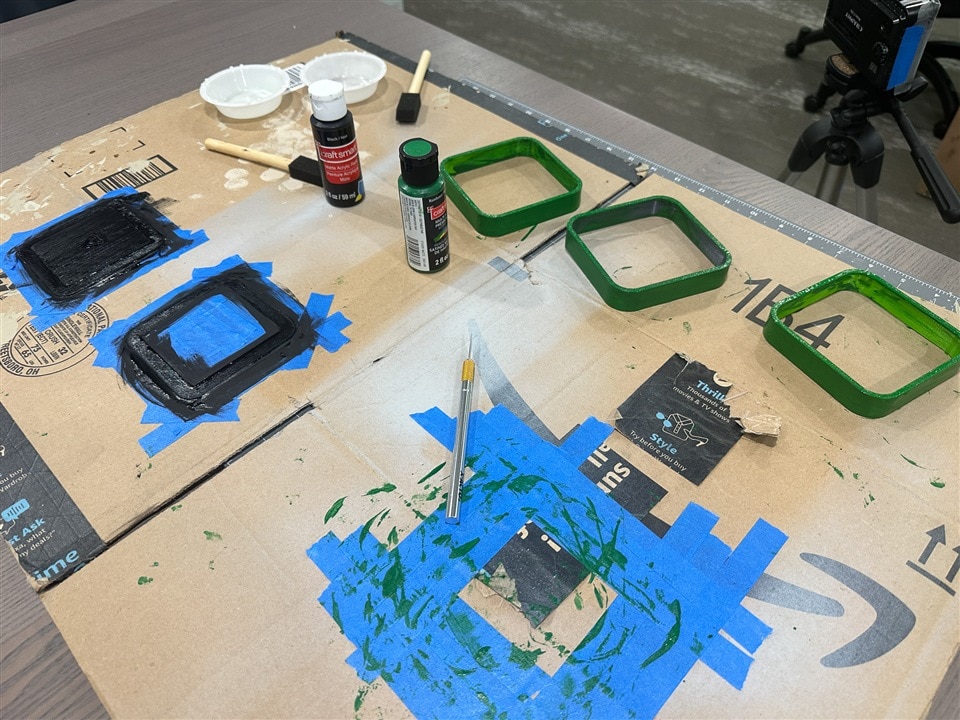
Also, I remembered one of my favorite lines from the movie "Contact." It goes something like: "Why have one when you can have two for the price of double?" Basically, always build a spare. So, I printed and painted enough parts to make three AD3 mock-ups. I planned to break two of them and save the third. (And that is what I did!)
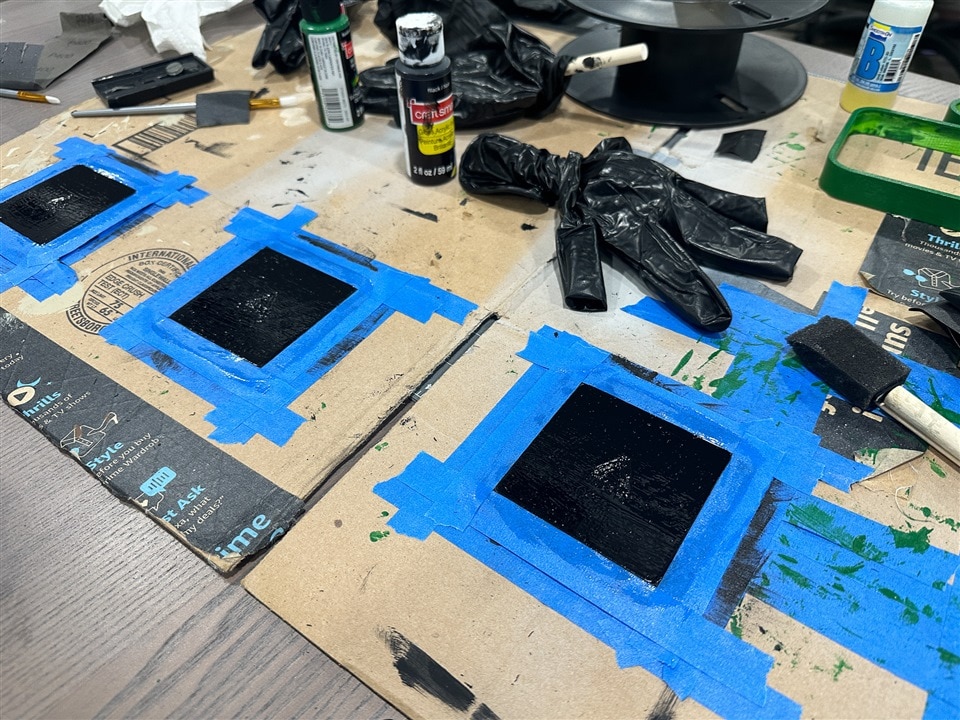
Dealing with the fill artifacts on the lid was complicated. Ironing the top layer made the artifacts worse! And I couldn't just add more layers or even go for a solid fill. I needed the lid to be fragile. So I filled the defects with some XTC resin and several layers of paint. It wasn't perfect, but the lids looked much better after that.
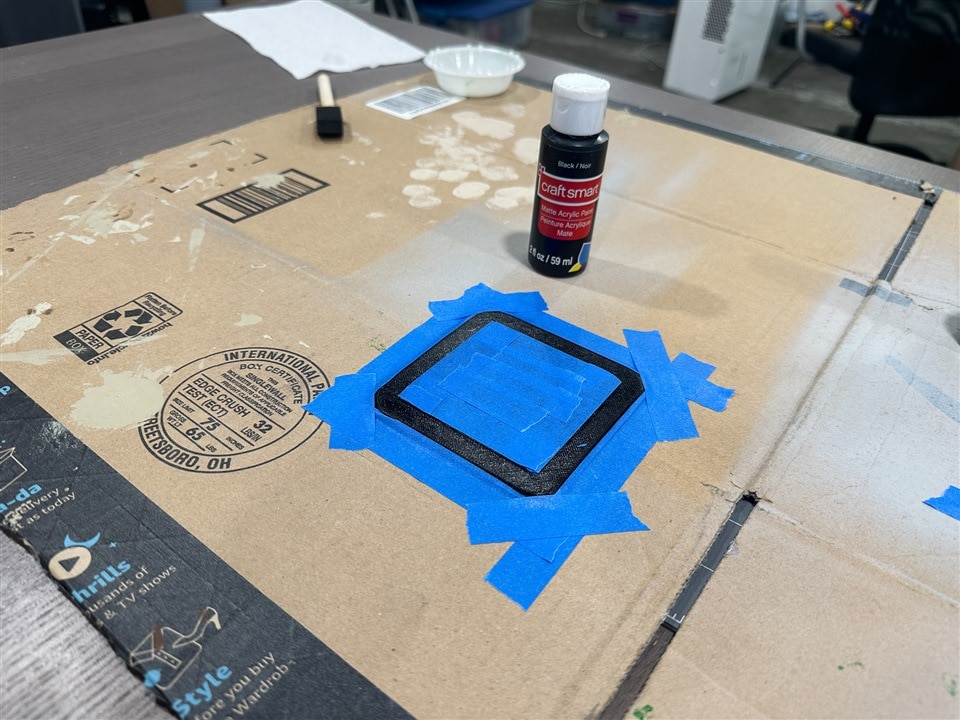
Also, I went one step further and painted the edge of the lid with matte-black paint. The real AD3's top has a similar two-tone style to it. The very top layer is shiny, and the "lower" layer is matte.
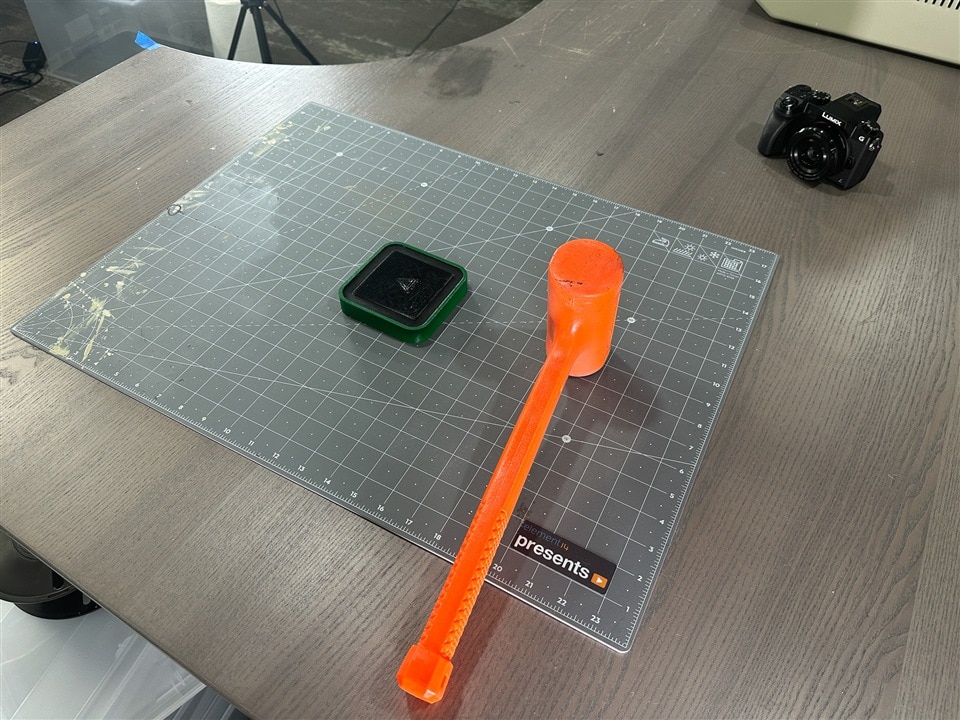
After that, I went bashy-bashy with my weighted hammer.
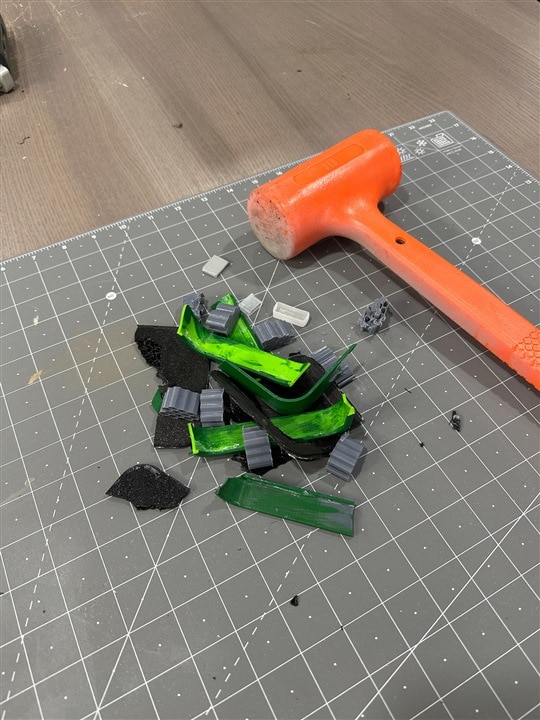
Contrary to some belief, the inside was not printed with a fill. However, I did "fill" it manually with random 3D-printed pieces and torn in-fill. I hoped to get more pieces flying around after the hammer's impact.
You can download the STLs here.
Anyway, the Analog Discover 3 is a great tool. And I would never consider breaking a real one. But it was a lot of fun to 3d print one and then hit it with a hammer.

