element14 Community
element14 Community
    Register Log In
  • Site
  • Search
  • Log In Register
  • About Us
  • Community Hub
    Community Hub
    • What's New on element14
    • Feedback and Support
    • Benefits of Membership
    • Personal Blogs
    • Members Area
    • Achievement Levels
  • Learn
    Learn
    • Ask an Expert
    • eBooks
    • element14 presents
    • Learning Center
    • Tech Spotlight
    • STEM Academy
    • Webinars, Training and Events
    • Learning Groups
  • Technologies
    Technologies
    • 3D Printing
    • FPGA
    • Industrial Automation
    • Internet of Things
    • Power & Energy
    • Sensors
    • Technology Groups
  • Challenges & Projects
    Challenges & Projects
    • Design Challenges
    • element14 presents Projects
    • Project14
    • Arduino Projects
    • Raspberry Pi Projects
    • Project Groups
  • Products
    Products
    • Arduino
    • Avnet Boards Community
    • Dev Tools
    • Manufacturers
    • Multicomp Pro
    • Product Groups
    • Raspberry Pi
    • RoadTests & Reviews
  • Store
    Store
    • Visit Your Store
    • Choose another store...
      • Europe
      •  Austria (German)
      •  Belgium (Dutch, French)
      •  Bulgaria (Bulgarian)
      •  Czech Republic (Czech)
      •  Denmark (Danish)
      •  Estonia (Estonian)
      •  Finland (Finnish)
      •  France (French)
      •  Germany (German)
      •  Hungary (Hungarian)
      •  Ireland
      •  Israel
      •  Italy (Italian)
      •  Latvia (Latvian)
      •  
      •  Lithuania (Lithuanian)
      •  Netherlands (Dutch)
      •  Norway (Norwegian)
      •  Poland (Polish)
      •  Portugal (Portuguese)
      •  Romania (Romanian)
      •  Russia (Russian)
      •  Slovakia (Slovak)
      •  Slovenia (Slovenian)
      •  Spain (Spanish)
      •  Sweden (Swedish)
      •  Switzerland(German, French)
      •  Turkey (Turkish)
      •  United Kingdom
      • Asia Pacific
      •  Australia
      •  China
      •  Hong Kong
      •  India
      •  Korea (Korean)
      •  Malaysia
      •  New Zealand
      •  Philippines
      •  Singapore
      •  Taiwan
      •  Thailand (Thai)
      • Americas
      •  Brazil (Portuguese)
      •  Canada
      •  Mexico (Spanish)
      •  United States
      Can't find the country/region you're looking for? Visit our export site or find a local distributor.
  • Translate
  • Profile
  • Settings
Arduino Projects
  • Products
  • Arduino
  • Arduino Projects
  • More
  • Cancel
Arduino Projects
Blog Animation on the Arduino Uno R4 WiFi
  • Blog
  • Documents
  • Events
  • Polls
  • Files
  • Members
  • Mentions
  • Sub-Groups
  • Tags
  • More
  • Cancel
  • New
Join Arduino Projects to participate - click to join for free!
  • Share
  • More
  • Cancel
Group Actions
  • Group RSS
  • More
  • Cancel
Engagement
  • Author Author: fmilburn
  • Date Created: 3 Jul 2023 2:55 AM Date Created
  • Views 5439 views
  • Likes 12 likes
  • Comments 10 comments
  • graphics
  • animation
  • led matrix
  • arduino uno r4 wifi
  • Arduino Uno R4 Minima
Related
Recommended

Animation on the Arduino Uno R4 WiFi

fmilburn
fmilburn
3 Jul 2023

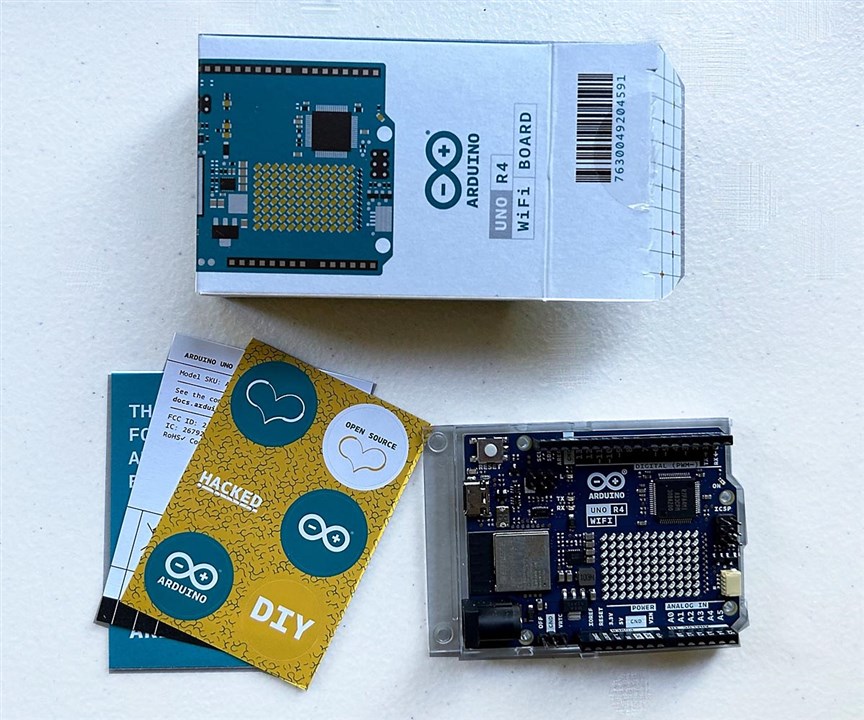
element14 and Arduino were kind enough to send me the new Arduino Uno R4 WiFi and an R4 Minima to try out.  I have a 12 year old grandson who is interested in computers and plan to introduce him to Arduino this summer.  He is already knowledgable about Scratch and has used it with Lego and to animate short cartoons.  Since one of his main interest in computers is games, animation with the Arduino seemed a good place to start.

The Uno R4 WiFi has a 12 column x 8 row LED matrix on the board.

image

There is an Arduino example and an online link to a web page that generated images but I felt it abstracted too much away and he wouldn't learn any more than what he would using Scratch.  To gain more understanding I created a spreadsheet array with 12 columns and 8 rows as follows:

image

To start, the cells are full of zeros - equivalent to all the LEDs off.  To turn on a cell, enter a one.  The spreadsheet has conditional formatting to turn the cell red when a one is entered.  This allows simple images to be quickly created.  To show how the data is stored in memory a second array is used as follows:

image

The data is stored in three 32-bit unsigned integers as shown in the blue, yellow, and green outlined areas.  The cells correspond to individual bits.  It would be possible to enter binary numbers directly off of the first array but real nerds use hexadecimal notation.  So multiply the ones and zeros in the first array by the corresponding binary bit value in the second array to get the following:

image

Now if we add the numbers in the shaded areas up we get the base 10 value of the three unsigned integers and it can be converted to hex if desired as shown in the outlined boxes:

image

But what about animation?  Just duplicate the arrays down the page and cut and paste the desired areas into new areas in zeroed out areas kind of like moving a sprite as shown below.  The values for the next frame are auto-magically calculated.

image

Now we have all the values necessary to create an animation.  Arduino provides a library for displaying animations but it wouldn't be hard to create one if I could be bothered to look up where the memory locations of the LEDs are.  For now I will use the library.  The animation code is all in setup with the loop empty as shown below:

#include "Arduino_LED_Matrix.h"
#include "animation.h"

ArduinoLEDMatrix matrix;

void setup() {
  Serial.begin(115200);
  matrix.loadSequence(animation);
  matrix.begin();
  matrix.play(true);
}

void loop() {
}

The data for the animation which was developed in the spreadsheet is stored as C arrays in animation.h.  The fourth integer is in the time in milliseconds before moving to the next frame.

const uint32_t animation[][4] = {
  { //13
    0x0,                           
    0x0,
    0x0,
    100
  },
{  //12
		0x0,
		0x10010010,
		0x1001000,
		100
  },
  {  //11
		0x100,
		0x20020030,
		0x2002001,
	  100
  },
  {  //10
		0x300,
		0x40040070,
		0x4004003,
		100
  },
  {  //9
 		0x600,
		0x900900F0,
		0x8009006,
		100
  },
  {  //8
 		0xC01,
		0x201201E0,
		0x1001200C,
		100
  },
  {  //7
		0x101902,
		0x502503D0,
		0x21025019,
		100
  },
  {  //6
 		0x203204,
		0xA04A07A0,
		0x4204A032,
		100
  },
  {  //5
		0x506509,
		0x50950F40,
		0x84094064,
		100
  },
  {//4
		0xA0CA12,
		0xA12B1E81,
		0x81280C8,
		100
  },
  {  //3
		0x1519525,
		0x52573D12,
		0x11251191,
		100
  },
  {  //2
		0x2A32A4A,
		0xA4AF7A24,
		0x224A2322,
		100
  },
  {  //1
    0x2A32A4A,
    0xA4AF7A24,
    0x224A2322,
    100
  },
  {  //0
    0x5465495, 
    0x495EF448,
    0x44944644,
    10000
  }
};

And here you have it:

You don't have permission to edit metadata of this video.
Edit media
x
image
Upload Preview
image

It is a fun little board.  The Qwiic connector will make it easy to use some of the breakout boards I have on hand and it has the memory, speed, and WiFi to power the little robots I often make.  Thanks for reading and comments are always welcome.

  • Sign in to reply

Top Comments

  • fmilburn
    fmilburn over 2 years ago +1
    I did a quick test to see how quickly the R3, R4 Minima, and R4 WiFi compiled and uploaded. I'm using the "blink" sketch and two different IDE versions without modification. Here are the results: It…
  • AmmoBops
    AmmoBops over 2 years ago +1
    For those of you who dont have the #include<animation.h> library you can use the code below: (to create your own custom animation youll just need to calculate the values) #include "Arduino_LED_Matrix…
  • KG7IL
    KG7IL over 1 year ago in reply to AmmoBops +1
    It looks like animation.h is provided on this page.
  • KG7IL
    KG7IL over 1 year ago in reply to AmmoBops

    It looks like animation.h is provided on this page. 

    • Cancel
    • Vote Up +1 Vote Down
    • Sign in to reply
    • More
    • Cancel
  • fmilburn
    fmilburn over 2 years ago in reply to thinhnguyen

    I had a quick look - can’t see where it has been implemented yet

    • Cancel
    • Vote Up 0 Vote Down
    • Sign in to reply
    • More
    • Cancel
  • AmmoBops
    AmmoBops over 2 years ago

    For those of you who dont have the #include<animation.h> library 

    you can use the code below: (to create your own custom animation youll just need to calculate the values)

    #include "Arduino_LED_Matrix.h"
    #include <stdint.h>

    ArduinoLEDMatrix matrix;

    const uint32_t frames[][4] = {
      { //13
        0x0,                          
        0x0,
        0x0,
        100
      },
    {  //12
        0x0,
        0x10010010,
        0x1001000,
        100
      },
      {  //11
        0x100,
        0x20020030,
        0x2002001,
        100
      },
      {  //10
        0x300,
        0x40040070,
        0x4004003,
        100
      },
      {  //9
        0x600,
        0x900900F0,
        0x8009006,
        100
      },
      {  //8
        0xC01,
        0x201201E0,
        0x1001200C,
        100
      },
      {  //7
        0x101902,
        0x502503D0,
        0x21025019,
        100
      },
      {  //6
        0x203204,
        0xA04A07A0,
        0x4204A032,
        100
      },
      {  //5
        0x506509,
        0x50950F40,
        0x84094064,
        100
      },
      {//4
        0xA0CA12,
        0xA12B1E81,
        0x81280C8,
        100
      },
      {  //3
        0x1519525,
        0x52573D12,
        0x11251191,
        100
      },
      {  //2
        0x2A32A4A,
        0xA4AF7A24,
        0x224A2322,
        100
      },
      {  //1
        0x2A32A4A,
        0xA4AF7A24,
        0x224A2322,
        100
      },
      {  //0
        0x5465495,
        0x495EF448,
        0x44944644,
        100
      }
    };

    void setup() {
      Serial.begin(115200);
    }

    void loop() {
       // you can also load frames at runtime, without stopping the refresh
      matrix.loadSequence(frames);
      matrix.begin();
      // turn on autoscroll to avoid calling next() to show the next frame; the parameter is in milliseconds
      // matrix.autoscroll(300);
      matrix.play(true);
    }
    • Cancel
    • Vote Up +1 Vote Down
    • Sign in to reply
    • More
    • Cancel
  • fmilburn
    fmilburn over 2 years ago in reply to thinhnguyen

    Hi, no I haven’t tried it yet. If I can get time I will try and report back here. It will likely be a few days. Anyone else tried it?

    • Cancel
    • Vote Up 0 Vote Down
    • Sign in to reply
    • More
    • Cancel
  • thinhnguyen
    thinhnguyen over 2 years ago

    Hi, do you know how to compile and upload sketch via wifi with R4 wifi? something like OTA for Uno Wifi docs.arduino.cc/.../ota-getting-started

    • Cancel
    • Vote Up 0 Vote Down
    • Sign in to reply
    • More
    • Cancel
>
element14 Community

element14 is the first online community specifically for engineers. Connect with your peers and get expert answers to your questions.

  • Members
  • Learn
  • Technologies
  • Challenges & Projects
  • Products
  • Store
  • About Us
  • Feedback & Support
  • FAQs
  • Terms of Use
  • Privacy Policy
  • Legal and Copyright Notices
  • Sitemap
  • Cookies

An Avnet Company © 2025 Premier Farnell Limited. All Rights Reserved.

Premier Farnell Ltd, registered in England and Wales (no 00876412), registered office: Farnell House, Forge Lane, Leeds LS12 2NE.

ICP 备案号 10220084.

Follow element14

  • X
  • Facebook
  • linkedin
  • YouTube