Traffic lights are an essential part of our daily commute, keeping intersections safe and organized. But have you ever wondered how they work? In this blog, we'll embark on a fun project: building a basic traffic light controller using an Arduino Uno R4 and a pre-made traffic light module!
Happy Arduino Day, makers!
Supplies
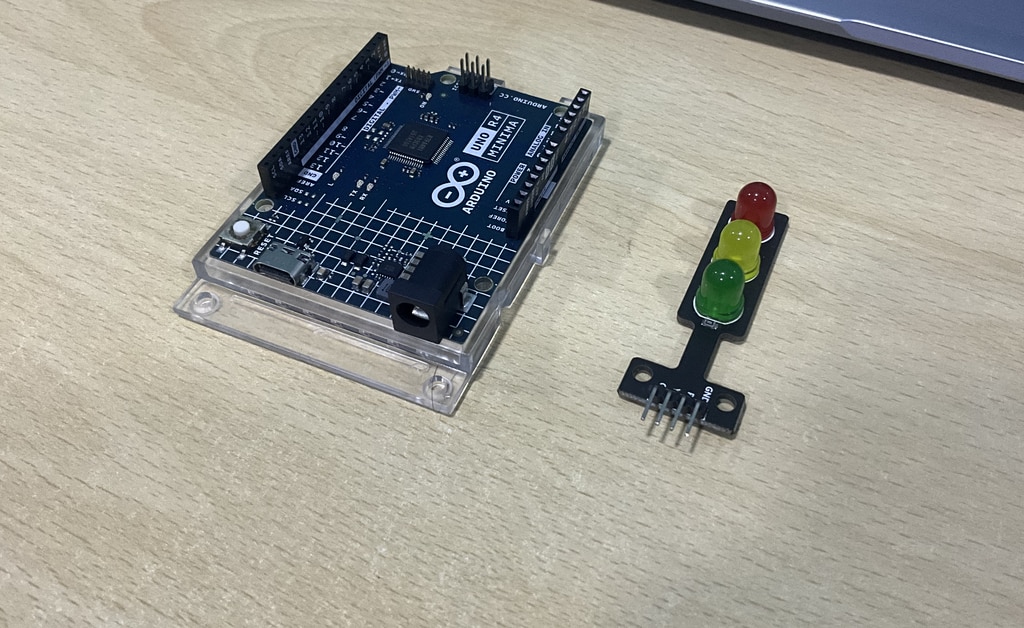
- Arduino Uno R4 x 1
- Traffic light module (with Red, Yellow, and Green LEDs) x 1
- USB cable x 1
Step 1: Connecting the Traffic Light Module
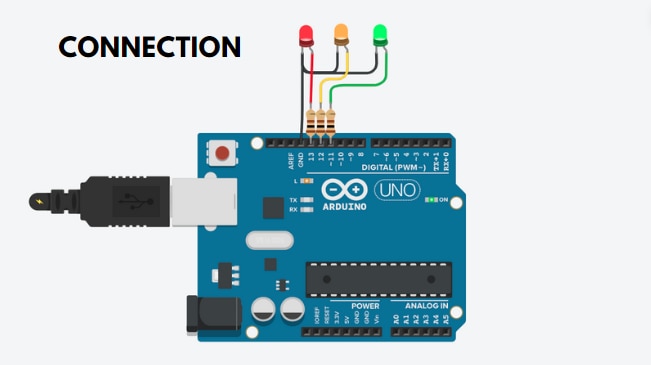
Connect the positive terminals (after resistors) of the Red, Yellow, and Green LEDs to digital pins D13, D12, and D11 of the Arduino Uno R4, respectively.
Step 2: Programming the Arduino
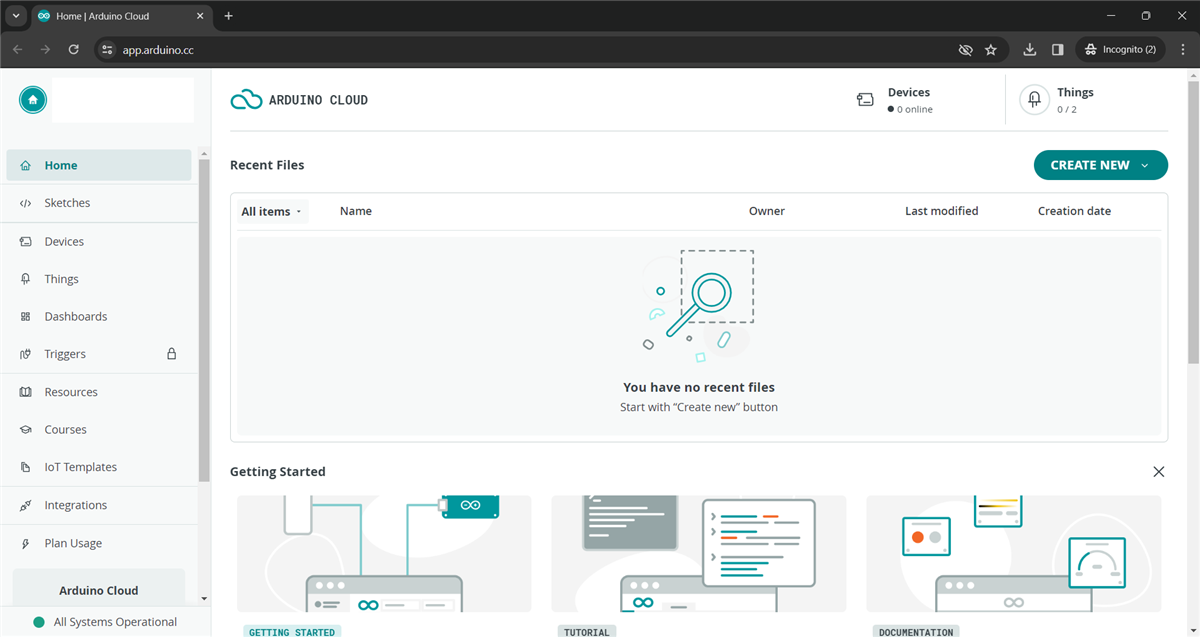
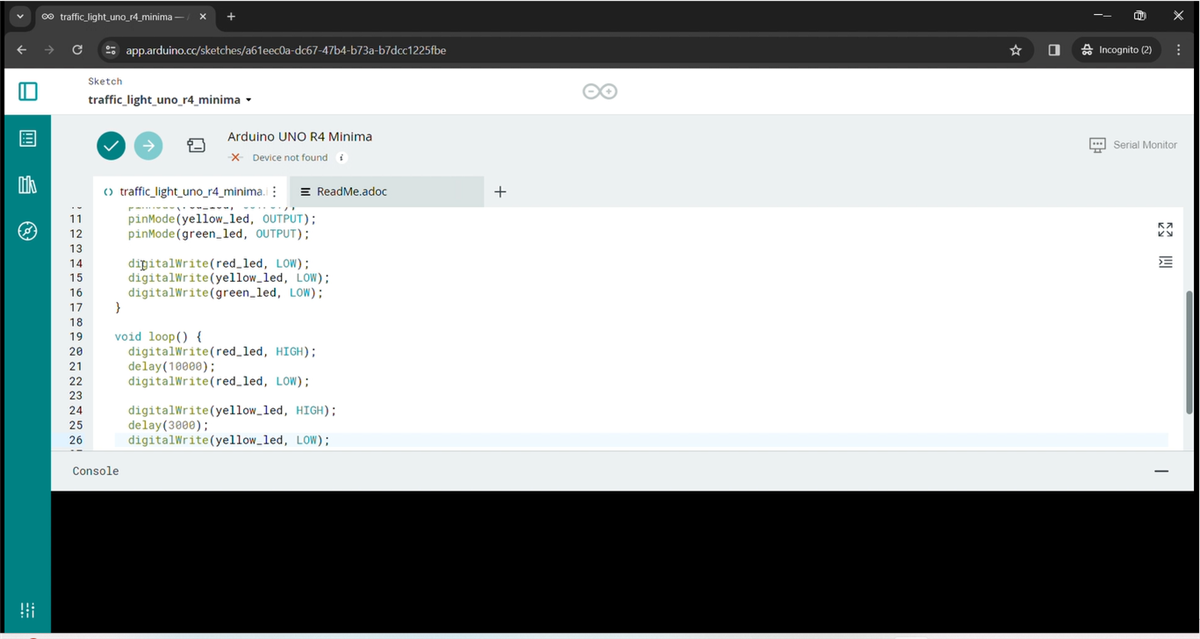
We will be using the Arduino Cloud IDE for this project. Log into the Arduino Cloud IDE and create a new sketch. Write the following code.
CODE
int red_led = 13;
int yellow_led = 12;
int green_led = 11;

void setup() {
  pinMode(red_led, OUTPUT);
  pinMode(yellow_led, OUTPUT);
  pinMode(green_led, OUTPUT);

  digitalWrite(red_led, LOW);
  digitalWrite(yellow_led, LOW);
  digitalWrite(green_led, LOW);
}

void loop() {
  digitalWrite(red_led, HIGH);
  delay(10000);
  digitalWrite(red_led, LOW);

  digitalWrite(yellow_led, HIGH);
  delay(3000);
  digitalWrite(yellow_led, LOW);

  digitalWrite(green_led, HIGH);
  delay(10000);
  digitalWrite(green_led, LOW);

  digitalWrite(yellow_led, HIGH);
  delay(5000);
  digitalWrite(yellow_led, LOW);
}
The code defines constant variables for the PINs connected to the traffic light module's LEDs (red_led, yellow_led, green_led).In the setup() function, the pins are declared as outputs, allowing the Arduino to control the LEDs. The loop() function continuously cycles through the traffic light sequence: Red light turns on for a set duration (adjustable with delay()). Optional yellow light (comment out the lines if not desired), green light turns on for a set duration.
Step 3: Compiling and Uploading
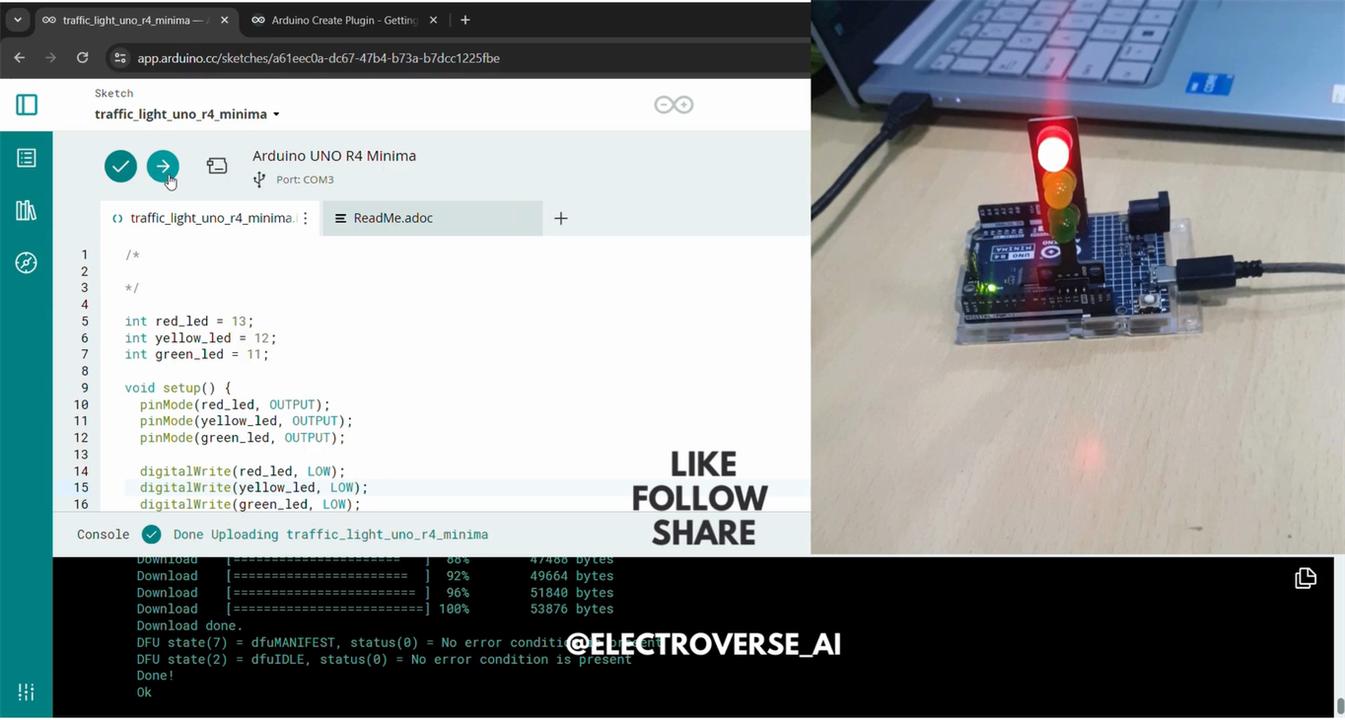
- Connect the Arduino Uno R4 to your computer using the USB cable.
- Select Board: In the Arduino IDE, select the appropriate board type from the "Tools" menu -> "Board" (likely "Arduino Uno").
- Select Port: Choose the correct serial port your Arduino is connected to under "Tools" -> "Port."Upload!
- Click the "Upload" button (which looks like an arrow pointing to a board) to upload the code to your Arduino.
Step 4: Traffic Light in Action!
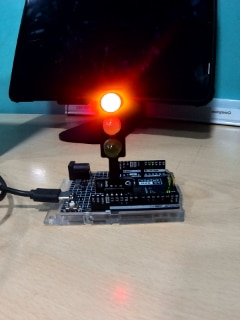
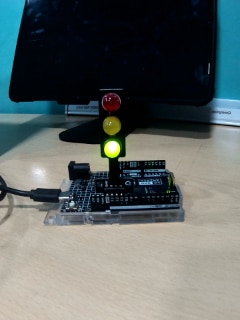
Once the code is uploaded, your traffic light module should start functioning, mimicking a basic traffic light sequence. You can adjust the delays in the delay() functions within the code to customize the timing for each light.
We finally did this project successfully.
Read my review on the Arduino Uno R4 Minima here: Arduino Uno R4 Minima
Thanks for reading!


Top Comments