
Welcome to the NI (now part of Emerson) page on element14.

Emerson delivers future-ready test and measurement solutions through the power of the NI platform—a combination of high-performance open software, modular hardware, and AI-driven capabilities that enhance productivity. Flexible and scalable, the NI platform transforms how engineers automate measurement, control, and testing of complex products that move our world forward.
Check out the following video if you're interested in how button debouncing functions.
Hello, my name is Timi Folayan and I am a SDE intern here at NI. I've noticed most of the community's DAQ content assumes you're using LabVIEW, which makes sense - it's the flagship tool. But I come from a software engineering background, and I wanted to see how far I could get controlling a mioDAQ using nothing but Python and the official nidaqmx-python API.
This is the first post in a short series where I'll build up complexity one step at a time: this post just turns an LED on, the next will read a button press, and eventually I'll combine input and output into something interactive. Starting simple on purpose - if you're newer to hardware, this is meant to be a post you can follow along with on your own bench.
What you'll need
nidaqmx installed (pip install nidaqmx) and the NI-DAQmx driver installed*A note on scope*
This post only turns the pushbutton's built-in LED on - it doesn't read the button press yet. I'm keeping input and output separate for now so each post in the series stays focused on one concept at a time.
Wiring it up

The LED lead from the pushbutton connects to P0.0 through a 10kΩ current-limiting resistor. The other LED lead ties into the mioDAQ's DGND. That's it for this post - the switch contacts on the pushbutton aren't wired yet.
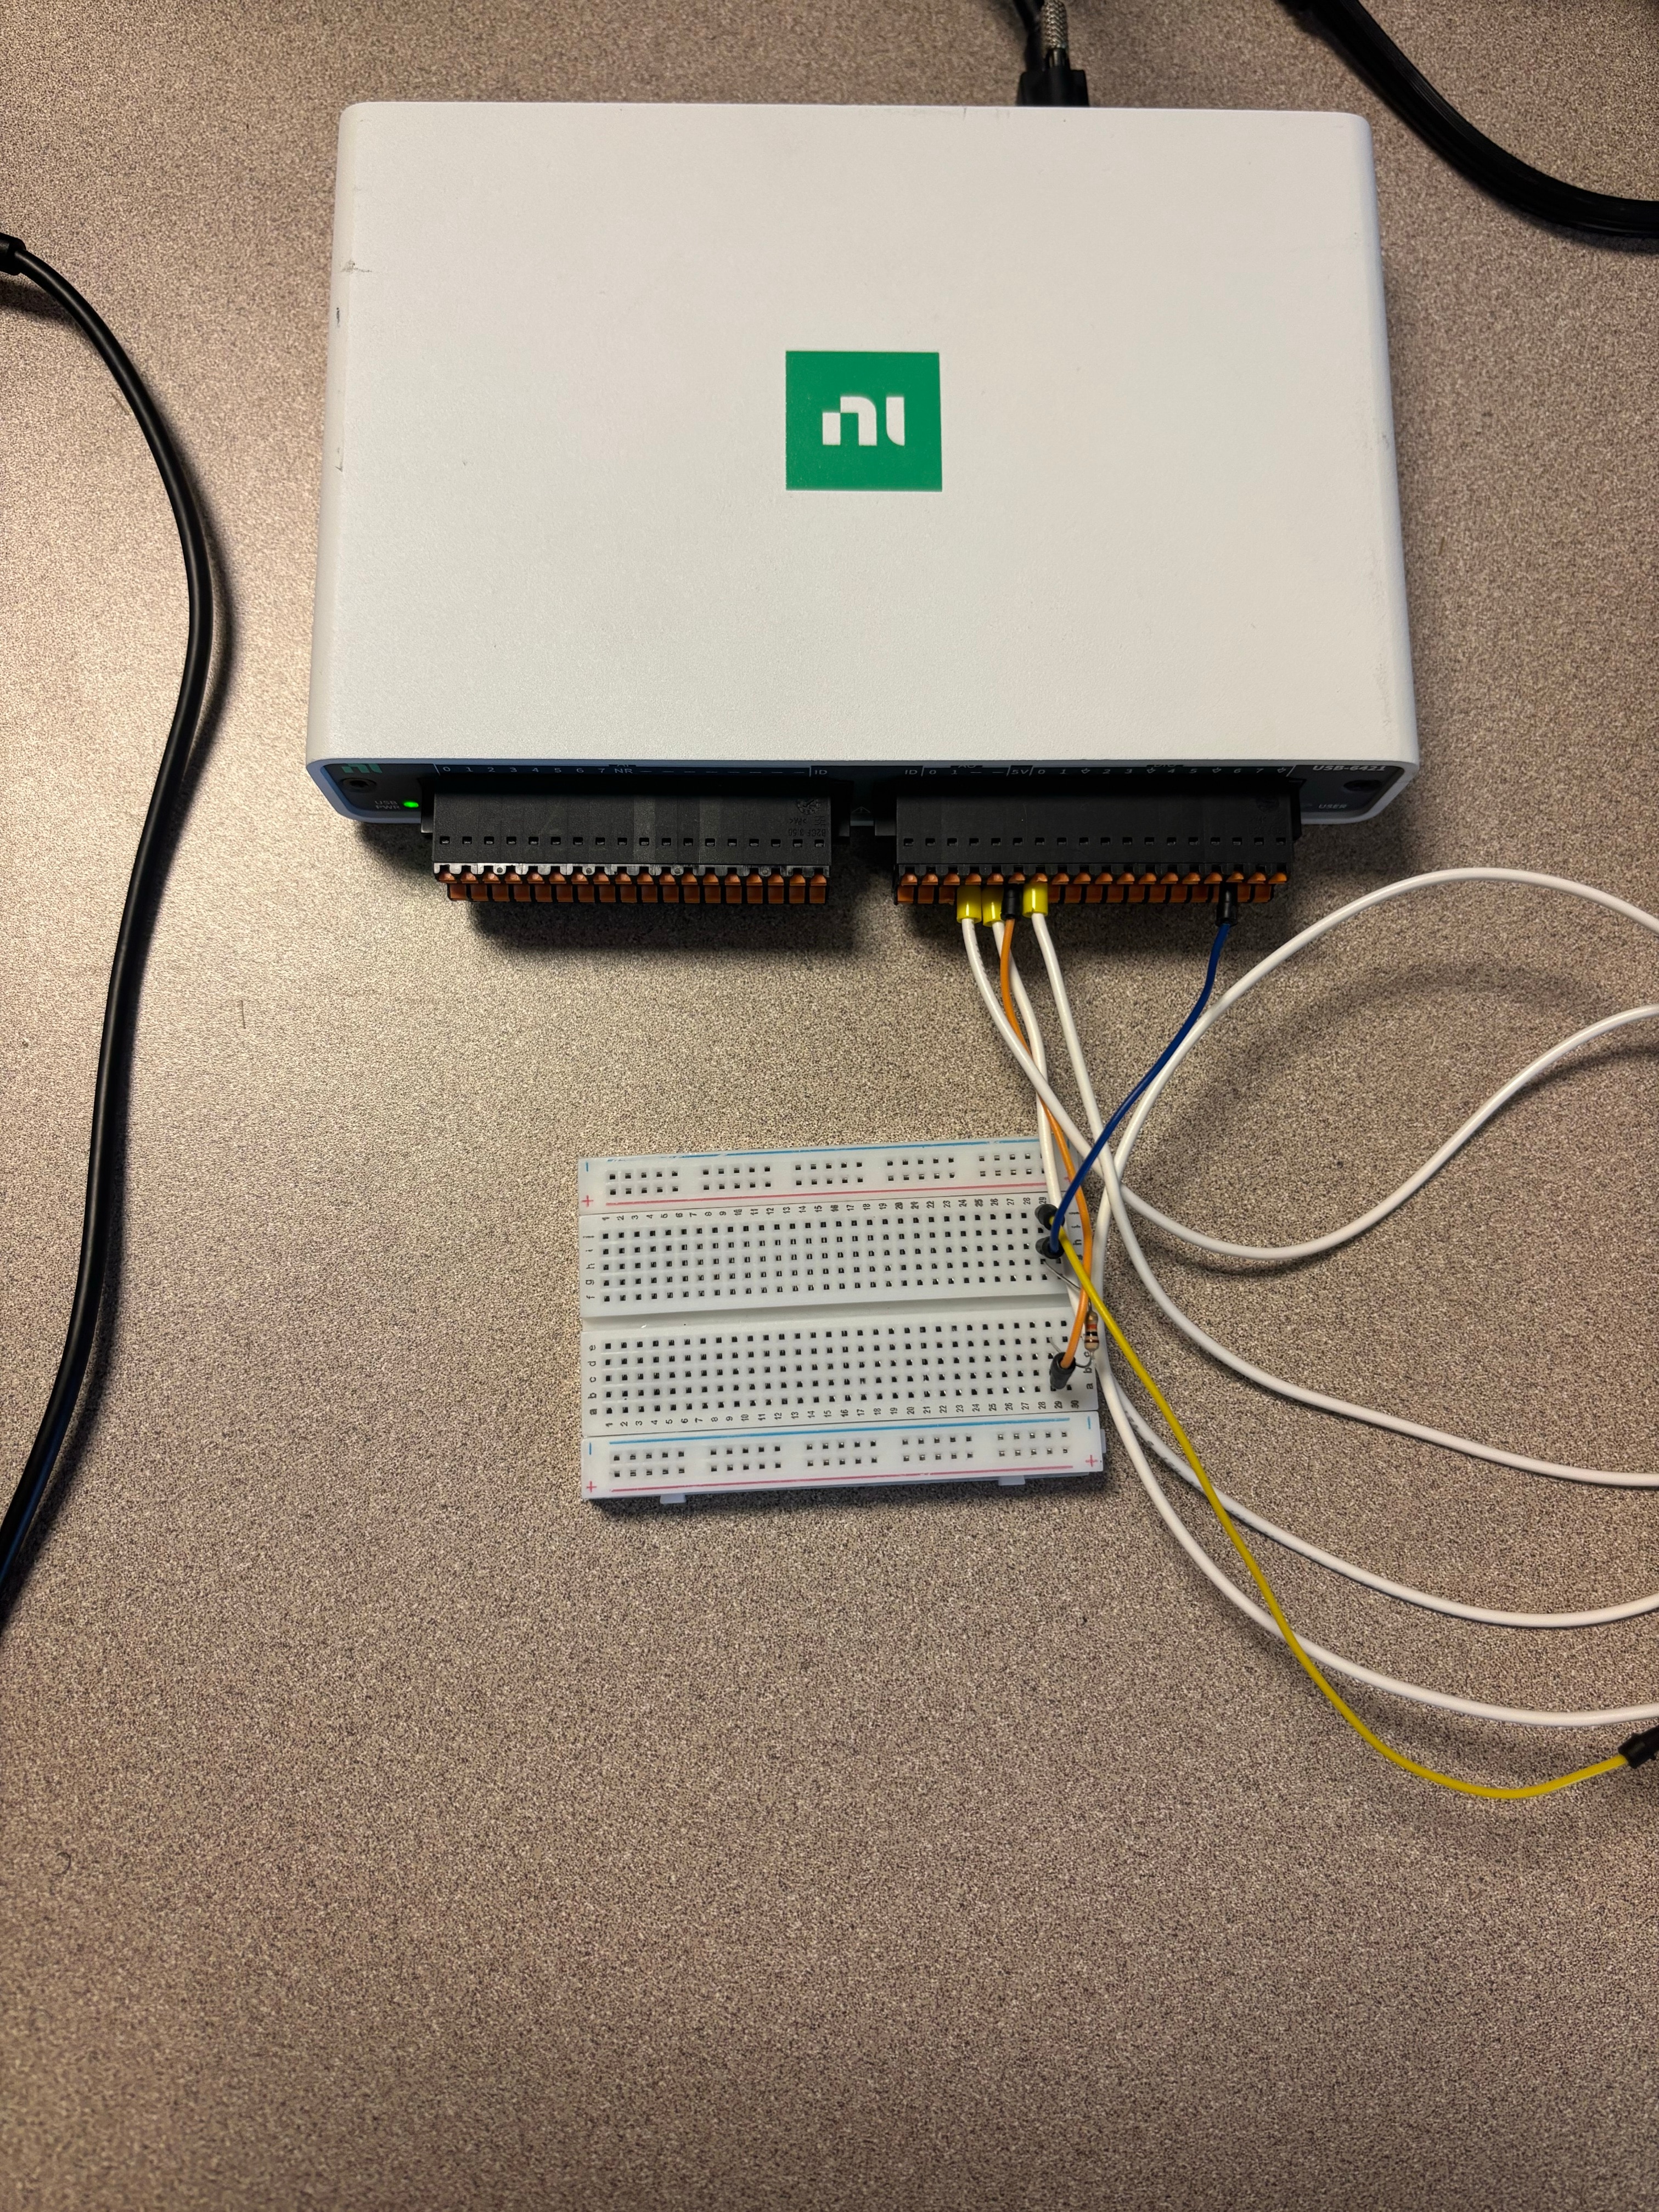
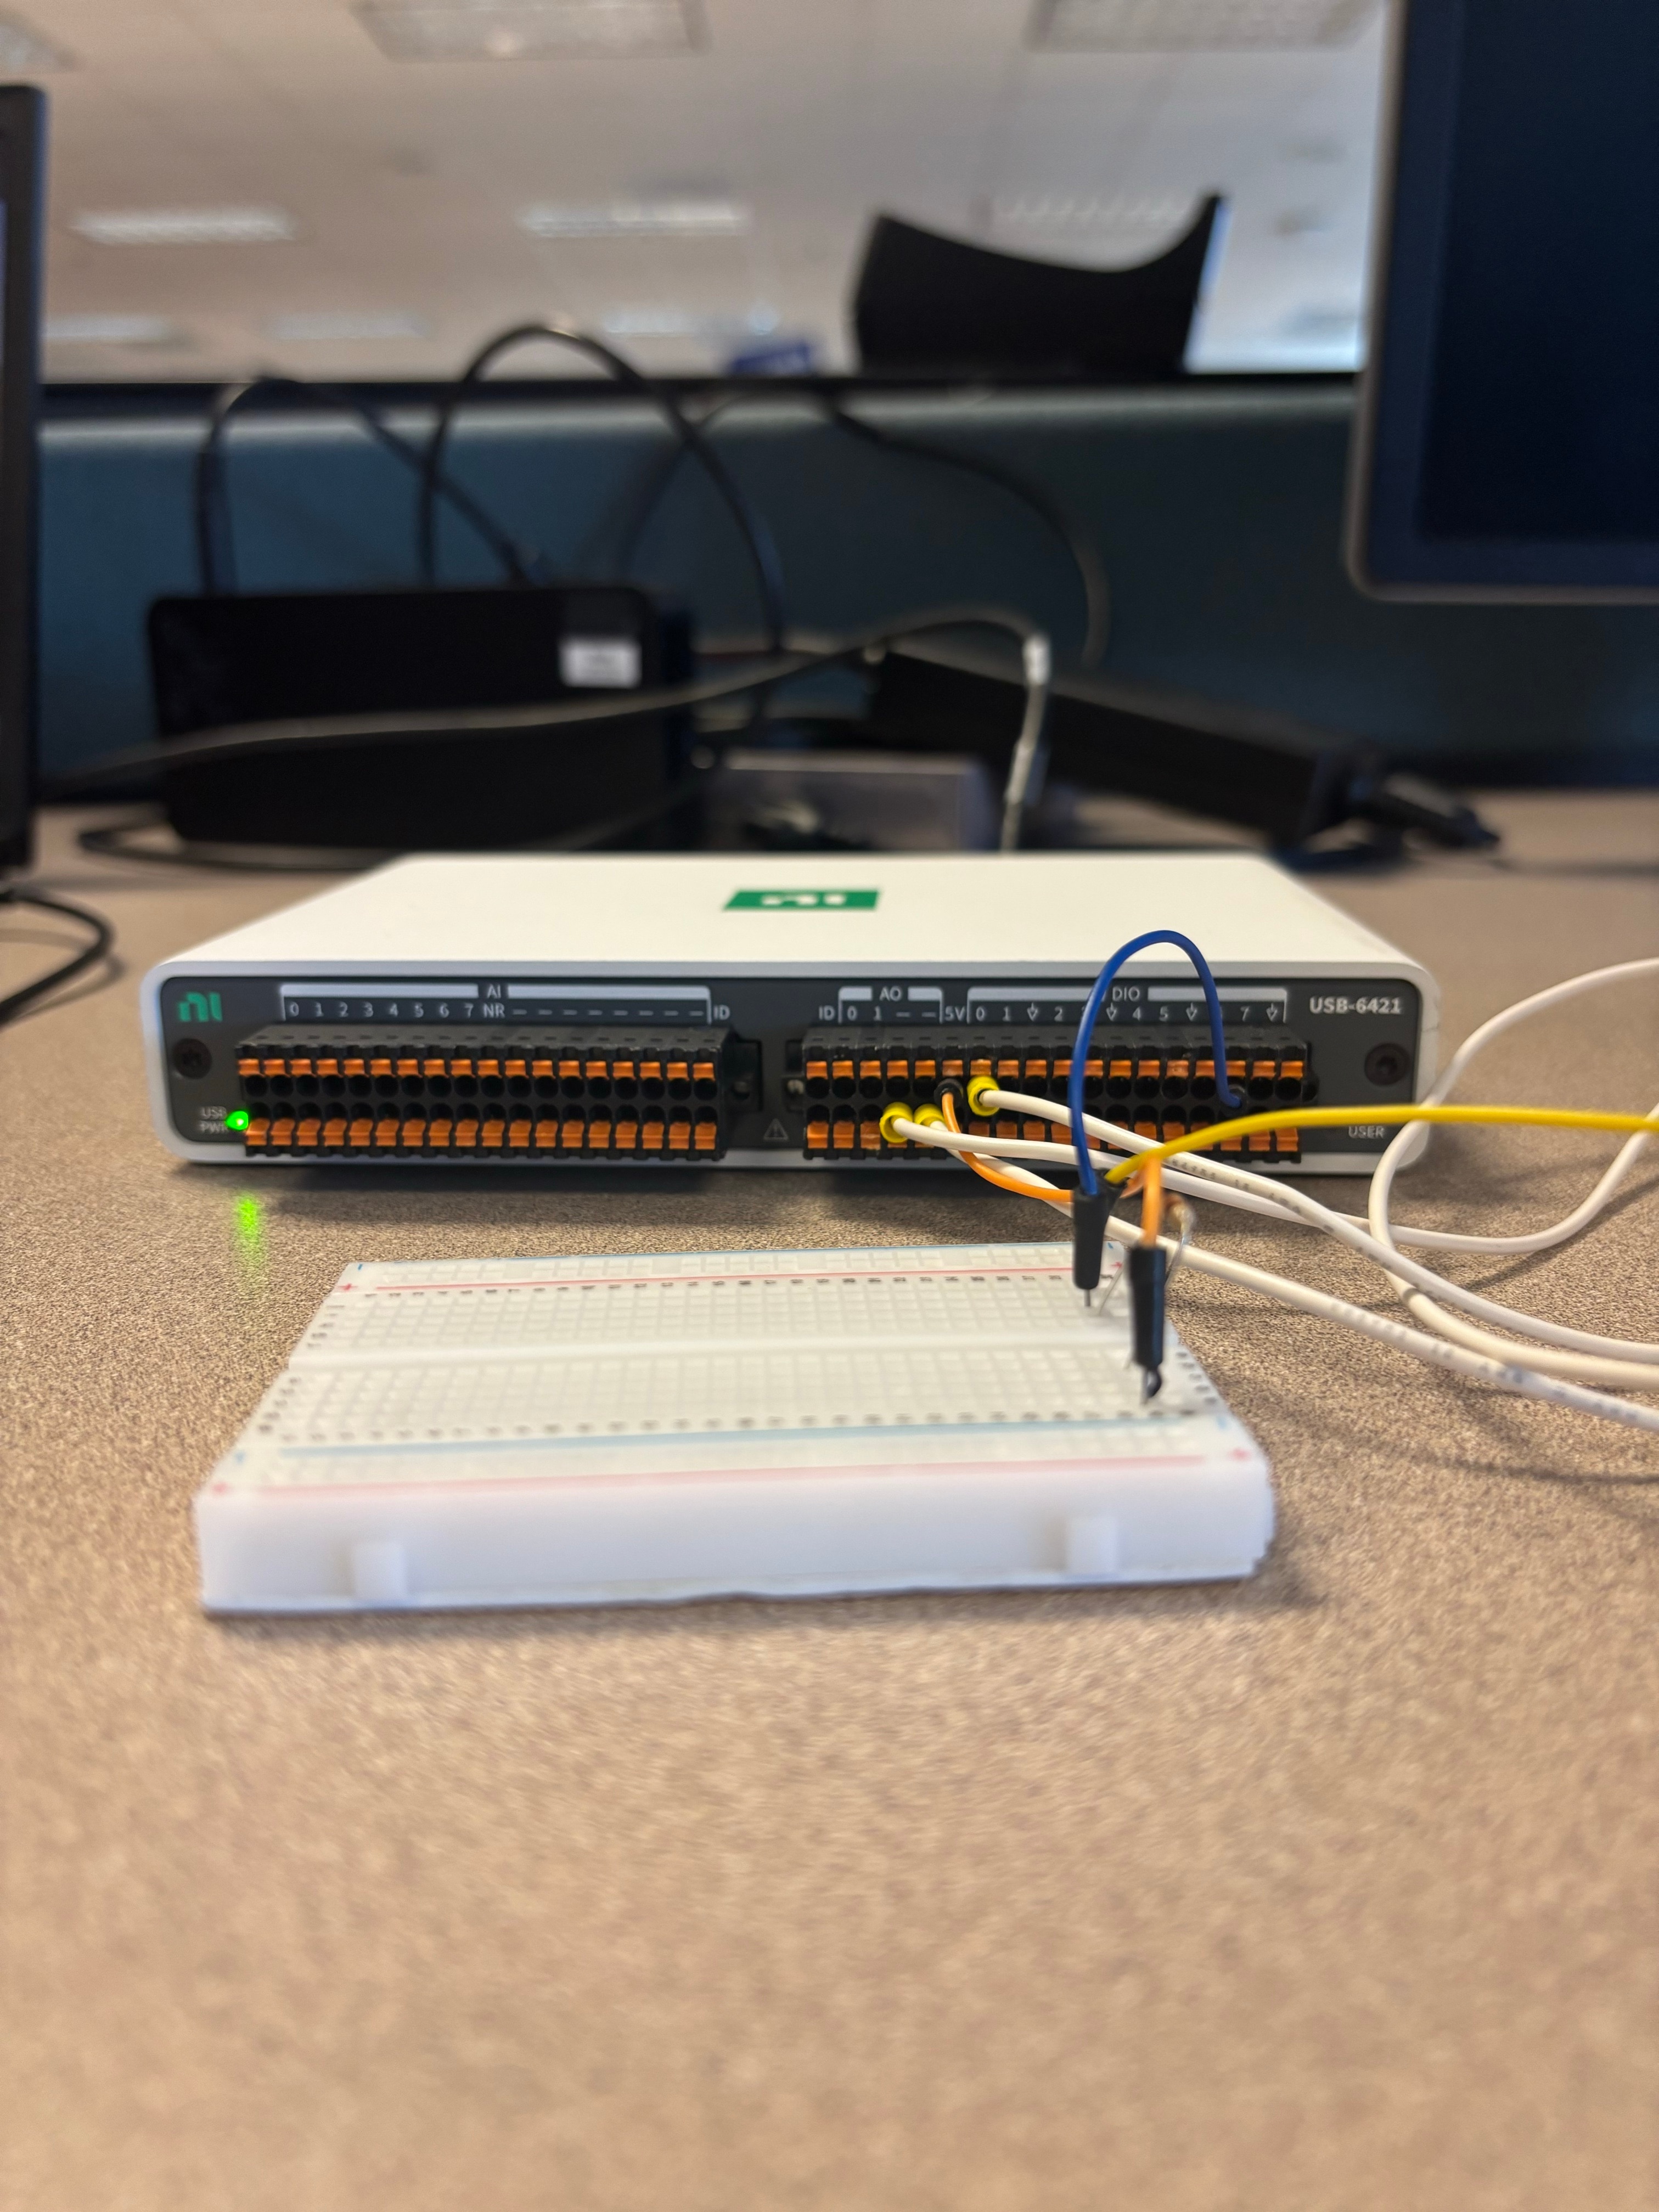
Two ways to write to an mioDAQ: analog vs. digital
The nidaqmx-python examples repo includes both analog and digital output patterns. Since a pushbutton LED is a simple on/off device, digital output is the right fit here — but it's worth seeing the analog version too, since it's the same basic task/channel pattern applied to a continuous voltage instead of a binary line.
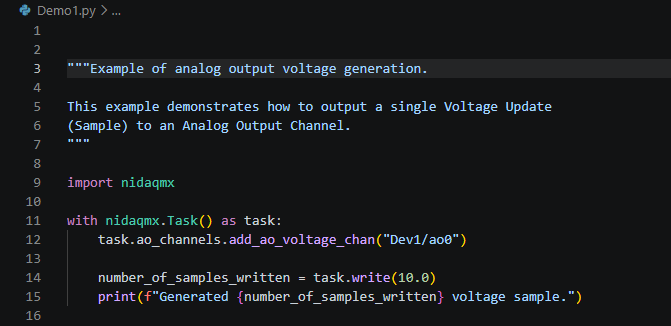
Analog output writes a specific voltage value (here, 10.0 V) to an analog channel - useful for things like driving a motor speed or simulating a sensor signal, where you need more than just on/off.
The digital output code (what I'm actually using)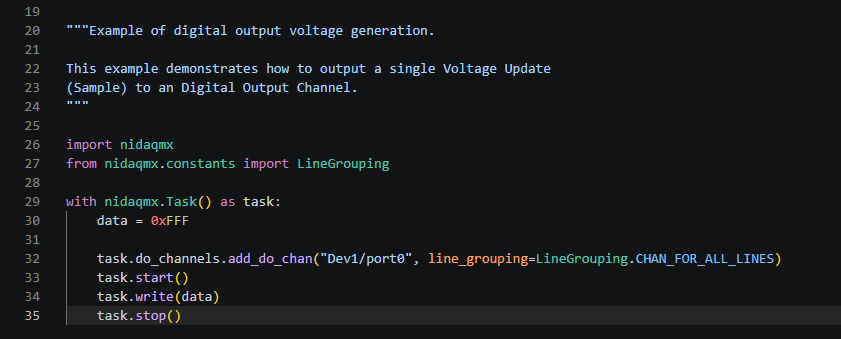
Demo Video:
Reference
The examples I started from are in the official nidaqmx-python repo: github.com/ni/nidaqmx-python - worth a look if you want to see the full range of what the API covers beyond digital and analog output.
Up next
Post 2 in this series will read the pushbutton's actual switch state as a digital input - the first step toward making this interactive instead of just scripted.
The Setup
At National Instruments, a group of engineers got together and hosted an intern hackathon. The goal of the hackathon was to expose new people to hardware and software alike. The hackathon consisted of a few workshops that helped people develop the mentality of communicating hardware with software. Then during the 8 hour event, interns were tasked with configuring a wall of buttons, which emulated the popular game "Speed of Light".

Goal
The base goal was to get one light to appear. When pushed, the light disappears, the score goes up, and a new light turns on. Once every team achieved that task, the goal was to get the game to be fun in some unique way. Some teams were able to go above and beyond and create new features such as leaderboards, playing music, animations, or having more lights lit up at once.
Going further
I'm excited to share what came from this event and how it was put together. I'm looking forward to posting more here. A big thank you Norm and all the engineers that made this hackathon possible.
Our webinar, Ensuring Product Quality in Regulated Industries – Lessons Learned from the MedTech Industry, is just two daysaway.
Join us to learn how a platform-based approach to test and measurement can help you accelerate development, scale with confidence, andmaintain quality throughout the product lifecycle. Using a real-world smart patient monitor case study, we'll explore practical lessons fromMedTech that can be applied to a wide range of regulated industries.
 Test and measurement in MedTech Best practices for high-quality product design Smart patient monitor case study Live Q&A with Leen
 Register now and secure your spot before it's too late.
Ensuring Product Quality in Regulated Industries - Lessons Learned from the MedTech Industry

As complexity grows, teams must maintain traceability, consistency, and compliance while accelerating development.
This whitepaper uses medical devices as an example of how organizations can adopt a Universal Test Architecture (UTA) and connected, modular platforms to support AI-driven workflows without sacrificing control or scalability.
 Building an AI-Ready Test Architecture for Medical Devices explores how architecture determines whether AI enables efficient scale—or creates fragmentation.
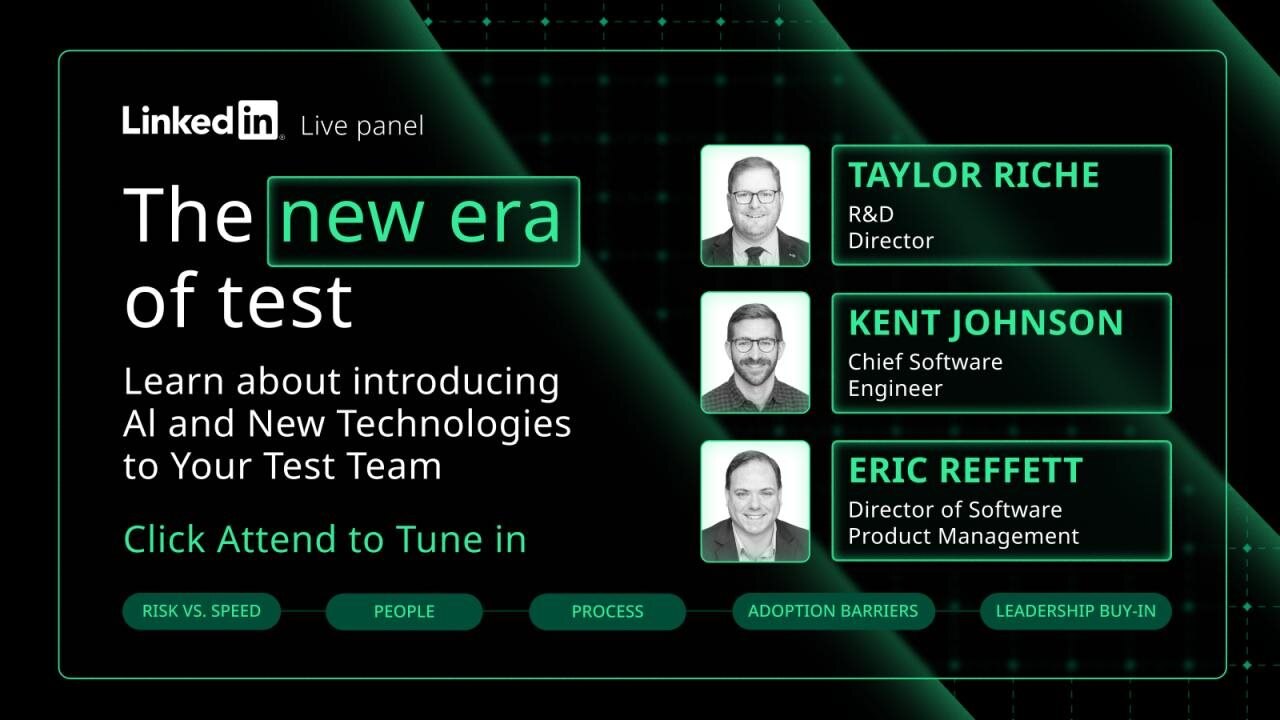
Discover how your test organization can responsibly introduce AI into complex engineering environments. Taylor Riché, Ph.D., Kent Johnson, and Eric Reffett, MBA, MIM, are ready to talk through earning needed buy-in and setting the right guardrails to keep engineers in control as your team adopts new tools.
Join us live next Tuesday: Introducing AI and New Technologies to Your Team Effectively
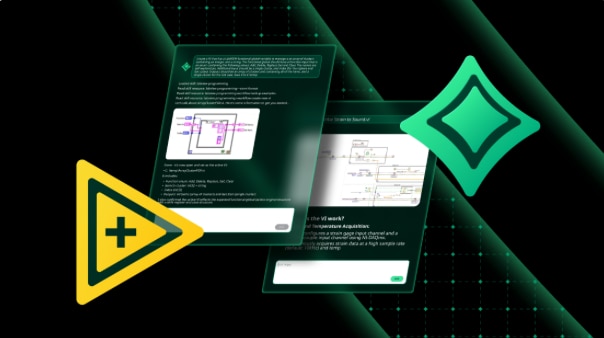
Learn the latest in NI Nigel AI and the LabVIEW+ Suite, including how you can now write a prompt and have Nigel generate LabVIEW code—accelerating development and simplifying workflows.
This session will also cover new capabilities like sequence generation in TestStand, data visualization requests, and using Nigel within FlexLogger and InstrumentStudio software.
Join us to see live demos, explore how AI fits into LabVIEW and Python workflows, and get updates on private cloud and security. You’ll also get a first look at new software releasing July 28 and the chance to ask questions directly to LabVIEW+ and Nigel R&D engineers.
Don’t miss it!
As systems grow more complex, maintaining quality from concept to production is more challenging than ever.
Join our upcoming webinar to learn how a platform-based approach to test helps teams move faster, scale more easily, and stay compliant even in the most demanding industries.
 In this session, you’ll get:
Register now and take away insights you can apply to your own designs.

Learn how to unlock the full potential of Data Acquisition (DAQ) using a no-code approach—with a live demo of a motor and fan testusing LabVIEW and NI tools.
Discover how to set up reliable, repeatable tests, automate cycles, and evaluate motor efficiency and fan airflow—without writing any code. Stay for a live Q&A with Jelmer van den Dries, Principal Field Application Engineer at Emerson.
Register now before it’s too late!


