Following on from this discussion where a lot of tips came my way, I thought it only right to give it another go: https://www.element14.com/community/thread/72152/l/first-attempt-at-smd-soldering I really feel like I've joined the club now I burnt the end of one of my fingers  On the plus side, none of the parts went pinging off.
In no particular order...
Following Antonio Tajeda's advice, I got hold of a DS3231 kit to have a play with - more on that later! I did look up a 900M-T-3CM900M-T-3CM tip for my Hakko FX-888DFX-888D but couldn't find any in the UK and HK Wentworth wanted £20+ and £5 P+P for one which they'd get from Japan. I'll keep my eye open but decided to try with the tips I had - the T18-D12T18-D12 worked very well. I also re-watched the videos linked to on YouTube - they make it look VERY easy but I expect technique comes with practice.
Following Gene Breniman's and Luis Ortez's advice on a magnifier I have been looking at microscopes but I also tried a head magnifier in the first instance - I got one with swappable glass lenses. The 2x was great for a bit of through hole soldering I did yesterday, and I managed pretty well on the DS3231 kit with the 3.5 magnification. My only real issue was having to get so close to see in focus - I was around 4 inches away. I used a PCB holder and that raised the board up so it wasn't too uncomfortable. I think I'll persevere with that for a while and save the money.
Following Shabaz's advice I got hold of some thin solder - 0.274mm. It was significantly easier to work with at this size than my 0.46mm. The two sizes together are great for both through hole and SMD. I also dropped the temperature down to 300C and had no problems - I suspect with some of the larger pads I should go a bit higher but it all worked.
There were a bunch of other tips as well, from many others who I haven't named, in respect to flux, tinning one pad first and so on - these work very well so anyone picking up on this thread could do worse than follow them.
Someone, somewhere on a different thread suggested the use of blu-tack (or similar) for through hole - it might have been Shabaz - I can confirm that it is an excellent tip!
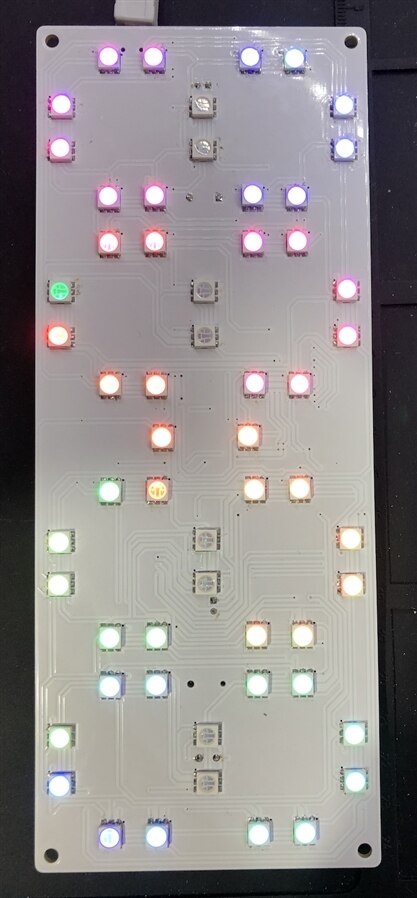
So, here are some photos.
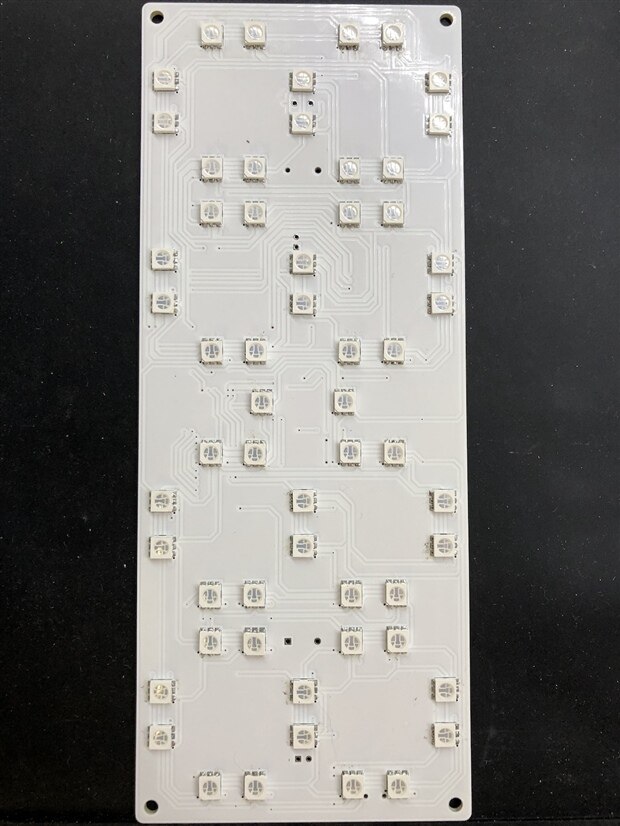
The LED Side
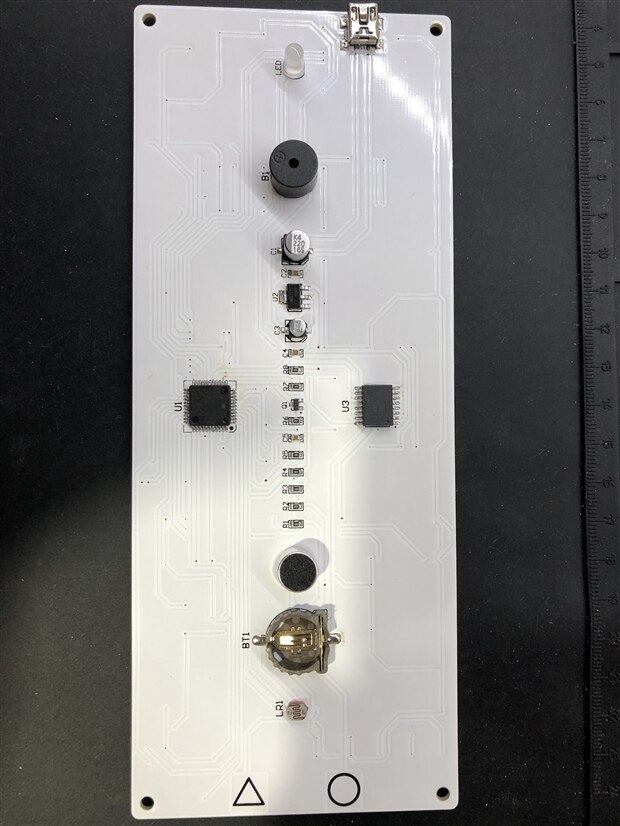
The other side - mix of SMD and through hole:
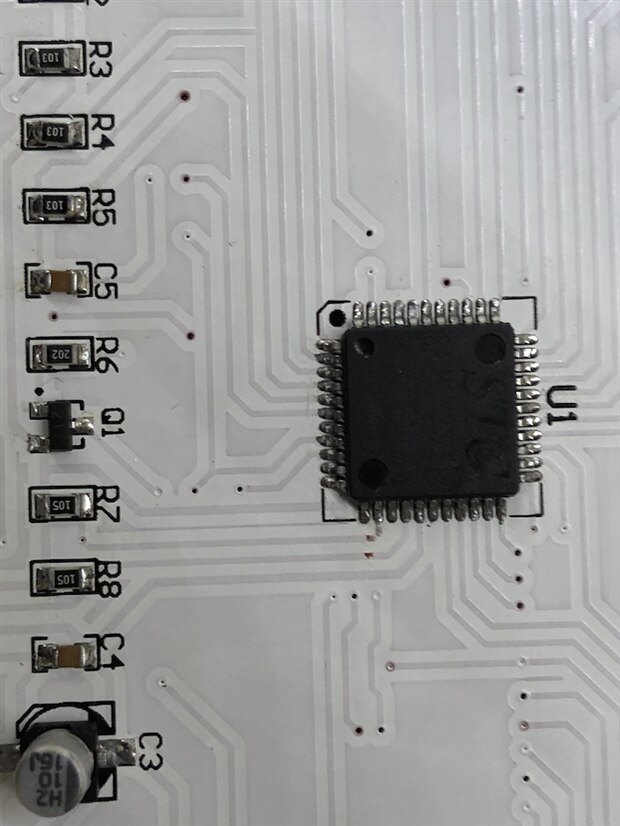
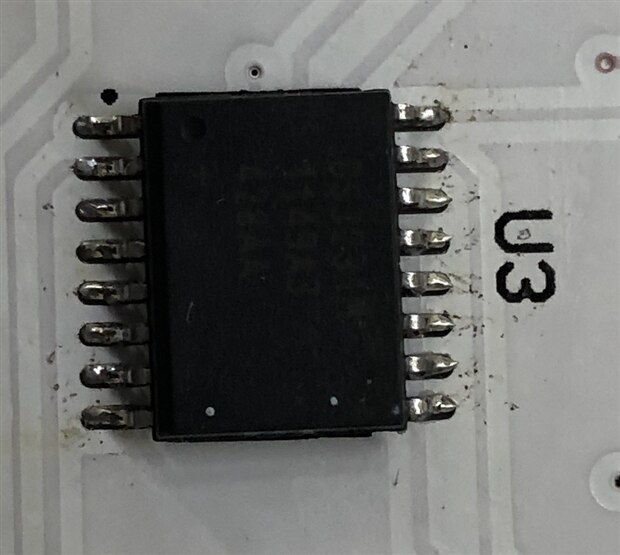
Close ups:
(I honestly thought I'd cleaned that up with IPA - couldn't see the mess by eye!)
And, finally:
As for the kit. The PCB looks well made, exceptionally 'skiddy' surface. However there were NO instructions with it which for the most part wasn't a problem, but placing the resistors was really an educated guess - one I got right based on everything lighting up. There's a couple of dodgy LEDs: in the photo they are lit but will only colour blue. Also, it isn't possible to actually set a time, date etc as the touch buttons (which I didn't have to do anything with) don't work. As there's no schematic I can't tell if it's a soldering problem with one of the chips or just a dodgy board: there are no bridges that I can spot under my x5 magnifying glass. Perhaps the buttons need the battery, who knows??
I think there is some scope here for Element 14 to create some quality practice kits, with instructions and troubleshooting hints.
Anyway, it was enjoyable doing it and great practice. Given that it's my fourth or fifth time picking up a soldering iron I'm really pleased with myself. Time for a celebratory beer.

