


I have been working over the last few weeks on getting the DAC8734 from Texas Instruments up and running on several microcontrollers and I found there is a distinct lack of info on how to use this chip and this will effect the up coming ROAD TEST
So I have now managed to get sample code written for several microcontrollers and the Raspberry PI (Arduino UNO and Several Launch pads ) and this will be detailed in other videos and posts
I am going to create a complete tutorial video and much better screen shots over the next couple of days but wanted to share with your the initial output from the windows development environment and what it looks like on the PI screen, also I will show how simple it is to get the app running by default on the pi so you sont have to start it up via a remote console every time
This is what the app will look like when running

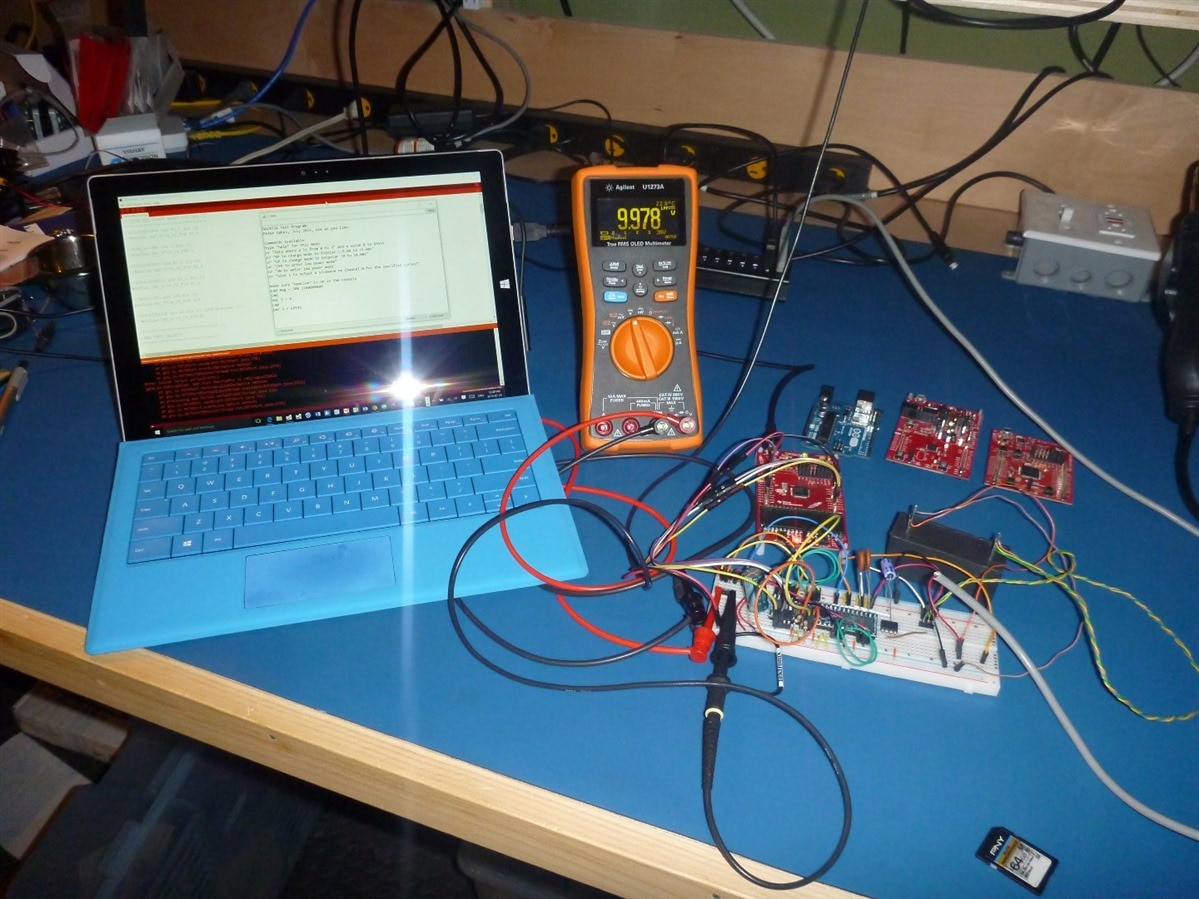
this is the Board under test (Connected to a launch pad here

the programs will easily work with the actual evaluation module included in the up comming ROASTEST as its interface is the same and it contains the same DAC
this is the actual eval board, the only real difference is I have only one VREF and mine is on a bread board

So how do you get it onto the PI and set it as a default application
Navigate to the WED Management screen, on my network this is 192.168.1.218:8080 (Port 8080 is the new port used by the PI for the admin screen but the IOT Watcher app is not yet upto date with this)

As you can see here, the name of the app in the dropdown is pretty crap, and not very informative.. We can make it better
go Package.appxmanifest and edit the Identity.Name property to what you want but remember there is a pattern to the name and if you get it wrong you will receive an error
once you have opened and edited the name, save the file and re-deploy

Now you will see an app installed with a much better name

To make it the default app and have it start automatically on power up could not be easier
on the above screen, once you app is the one selected in the drop down, simply click on the "Set Default" and then click ok to reboot and have the changes take effect

This is a video of the app, it starting up after the reboot from setting it as the default and a quick crude walk through its UI
Thats all there is to it, again, sorry about the crap quality, it was a 3:30AM recording and I just wanted to get something there to start the ball rolling. Much better will be following very quickly not the basics are all ironed out
All the source files are in the attached ZIP file, this will be on GITHUB once I am done but still free for you to use as you wish

