


In a previous post, I figured out how PIO -> ARM interrupts work, and how to handle them in C. What I learned was that a traditional interrupt is easy. Relative interrupts are more involved. The interrupt part adds significant complexity to the user code.
In this post, I show how the same functionality looks like, when the interrupt management is handled by objects.
I'm focusing on the simplification of the user code. The class designs are available on GitHub, for the curious readers.
With a normal IRQ, PIO fires an interrupt with a fixed number. The number that you give it.
A relative IRQ - in the context of this post - is an IRQ raised by a PIO, that has state machine ID encoded. It's not just "this interrupt from that state machine". The interrupt number and state machine ID are combined. You have to use that combination, in different ways, in your code. In this OO design, objects do that for you.
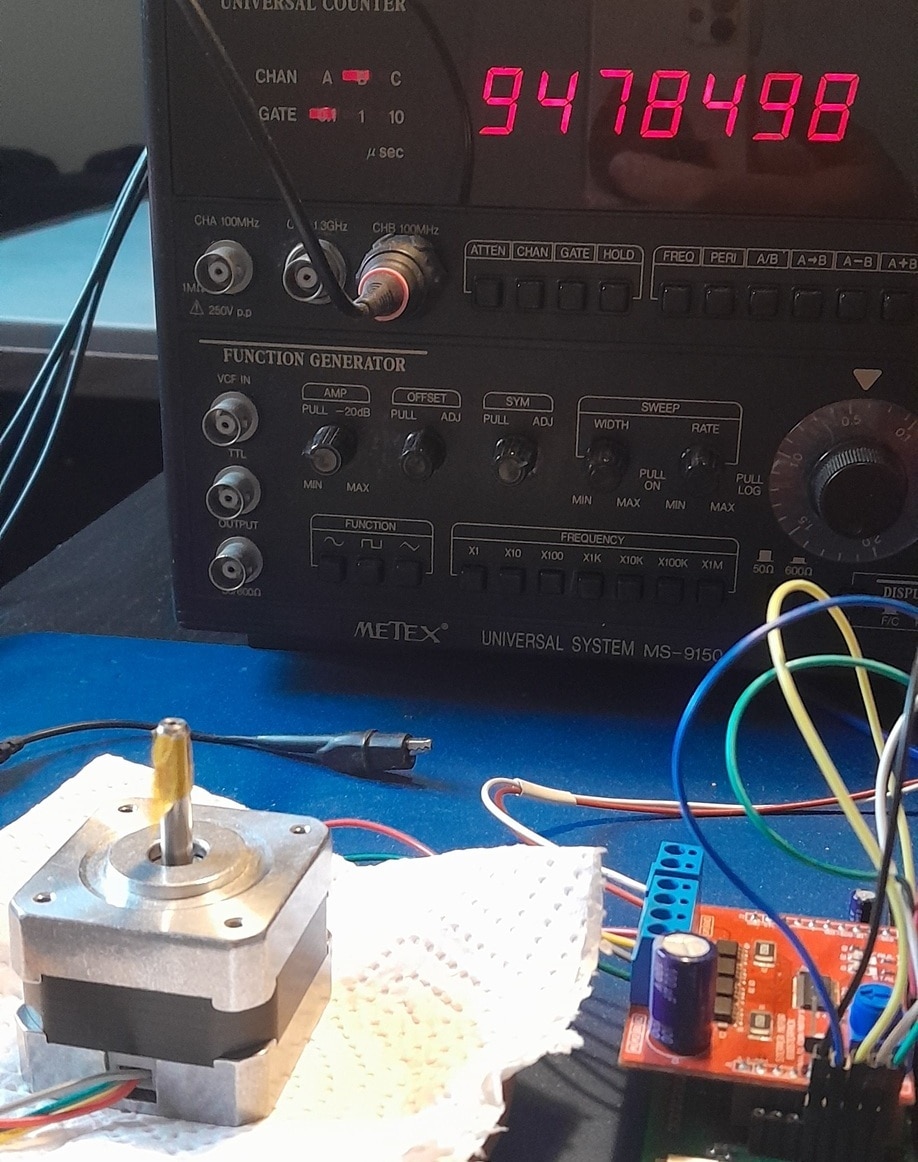
The (true!) story for this post is a stepper motor that's controlled by a PIO state machine. It's a reasonably simple problem domain - and one I'm working on right now. All code in this blog works.
demo: stepping away with 8 microsteps per step
What do these objects do
The design controls stepper motors. All motor management is executed in the PIOs. The objects provide an interface around that.
There's a simple object, stepper_controller, that provides basic functionality:
- run commands, each one having a number of steps, clockwise or reverse. Asynchronous.
- set a delay, make the motor run slower than maximum speed
- program the selected PIO(s)
- configure state machine and prepare its DIR + STEP pins.
and a specialised object, stepper_callback_controller, that adds this functionality:
- notifies you when a command is complete
- provides a counter of the number of commands executed (resettable)
- (I need to find a better name for this class - it's not good)
Each object represents - and controls - one stepper motor, and you can have 4 of them per PIO.

In this post, a command is an instruction for the motor: x amount of steps in direction y.
Sending commands to PIO is very fast - almost instantly.
Executing them is depending on motor speed, and steps requested. Usually in the range of seconds and longer.
Why use the specialised class?
The PIO runs the stepper asynchronous. In a simple design, you will know how long it takes to perform a number of steps at a given speed (or calculate it). And you can wait.
In a design where you have a complex motor path, with variable speeds, it becomes harder to predict how long to wait. That's when the stepper_callback_controller is a good choice. It allows two mechanisms to know when a motor has finished making its movements:
- it has commands count. It gets increased every time the motor has finished performing a full command.
You can wait until the motor has completed the number of steps you sent it. Then continue (maybe drill a hole after the stepper has completed moving the base plate. - you can set up a notification function. When a step is finished, your notification will get called.
You can do other work while the PIO runs your commands, and start drilling when the notification is called.
The notification gets a reference to the motor object that's finished. You can use that (or ignore it) in your logic.
Example with notification
Compare the below code with the complexity in the previous blog.
Create a motor object
// config what PIO
const auto piostep = pio1;
// state machine
const uint sm = 2U;

using motor_t = stepper::stepper_callback_controller;

motor_t motor1(piostep, sm);
Program the selected PIO and Configure its interrupt mechanism
// use pio irq channel 0. Can be 0 or 1
const uint pio_irq = 0;

void init_pio() {
    // program the pio used for the motors
    // do this only once per used pio
    motor_t::pio_program(piostep);

    // initialise and enable the motor state machine
    motor1.register_pio_interrupt(pio_irq, true);
    motor1.pio_init(dir, clock_divider);
    motor1.enable(true);
done Maybe I should also move the PIO programming calls to the base class code. Still thinking about that.
Everything related to setting, catching and clearing the interrupt is now managed by the advanced class.
notification scenario 1: Run a number of commands and wait until done
Even without setting a notification handler, you now have a way to check if the PIO (and motor) are done.
    std::array<stepper::command, 6> cmd{{
        {200, true},
        {200, false},
        {200, false},
        {400, false},
        {250, true},
        {350, true}}
    };

    int command_count = cmd.size();

    motor1.set_delay(delay);

    for(auto c : cmd) {
        motor1.take_steps(c);
    }

    while(motor1.commands() < command_count ) {} // wait patiently
    motor1.reset_commands();
PIO will make the motor execute the 6 commands. Meanwhile, the ARM waits until the object tells that it has finished 6 commands.
notification scenario 2: Run commands and get a notification when done
You can use this scenario when you want to do other things while the PIO does the work. You get a notification each time 1 command is finished.
Because the notification gives you access to the exact object that has finished a command, you can ask it how many steps it has taken.
And use that info in your program to move to a next activity (say: drill a hole).
In the example below, I just let the notification print a message. it's demo time.
// your notification handler
void notify_me(motor_t &stepper) {
    if (&motor1 == &stepper) {
        printf("motor1 executed command %d\n", motor1.commands());
        // real code would change program state here so that you know (when/if) it's
        // time to do a next activity
    }
}

// ...

    motor1.set_callback(notify_me);
    for(auto c : cmd) {
        motor1.set_steps(c);
    }

// we 'll get 6 notifications. 1 at the end of each cmd's run.
// sending the 6 commands takes less than a milisecond.
// it's worth doing something wile the motor runs those for seconds, maybe minutes.

// your code can wander off now. And you can react on the notifier
Do I test? Yes.
Thank you for reading.
GitHub PIO irq lib repository.
GitHub drv8711 project repository.
GitHub PIO stepper lib repository.

