


Now very Important Step to configure raspberry pi in laptop/computer.
Now disconnect every connection and do as follow:
1. Connect the raspberry to laptop through Ethernet cable
2. Power on the raspberry Pi by inserting USB cable to it and wait for some time for booting.
3. Now goto Network and Sharing Center and You will see the undefined connection and go to change adapter setting and then open properties of Ethernet and goto properties of IPv4 and change IP to Static 192.168.1.89 and subnet 255.255.255.0 and press ok.
Note: Now You have to connect you Raspberry Pi to your modem for INTERNET
4. Now download a client software Bitvise SSH Client [Link: https://www.bitvise.com/ssh-client-download] and do setting as follows:
- Login tab write HOST IP (Raspberry Pi address) and Port = 22 [see below Figure-1]
- Goto Terminal tab of Bitvise SSH Client just enable X11 Forwarding [see below Figure-2]
- You will asked for user and pwd : pi and raspberry respectively
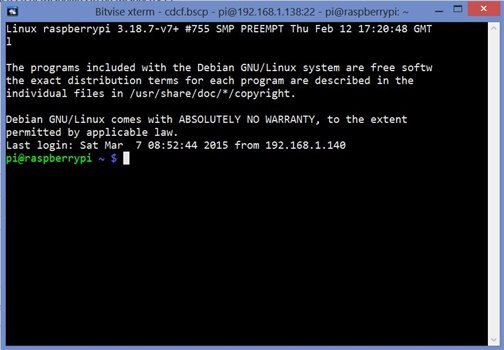
- Now press Login and you enter into raspberry pi terminal
Congrates You have done 60% work for configuring Raspberry Pi.
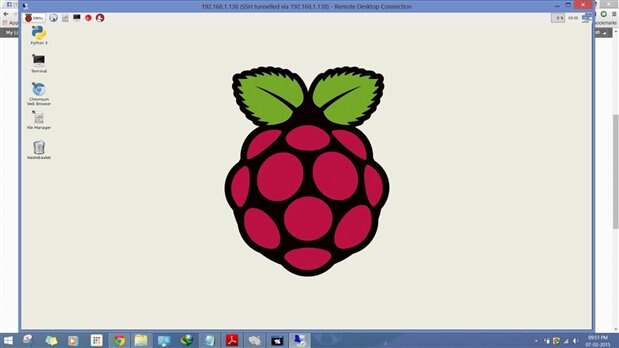
Raspberry Pi desktop to your Laptop screen through Remote Desktop( Ready available in Windows)
Note: Your raspberry should have net access in order to install some package from net.
startx does not work over SSH.
There are ways to get GUI witih x forwarding but I have not done it. Plenty of post on the forum about that.
I use RDP ( built into Windows)
On the RPi install xrdp:
Goto Terminal and write command
sudo aptget install xrdp
Go here for my RPi writeup. Basic config, Serial Port addon etc:
Now Open Bitvise SSH Client do setup
Figure-1
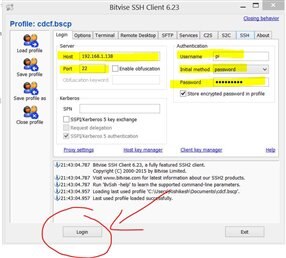
Figure-2
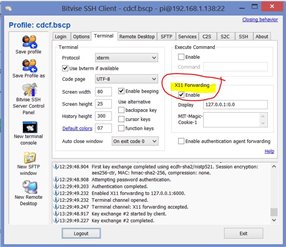
Figure-3 Configuration on Remote Desktop
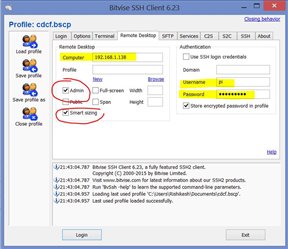
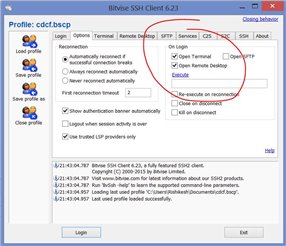
Figure-4 Before Login do this
After ward you have some thing like this type screen of Raspbian OS on Raspberry Pi.
Terminal Screenshot
Remote Desktop Screen Shot
Top Comments