


Introduction
Having to develop a MagicMirror project almost flexible to fit in different contexts including extra features - first of all supporting user interaction - I started exploring the possibilities using what already done supporting the Raspberry PI.
The project evolved through two steps: an easy step implementing the open design of the MagicMirror2 implementation on the Raspberry and a complex step developing the parts not yet available.
This first part describes the settings I followed for the easy step.

Platform scenario
This magic mirror will work as a development platform and prototyping base: should be flexible supporting upgrades and changes in the future. In addition the platform design should be easy to customise depending on installation needs and environments.
Building the structure
For the external frame structure I used a good quality of wood to produce a good aesthetic impact. The measures depends on the currently available 15" 4:3 HDMI display that will be perfect for the development prototype but any size of HDMI display can be used as well.
The other element impacting the form factor and size is the mirror (we are not obliged to keep it squared or rectangular etc.; there are several ways to make a two-ways mirror: using a glass and a semi-transparent adhesive film, buying a pre-built glass or buying an acrylic one.
To give the right impact it is important the entire mirror surface is not too big compared to the monitor size and not too small, avoiding a reduced mirror surface vs. the screen size.
For the mirror I have used two-ways transparent acrylic mirror from Tap Plastics with the following dimensions:
- 3/16 (.177) inches Thick
- 20 inches Wide
- 16 inches Long
- Cost: 73$ (it is the most expensive part excluding the Pi and monitor)
The frame has been built few mm larger internally and 5 cm depth to host the mirror, back supports and the electronic stuff.
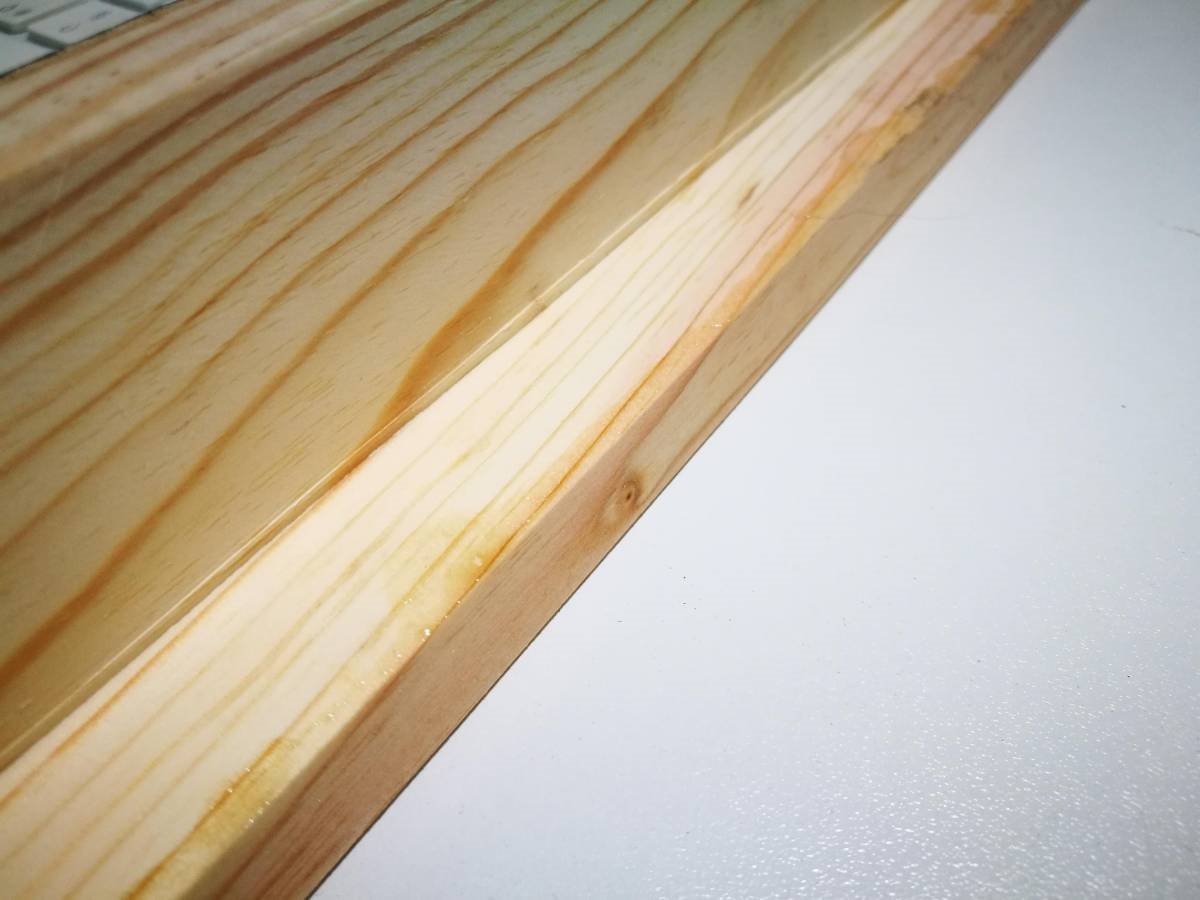
Wooden frame
The gallery below shows he wooden frame details. I have applied a transparent coating paint specific for wood on its surface. The cost of the finished frame is about 15$
| {gallery} Wooden fram construction details |
|---|
The wooden frame front side |
The wooden frame back side |
Detail of the corner mounting of the frame |
Detail of the internal side of the frame |


Fixing the mirror
After removing the front protective sheet I have put the mirror plate inside the frame. A soft adhesive seal tape on the inside borders frame avoid sliding the mirror plate and keep it better in place.

The images below shows the final effect of the soft seal.


For now only the front protective sheet should be removed. A lot of work has to be done on the back before we fix all the stuff, and eventually testing the mirror effect.

Assembling the mirror back side
Seeing this project it seems that some solutions was thought to make things complex. For example the mirror pressed over the soft seal instead of glueing it or using screws and supports to keep all in place.
As mentioned before this is a magic mirror development platform; every component should be easy to replace and should be possible to assemble/disassemble then entire structure.
In this design I first thought to a modular system: based on this development design it should be possible to build a number of variants depending on the features the user want to include or not. For this same reason I have not used any sort of recycled parts but components - the cheaper and more reliable to find - available on the marked plus some custom designed parts 3D printed.

Instead of placing black tape or other kind of adhesive opaque film on the back side of the mirror I have used a black plastic propylene sheet. The Raspberry PI will support screen rotation so it is possible that in the future a different screen rotation or a different scree size will replace the actual settings. The gallery below illustrates the process of creating the black frame.
| {gallery} Black back frame |
|---|
The propylene black thin sheet |
The black sheet should be cut of the same size of the mirror |
Measuring the screen dimensions to cut the rectangular area in the black sheet |
Measures should be exactly the size of the visible screen without the frame edge |
Placing paper tape to safely mark the cutting area |
The cutting area should be exactly horizontally centred; the vertical position should be 1/4 lower than the vertical centre |
The back sheet after cutting. Now the paper tape can be removed. |
Double checking the part to fit exactly before fixing it |
After removing the protective plastic sheet from the back of the mirror the black sheet is positioned as a second layer. |


Until this point the extra cost we have added is less than 5$ more.
Keeping the LCD in place
The LCD screen is the heaviest part of the structure and is difficult to keep in place. I have explored several methods used by other magic mirror buildings but none of these was efficient; a modular and replicable project should adopt solutions easy to make and reproduce (and cheap too).
For both the back frame and magic mirror back cover (the cover of the assembled stuff I used 3 mm thick MDF; it cost only few cents and is easy to cut and prepare (can be cut with a cutter) but sufficiently strong to make his job.

A first MDF frame has been cut of the exact size of the internal frame. Inside a rectangular cut removed an area aligned with the previously LCD screen position. The cut should be exactly of the size of the screen frame that should be inserted in it. This will keep the screen stably in place when the magic mirror stands in vertical position for use.

The screen is inserted and fixed with black adhesive tape as shown in the image above. This part not only keep the LCD in the right position but also support the other layers in place spporting the electronic parts and wires.
The two images below shows the back of the magic mirror with the screen positioned inside the rectangular cut.


Adding the Raspberry Pi and wiring all together
The last component that should be added to the modular magic mirror is the Raspberry Pi; for this version it has been used a Pi B V 1.2 with the WiPi WiFi USB adapter. The board has been placed on the back top side using a VESA support 3D printed and screwed to the MDF layer as shown in the images below


Wiring is not difficult; to connect the Pi to the HDMI LCD it is suggested a short HDMI cable avoiding too long wires inside. To reduce weight and avoid extra heating inside the magic mirror box the power units are left outside of the structure.
Raspberry Pi Cooling
A series of holes have also been done on the main back cover - another 3mm MDF layer - for the Raspberry cooling. After some days the system was running in test I have decided that for now a cooling fan is not essential for the health of the device.

Adding the Pi devices
After the Pi installation I have added a Pi camera V. 2 and a NFC/RFID Shield. For the development version it is sufficient to keep the Pi board on top of the Raspberry; in a production model this device should be in a more accessible place, i.e. one of the frame sides.


Fixing the back layers firmly
After the final assembly the internal MDF layer should be fixed firmly to press the other layers: the mirror and the black frame. To make the entire structure easy to remove and change custom 3D printed supports have been designed and screwed to the internal sides.
| {gallery} Plastic blocks fixking the internal layers |
|---|
Angular and linear blocks design |
3D printed supports detail |
Side support detail |
Side support detail |
Finished internal assembly |


Last touch: positioning the camera
Also the camera support has been designed thinking to a modular approach.

As shown in the image above a small camera case design will host the Pi Camera V.2 placed on top of the wooden frame. The support is built in two parts glued together; it is easy to remove, eventually replacing the camera with a black model if needed. In a production version the PiCamera will be hidden on the back of the frame leaving only a small hole for the lens.


Finished setup and some anticipations

The image above shows the Pi Magic box complete and running. The base essential software is:
- Raspbian Jessie Pixel edition
- Node-js
- MagicMirror2 development environment
The NFC/RFID tag reader will be used for user identification while the Pi Camera for - at least - gesture recognition. This aim to give a great add-on to the currently available MagicMirror2 projects not supporting these features. It is essential to add user interactivity to this project: this means integrating the Magic Pi building in a IoT context.
In the next blog I will introduce the standard and custom software that will complete the project.
Top Comments