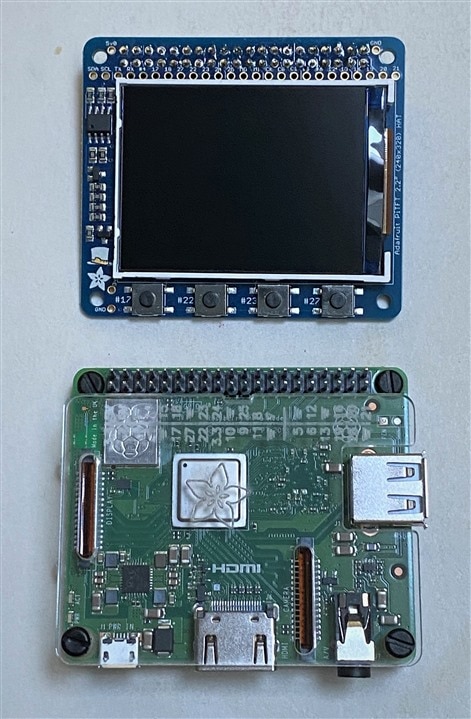
Thanks to Secret Santa, I got an Adafruit 2.2" PiTFT Display.
After I received it, I realized that it fits perfectly on top of a RPi3A+. Maybe it was designed that size on purpose?

And the open frame Adafruit case (just top and bottom plexiglass covers) has just enough space for the CSI and DSI cables to fit under the display. I think I may print an exterior case so that I can mount a Pi Camera on the other side and build a smart camera.
Adafruit has a good tutorial that covers installation of the display - Adafruit 2.2" PiTFT Easy Install.
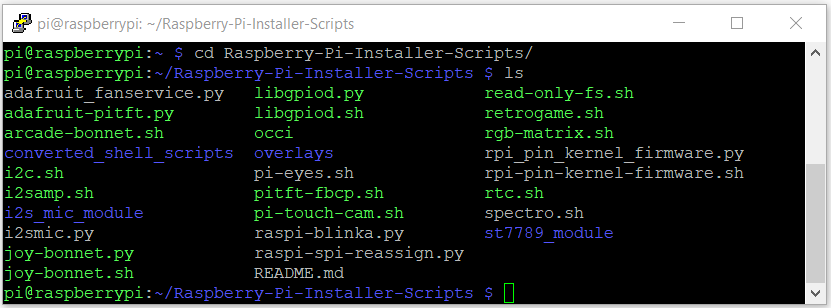
They have a github repo that has installer scripts for their RPi hardware - Raspberry Pi Installer Scripts.git
Installed the latest archived Raspian Buster image (there is a possibility that some Bullseye images may cause problems) and downloaded that repo to the RPi

The adafruit-pitft.py script is used to configure the display modes and rotations for the various PiTFT types (sizes and touchscreen options). The Pi must be rebooted after configuring.
There are three basic display modes
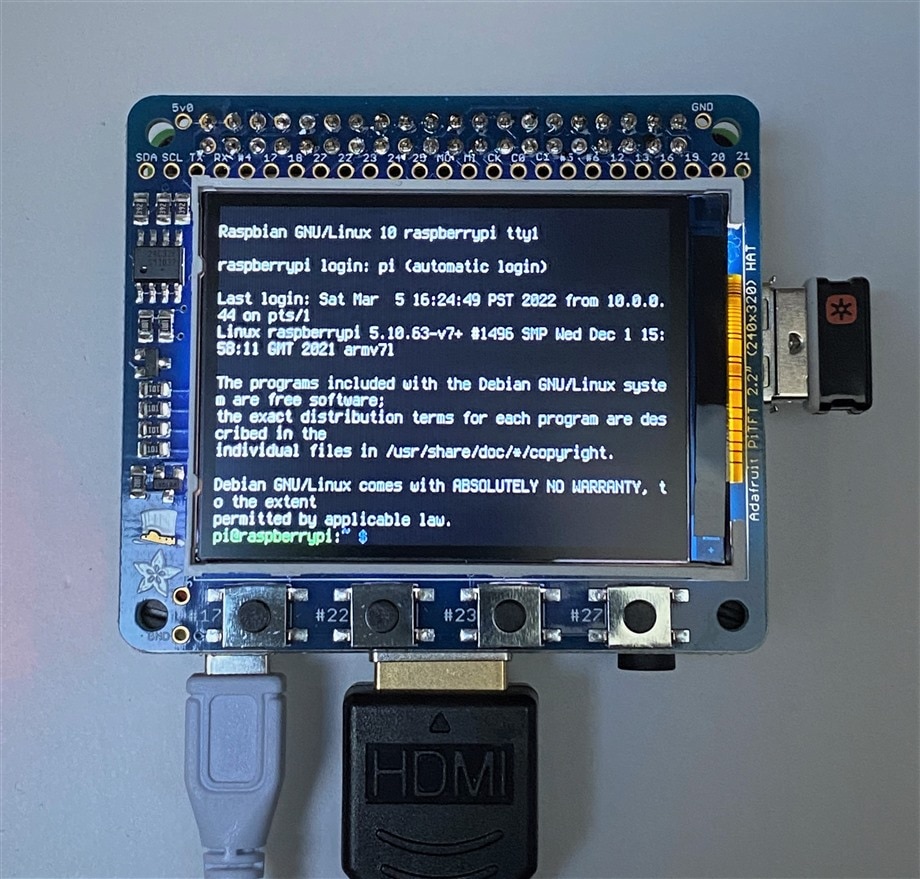
- Text Console (basically a terminal window on the TFT and HDMI is blank)
- HDMI Mirror aka FBCP (frame buffer copy) (TFT and HDMI displays are the same)
- Raw Framebuffer (use TFT as display independent of HDMI - HDMI is /dev/fb0 and TFT is /dev/fb1)
Text Console
sudo python3 adafruit-pitft.py --display=22 --rotation=270 --install-type=console

HDMI Mirror
sudo python3 adafruit-pitft.py --display=22 --rotation=270 --install-type=fbcp

There are a couple of things about this mode -
- The TFT resolution is only 320x240, so the Desktop won't be extremely useful
- If I set the rotation for my preferred TFT orientation - the HDMI image is upside-down, I guess someone likes their buttons and cables on top?
I did not try the Raw Framebuffer, but I'll try some images and videos later. The only issue may be rendering speed as the framebuffer is not accelerated.
So, a useful Secret Santa present...


Top Comments