element14 Community
element14 Community
    Register Log In
  • Site
  • Search
  • Log In Register
  • About Us
  • Community Hub
    Community Hub
    • What's New on element14
    • Feedback and Support
    • Benefits of Membership
    • Personal Blogs
    • Members Area
    • Achievement Levels
  • Learn
    Learn
    • Ask an Expert
    • eBooks
    • element14 presents
    • Learning Center
    • Tech Spotlight
    • STEM Academy
    • Webinars, Training and Events
    • Learning Groups
  • Technologies
    Technologies
    • 3D Printing
    • FPGA
    • Industrial Automation
    • Internet of Things
    • Power & Energy
    • Sensors
    • Technology Groups
  • Challenges & Projects
    Challenges & Projects
    • Design Challenges
    • element14 presents Projects
    • Project14
    • Arduino Projects
    • Raspberry Pi Projects
    • Project Groups
  • Products
    Products
    • Arduino
    • Avnet Boards Community
    • Dev Tools
    • Manufacturers
    • Multicomp Pro
    • Product Groups
    • Raspberry Pi
    • RoadTests & Reviews
  • Store
    Store
    • Visit Your Store
    • Choose another store...
      • Europe
      •  Austria (German)
      •  Belgium (Dutch, French)
      •  Bulgaria (Bulgarian)
      •  Czech Republic (Czech)
      •  Denmark (Danish)
      •  Estonia (Estonian)
      •  Finland (Finnish)
      •  France (French)
      •  Germany (German)
      •  Hungary (Hungarian)
      •  Ireland
      •  Israel
      •  Italy (Italian)
      •  Latvia (Latvian)
      •  
      •  Lithuania (Lithuanian)
      •  Netherlands (Dutch)
      •  Norway (Norwegian)
      •  Poland (Polish)
      •  Portugal (Portuguese)
      •  Romania (Romanian)
      •  Russia (Russian)
      •  Slovakia (Slovak)
      •  Slovenia (Slovenian)
      •  Spain (Spanish)
      •  Sweden (Swedish)
      •  Switzerland(German, French)
      •  Turkey (Turkish)
      •  United Kingdom
      • Asia Pacific
      •  Australia
      •  China
      •  Hong Kong
      •  India
      •  Korea (Korean)
      •  Malaysia
      •  New Zealand
      •  Philippines
      •  Singapore
      •  Taiwan
      •  Thailand (Thai)
      • Americas
      •  Brazil (Portuguese)
      •  Canada
      •  Mexico (Spanish)
      •  United States
      Can't find the country/region you're looking for? Visit our export site or find a local distributor.
  • Translate
  • Profile
  • Settings
Raspberry Pi
  • Products
  • More
Raspberry Pi
Blog Stormtrooper Pi Radio
  • Blog
  • Forum
  • Documents
  • Quiz
  • Events
  • Polls
  • Files
  • Members
  • Mentions
  • Sub-Groups
  • Tags
  • More
  • Cancel
  • New
Join Raspberry Pi to participate - click to join for free!
Featured Articles
Announcing Pi
Technical Specifications
Raspberry Pi FAQs
Win a Pi
GPIO Pinout
Raspberry Pi Wishlist
Comparison Chart
Quiz
  • Share
  • More
  • Cancel
Group Actions
  • Group RSS
  • More
  • Cancel
Engagement
  • Author Author: ninjatrent
  • Date Created: 19 Jan 2018 10:13 PM Date Created
  • Views 3535 views
  • Likes 15 likes
  • Comments 14 comments
Related
Recommended
  • pi iot
  • iot applications
  • raspberry pi zero w
  • pi-zero
  • adafuit
  • raspberry pi
  • stormtrooper
  • hardwarehackingch
  • pi zero w
  • i2s
  • internet-of-things
  • iot
  • project 14
  • music
  • star wars
  • music_streaming
  • internet radio
  • linux

Stormtrooper Pi Radio

ninjatrent
ninjatrent
19 Jan 2018

Stormtrooper Pi Radio Project

image

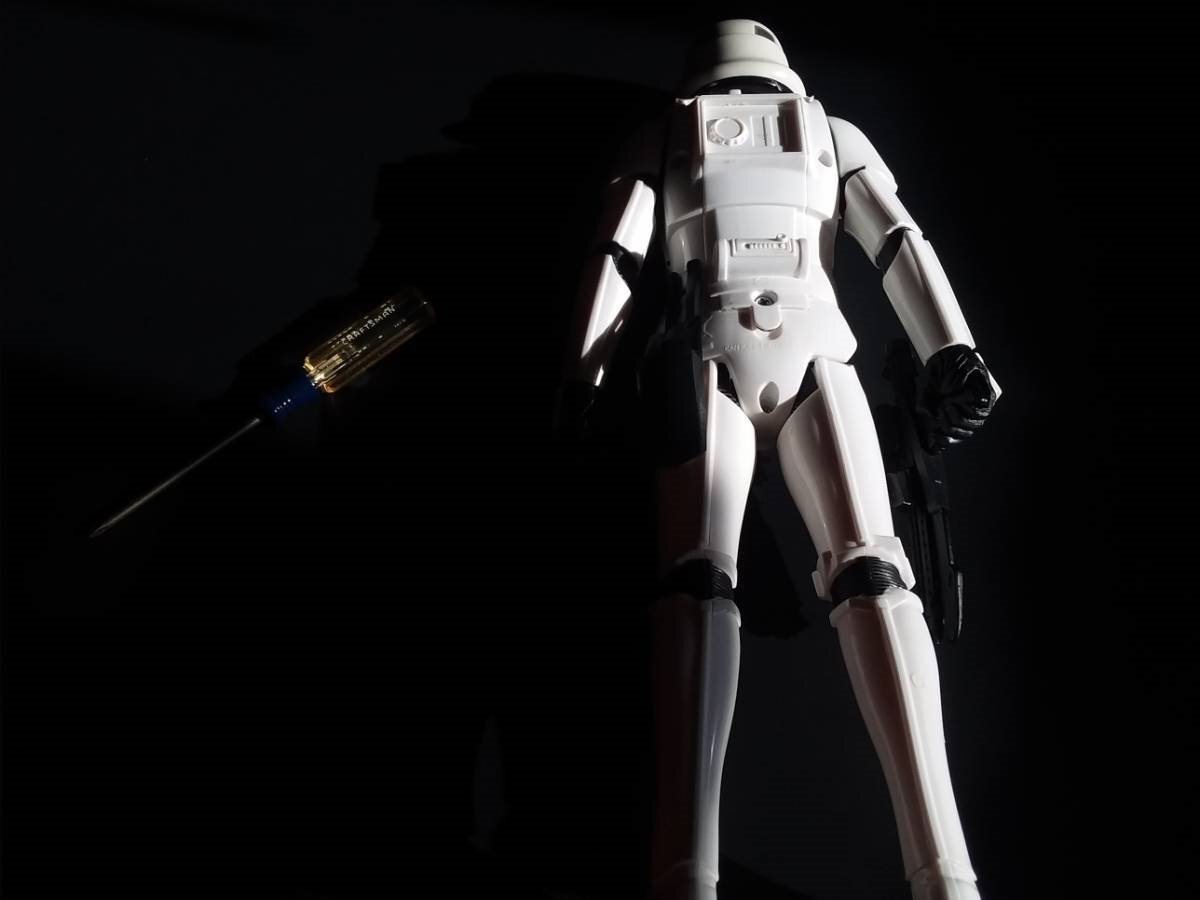
Awhile back I purchased this talking First Order Stormtrooper Toy. Originally, the toy would play a few different recorded prases and sound effects. While this toy had a lot of neat features, wouldn't it be fun to hack this toy.


Stormtrooper Teardown

image

First we need to see what is inside. Look Ben, there's screws!

image

Removal of the battery cover we find some AA batteries. There is a three position power switch at the base of the neck.

image

In order to gain access to the inside, it is necessary to first remove the head.

image

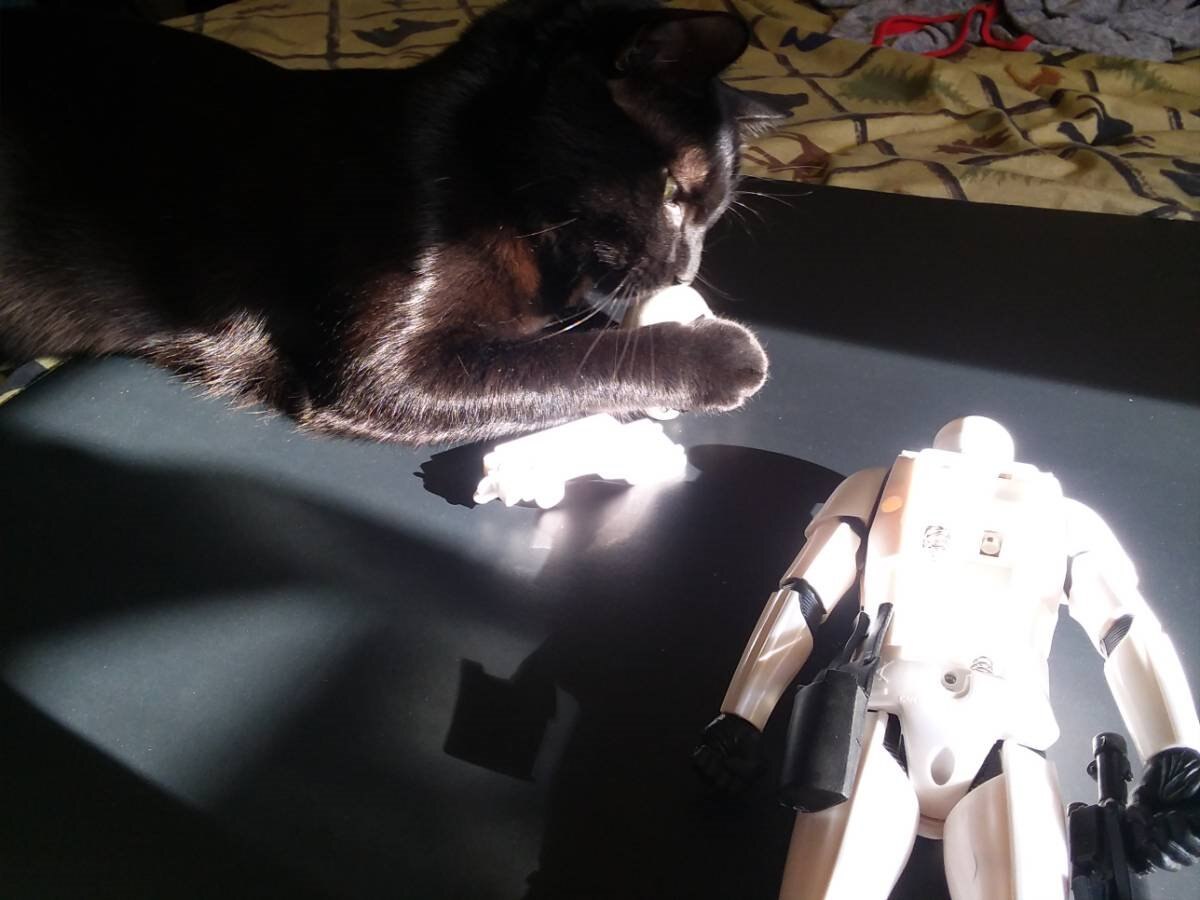
Of course, as soon as the head is removed, there is an unexpected visitor.

image

"Who gave you permission to remove that helmet? Submit your blaster for inspection and report to my division at once."

image

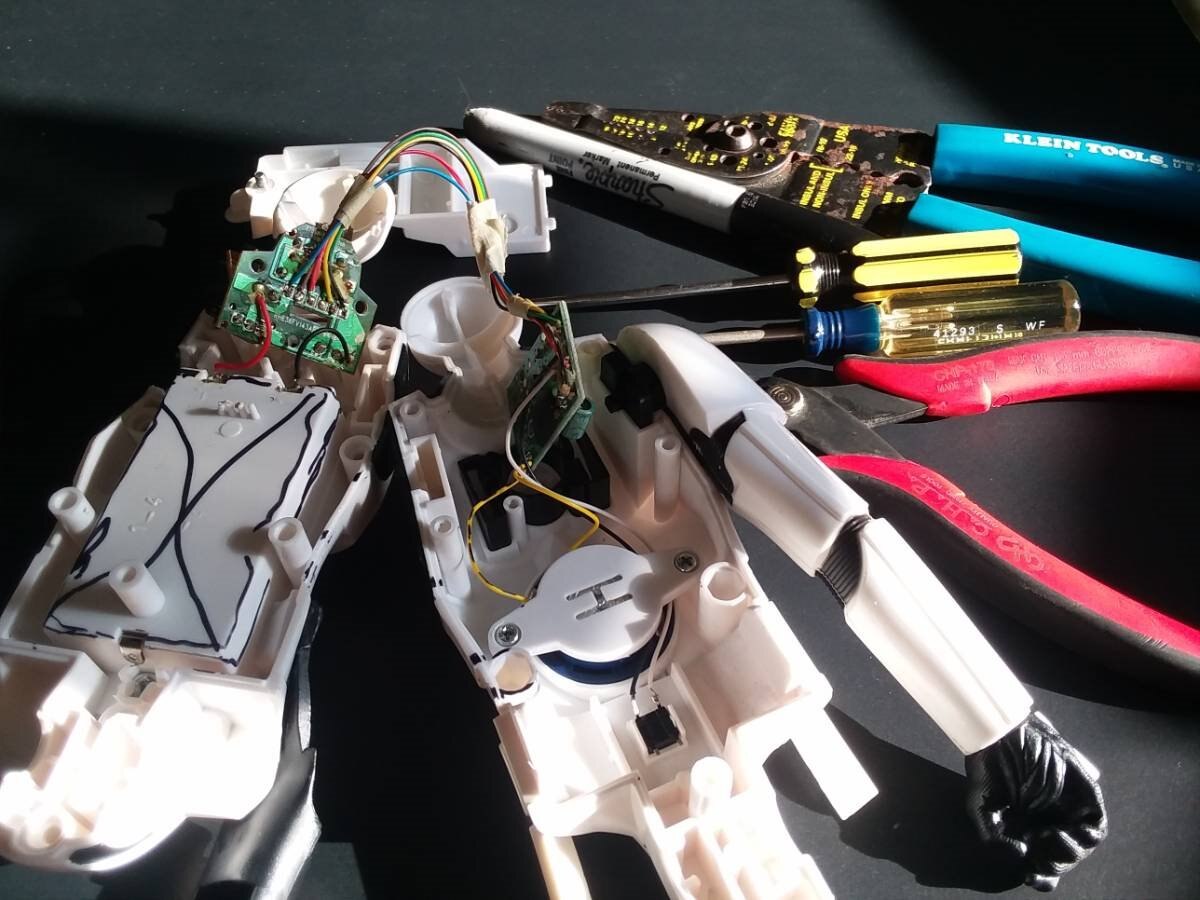
Now that the external screws and head have been removed, we can check out the internals.

image

On the left side or back part is a PCB containing a three way switch, and two momentary buttons. This PCB is wired to the main PCB on the right side or front piece. Wired to the main PCB is a small speaker and a momentary switch that is hidden in the Stormtroopers belt. There is also a button in the right arm that actuates one of the momentary switches on the back PCB when the blaster is removed/placed in the right hand.

image

In this photo, a closer look at the PCB containing the power switch and momentary switches. Bellow you can see some markings for removal of materials.

image

Another view of the power switch and momentary switches on the back PCB. One of the switches is meant to detect the presence of a blaster rifle in the right hand and the other switch is meant to detect the presence of the rocket pack on the Stormtrooper's back.

image

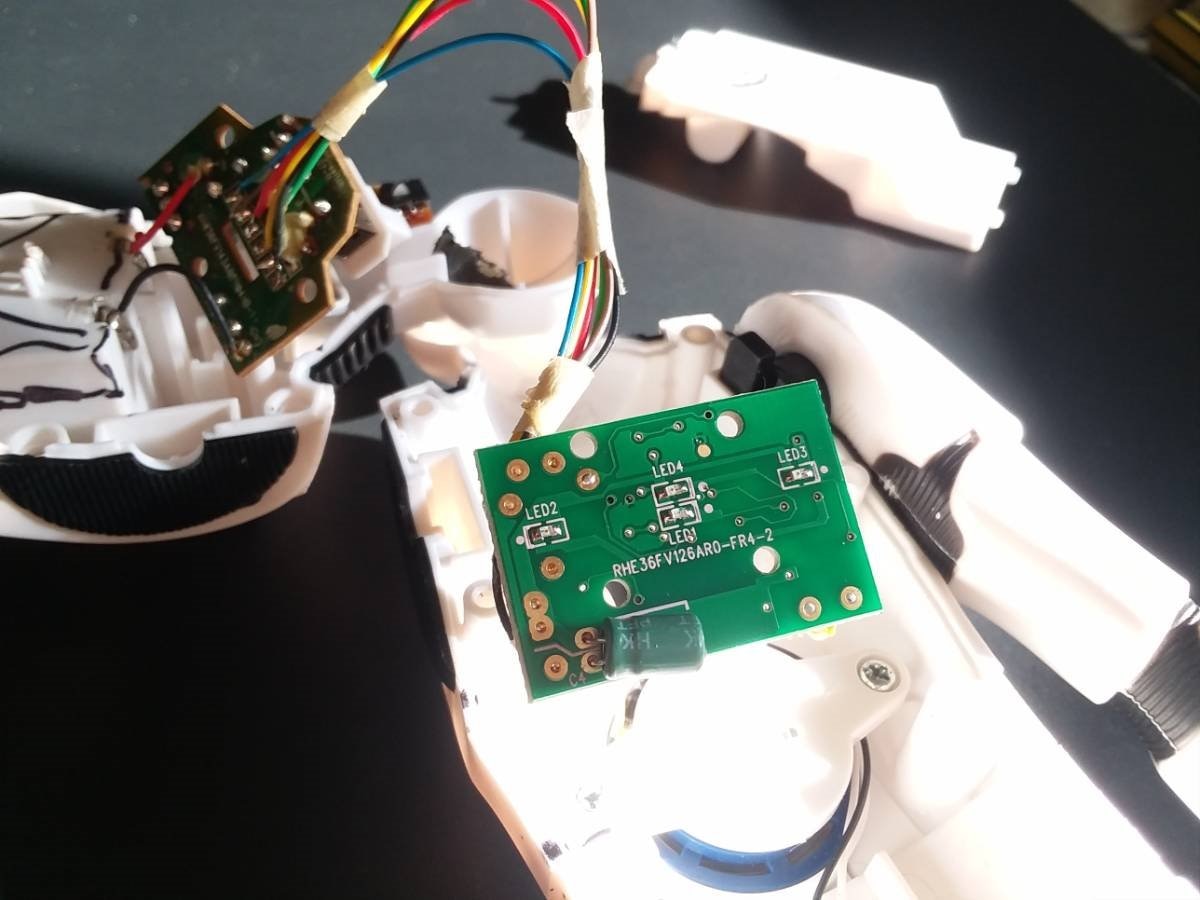
Here is the main PCB board that controls the sound effects.

image

There are some LEDs on the reverse side of the main PCB that illuminate the First Order Emblem on the Stormtrooper's chest. The black plastic piece is meant to separate the light from the LEDs.

image

image

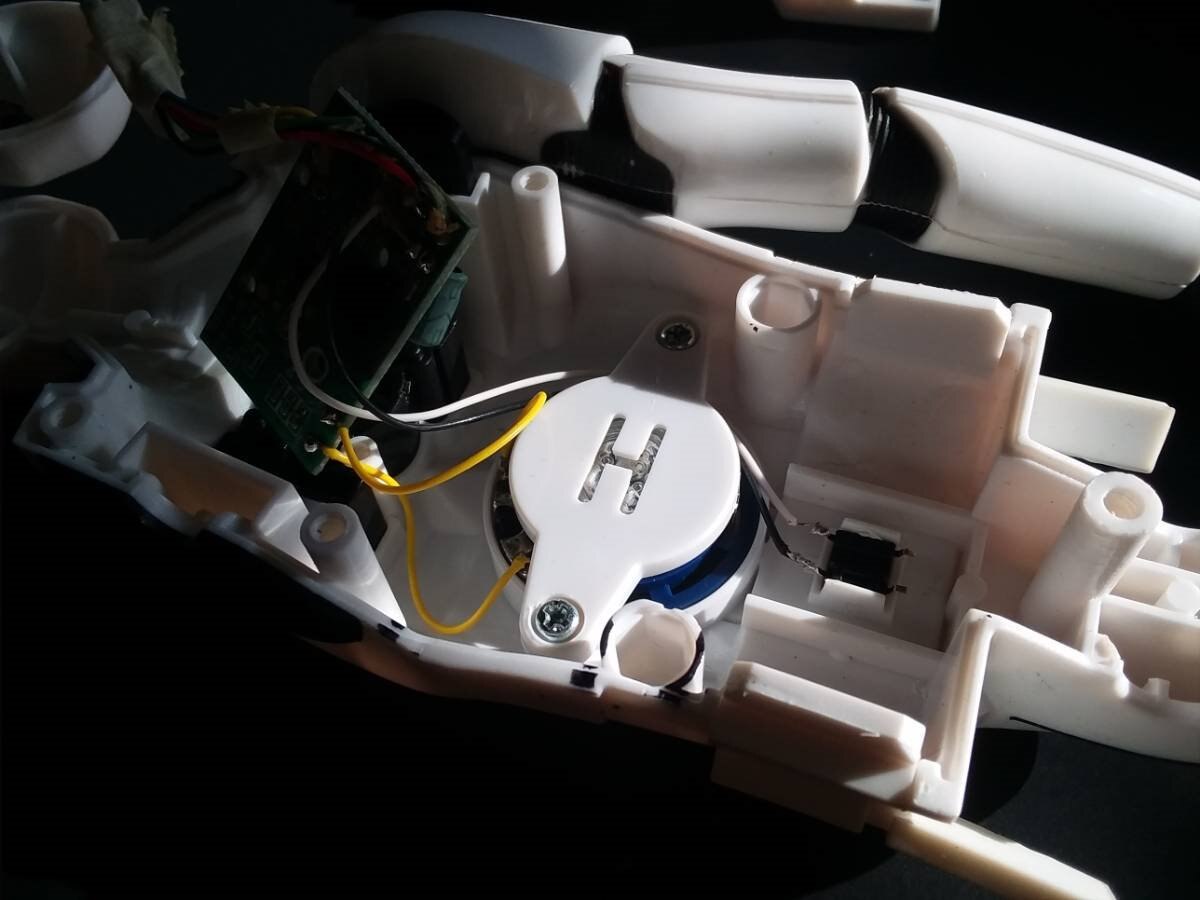
With the main pcb removed, we can see the speaker and momentary switch on front.


The Operation


image


image

The factory microcontroller and pcb containing the switches has been removed. The switches will be reinstalled at a later time.

image

With the electronics removed, we can began removal of some of the unnecessary plastic.

For this a cordless drill and snips were used.

image

Holes have been drilled thru the old battery compartment so that the snips can easily remove the unwanted material.

image

image

A check to ensure the switches will work with the modifications.

imageimage


Rebuilding the Stormtrooper


To replace the electronics, I have chosen the Raspberry Pi Zero W.

https://www.adafruit.com/product/3400


imageimage

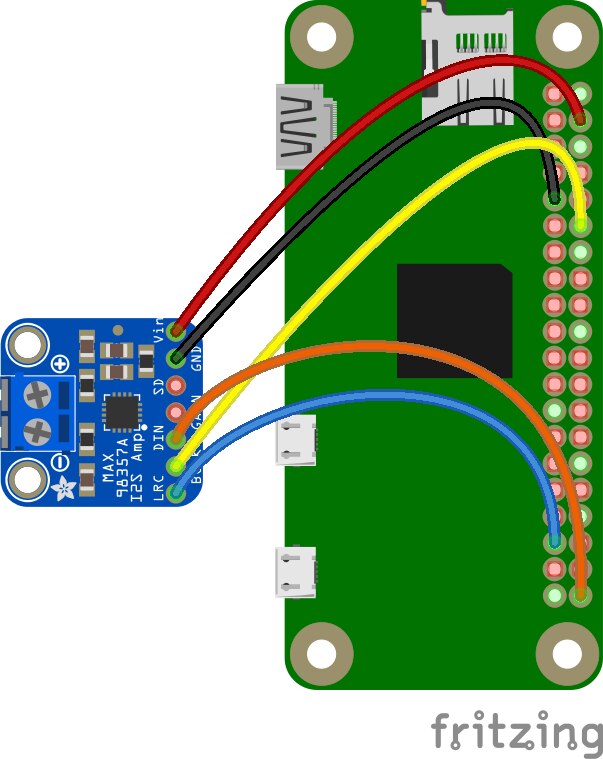
An Adafruit MAX98357A I2S 3W Class D Amplifer has been connected to the speaker. https://www.adafruit.com/product/3006


image


The amp has been wrapped in Kapton tape and secured with a bit of hot glue. The wires for the front momentary switch have been temporarily secured with some blue stuff.

image

On the battery cover, an Adafruit USB Micro-B Breakout Board https://www.adafruit.com/product/1833 has been soldered to the power pinouts on the Pi Zero W.

image

image

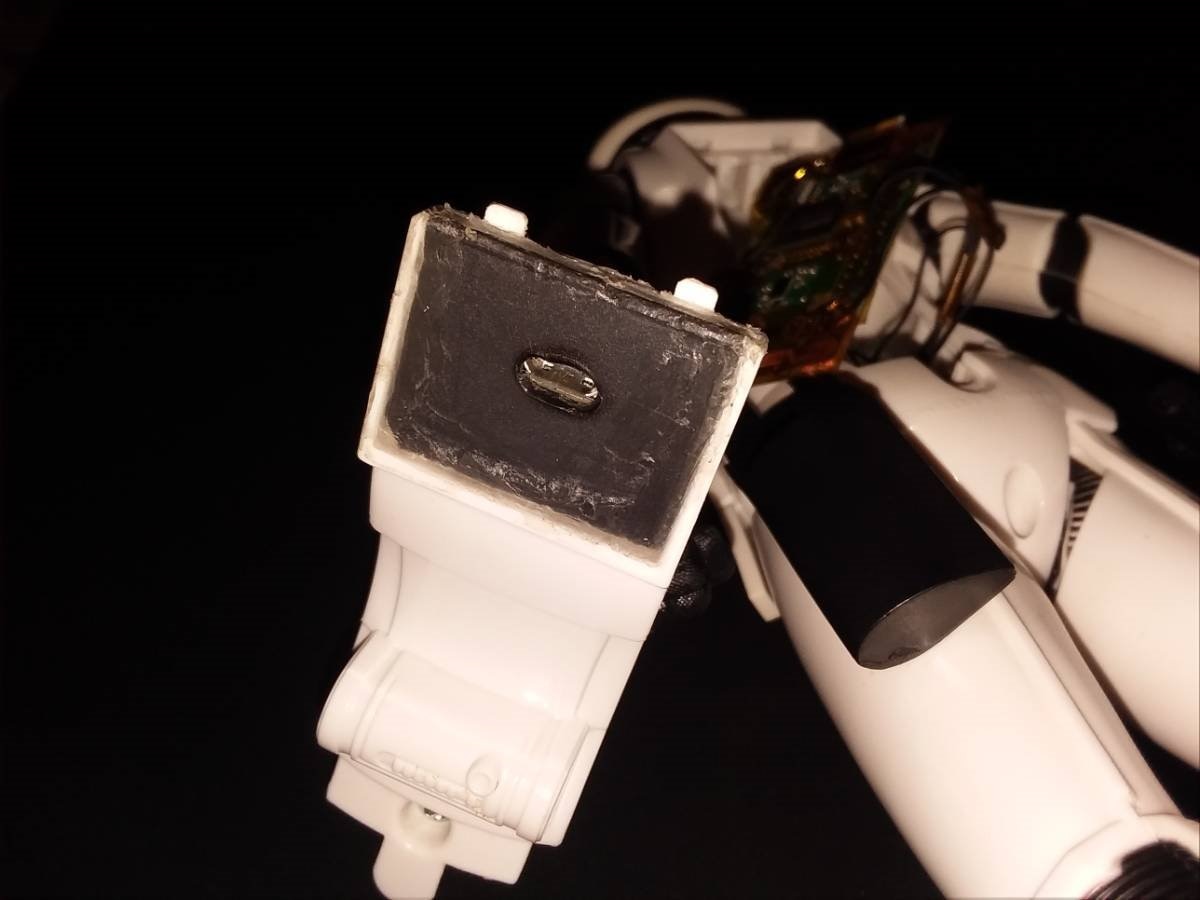
A piece of recycled plastic from a DVD case was used to make a faceplate for the Micro USB slot.

image

Just about everything on the pi zero w has been wrapped in Kapton tape to prevent short circuits.

Pinouts from the MAX98357A have been directly soldered to the pi zero w. A detailed tutorial on installation and configuration of this I2S Class D Amp can be found at https://learn.adafruit.com/adafruit-max98357-i2s-class-d-mono-amp/overview .

On the 16GB microSD the most recent Raspbian Stretch Lite has been installed. https://www.raspberrypi.org/downloads/raspbian/

image

For power, a Raspberry Pi 5.1V 2.5A microUSB Power Supply available at http://www.newark.com/stontronics/t5875dv/psu-raspberry-pi-5v-2-5a-multi/dp/77Y6535

image

For the first boot, I like to use the HDMI connected to a TV in order to set up and configure the Pi Zero W.

Afterwards all connection is established thru SSH.


Testing the Stormtrooper Pi Radio

image

With everything connected, installed , and reassembled, we can find out if this crazy idea will actually work.

image

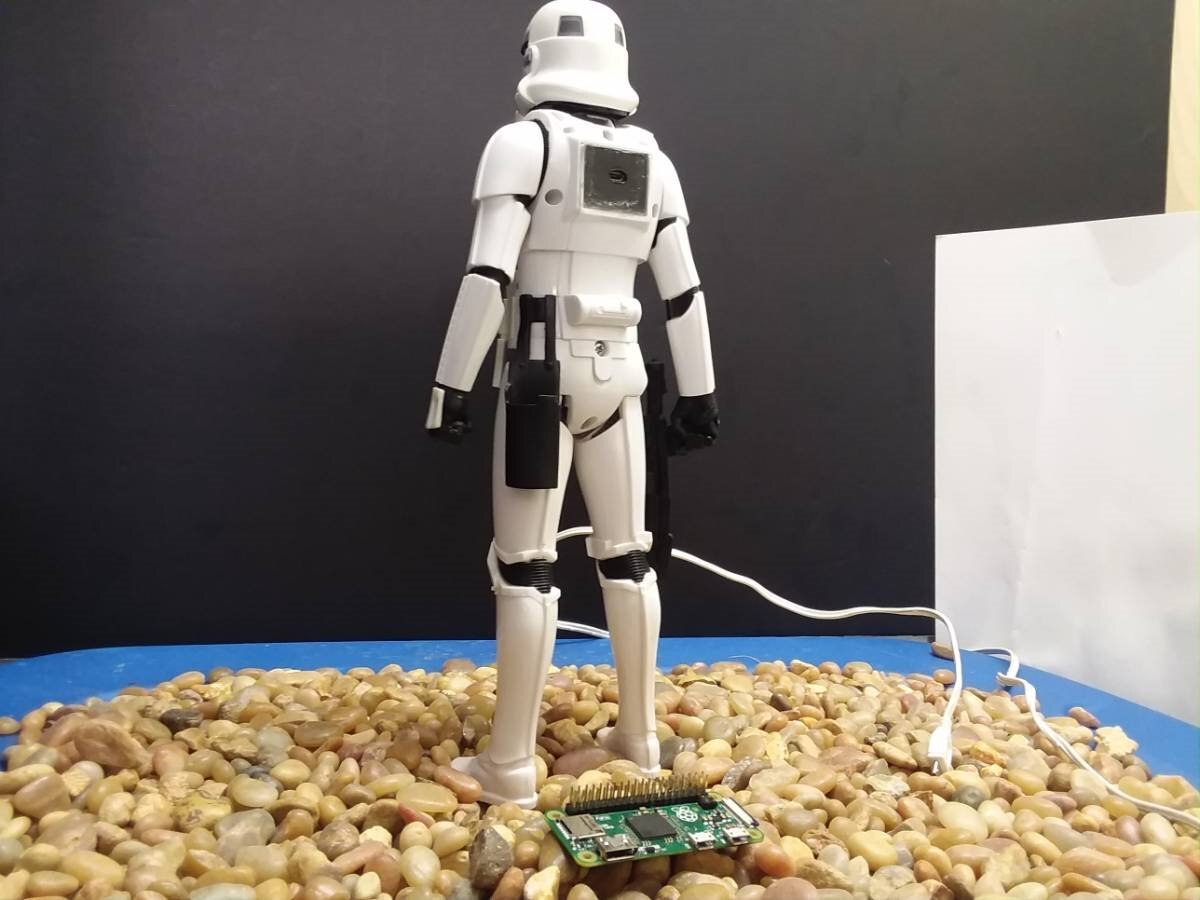
The only change to the external appearance of the Stormtrooper is the micro USB port on the back.


The following demonstrations were performed by issuing commands to the Pi Zero W from PC by SSH connection. Type alsamixer for volume control.


Noise test

You don't have permission to edit metadata of this video.
Edit media
x
image
Upload Preview
image

Voice Test

You don't have permission to edit metadata of this video.
Edit media
x
image
Upload Preview
image

Speech Synthesis Test with Festival

You don't have permission to edit metadata of this video.
Edit media
x
image
Upload Preview
image

https://learn.adafruit.com/speech-synthesis-on-the-raspberry-pi


Streaming Music Test

You don't have permission to edit metadata of this video.
Edit media
x
image
Upload Preview
image

sudo apt-get install -y mpg123


mpg123 http://ice1.somafm.com/u80s-128-mp3


Thanks for stopping by this post and checking out my project.

Please check back for updates.


May the force be with you.


Trent

ninjatrent

trent_darkside at Instagram

  • Sign in to reply

Top Comments

  • ninjatrent
    ninjatrent over 7 years ago in reply to mcb1 +5
    There are plans for the addition of a small Lipo battery and Adafruit power boost charge circuit. Before that I need to go back in and solder the power switch and existing momentary switches to the pi…
  • shabaz
    shabaz over 7 years ago +4
    Hi Trent, That came out really well! The micro-USB on the back is also a nice touch, it blends in. Impressive to think it packs a full Linux computer inside and wireless/audio/speech capability. Really…
  • e14phil
    e14phil over 7 years ago +4
    I am sure e14megan and tariq.ahmad will love this.
  • ninjatrent
    ninjatrent over 5 years ago in reply to clem57

    Hi Clem


    The Stormtrooper Alexa is still in progress. I need to order another Adafruit powerboost 1000 charger and some thin silicone coated wire in order to wire everything up. Then it will be necessary to set up the pi zero with AWS. I do have the free Amazon development profile ready to register a new device, just haven't set it up yet. It is possible to use the pi zero as an Alexa device.

    Running Amazon Echo (Alexa) on Raspberry Pi Zero


    It's a project that I would very much like to finish. Recently I moved to a new residence and many things were put on hold.


    I have found the Stormtrooper in a box. Everything is still in working condition. It's just waiting for me to order the last components and set up AWS.


    I've recently updated this blog to include a the wiring of the class d amp to pi zero and links to the procedure for installing the Festival speach synthesis software.


    Thanks very much for your interest in this project.

    • Cancel
    • Vote Up +1 Vote Down
    • Sign in to reply
    • More
    • Cancel
  • clem57
    clem57 over 5 years ago

    ninjatrent it is funny because as I read your project I thought of Alexa echo and then you mentioned it in the comments. Did you even make that improvement?

    Clem

    • Cancel
    • Vote Up +1 Vote Down
    • Sign in to reply
    • More
    • Cancel
  • phoenixcomm
    phoenixcomm over 5 years ago

    Me Like!!

    • Cancel
    • Vote Up +2 Vote Down
    • Sign in to reply
    • More
    • Cancel
  • e14phil
    e14phil over 7 years ago

    I am sure e14megan and tariq.ahmad will love this.

    • Cancel
    • Vote Up +4 Vote Down
    • Sign in to reply
    • More
    • Cancel
  • ninjatrent
    ninjatrent over 7 years ago in reply to three-phase

    Hi Donald,


    Thanks for checking it out. Glad you enjoyed this post.

    • Cancel
    • Vote Up +2 Vote Down
    • Sign in to reply
    • More
    • Cancel
>
element14 Community

element14 is the first online community specifically for engineers. Connect with your peers and get expert answers to your questions.

  • Members
  • Learn
  • Technologies
  • Challenges & Projects
  • Products
  • Store
  • About Us
  • Feedback & Support
  • FAQs
  • Terms of Use
  • Privacy Policy
  • Legal and Copyright Notices
  • Sitemap
  • Cookies

An Avnet Company © 2025 Premier Farnell Limited. All Rights Reserved.

Premier Farnell Ltd, registered in England and Wales (no 00876412), registered office: Farnell House, Forge Lane, Leeds LS12 2NE.

ICP 备案号 10220084.

Follow element14

  • X
  • Facebook
  • linkedin
  • YouTube