


I found this distribution to be the simplest to install, localize, and set-up networking for (wired or WiFi, static IP or DHCP). I was impressed enough that it is on all of my computers:
- RPi2 (ARMv7) SoC
- Pine64+/2GB (64-bit ARMv8, like RPi3) SoC
- Biostar NM70I-1037U (Dual-core 1.8GHz x64 Celeron) motherboard
- Zotac IONITX-FE (Dual-core x64Atom 1.6GHz) motherboard
I am using version 16.04. The only major flaw (WiFi not processed during installation, https://bugs.launchpad.net/ubuntu/+source/network-manager/+bug/1572956 ) that I found is easily worked-around by an extra reboot following the first boot after installation. This is supposed to be fixed in the next release, version 16.10. More about WiFi later.
Download and get post-installation instructions from here: https://ubuntu-mate.org/raspberry-pi/
Keep in mind that the download thingie is not a ZIP file but a WZ file which contains the IMG file. In Unix and Linux, you can obtain the IMG file with the `unxz` utility (Debian/Ubunut/Mint: sudo apt-get install xz-utils). Mac probably performs GUI magic.
Boot up of the MicroSD the first time, gets you here (pardon my photography):
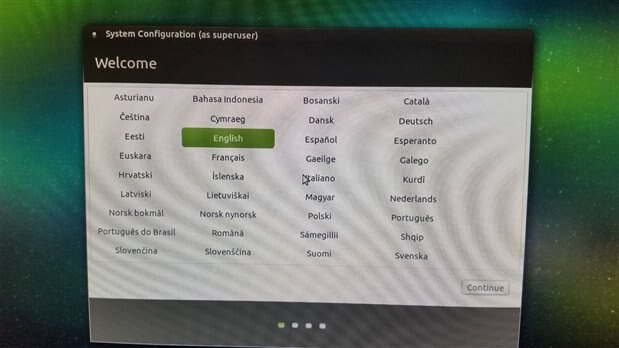
After selecting English, they asked me where I was:
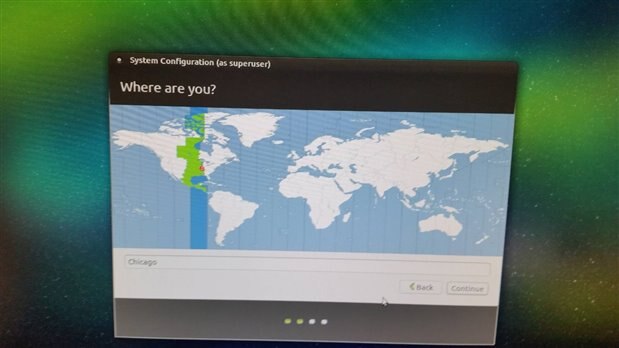
Next, I was prompted for my keyboard layout:
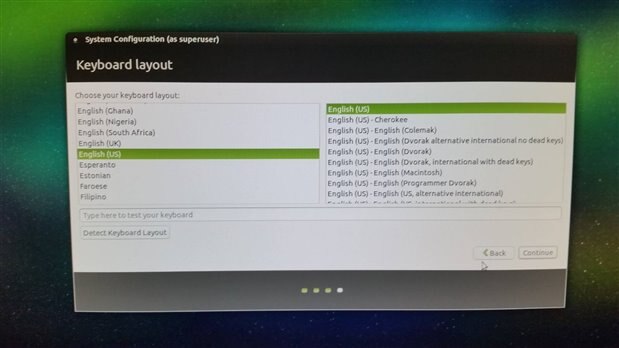
Next, who are you, your computer name, and do you want to auto-login?
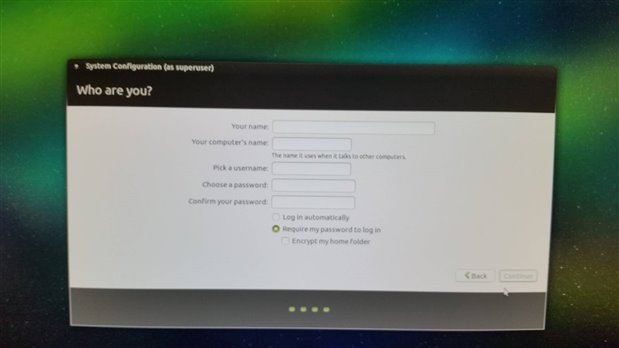
That's it! No more data entry screens for installation. Commercials during installation:
After the first boot, you get the desktop plus a welcome pop-up:
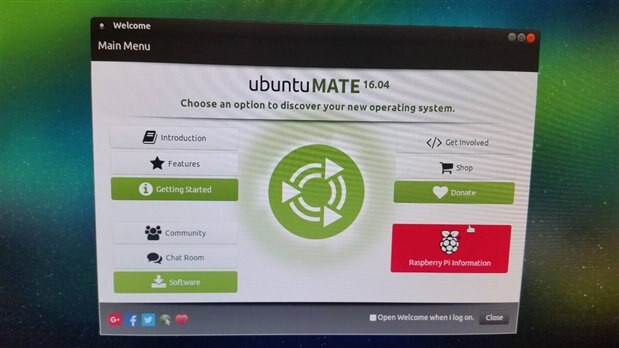
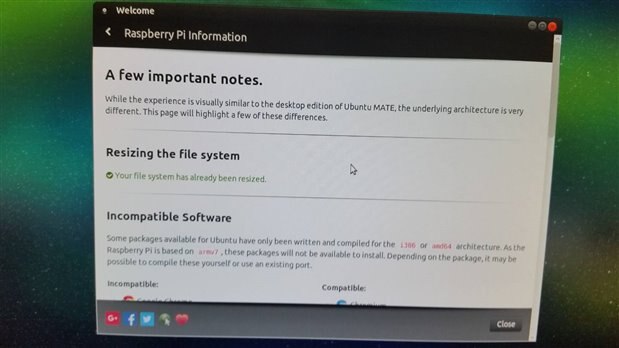
Click on the red rectangle (Raspberry Pi Information) and select Resizing the File System (sorry, I neglected to catch it before I completed it):
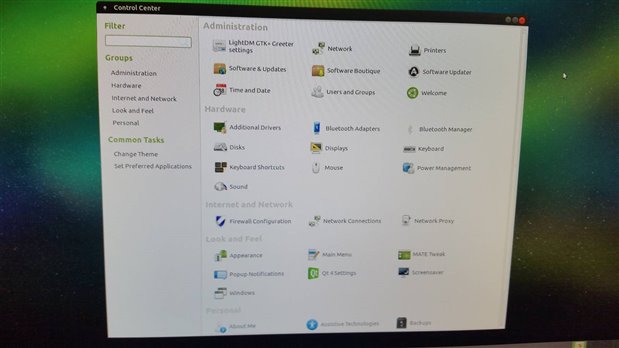
I probably was told to reboot too (after resizing) but I forgot! Here is the layout of the Mate Control Center:
I normally just use wired-Ethernet but since I do have an EDUP USB WiFi dongle, I'll demonstrate configuring both.
Included in Mate is the Network Manager GUI which obviates the need to edit system configuration files directly. Network Manager has evolved successfully from SysV to Upstart to Systemd service managers. Ubuntu Mate, like the rest of the Ubuntu family is using Systemd as of 2016 for releases. But, if you use the Network Manager GUI, you won't be required to know, in advance, what methodologies and which folder locations for the network details of your service architecture. Of course, you can find this out if you are curious.
So, look up to the right-hand side of the top panel ("Panel 0") and you should see one arrow pointing up on left and its twin pointing down. Click once on it and you should see something that will eventually look like this:
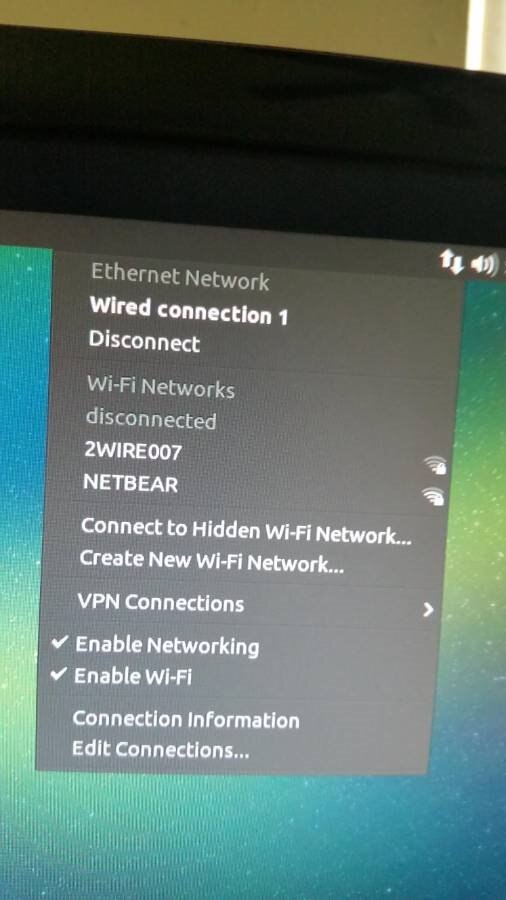
The above picture reflects auto-configuring wired and having completed the WiFi work-around reboot which will be unnecessary in version 16.10. You can see that there is a "Wired connection 1" (name will change automatically) under "Ethernet Network" and a list of two possible WiFi routers I could try connecting to. I'll set up WiFi first.
It so happens that NETBEAR is mine and 2WIRE007 must be one of my neighbors so I did the following:
- Clicked on NETBEAR
- Entered the password
- Clicked on "Connect" to complete the connection. The cryptographic methodology is negotiated transparently although you could try to edit it subsequently.
I decided for this WiFi connection, I'll leave it as DHCP (the default for all connections) but I really want a fixed IP address for the wired connection. Note the following picture:
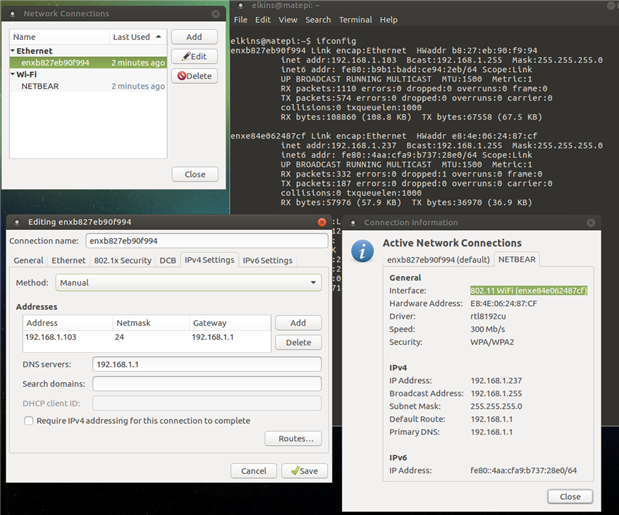
To edit the wired connection, I clicked on "Edit connections ..." in the Network Manager drop-down menu which got me the "Network Connection" box in the upper left of the picture. I highlighted the wired name (shown there) and clicked on "Edit". Note that the wired name changed. It now has a name governed by the "Predictable Network Interface Names" scheme (https://www.freedesktop.org/wiki/Software/systemd/PredictableNetworkInterfaceNames/ ). I wish that had happened from the get-go and I never saw the "Wired connection 1" label. Well, nobody is perfect. I hope that this does not confuse a novice. Never edit "Wired connection 1".
In the lower left of the picture, you should find an "Editing ..." box with details that I entered for my wired static address:
- Method: Manual
- Addresses (only one)
- Address 192.168.1.103
- Netmask 24 (I could have entered the equivalent 255.255.255.0)
- Gateway 192.168.1.1 (My router's IP address)
- DNS servers (only one): 192.168.1.1 (My router = my DNS server)
and then I clicked on "Save".
Note that the Addresses component entry process is a bit brittle and has been complained about. Enter the components this way:
- Pi Address value
- Press the Enter key
- 24 (or whatever your netmask value should be)
- Press the Enter key
- Gateway address value
- Press the Enter key
Do not use arrow keys. If something goes wrong, start over. I agree that brittleness has no excuses.
The result is the lower right hand box showing the NETBEAR tab and the `ifconfig` output in a terminal window behind the 3 boxes. You should see that the wired connection has a static IP address and the WiFi connection is using the DHCP scheme.
That's it. Not perfect but quite simple, quick, and has network configuration heading in a productive direction.
Comments? Any interest?