 | Raspberry Pi Media Center: Part 2 Join Les Pounder as he guides us through turning a Raspberry Pi into a Media Center! Learn about Raspberry Pi, XBMC, Plex and even Kodi streaming services. Check out our other Raspberry Pi Projects on the projects homepage | Previous Part |
| All Raspberry Pi Projects | ||
| Next Part |
Part 2: Identifying my needs and planning the build
So what are my needs?
I work from home and I like to have something on in the background as I work, so my use case will be for a device which can keep me entertained while I work.
Project Goals
- The project should connect to my home wifi.
- It should have its own screen and speaker.
- Input will be via a touchscreen.
- I like to watch YouTube videos and listen to podcasts.
- I want to watch films on the device.
- It should connect to my hard drive via a network share.
So to accomplish the project I will need plenty of kit.
- A Raspberry Pi 3
- 16GB micro SD card with LIBREELEC installed
- A Pimoroni Hyper Pixel
- An Official Raspberry Pi 2.5A Power Supply
- A speaker
- A case
- Purchase an MPEG library to playback MPEG video.
- Brass standoffs
The Raspberry Pi 3 has plenty of power for this project, maybe more than I need as this project could also be created with a Pi Zero W, but then I would need to source a USB sound card.
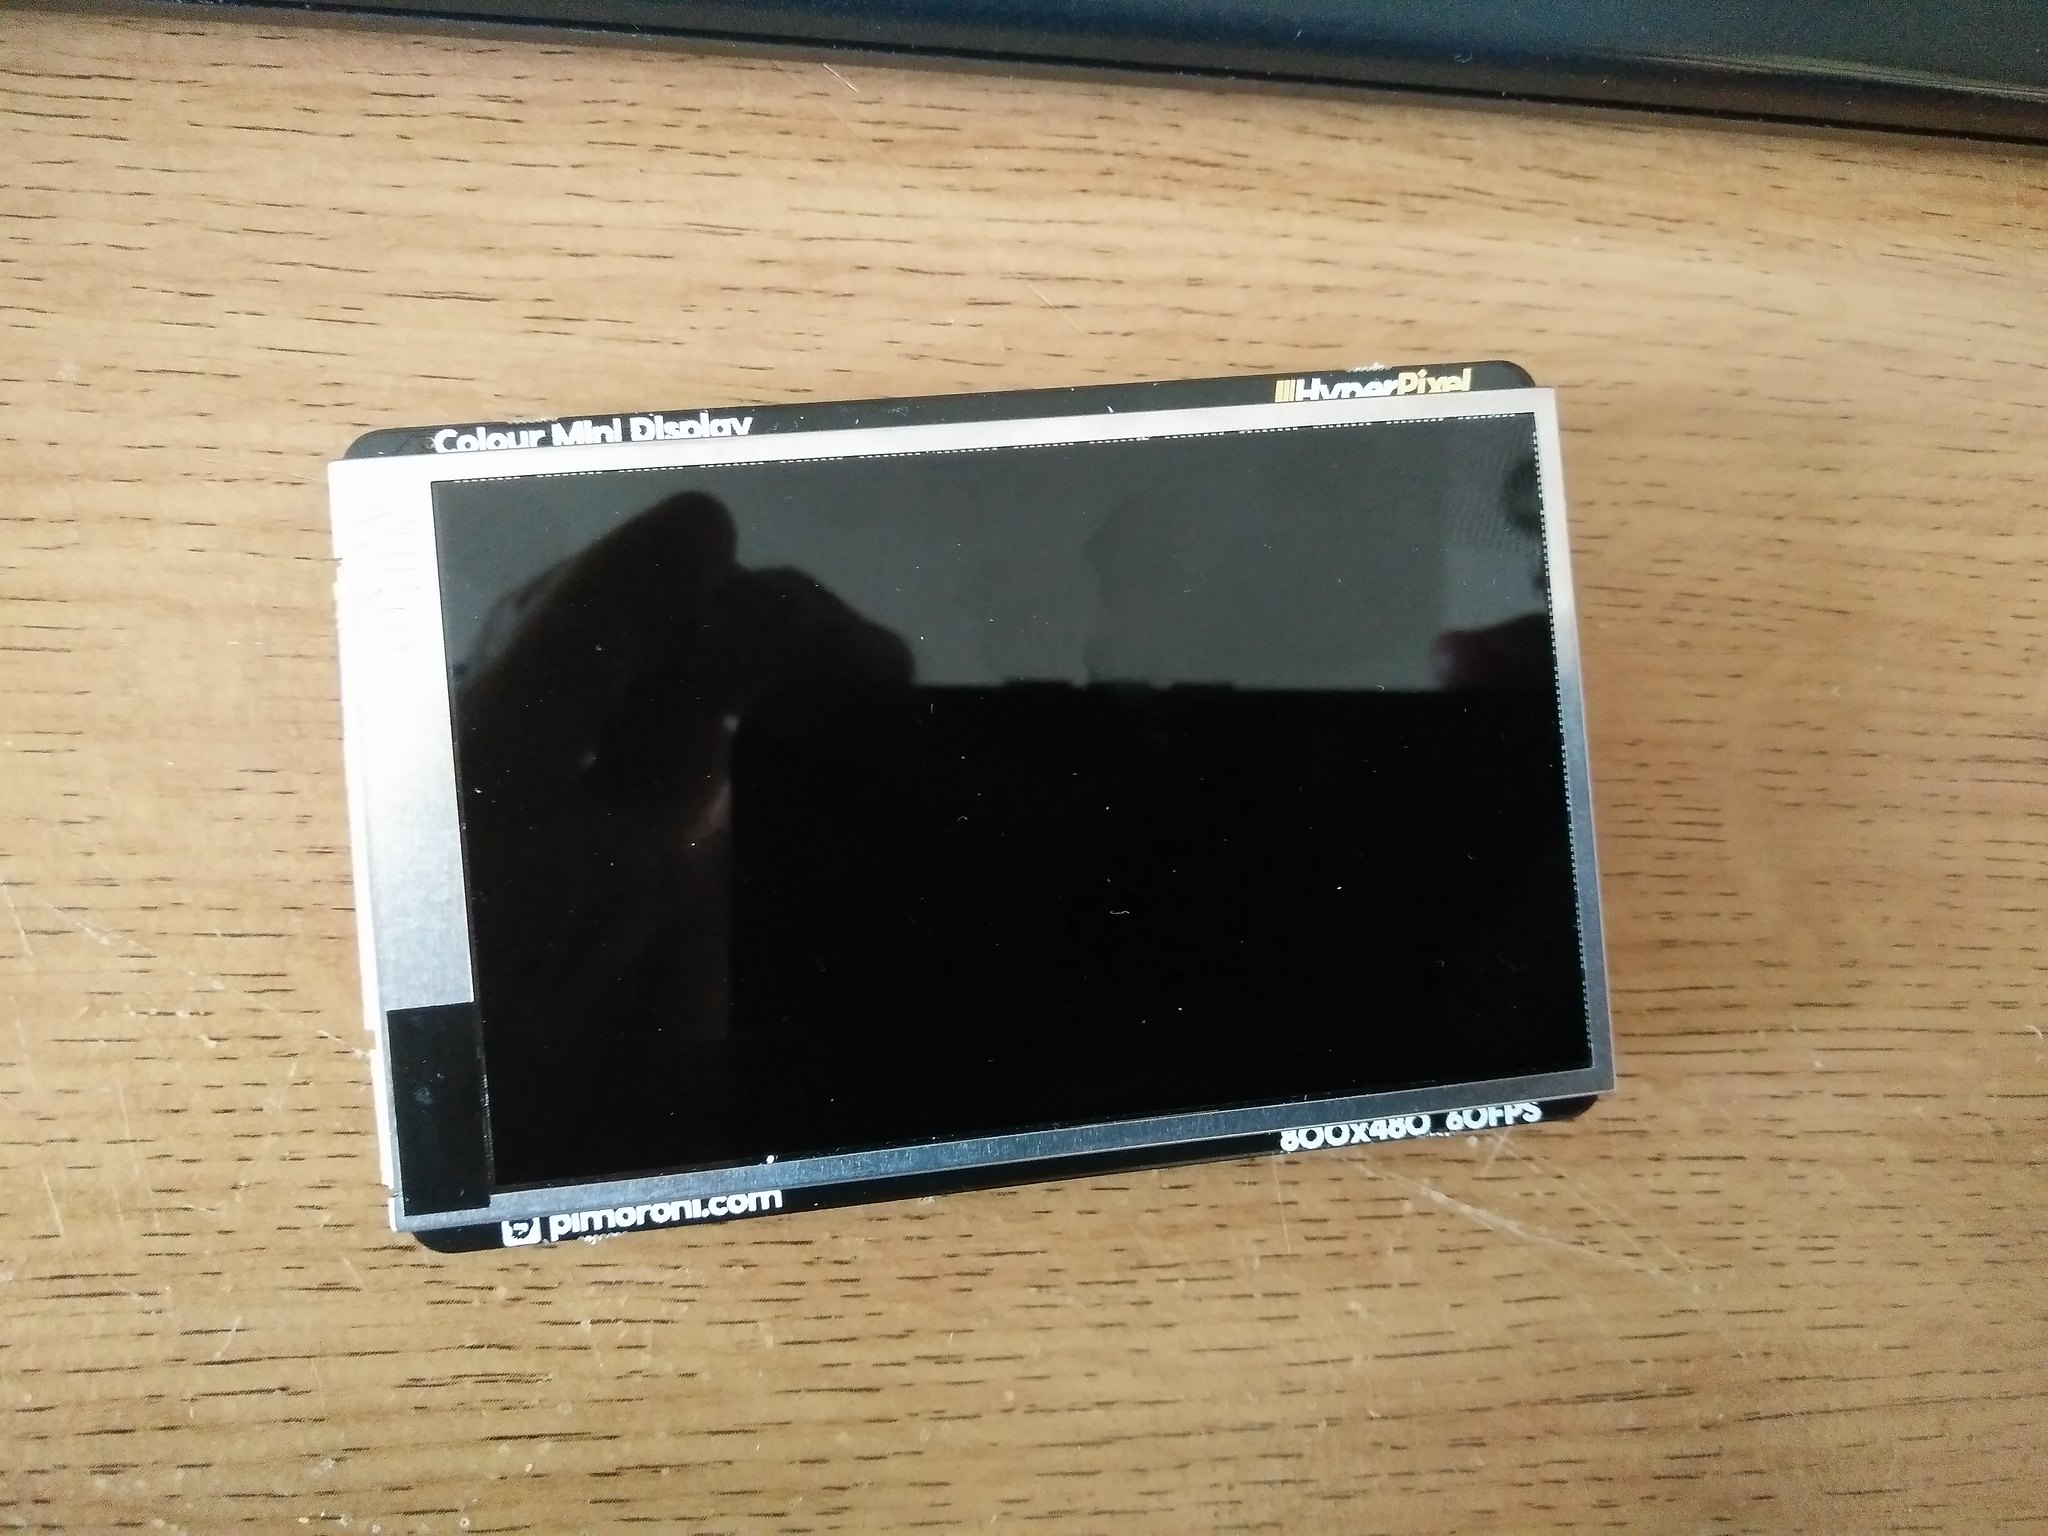
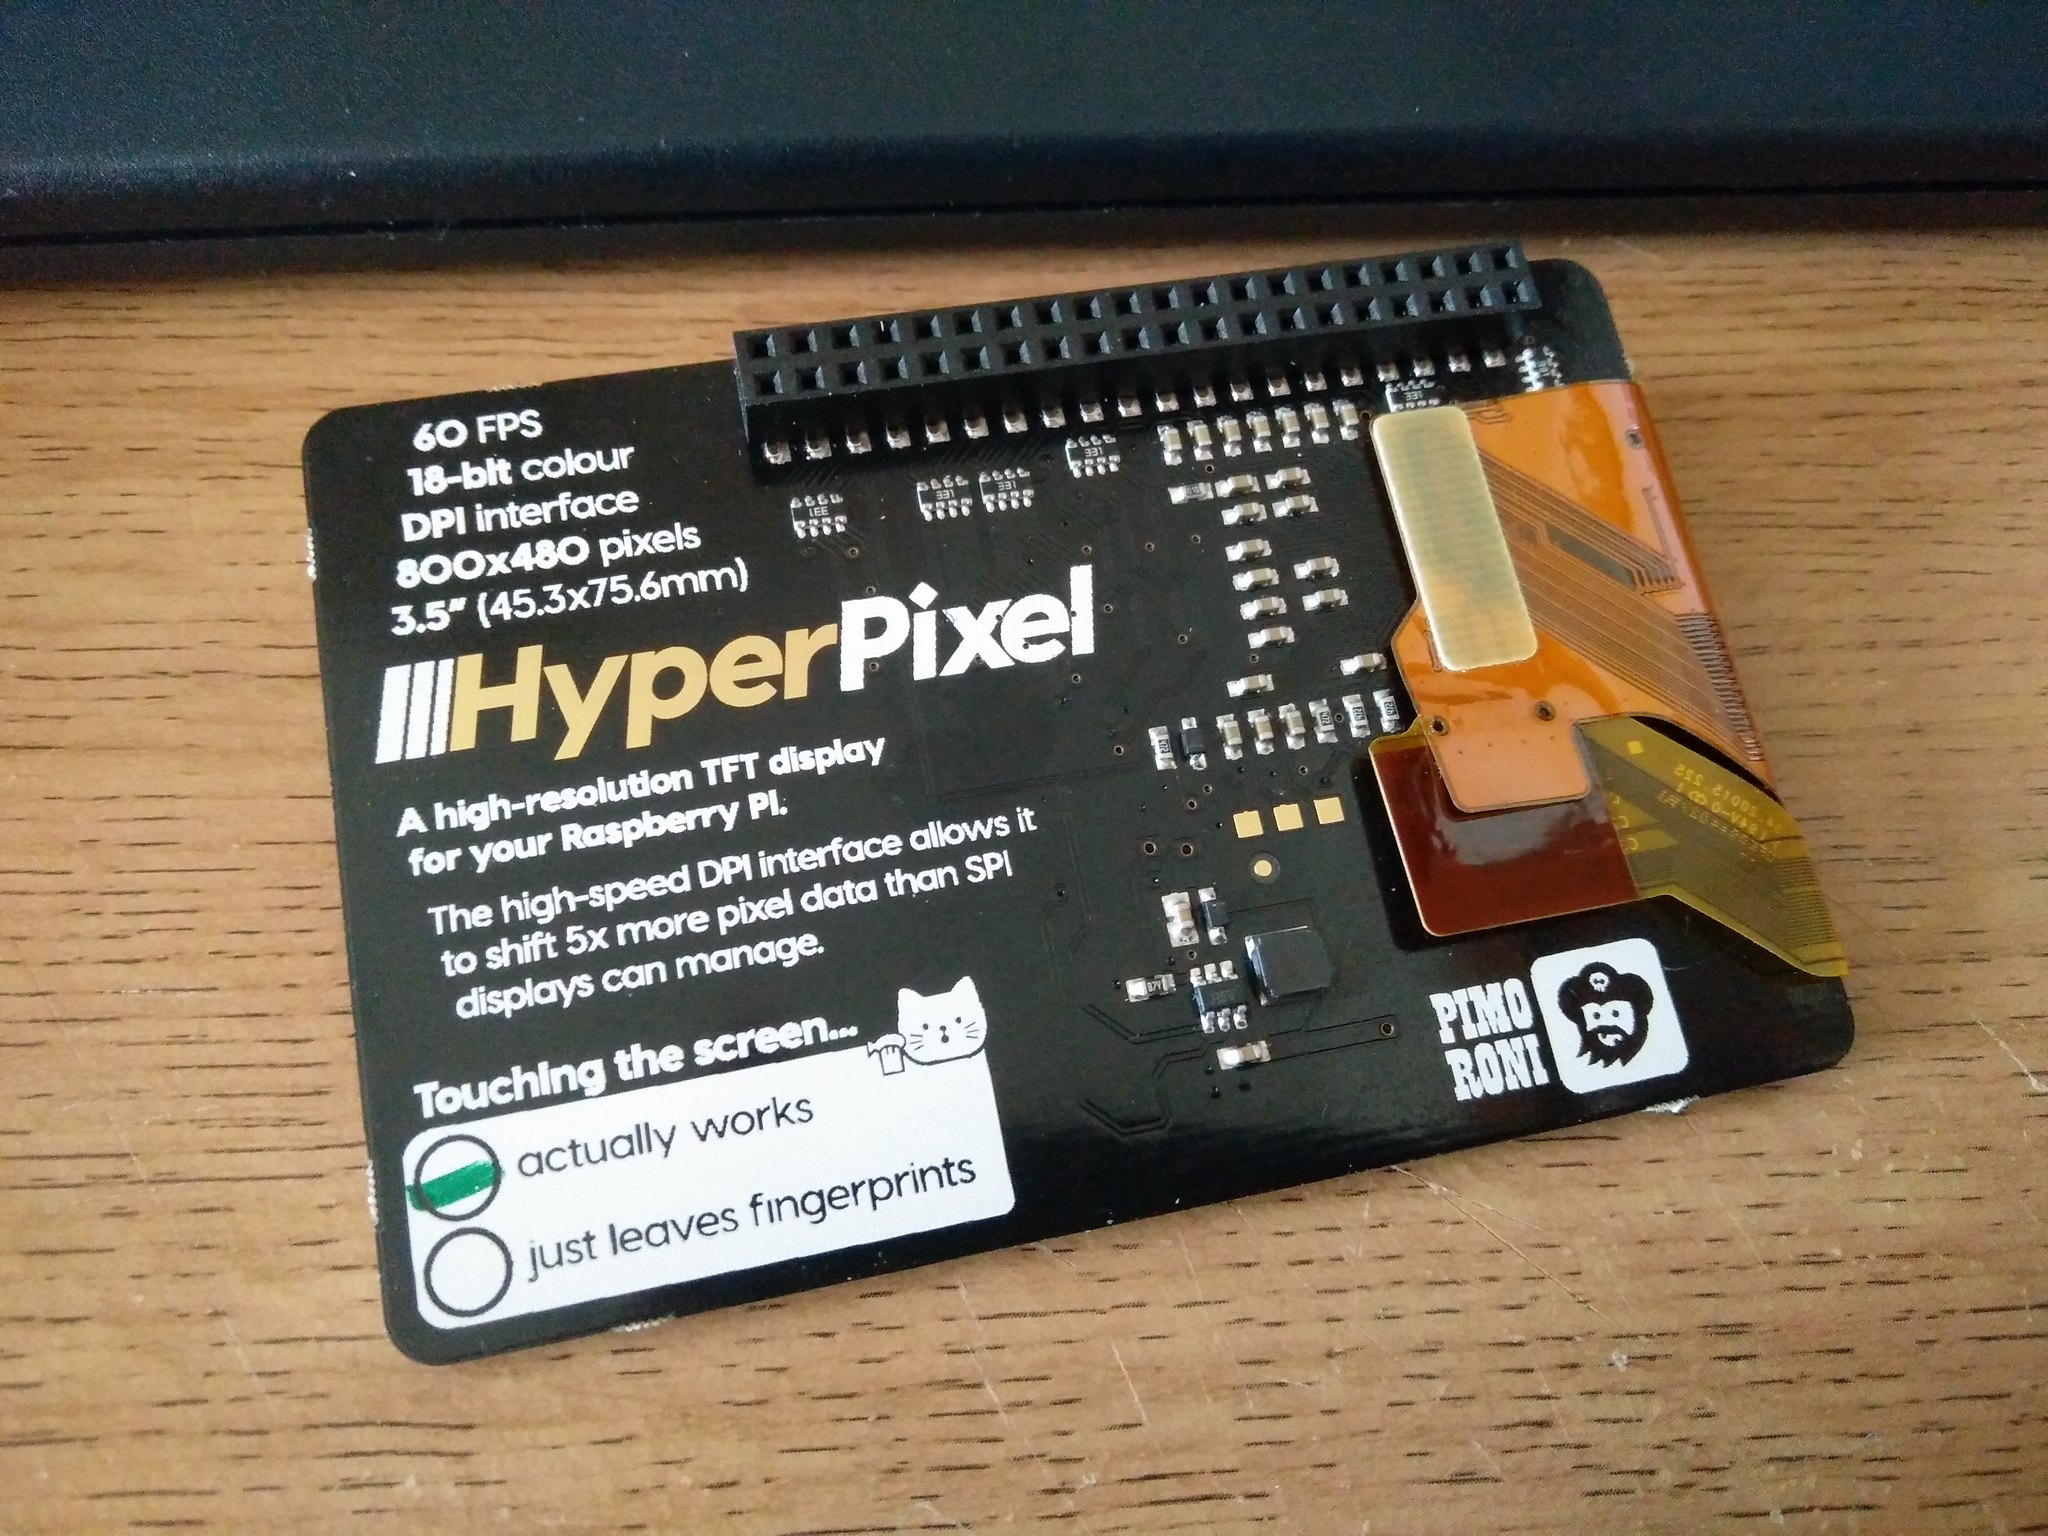
To the Pi 3 I will connect Pimoroni’s Hyper Pixel an 800x480 screen that fits on top of the Raspberry Pi 3 and uses the GPIO. the Hyper Pixel board is fantastic, sure it might not be an HD screen but the image quality is superb, and it can run at 60fps. The only issue with the Hyper Pixel is that the screen backlight uses PWM to control the brightness, this technically renders the analog audio output useless, but fear not! If I keep the backlight on at full brightness then I can use the analogue audio!
(Excuse the mess...)
The minimum SD card size for LIBREELEC is 8GB but now 16GB are really cheap and the extra space may come in handy.
As I am using the Pi 3 and the Hyper Pixel from a single power source I need to make sure to supply enough power, and the official 2.5A power supply will do the job nicely.
Speakers are easy to find, I’m using a cheap analogue speaker that has it’s own battery and it can be recharged from micro USB. So I’ll use a micro USB to USB cable connected from the Pi 3 USB port to keep the battery charged and the speaker ready for use.
Unless I put the kit in a case it will just be a mess of wires so using a suitable project case and a few well placed holes, into which we shall use brass standoffs to keep everything secure and well placed and more importantly it will keep my desk almost tidy!
Purchasing an MPEG licence is an optional step. The power of the Pi 3 CPU is enough for software decoding of standard definition MPEG streams, but should you need to decode HD streams then purchasing a MPEG-2 licence key for around $3 is a no brainer.
So there we have it, a starting point from which this project can be born!
In Part 3 of this project I will build the basic system and test that it works. Then in Part 4 I will configure the project to meet my needs.


Top Comments