


Hello Element14 Community! 
This is a short blog post, part of my MultiComp PRO 3D Printer Filament RoadTest, in which I will show how I usually calibrate new filaments for my 3D Printer.
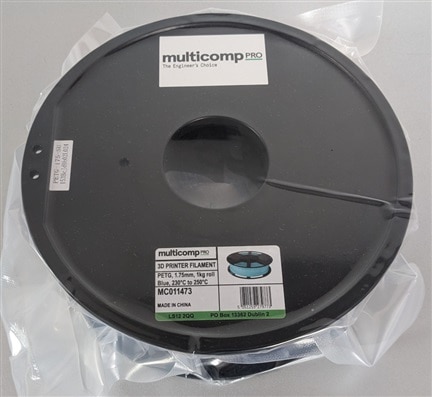
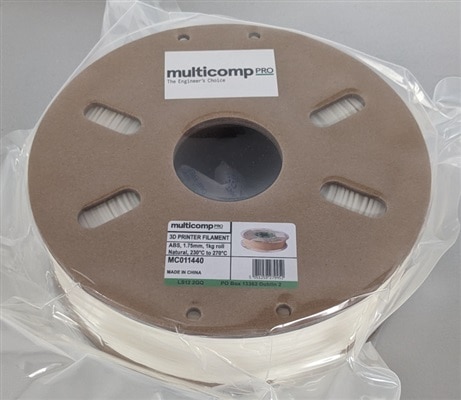
The 3D printer filaments I got for this test are a spool of Silk PLA (Gold), PETG (Blue) and ABS (Natural):

When I get a new spool of filament for my 3D Printer from a new manufacturer, or I try a new type or material, I usually try to determine the optimal settings for that filament and manufacturer. I do this by performing a couple of measurements and printing a set of calibration / test prints.
1. Flow Rate Calibration
The nominal diameter of most common type of 3D printer filaments is 1.75mm. However, due to manufacturing tolerances, the actual diameter of the filaments could be off by up to around ±3%, and this will have a small effect on the volume of material extruded by the 3D printer.
Because of this it may be beneficial measure and calibrate the flow rate of the 3D printer for the given filament, so the actual amount of extruded material is much closer to what the slicer software thinks it is.
To first step is to try to measure the actual diameter of the 3D filament by using a caliper. As it may be small variations, it is better to take 4-5 measurements at different locations and average the measured values.

Next, we can use the measured diameter value to introduce a new material into our preferred slicer software. I use the Cura slicer from UltiMaker, in which we can introduce new material under Preferences -> Configure Cura... -> Material. This is what adding a new material looks like in Cura:

Beside the diameter, we should also set the initial print settings for the material. The settings at this point does not matter too much, we can just go with what the manufacturer recommends or what we usually use for the given type of material:

With this step done we should be able to make or first print. I usually start with a Flow Calibration Cube, which is just a simple cube (ex. 30x30x30mm, link) printed with a single 0.4mm wall, 0% infill and no top/bottom layers:

When we print this we will get a shell that should have walls that are exactly 0.40mm thick:

After the print is done, we can use a caliper to measure the actual wall with, and make adjustments in the slicer software if needed. In the slicer we can either adjust the filament diameter again, or the Flow rate (%) in the slice settings.
Note that for some use cases using using other than 100% true flow rate may be better. Using a bit higher (+3%) flow rate may result in stronger parts, while lower flow rate my help multiple parts need to fit together with low tolerances.
2. Temperature Calibration
Filament manufacturers usually give a range of temperatures their material should be printed at. These ranges are usually fairly wide, and while they usually work well the printing temperature can have an effect on the quality and strength of the print.
To visualize the effect of print temperature we can try to print a Temperature Tower. A Temperature Tower is model with same features repeated over multiple levels, while each level is being printed at a different temperature.
Temperature Tower requires special G-code to print, as we need to change the hot-end temperature at each level. Fortunately, there are slicer plugins to do this. For Cura I found the AutoTowers Generator extension (link) that can be used to generate various calibration towers. It can be installed from the Cura Maketplace:

To generate a Temperature Tower we select one of the options from Extensions -> Auto Tower. The extension will generate the model, and set the all the required settings.
This is what a Temperature Tower looks like after is printed:
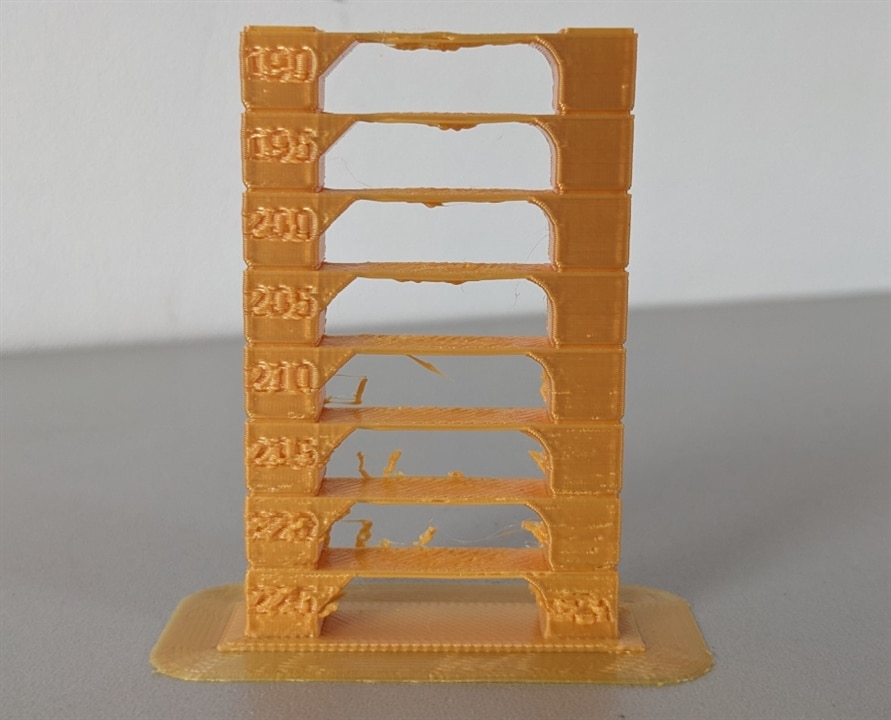
We can use this tower to determine the best printing temperature for our needs. Note that lower printing temperatures may give use better surface finish, but it can also reduce the strength of the part.
3. Other
For the Multicomp PRO filaments from this RoadTest, I spend most time on calibrating the settings for the PETG one. PETG can be quite stringy and sticky material compared to PLA, so it usually needs special settings for retraction and bridging. While trying to adjust these, I printed various calibration towers for temperature and retraction, and tried various bridging settings.

For the PLA and ABS spools I only printed the flow rate calibration and temperature tower models. The ABS filament also needed a quick bridge setting adjustment.
4. Results
After I was somewhat satisfied with the calibration prints, I proceeded to print each a 3D Benchy with each filament:
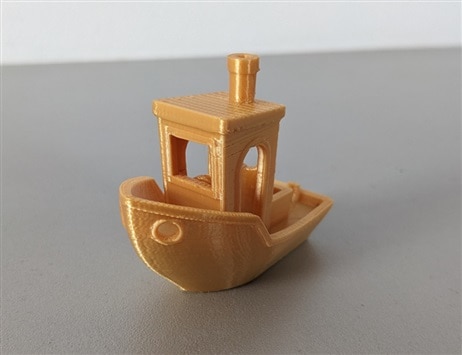
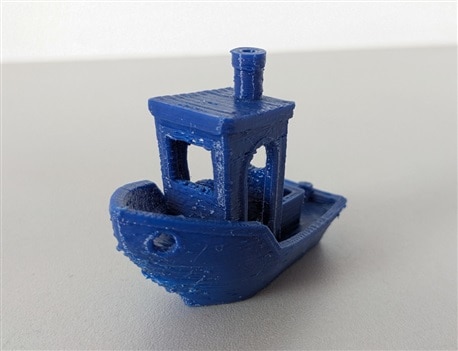
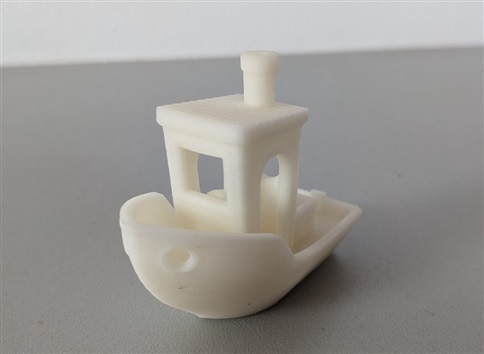
The PLA and ABS Benchy came out fairly good, while the PETG probably could be improved.
This are the settings I used:
| PLA | PETG | ABS | |
|---|---|---|---|
|
Diameter |
1.74mm | 1.72mm | 1.75mm |
| Printing Temperature |
200.0°C | 240.0°C | 235.0°C |
| Bed Temperature |
60°C | 60°C | 80°C |
| Print Cooling | 100% fan speed | 40% fan speed | 40% fan speed |
| Print Speed |
60 mm/s 30 mm/s for walls |
60 mm/s 30 mm/s for walls |
60 mm/s 30 mm/s for walls |
| Travel Speed |
|
120 mm/s | 120 mm/s |
|
|
3 mm 40 mm/s |
6.5 mm 20 mm/s |
|
| Bridges |
75/80/110% flow rate 5/10/10 mm/s |
75/80/110% flow rate 5/10/10 mm/s |
75/80/110% flow rate 5/10/10 mm/s |
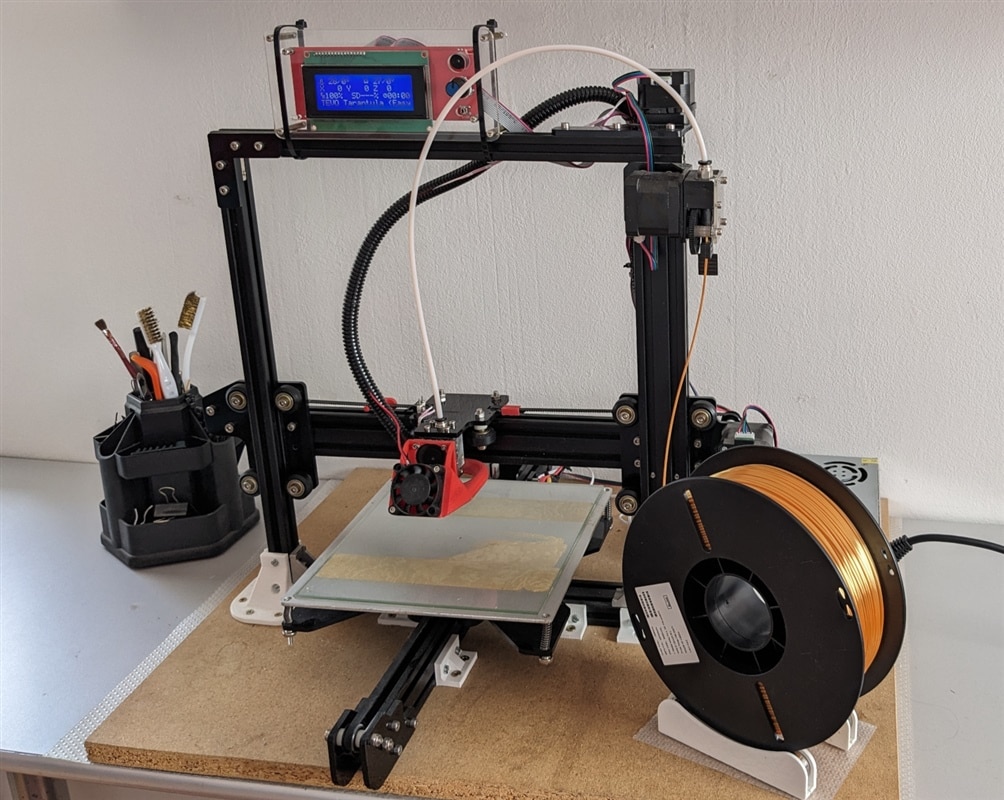
The 3D Printer I use in an old, but heavily modified Tevo Tarantula, with a heated glass bed:
In the next weeks, I will print a couple of models to see how the Multicomp PRO filaments perform. I will compare the results with other filaments I used in the past.
Hope you enjoyed this blog post! 
Top Comments