


Post #3
Part of a series for the road test listed here:
IDT Wireless Flow Rate, Humidity&Temp Sensing Kit
Kit Initial reactions & power up

Here is an overview video of what comes in the kit and my initial reactions on starting to tear into the kit.
Once I had opened the kit, I went right away and created a file back up of the SD card - "as shipped". So I have a time capsule to roll back if needed.
I used the instructions from this page.
The module was plugged in to power, a screen, and a keyboard and it fired up. This is running a Raspberry Pi Zero W (Wireless) as the host controller; with the ZWIR4512 on top of it for the wireless hub. The Pi took a few minutes to boot up (The manual says it takes "about 2.6 minutes"). On my laptop, I was able to see the "ISG-Demo" wifi hotspot appear. I logged into the demo website "http://demo.isg/" and was prompted to chose between the North American operating frequency (906 MHz) and European (868.3 MHz). After that, I was able to get in.
A typical (but somewhat common) issue was noted right away - the wifi signal that the hub broadcasts is unsecure - there is no username or password required. The same type of issue was found on the LXDE operating system of the Pi. The system runs using the default user ("pi") and the default password. This is something that should be changed or pre-programmed to something else. There doesn't seem to be a way to do either from the web interface. This is insecure but it is common for many wireless devices to work in a similar manner - power up to broadcast a new, unsecured network, then have the user log in via their phone to connect it the rest of the way. Annoyingly, I couldn't find a way to turn OFF the broadcast WIFI signal from the hub. It continued on even after I had linked to my normal home WIFI network. The Pi does seem to do a good job of holding this signal up as my laptop kept trying to connect to it from across the house for the few weeks I had this running.
I had powered up the sensor cube in the mean time while waiting for the hub to boot. I was cheerfully greeted by two VERY bright blue LEDs - one on the FS2012 sensor and one on the main board. They were nice at first but are pretty annoying after a while.
All in all, it was less than 5 minutes from powering the device on to watching a live graph of data.
The main sensor view page was quite nice as a first reaction demo. It became obvious that the H3001 humidity and temperature sensor is very fast and sensitive. Placing a hand over the vent holes results in an immediate spike on the humidity graph. The temperature sensor seems a little more granular
Wireless Hub:

With the case open:
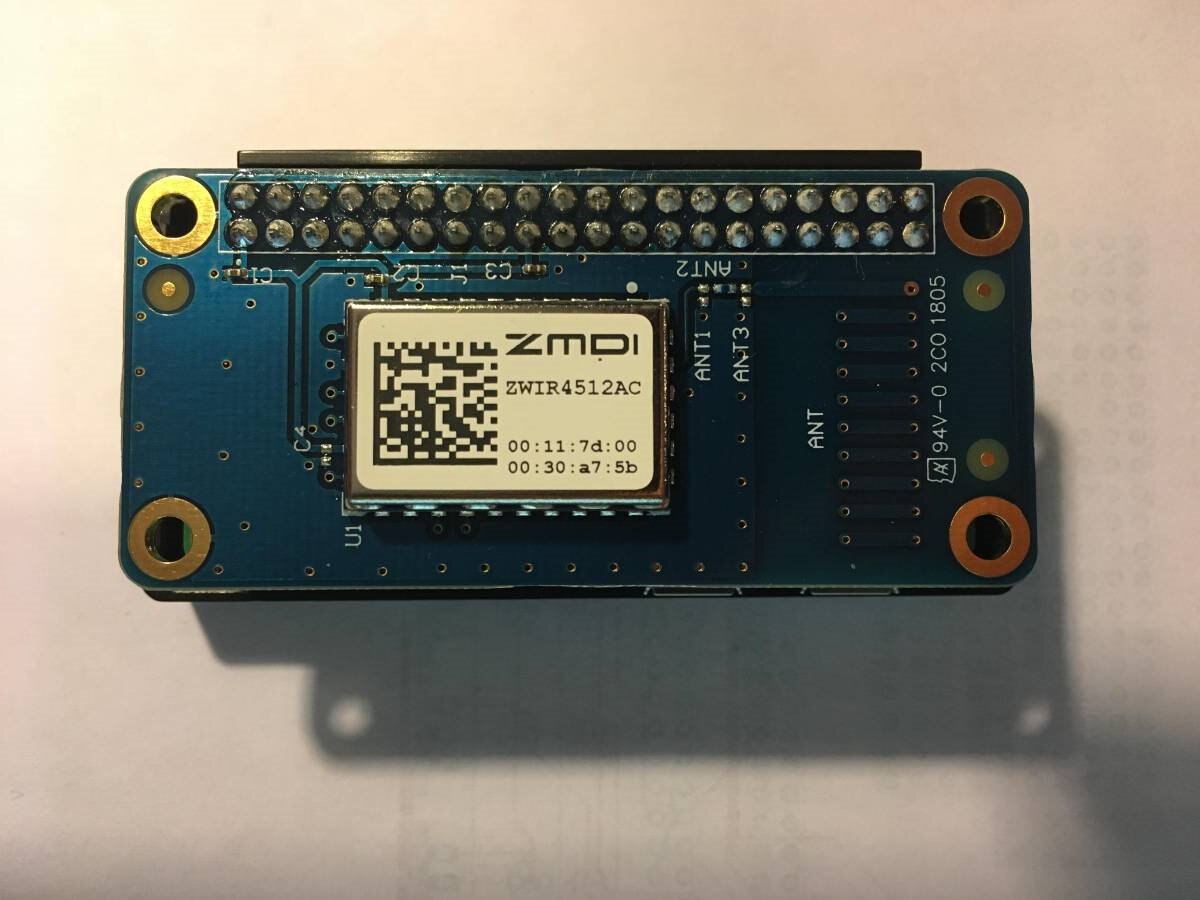
And the backside of the Pi Hat.

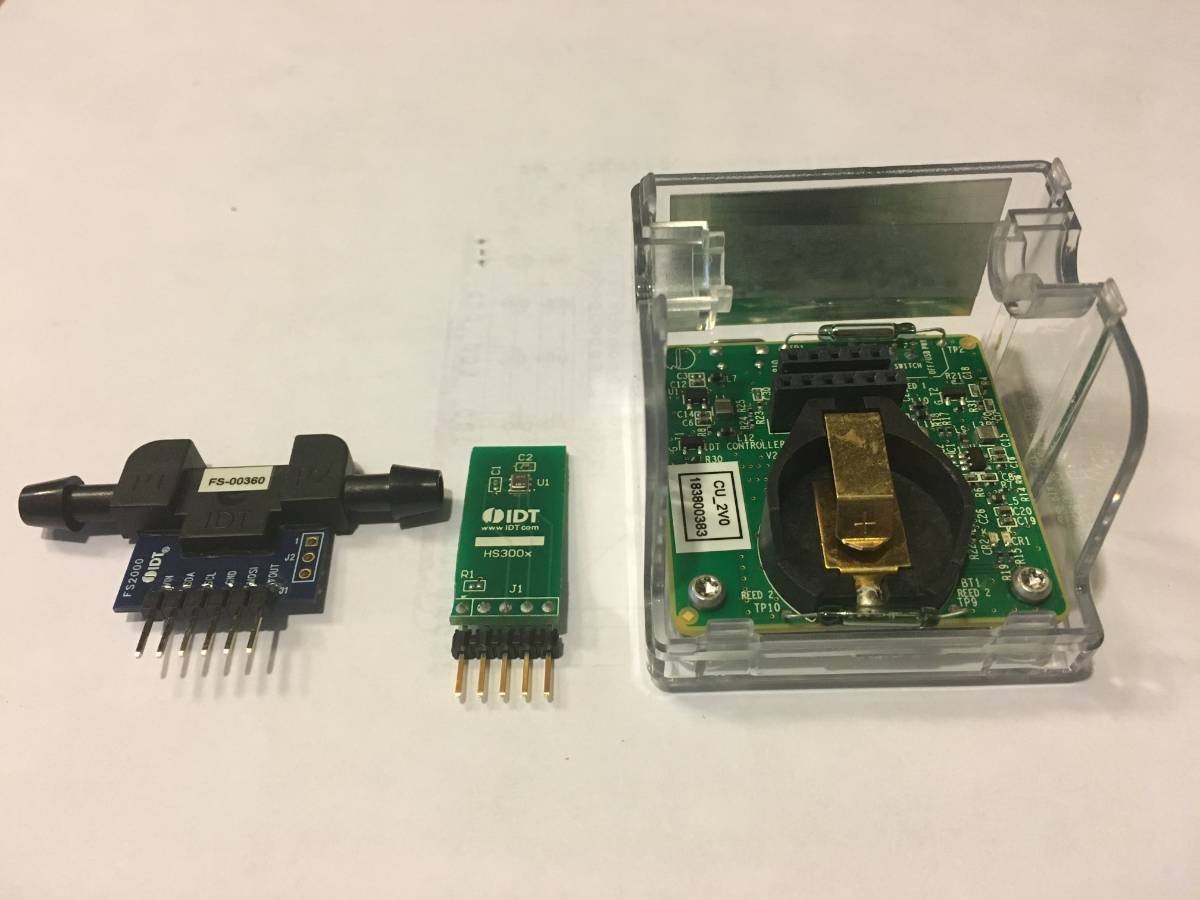
Here are images of the Sensor Cube:
Front:
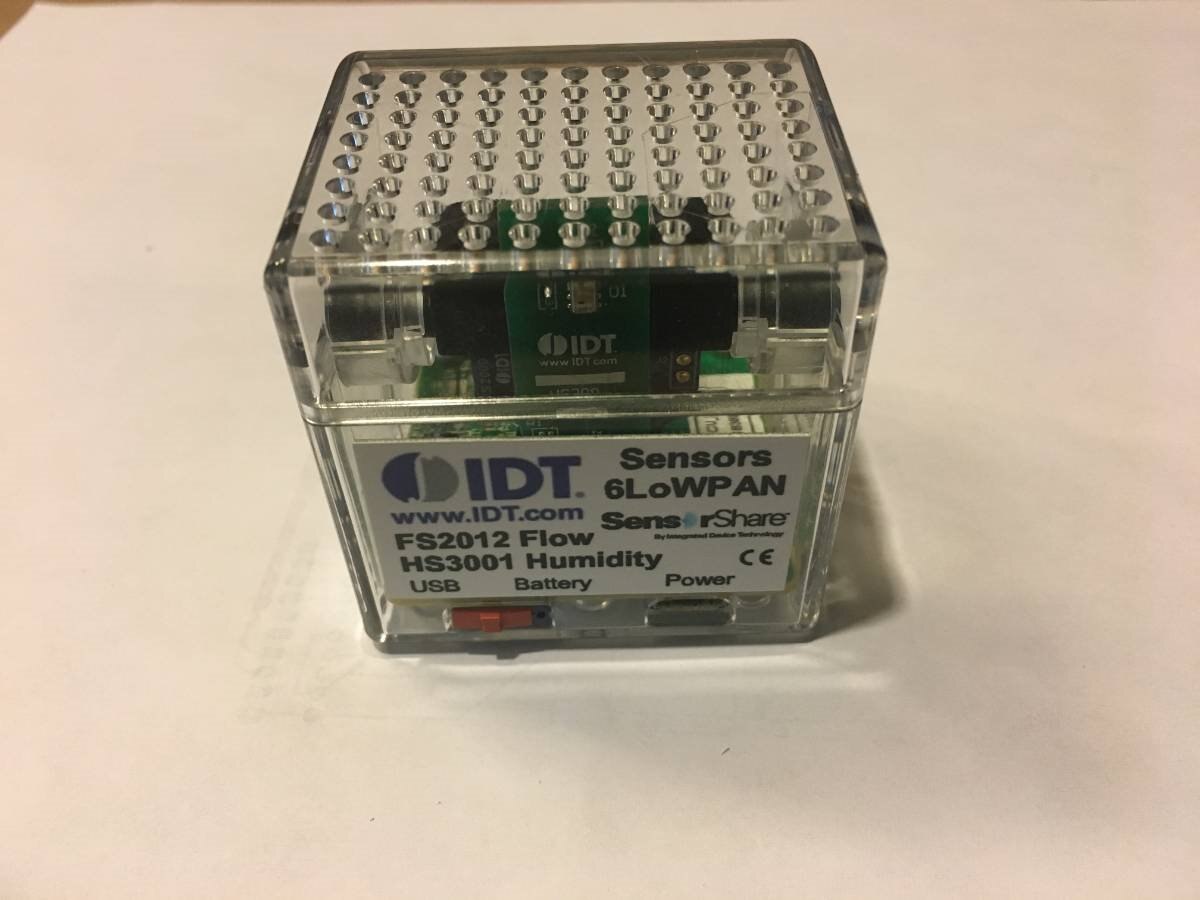
Back:

Top opened:
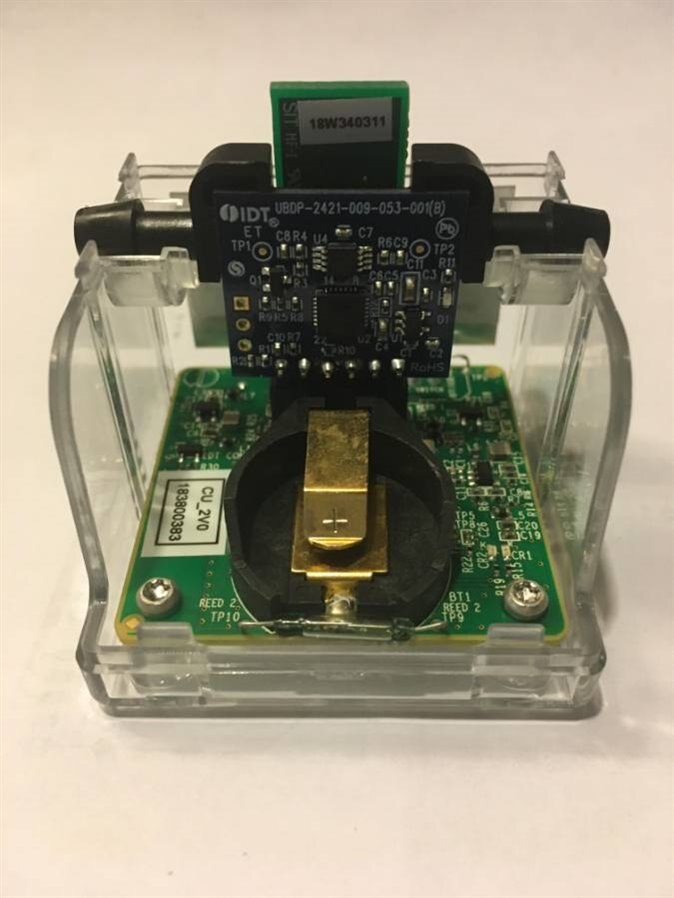
Looking down into the sensor cube (modules removed).

And a view of the bottom of the cube showing the ZWIR4512:
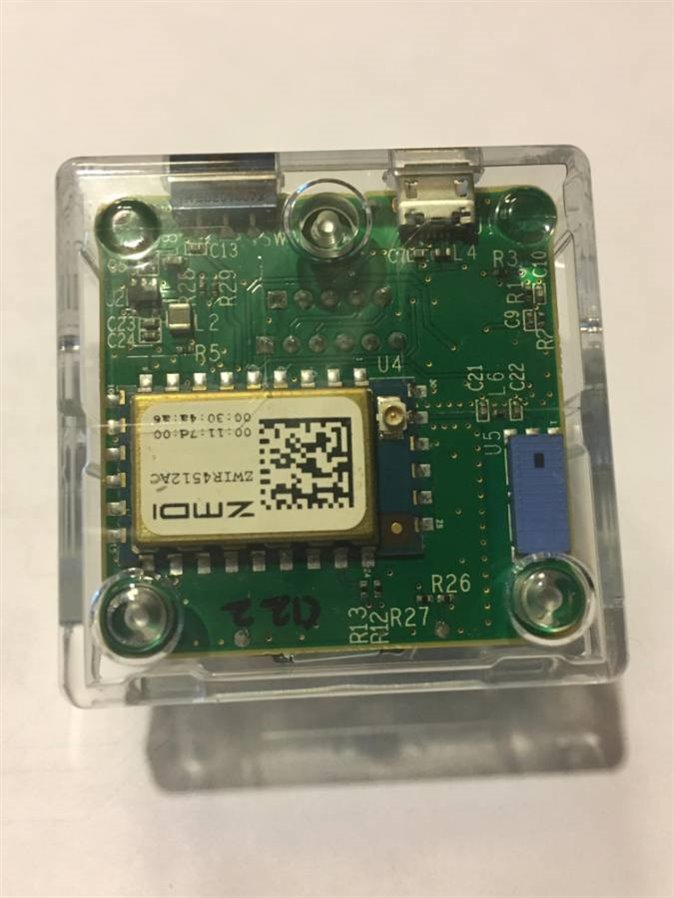
Modules removed. The flow sensor is on the left and the HS3001 temperature/humidity sensor is in the middle.
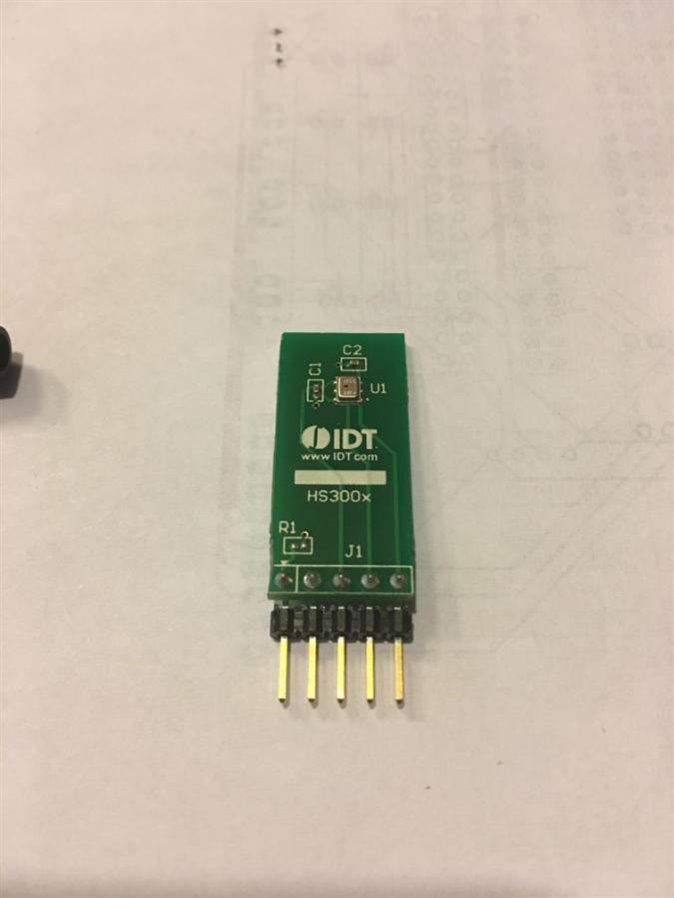
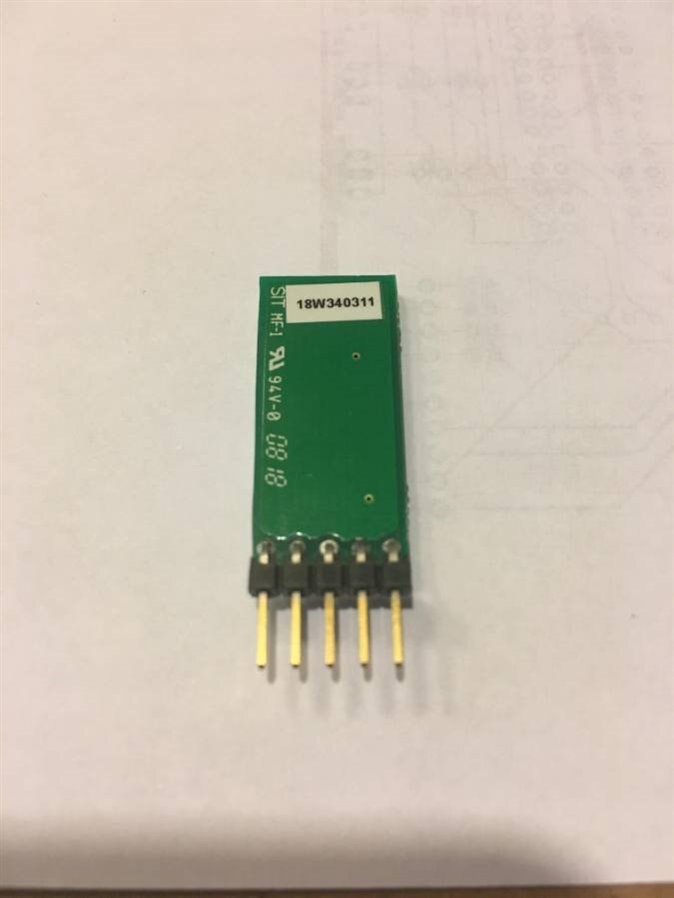
HS3001 Temperature/humidity sensor detail - Front
and back.
There are detailed pictures of the flow sensor in post #1 linked here.
Here is a walk-through of the web interface for the module. I was able to get to this within just a few minutes of initial power up.
The web interface also provides a place to set up your home wifi network and to add a link to Amazon's "AWS" could service. For this review I won't be linking to AWS but it should be noted that this is possible and can give functionality to those who would want to use it as a launching platform for other integrations. The steps involved require creating an account with AWS (supplying credit card info), creating & downloading an "AWS Credentials" file, then uploading it to the Wireless hub. This posts JSON messages to a web server, so the real goal would be to redirect / update the code to post them to my automation system as a hack. The kit comes with documentation stating that this is for evaluation purposes only and this kit should not be used as part of a final product. IDT obviously want to get their own components into the hands of developers so the goal would be that these chips get OEM'd into other products; not the evaluation kit.
Top Comments