


FULL REVIEW: Pi-Top - A Raspberry Pi Laptop - Review
My pi-top arrived last week! To not keep you in the dark until the very last moment, I've decided to split up this review in multiple blog posts, each with a specific topic to cover. The actual review will then link to these blog posts along with a description and conclusion.
As the title suggests, this first blog post will cover the unboxing and setup of the pi-top, with some initial impressions of the product.
Unboxing
A big box from element14 was delivered last week Thursday. Inside were two things:
- pi-top
- Raspberry Pi 3B+

I didn't expect a Raspberry Pi 3B+ to be included, especially because the RoadTest description specified "Raspberry Pi not included". So thank you for adding one of those, it is much appreciated!
Upon closer inspection of the box, I did notice all the seals (main box and inventor's kit) had already been cut, the box was slightly damaged, and that the laptop was even put back in the box incorrectly. I'm not sure if this was done pre shipping or by customs, as the package was marked as hazardous most likely due to the laptop's battery. Perhaps rscasny can shed some light on this. Anyway, no bits were missing or damaged, which is most important.


Inside the box, everything you can expect:
- pi-top laptop
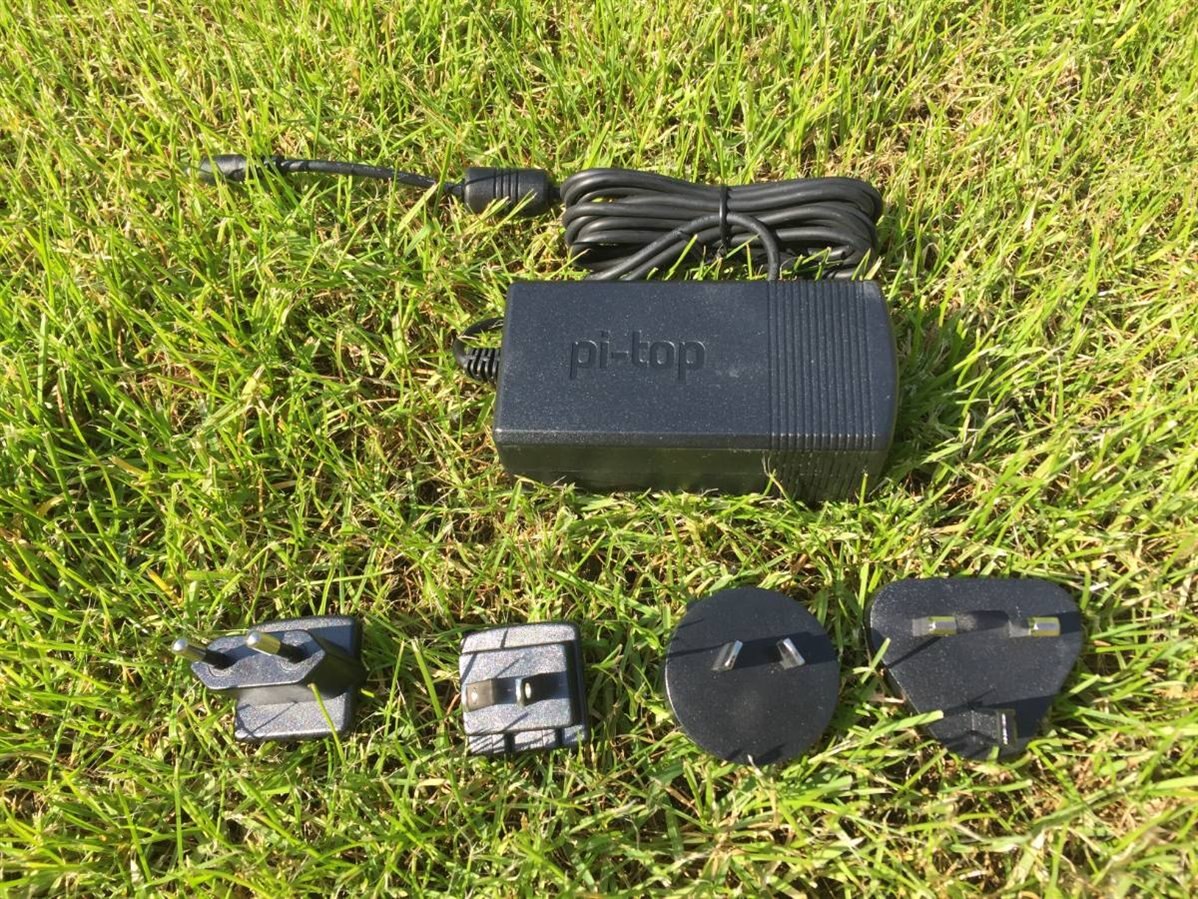
- Power supply 18V/2.5A
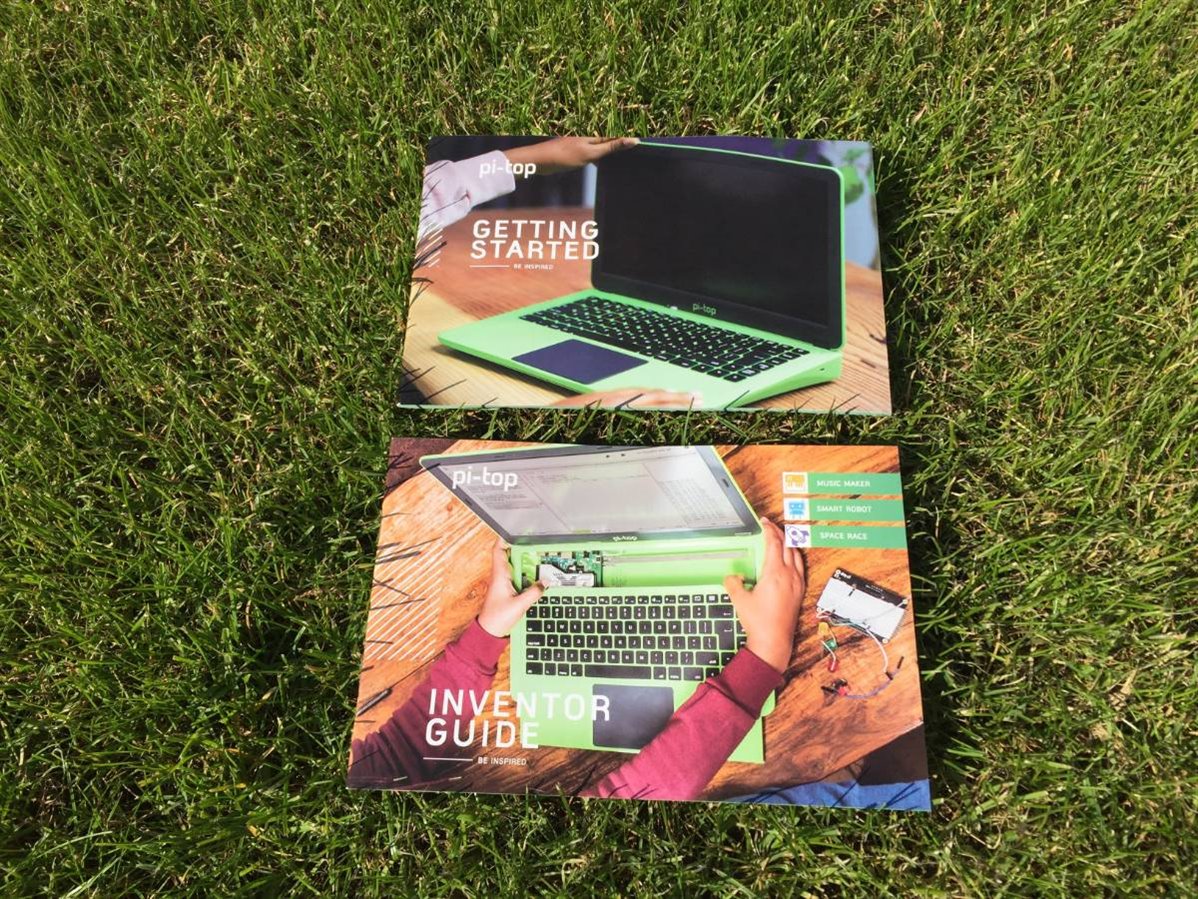
- Getting started guide which also contains a 8GB microSD card preloaded with pi-topOS
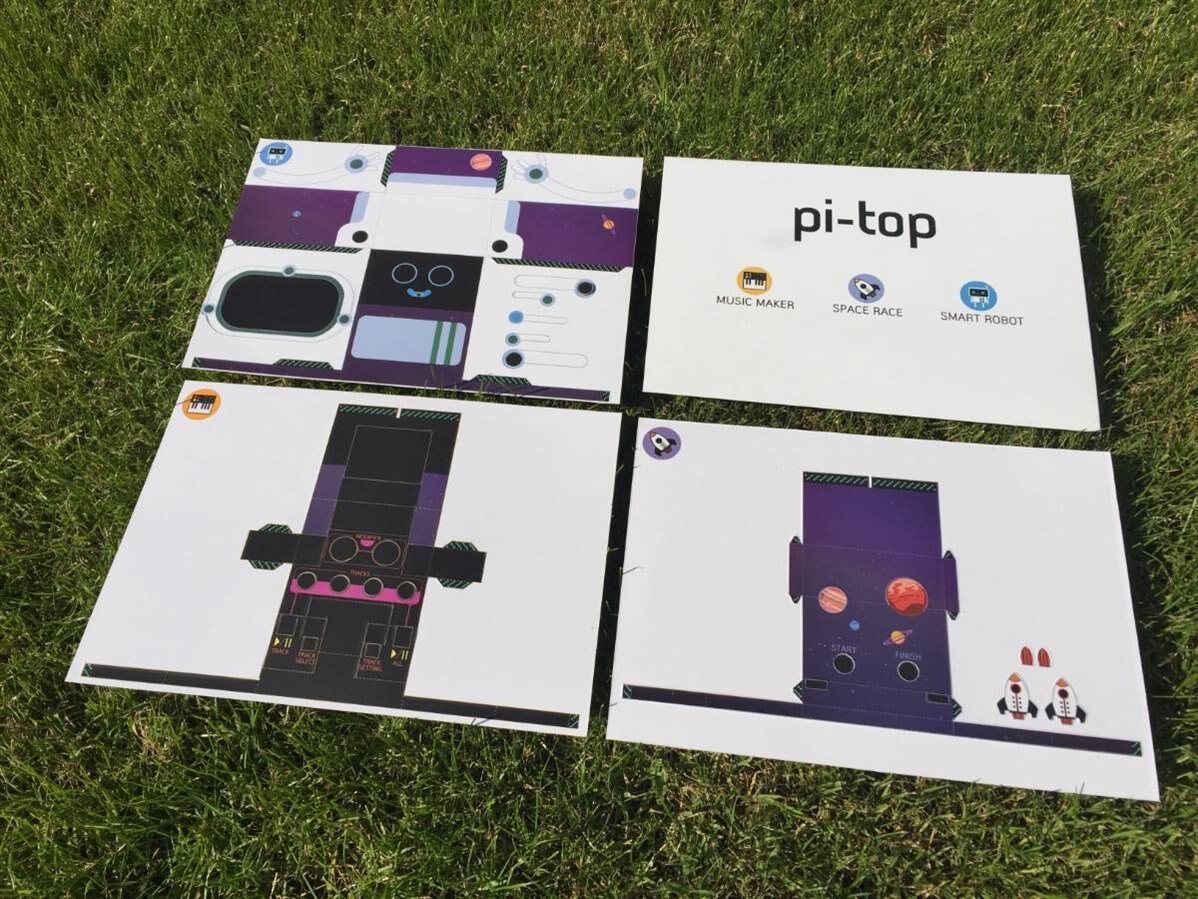
- Inventor guide
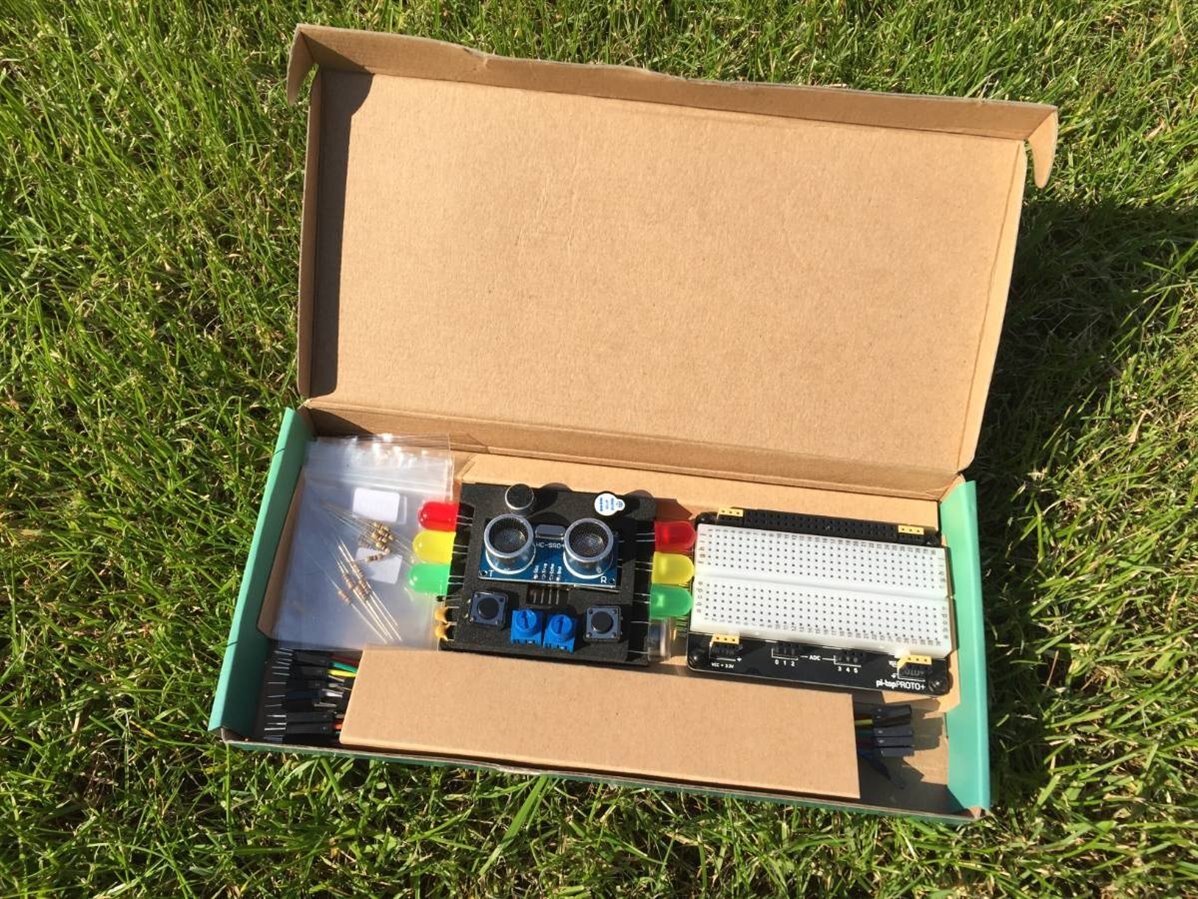
- Inventor kit containing a special breadboard and some components such as LED, LDR, ultrasonic sensor, buzzer, etc ...
- Project cutouts to be used with the inventor kit
There is a slot foreseen inside the packaging to fit a Raspberry Pi, so it appears to be an option.
| {gallery} Pi-Top Unboxing |
|---|
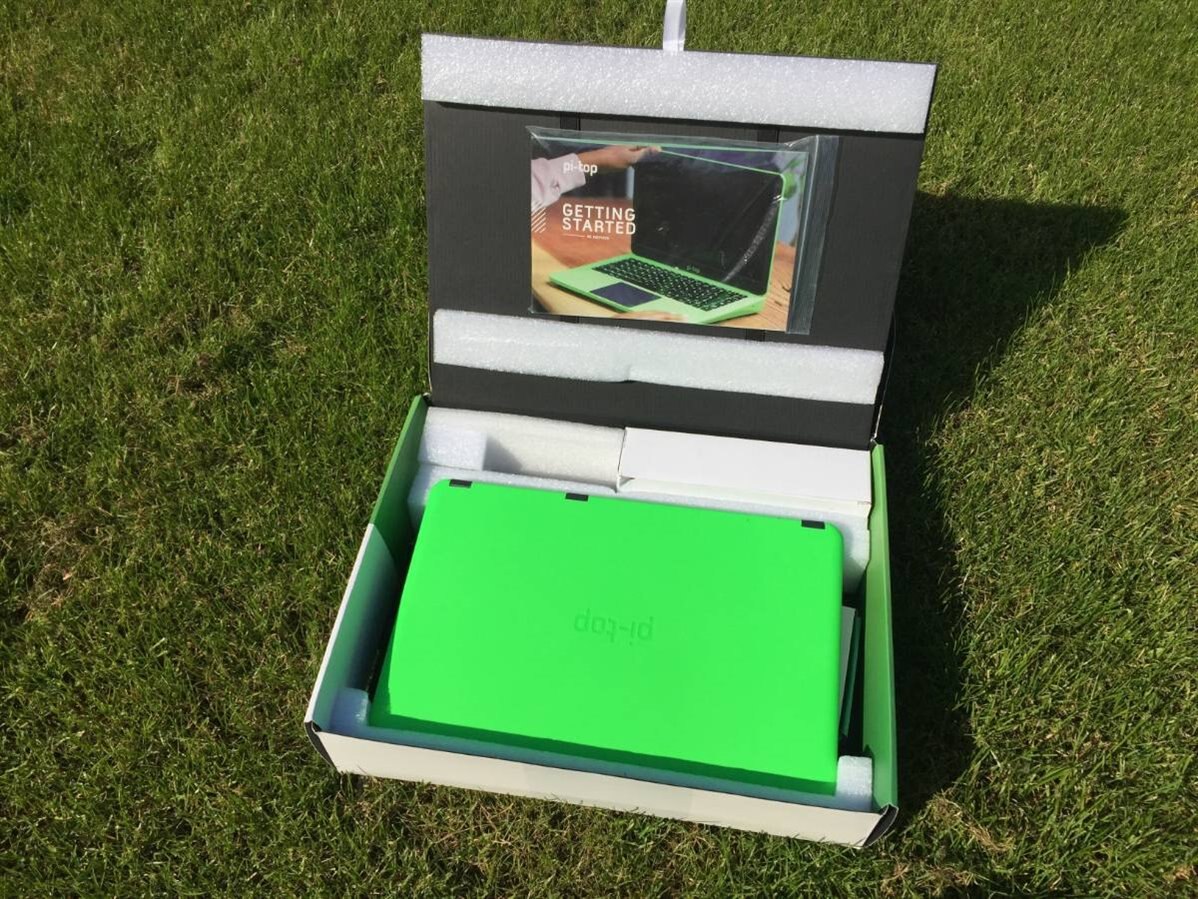
01: The pi-top (inserted incorrectly). Power supply in the top-right corner, slot for Raspberry Pi in top-left corner. |
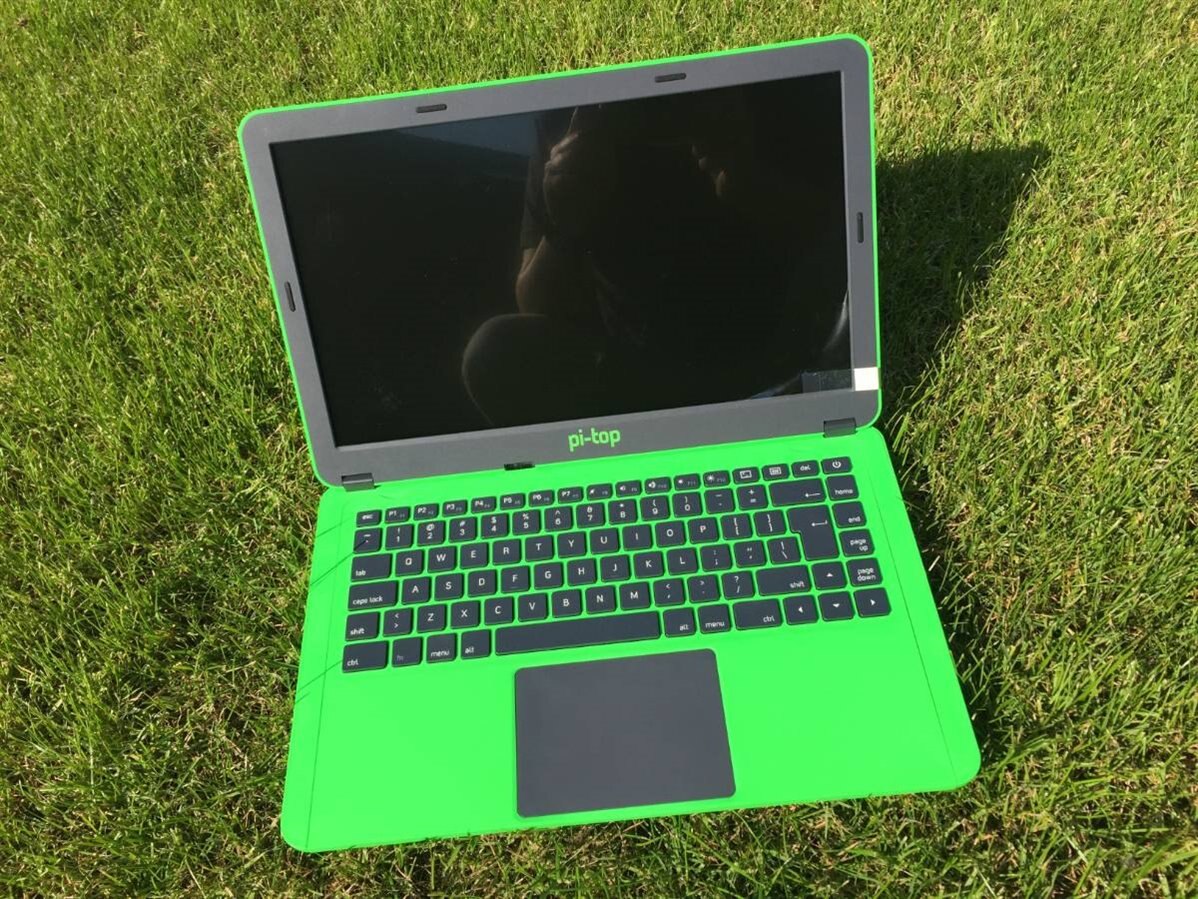
02: The pi-top! |
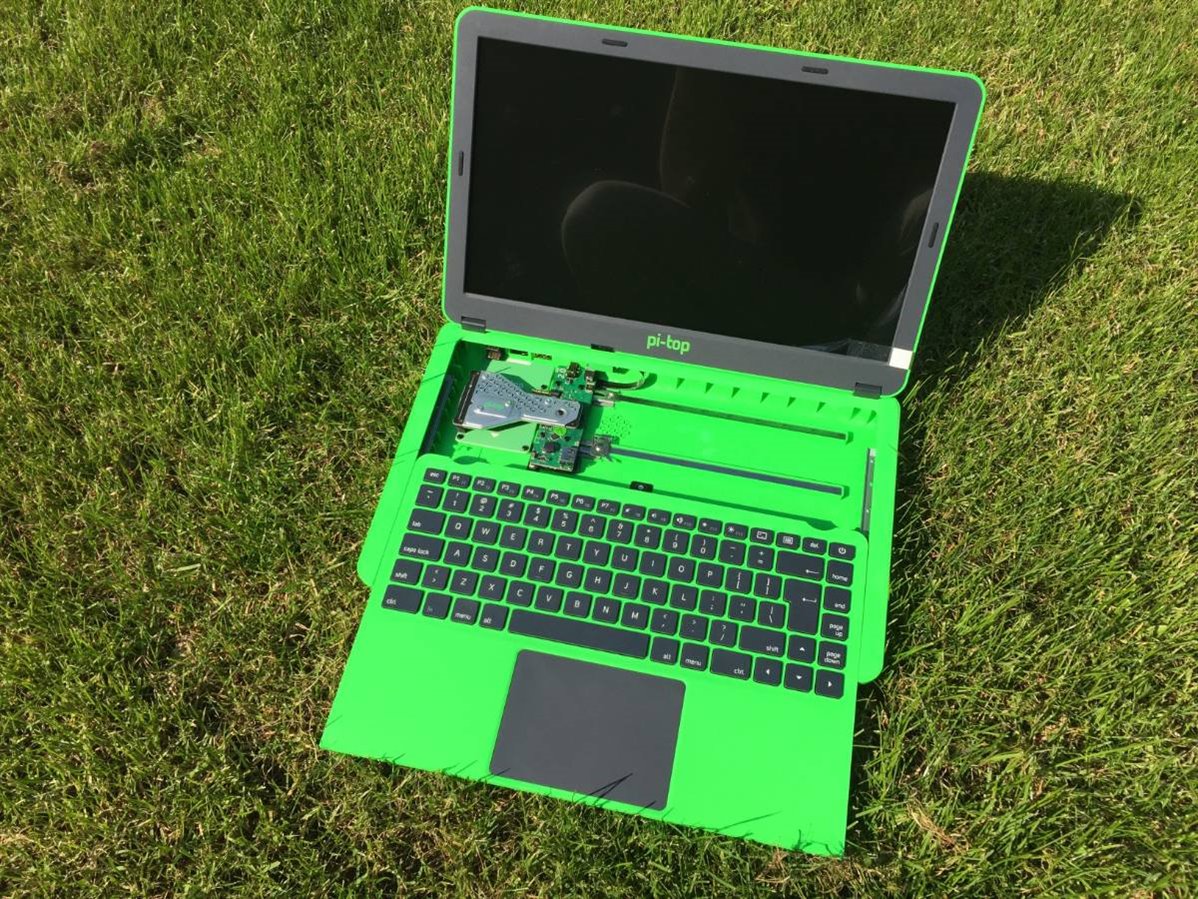
03: The keyboard slides down to reveal access to the electronics. |
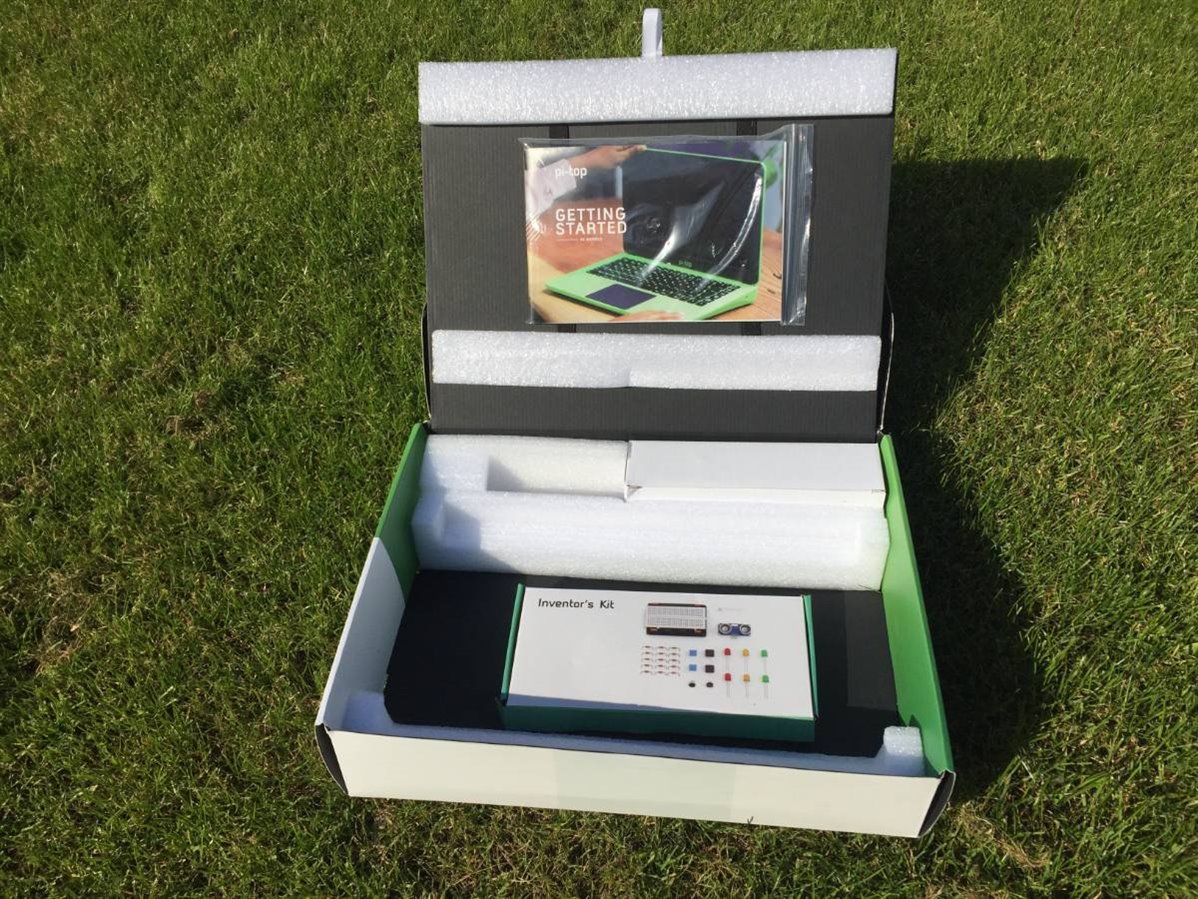
04: Under the pi-top is the inventor's kit. |
05: The kit contains a special breadboard with various connectors and various components. |
06: The power supply comes with different connectors. |
07: Two booklets are included. The getting started guide and the inventor guide. |
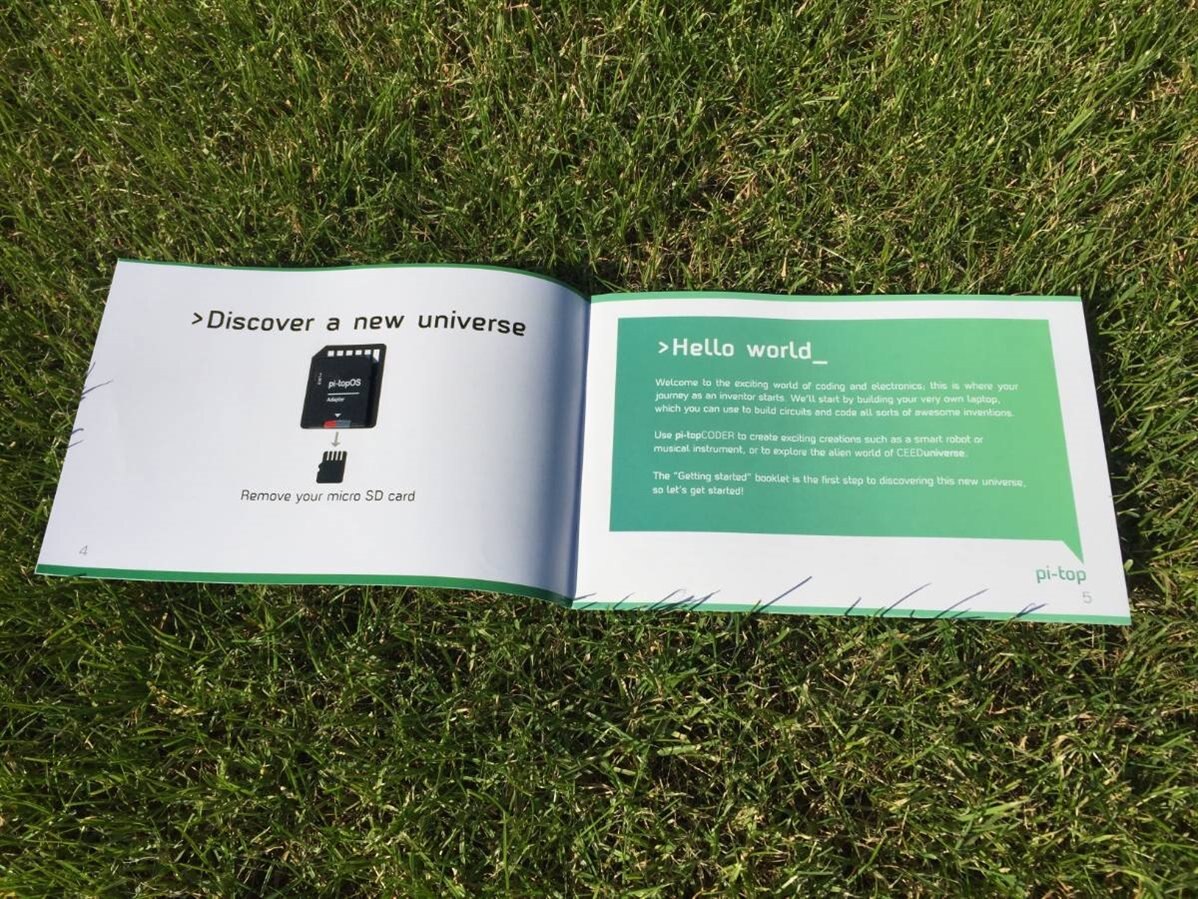
08: The Pi's microSD card is attached to the getting started guide. |
09: Some cutouts are included to give the example projects an extra touch and more appealing appearance. |
Physical Installation
The instructions to install the Raspberry Pi in the pi-top are clearly detailed in the getting started guide. There is even a miniature multi-tool present to screw/unscrew and to remove or insert the microSD card once the Pi is installed.
The Pi slides into two flexible USB connectors at the rear of the laptop. This gave me some trouble as one of the two connectors would bend and not connect. After some fiddling, both connectors were inserted correctly and I could fasten the Pi in place. The two USB ports seem to be used for the keyboard/trackpad combo and a USB port inside the laptop. The remaining two USB ports and the ethernet port are exposed at the back of the laptop.


The pi-top hub connects to the Pi's HDMI and audio jack. The hub's audio jack is exposed at the back of the laptop along with the charger input. The Pi's GPIO are connected to the hub as well, but via the cooling bridge that is mounted on top.
That's all the physical installation there is for the base device. Additional modules such as a speaker or the inventor kit's breadboard can be added via the magnetic rails.
Build Quality
The pi-top is a good looking device. It feels solid, isn't too heavy or too big. The keyboard keys have a nice click to them and the screen has a 180° swivel, so the screen can sit flat.
There are however some imperfections to the entire assembly of the device.
The first one I discovered is that the keyboard slider isn't flush with the main body of the laptop:


When sliding the keyboard back into place, I can also feel it slightly bump into the cooling bridge, even though it is screwed on tight. There should be a little bit more clearance on the inside of the device.
Finally, one of the magnetic rails wasn't glued into place properly. Using the magnetic multi-tool, one rail came loose easily, while the other remained in place. Easily fixed by adding some glue myself, though.

pi-topOS
The pi-top's native OS is ... pi-topOS. A customised Raspbian with some pi-top specific applications and interface.
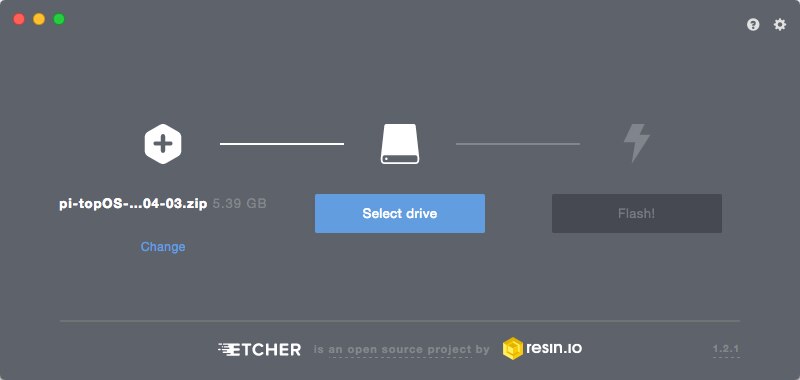
The pi-topOS which is pre-flashed on the microSD card is not the latest version (released on 25/04), and as a consequence, does not support the Raspberry Pi 3B+ yet. That is quickly solved by downloading the latest image and flashing it onto the microSD card.
The image can be downloaded from the pi-top website, and flashed onto a microSD card using Etcher.
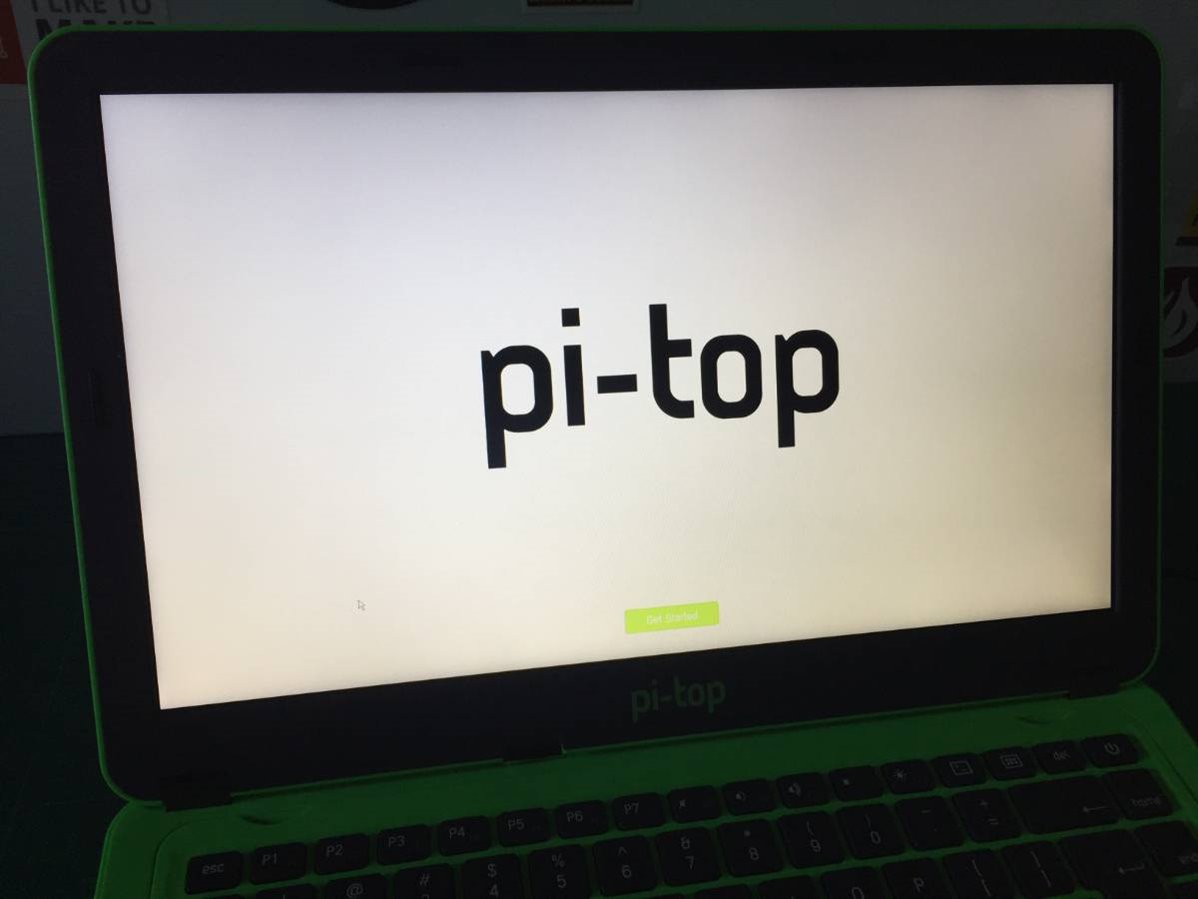
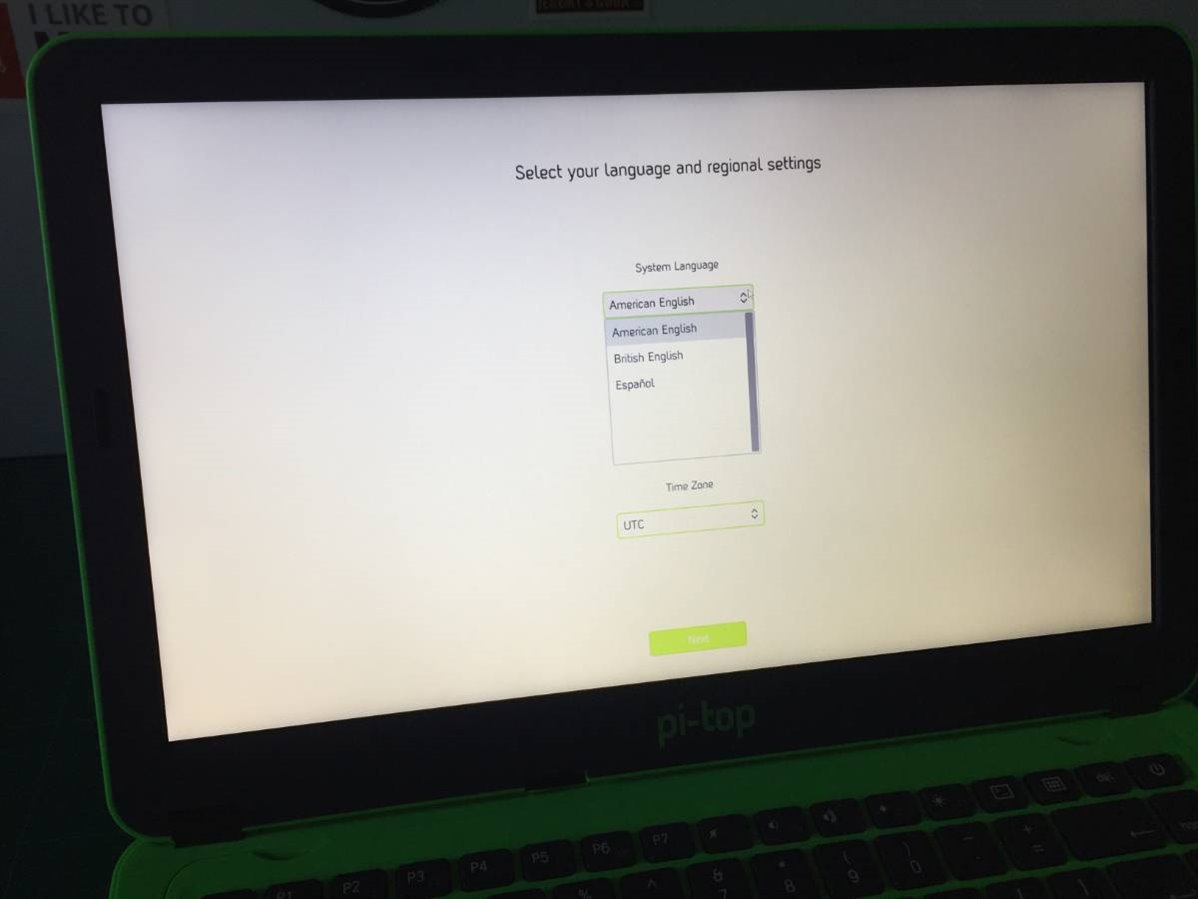
Upon first boot, some configuration is required with regards to language, keyboard layout, etc ...
| {gallery} pitopOS |
|---|
01: Start screen |
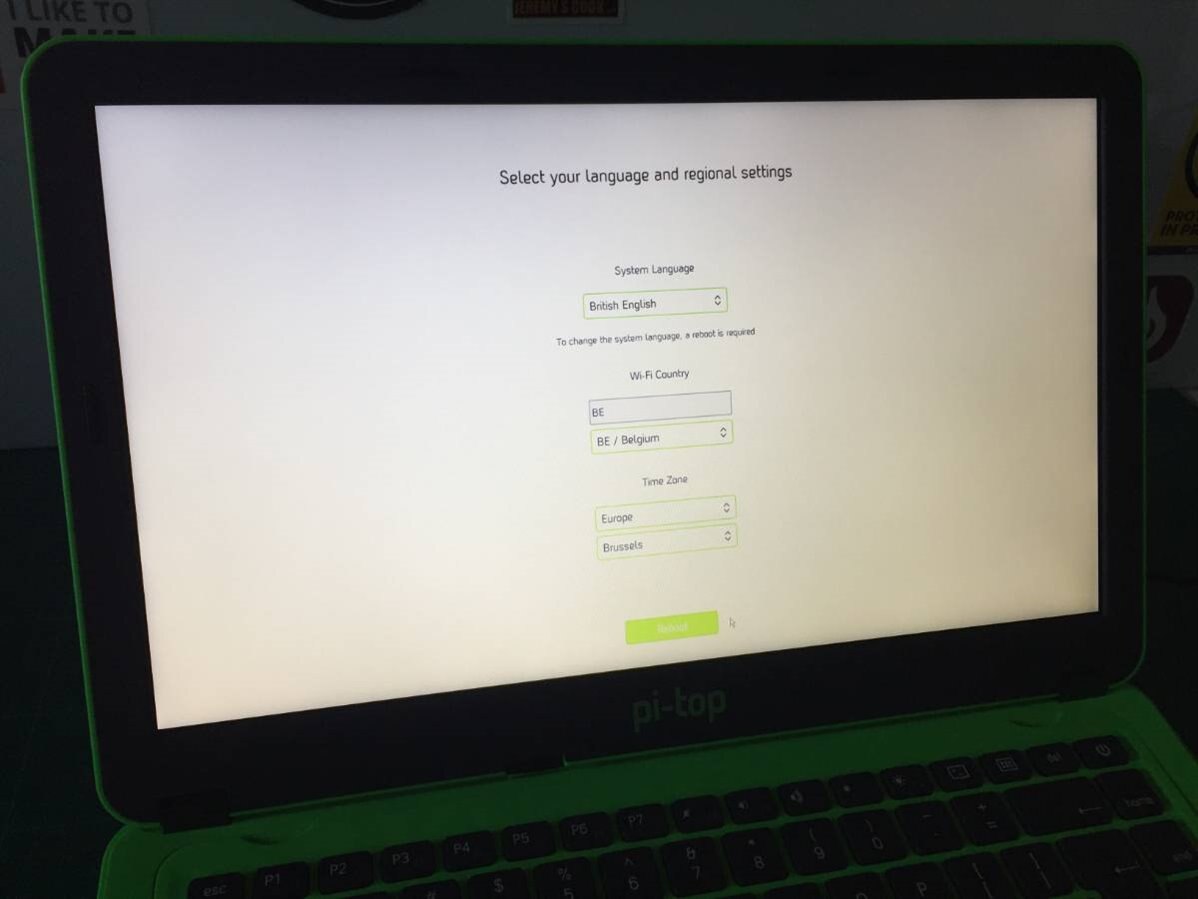
02: Language selection. It's quite limited. |
03: Country and time zone. |
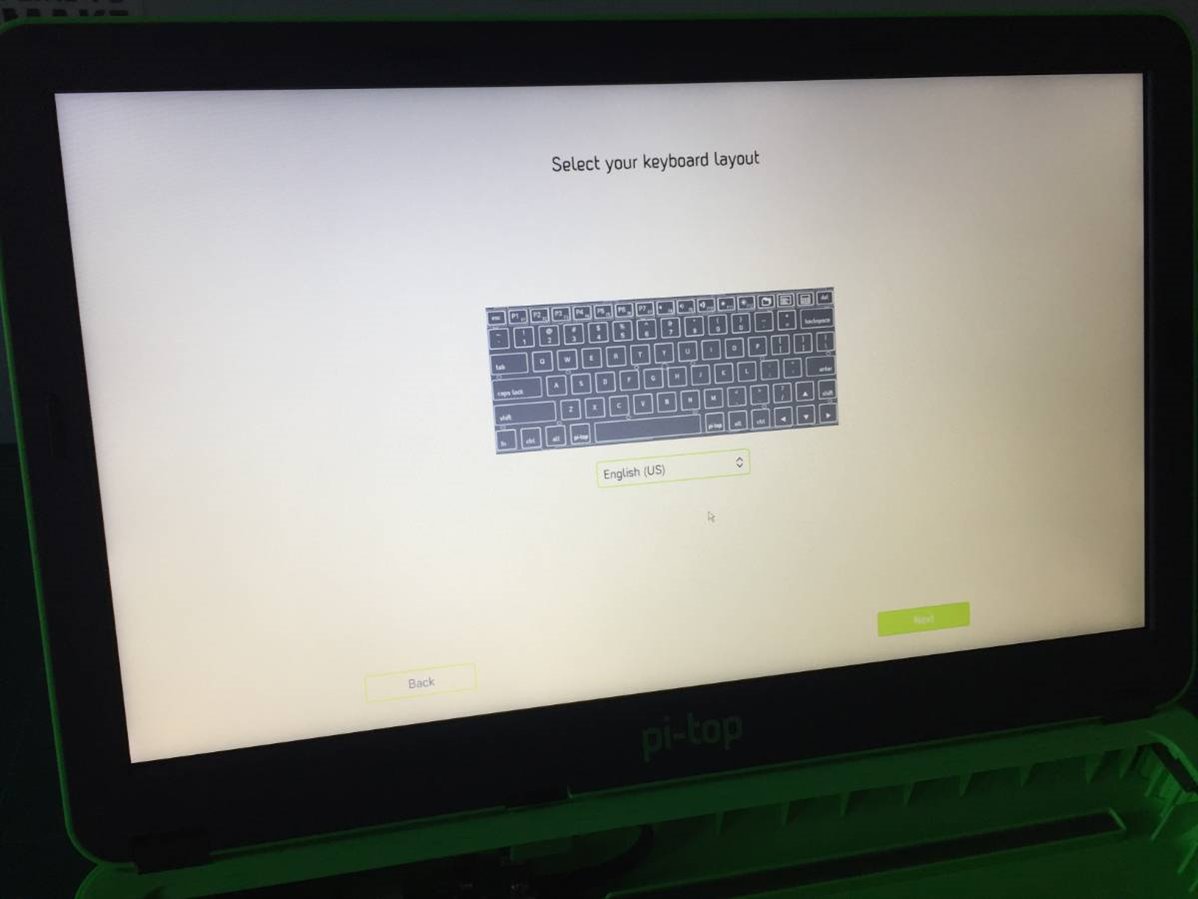
04: The keyboard layout selection is also very limited. |
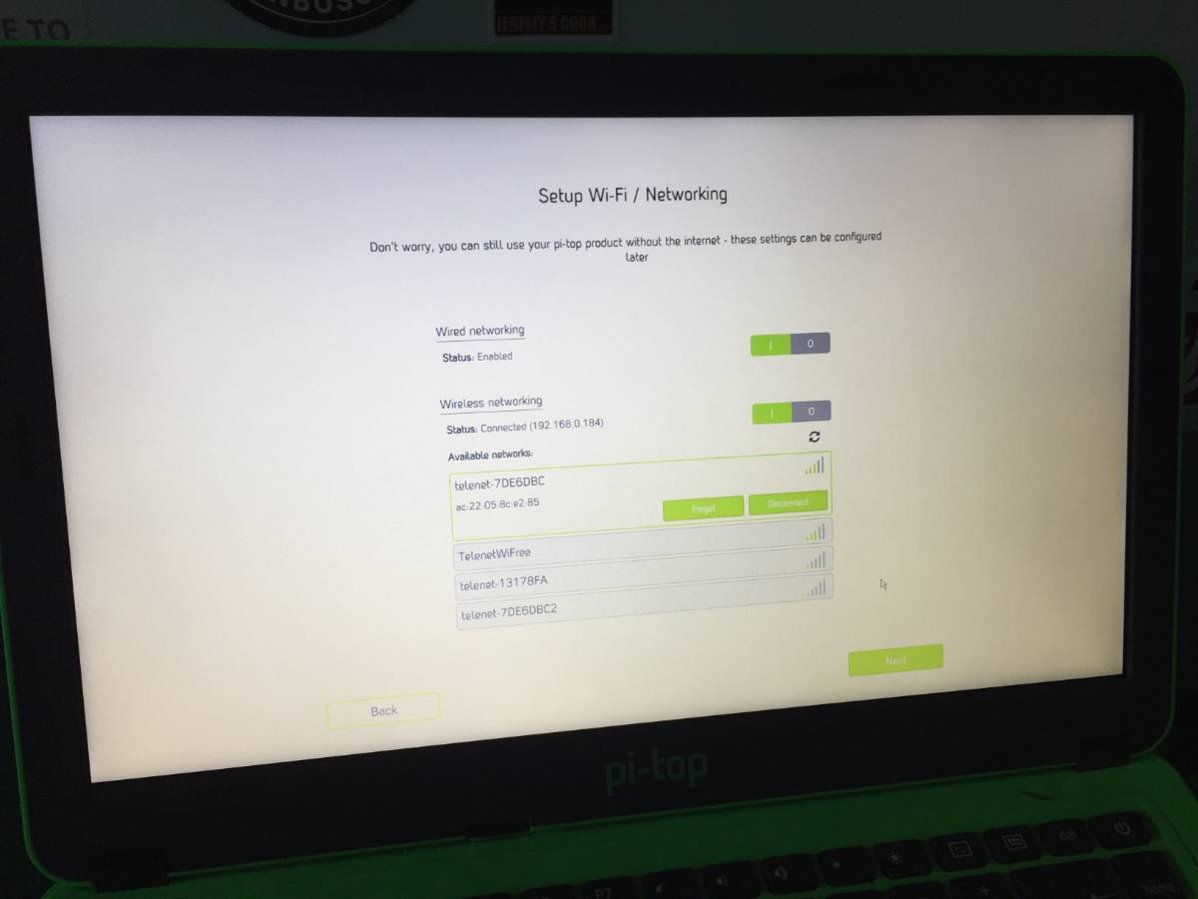
05: Networking setup. |
06: Network connectivity working, and detecting available updates. |
07: Network no longer connected when trying to install the updates. |
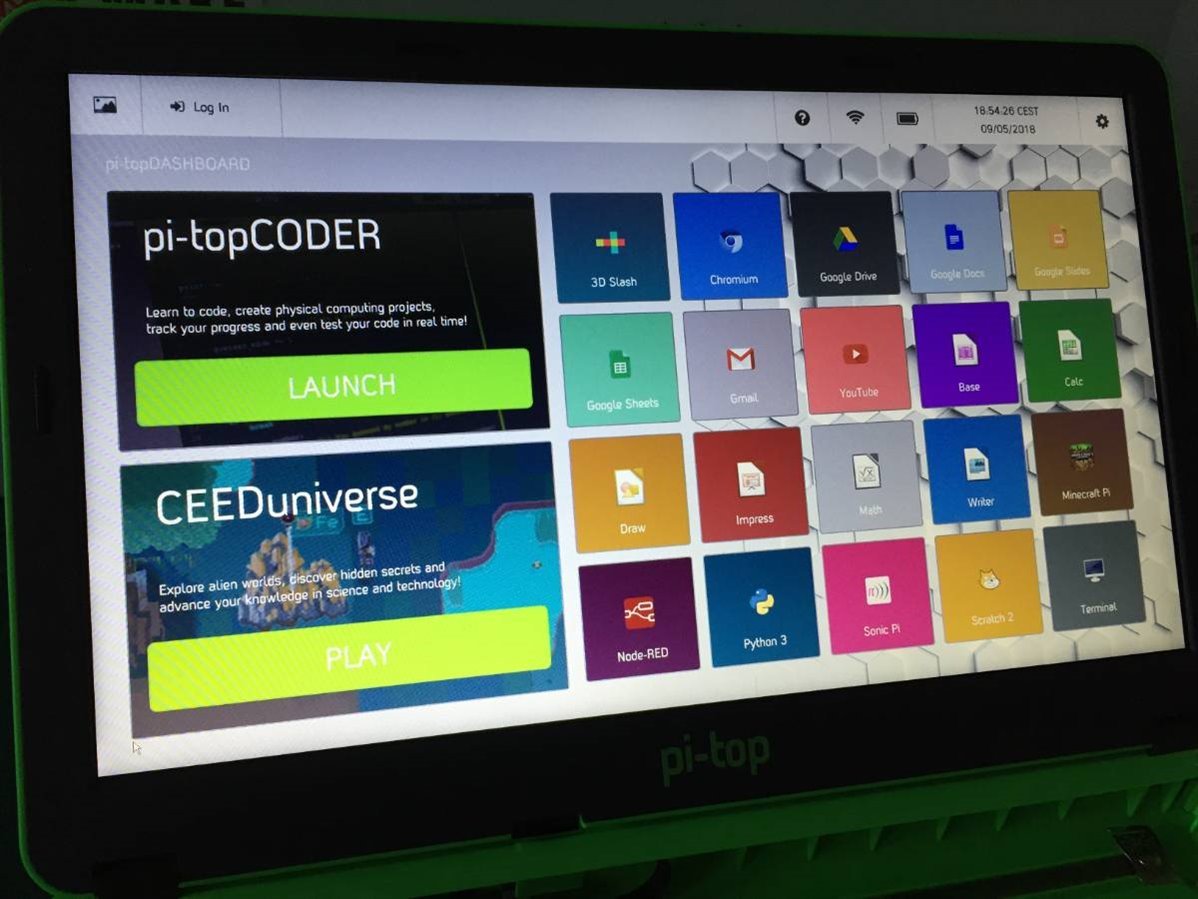
08: The desktop! |
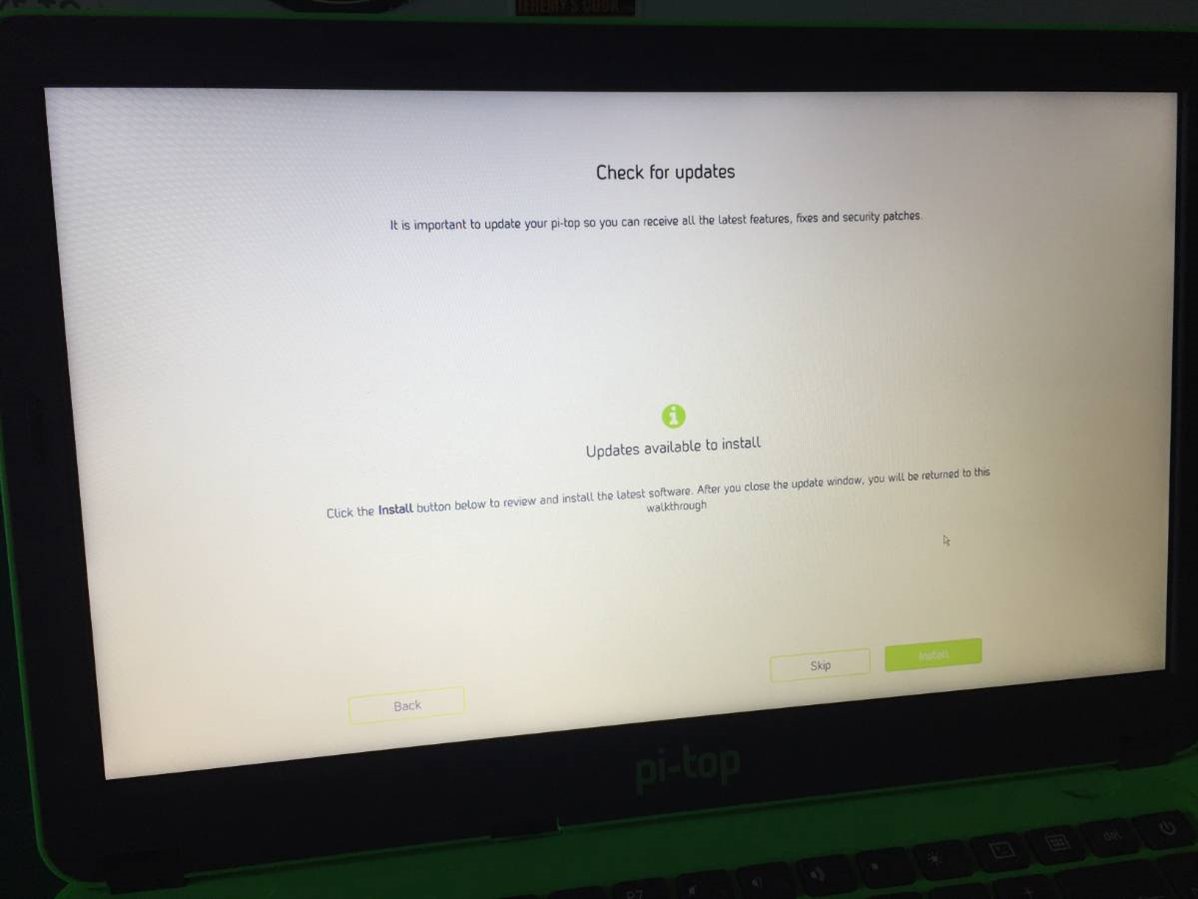
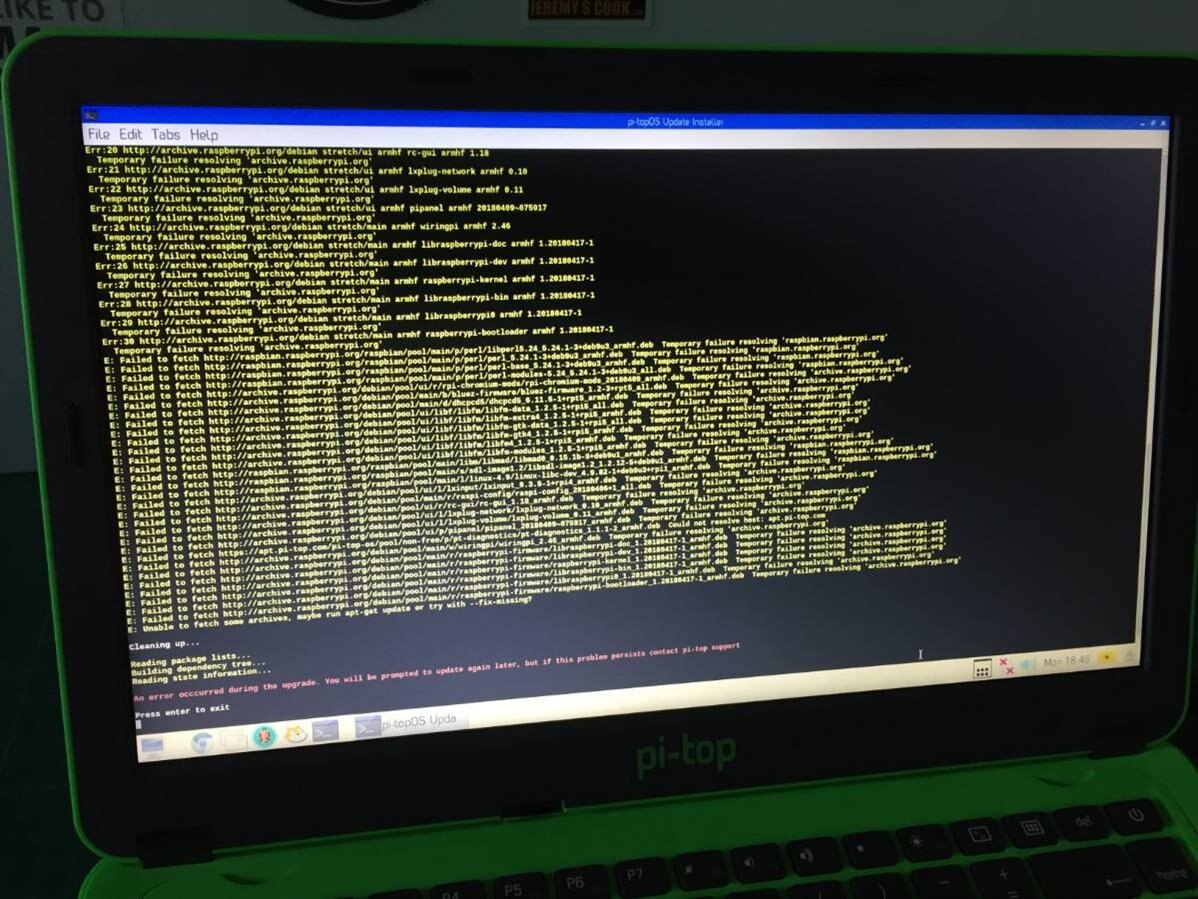
The last step of the wizard checks for available updates after configuring network connectivity. When the wizard switches to the desktop to install the updates, it seems to disconnect the network and the update fails. There is no command to try again.
It's not a one off, as I was able to reproduce the same issue when installing the latest image on my pi-topCEED. The script should either wait for the device to reconnect to the network, or offer the possibility to retry the update.
What I do find a pity, is the supported languages. We are not native English speakers, and with my daughter being 8 years old, she doesn't master it yet. With the pi-top being marketed as an educational tool, I think supporting more languages is important.
The same applies to the documentation. Things are explained very well, in simple terms, but in English only.
That being said, the variety of applications and the structure of the desktop are excellent. Everything is neatly organised and easily accessible.
On one occasion, I did have an issue with the display. Rebooting the pi-top appears to have solved it for now, but it remains strange.
The pi-top also emits a very annoying, constant beep, when powered on. Even with the keyboard closed, it is clearly audible. I tried to record the sound using my phone, to give you an idea. You'll have to turn up the volume.
That's it for part 1. See you next time!
Top Comments