Review of STMicroelectronics STM32F0DISCOVERY for STM32F0 Cortex M0 MCU

Table of contents

RoadTest: STMicroelectronics STM32F0DISCOVERY for STM32F0 Cortex M0 MCU

Author: rwgast

Creation date:

Evaluation Type: Independent Products

Did you receive all parts the manufacturer stated would be included in the package?: True

What other parts do you consider comparable to this product?: Im sure there are plenty of more friendly ARM boards out there. Parallax Propeller USB ProtoBoard or Quick Start Board, would be an easier to use option when this kind of speed is needed in a micro controller.

What were the biggest problems encountered?: Lack of free or affordable software, huge lack of documentation, especially when using with the free CooCox/GCC combo.

Detailed Review:

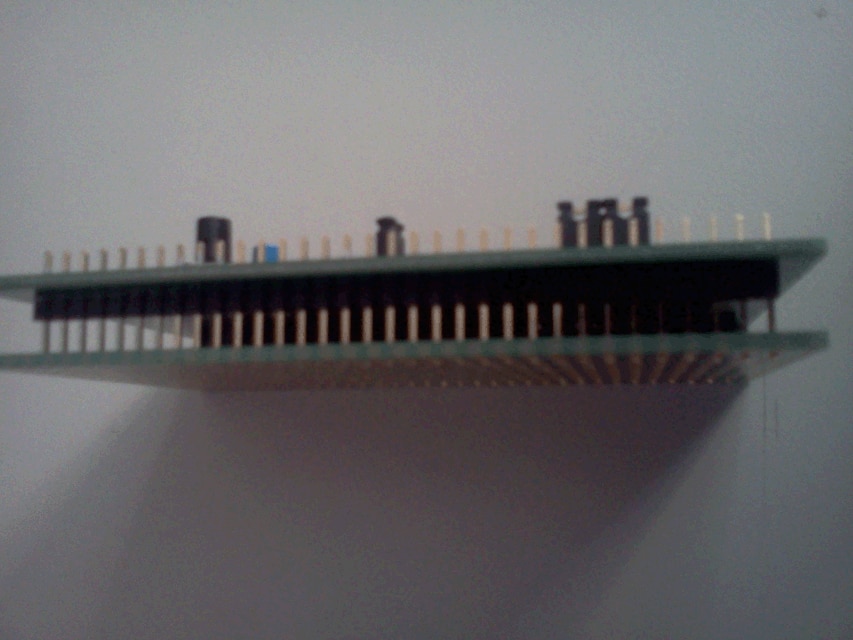
     My first impressions of this board were fairly positive. I opened the blister package and inspected the $8  Discovery board thoroughly. This board has solid manufacturing, and also comes with a piece of protoboard which has double sided copper eyelets; this was somewhat of a nice touch. The problem is there is no convenient way to mount the included protoboard. The only option is to solder it under the discovery board and attach components to the underside of it, making your dev board double sided and in most cases unusable when sitting on a table. The best option is to save that nice piece of protoboard for another project and plug the Discovery board in to a dual bread board set up.

.

image

.

     Next it was on to figuring out how to actually use this board. Most of my experience is with Parallax products such as the Propeller and Basic Stamp 2. I’ve also done a few projects based around bare bones AVR chips, using a USBasp or Bus Pirate as a programmer. Setting up the tools for either Parallax products or bare bones AVR is a fairly straight forward process. This was not so with the STM32 board, at least if you want a free compiler and IDE. After doing some research I found Coo Cox which is a fairly nice IDE set up around GCC and Eclipse, mind you I had to do a bit of searching to makes sure Coo Cox would even work with the STM board, as all the suggested IDEs on the STM Insert are pretty pricey for their unrestricted versions .


     I spent about an hour before I actually got the ST-Link2 drivers ARM GCC and Coo-Cox  working together and sent blank program to the STM board. So Coo-Cox will definitely work but none of the examples on STMs page will open in Coo-Cox, so I don’t suggest going this route unless you already have a good grip on the STM arm chips.


     In the end I caved and downloaded IAR Workbench, the free version is locked to 32KB code size and doesn’t include source for the STM libraries. When using IAR with a stm32f0 or any cortex m-0 I believe the code limit is actually 16KB, since the chip’s max code size is 32KB. But using IAR to start is the best way to go with this board. It has built in examples for the stm32f05xx chips, which is what’s used on the Discovery board, STM’s example code works beautifully in the IAR IDE also. I was able to re-flash the board with functional code in seconds using IAR.


     I definitely can’t suggest this board to anyone new to micro controllers for multiple reasons. The first is I couldn’t locate any good documentation to get started programming the board, no beginners tutorials about blinking an LED or even a nice document explaining the libraries STM provides for the chip, which are fairly convoluted when looking at their header files. The struggle to find a free IDE and compiler to get this board working is also a lot harder than it should be. While this board’s price may be beginner friendly that’s where it ends.


     I would suggest this board to someone who has already had a decent amount of time working with C and micro controllers, especially if you own an expensive IDE like IAR for ARM chips. Even if you don’t I would suggest downloading the free but locked version of IAR Workbench,  using it to get familiar with the STM examples  and play with the chip a little bit. Once you’ve gotten familiar with programming the board it will be a fairly trivial task to start using Coo Cox and GCC as your main development tools for ARM.


     In the end, this is a nice demo board at a nice price. If your new to micro controllers or programming in general stay away from it. If you’re new to ARM, like me, but already have a good grasp on C and using GCC, and have worked with other micro controllers, I’m sure there are much better ways to get into ARM chips although they will all cost a lot more than 8 dollars. This board can be used as an introduction to ARM but it’s not going to be the most convenient route to take, due to pure lack of documentation. If you’re just looking for an ARM Dev board that’s low power, and you’ve already programmed a few ARM Cortex chips this board is ideal. The price can’t be beat, especially for the amount of peripherals built on to the chip and 48 mhz isn’t bad either.

Anonymous
  • im sorry the 5v filer caps should be 47uf not 470

  • So I was thinking if you really need super cheap and you want Arduino's it can be done for about $5 dollars per arduino board!! I still recommend a propeller but my solution to a complete arduino is cheaper than an $8 dollar propeller dip IC if price is a big issue, as I know schools don't have great funding at least not here in California.


    So here is your first option wich is going to be about $10 dollars but a little more convienet due to the atmega chip already being programmed, its called the BareDuino Plus https://www.virtuabotix.com/feed/?page_id=888, if you go this route make sure you get the plus version, it comes with a 5v regulator. The kit does not include the breadboard though, so it would be an extra $1 on e-bay found here.


    Now you can get arduino for EVEN CHEAPER than the $10 option above here is how, first let get a mini BOM (Bill of Materials) togather for this project. I am going to use Digi-Key and E-Bay for this, Im sure you can get all the parts on Element-14 I just have an easier time searching Digi-Key for components, mostly like E14 for dev boards and things like that.


    1x Mini BreadBoard      $ .99         this is obvious

    1x AtMega-168A-PU     $ 2.54       Bare AVR to hold Arduino bootloader

    1x L493                       $ .73         5v 250mA Regulator

    1x .1uF Ceramic X7R    $ .46         Put this in parallel withthe AVR chip Power and ground, as close to pins as possible.

    2x 470uF Electrolytic    $ .40         The + side of each cap goes on the regulator input the other on its output, each caps - goes to ground. Put as                                                      close to regulator as possible

    1x N/O Tact Sw            $ .29         This goes on reset pin

    1x 10k Resistor            $ .08          This pulls down reset switch

    Total Cost                   $ 5.49

    This is cost per kit, listed prices are for one of quantity on each component, when parts are purchased in bulk for the whole class the price will drop more... prabably by close two a dollar or so!


    You will also need a single USBAsp programmer from E-bay this is the on I use, you will use this to burn the Arduino boot loader on each atmega-168. When the boot loader is programmed on you will also need to change the clk fuse to use the internal oscillator at 8mhz, so your chip will only be half the speed of a true Arduino. In a class setting I think 8mhz will be just fine though! You can optionally get two 22pf caps and a 16mhz crystal if you want a full speed arduino. Another option to shave cost would be to ditch the 10k resistor and the Tact Switch and just pull the avr's reset pin up with a 22k resistor. The bareduino kit uses a 22k pull up instead of reset switch im not really sure what problems arise with this methd so i advise against it without some research first.


    You will also need a few of these FTDI programmer cables, these are what the students need to upload a "sketch" at 5.50 a piece these are a steal since the FTDI chip on them is the universal standard for USB to UART Serial connections. I would advice maybe 1 for every 5 students or so..


    Like I said I do reccomend a propeller you can build a cheap prop set up like this for maybe 12-15 dollars if youd like more details with that id be happy to assist you, but I think cost wise you should be able to get your whole class on arduino if you use my method.


  • Thanks for your reply.  That sounds like an awesome controller.  I will be sure to take a look at it and recommend it to the teachers.  I know that parallax is a great company and over great products.  I've used a couple of their boards and have been quite satisfied.  Thanks for your reply again. 

  • Thank you so much Evan,


    You should look into the parallax propeller it easy to use it supposrts a hi level language called spin and also assembly, along with gcc and many other comilers for basic fourth etc. The documentation Parallax provides is awesome. The cheapest board is the quickstart at 25 dollars, but you can get the propeller in dip40 format and build a very simple dev board shown in the propeller manual, all you need is an eeprom crystal and FTDI programmer.


    If you have never seen the propeller before it has 8 cores that run at 80mhz each. Each core has 2k of ram and the chip has 32k of shard ram for all 8 cores to access, the propeller is also a 32 uController if that makes a difference to you. It is capable of generating sound with a resistor and 10uf cap  and VGA color video at 1024x768 with only 6 resistors to make a DAC circuit. This is a very cool micro and I would highly ecomend it for any school Parallax gives away all the print books for free as PDFs. The propeller education kit PDF will hold your hand teaching you spin it goes from lighting an LED all the way to doing some TV out I belive. One other intresting thing is with a few passive you can also make an ADC using the props I/o pins which there are 32 of image. Seriously powerfull easy to learn chip it is alot better of a choice than a cortex m0, some of the higer end cortex m4s and the new dual core lpc arm setup will probably have more raw mips than the propeller but you cant beet its documentation, Please check it out www.parallax.com let me know what you think

  • Fantastic review!  I reviewed this board as well and had a lot of the same points.  If you take a look at my review you will see that I was looking at some low cost boards to have in a classroom environment.  At my school we mostly use pixaxe microcontroll but i figured it would be nice to see a little change and the arduinos were a but to expensive for the school to buy.  The language was a bit to complex for a learning environment compared to the arduino or other starter controllers and getting an environment to program in was a challenging task.  I have a good foundation in c and work on iphone apps and other arm controllers and found that this was a little daunting.  And the lack of solid documentation really made it a challenging task to just plug n play.  Anyway, I strongly agree with your review and congratulate you on your selection for this review.