RoadTest: BeagleBone® AI-64
Author: cmelement14
Creation date:
Evaluation Type: Development Boards & Tools
Did you receive all parts the manufacturer stated would be included in the package?: True
What other parts do you consider comparable to this product?: SK-TDA4VM - TDA4VM processor starter kit for Edge AI vision systems, $249.00 (USD)
What were the biggest problems encountered?: The TDA4M SoC is so complicated and it's not easy to customize any software in a short period time. Good thing is BeagleBone provides some good demo software so I can easily play with the board using those examples.
Detailed Review:
Unbox
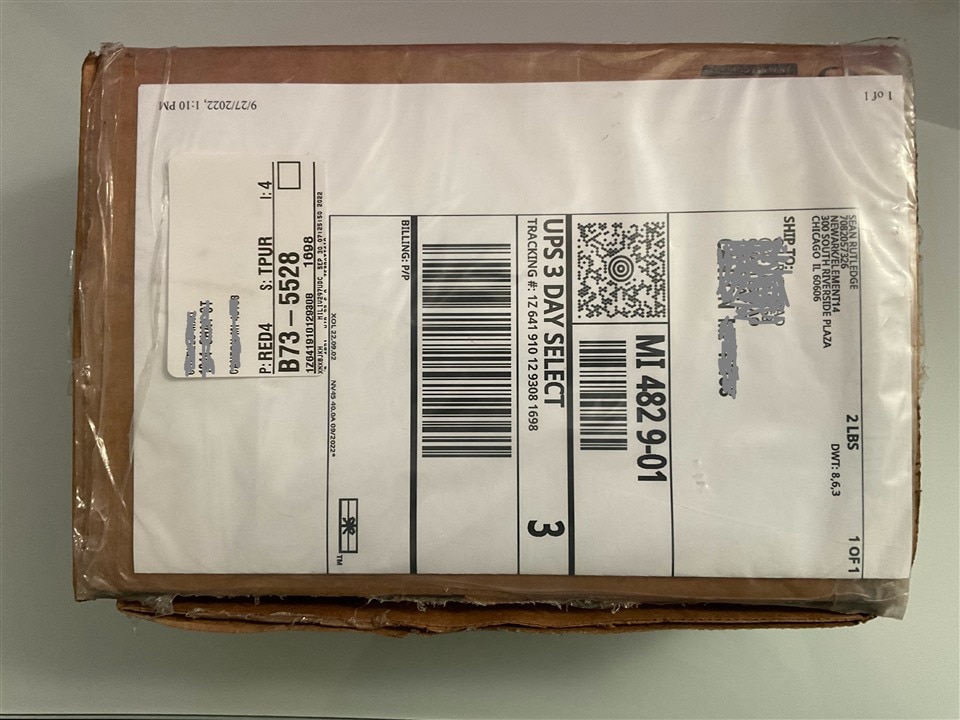
The roadtest package arrived in a small corrugated box.
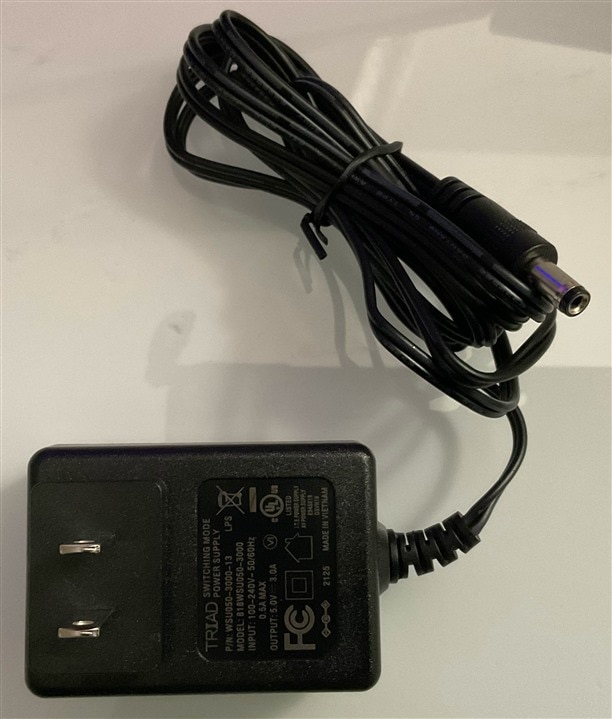
Inside the corrugated box, there are two small boxes. The yellow box contains an AC/DC adapter while the white box contains the BeagleBone AI-64.


The AC/DC adapter's DC output is 5V/3A which should be sufficient for this roadtest.
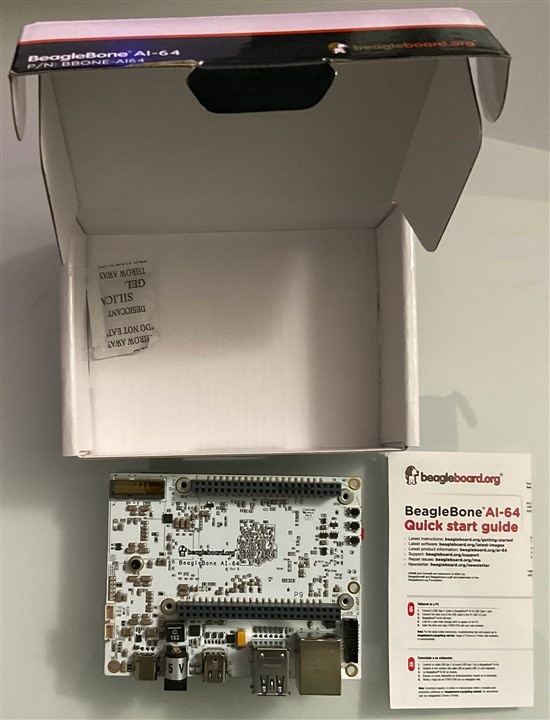
Inside the white box, there are the BeagleBone AI-64 board and a quick start guide.
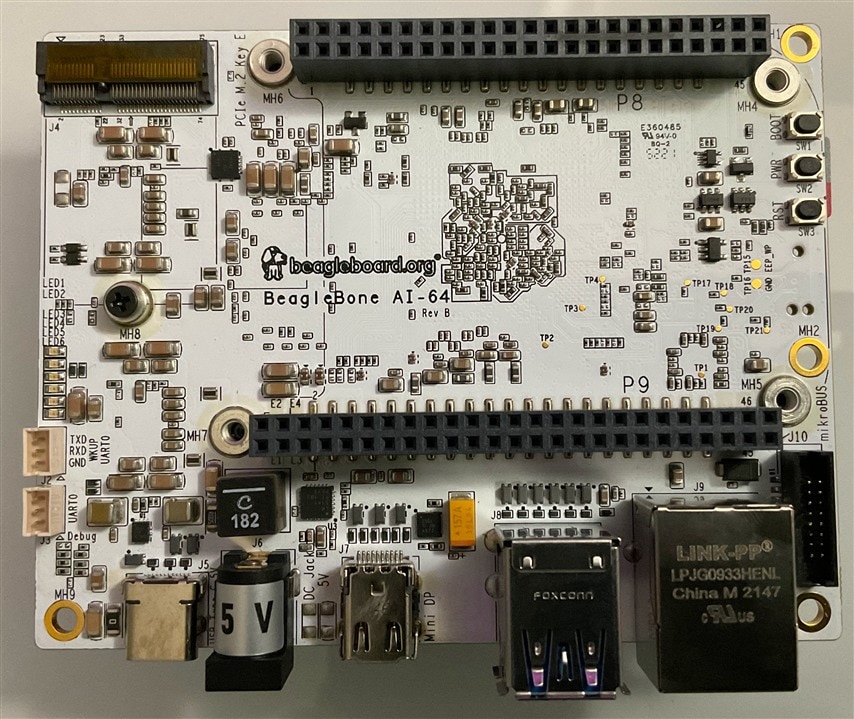
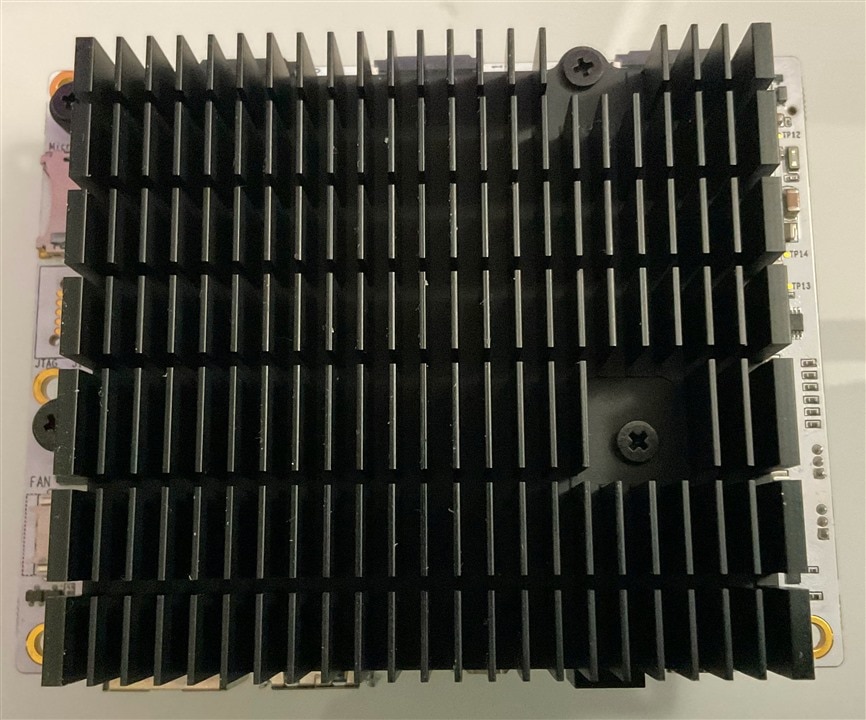
The quality of the board is very good. Well designed and well manufactured. The parts on the board definitely look high quality. A big black metal heat sink is attached to the board. The size of the heat sink is almost as big as the board itself (board size is about 4" x 3.5"). Such a big heat sink maintains the board's highest temperature point on the board around 58 celsius degrees during the roadtest.
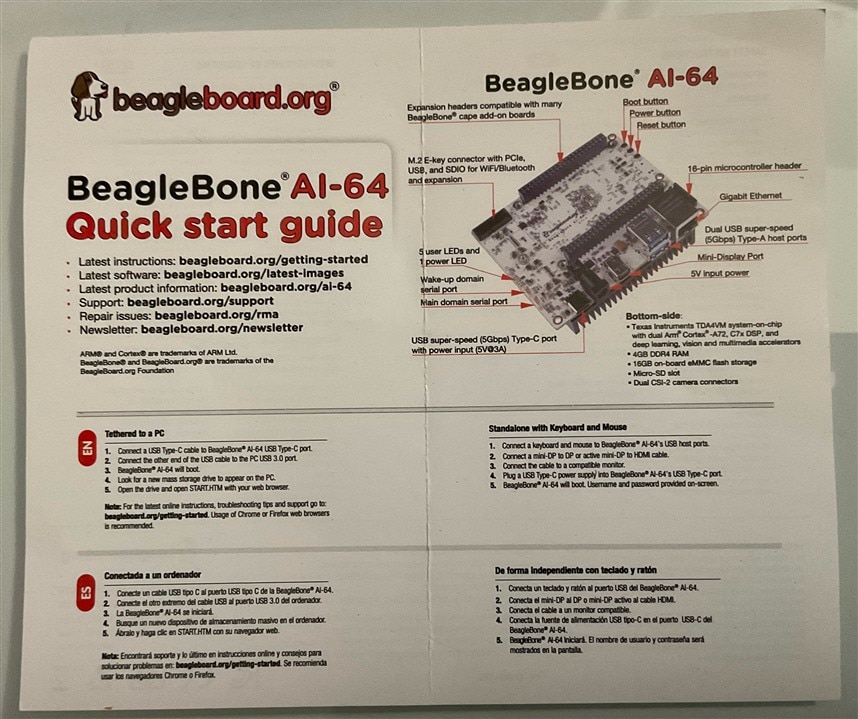
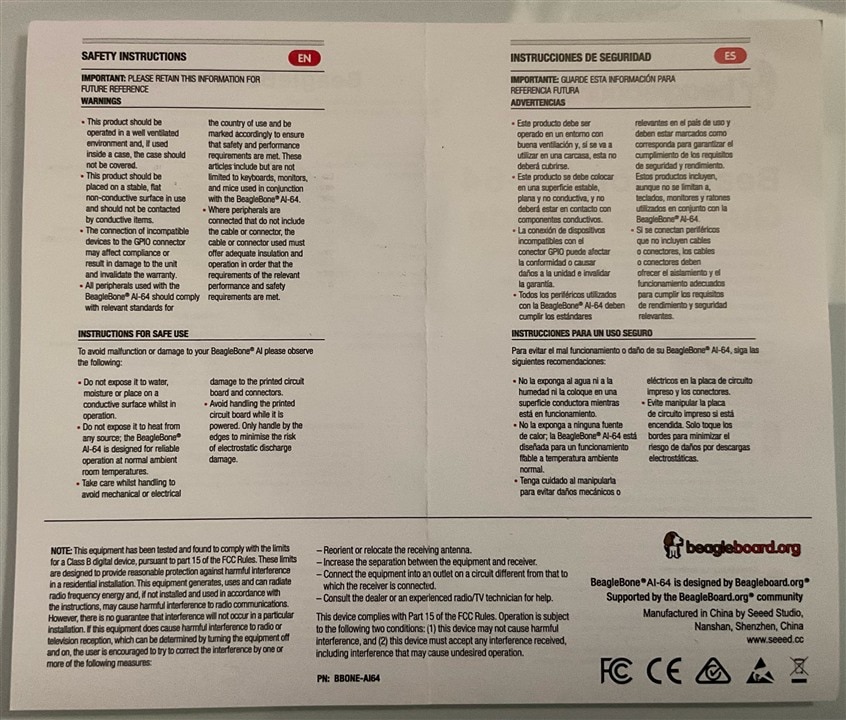
Obviously the start guide doesn't include all documentation needed for this roadtest, but it does provide a few web links as a good start point.
Extra Devices for Roadtest
The board has a mini DP port, but my computer monitor has RGB inputs. Thus I used a mini DP to RGB adapter to display the video/image output from BeagleBone AI-64 board.

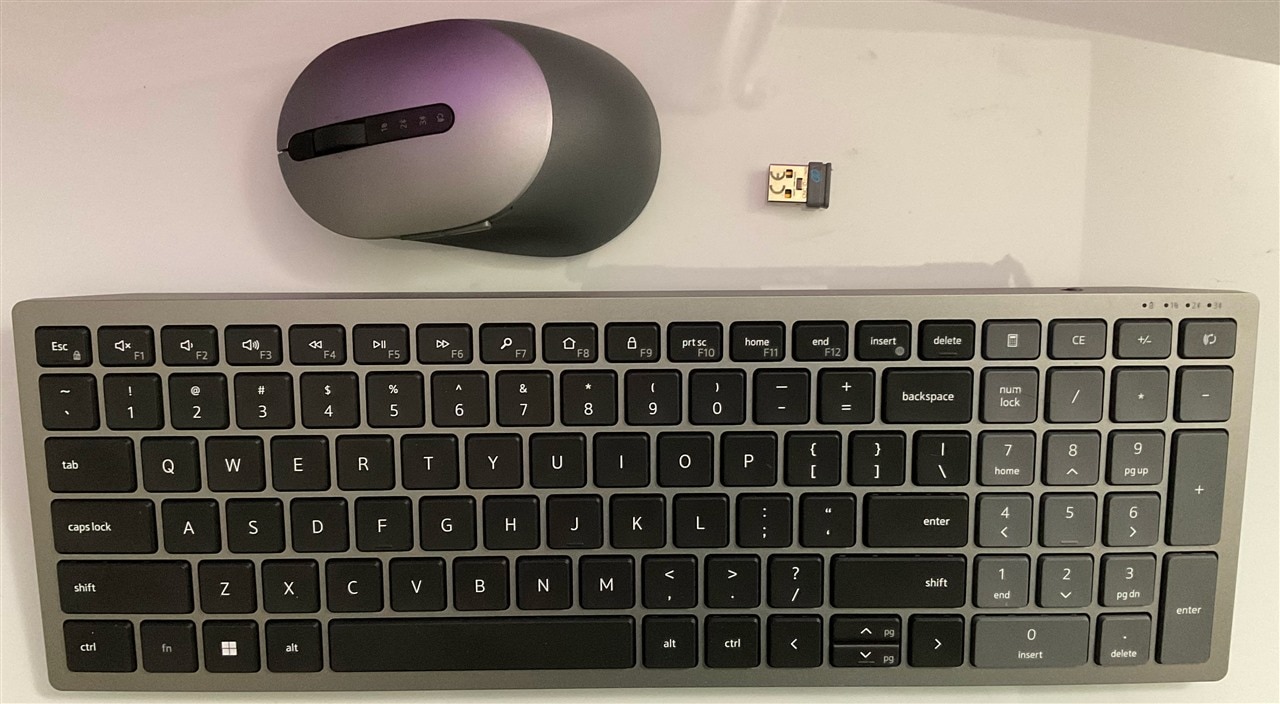
I used both connection methods, i.e., tethered to PC and standardalone with keyboard and mouse. I used wireless keyboard and mouse.
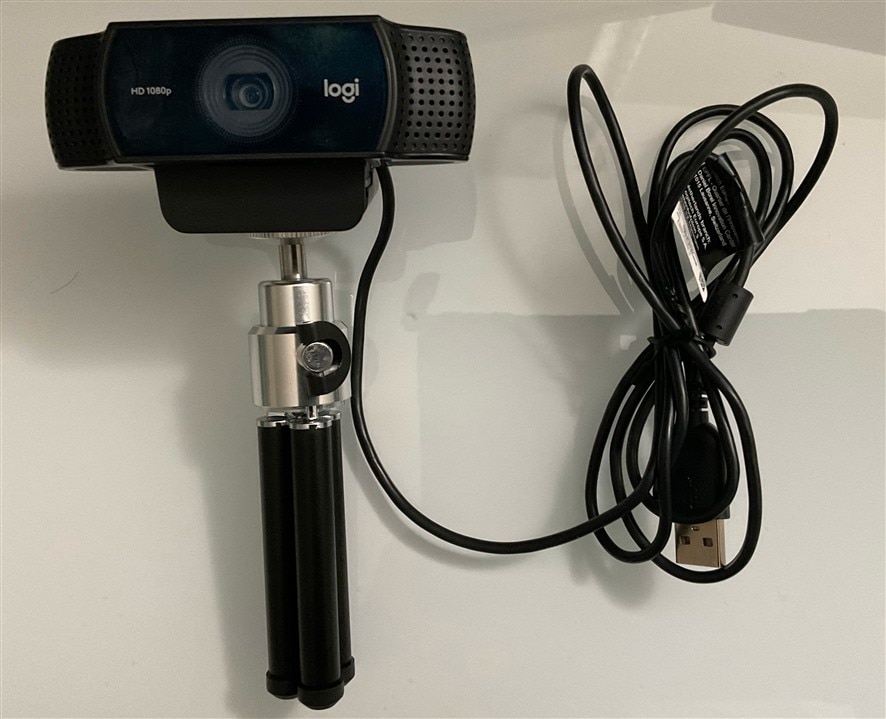
The board provides two CSI camera input ports but I don't have CSI camera. Thus I used a USB camera - Logitech C922 PRO HD STREAM WEBCAM as video input device.
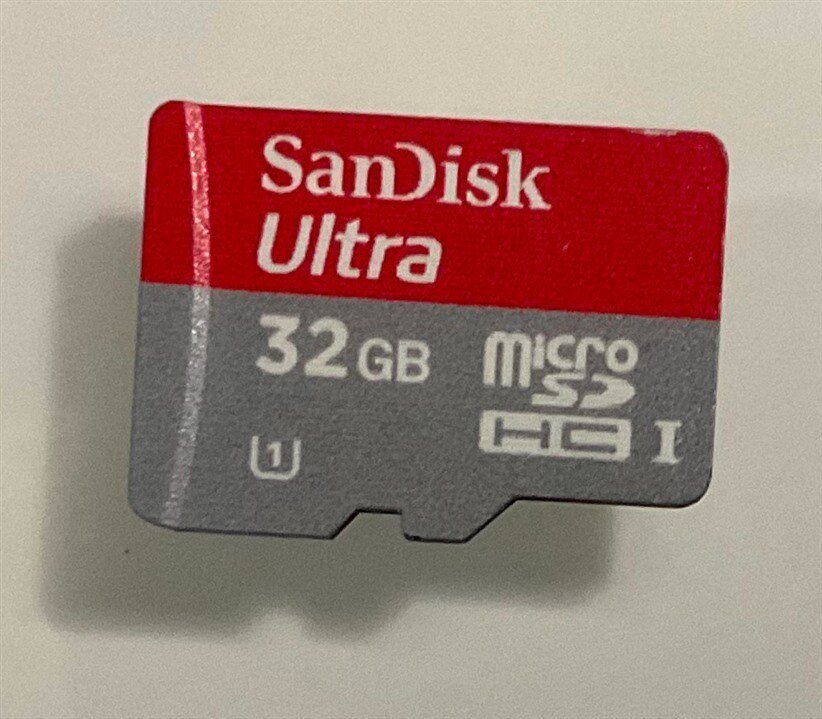
The board has an on-board 16GB eMMC flash memory. However, the raodtest may install lots of software and store quite bit of image and video files. Thus, I used a 32GB micro SD card.
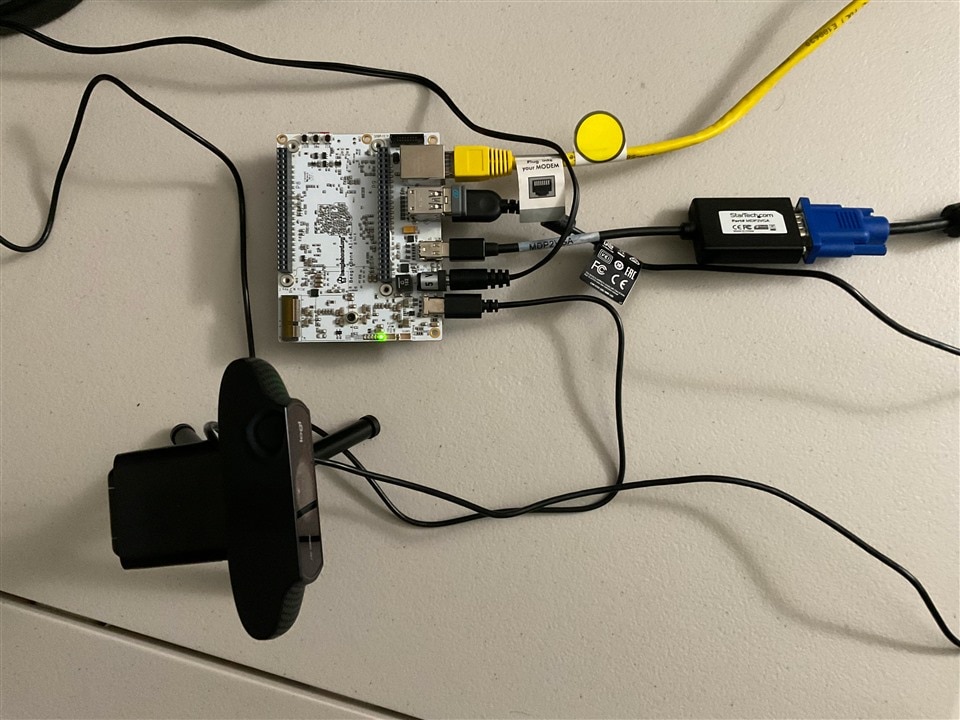
The board has a USB-C connector for tethering it to a PC. Thus, I used a USB Type A to USB C cable (black cable in the left). To connect the board to Internet, I used an Ethernet cable (yellow in the right) which is connected to my home router. 
After hooking up all devices together, my set up looks like the this (router, monitor and laptop are not shown).
Quick Start
I followed the quick start guide, connected BeagleBone AI-64 board to my laptop using tethering method first.

Then I tried Step 3 in the quick start guide. I expected to see a web page like the following.

However, it turned out to be a 403 error page.

I checked Nginx web server's configuration file /etc/nginx/sites-enabled/default and found the root path /var/www/html.
There's no file under /var/www/html so no wonder it showed a 403 error page.
Next, I hooked up my monitor to the board through the mini DP to RGB adapter. The following is the screenshot. It looks like the background picture has been cut out a bit comparing to the screenshot in BeagleBone's documentation. Thus I think it's time to update the software.

Before the update, I'd like to get the software version.
debian@BeagleBone:~$ uname -a
Linux BeagleBone 5.10.90-ti-arm64-r28 #1bullseye SMP PREEMPT Thu Jan 13 15:02:48 UTC 2022 aarch64 GNU/Linux
debian@BeagleBone:~$ lsb_release -a
No LSB modules are available.
Distributor ID: Debian
Description: Debian GNU/Linux 11 (bullseye)
Release: 11
Codename: bullseye
I downloaded "Flasher" Debian images - Bullseye XFCE (with graphical desktop) for BeagleBone AI-64 on-board eMMC flashing via microSD card from here. Then I used balenaEtcher tool to write the downloaded image to my micro SD card (detailed instruction is at the first part of the quick start guide). After rebooting the board using micro SD card (push and hold BOOT button while power cycle the board), a full background picture was shown on the monitor.

However, the web page (http://192.168.7.2) still shows 403 error page and still no file under /var/www/html.
I checked the software version after the update. It shows slightly higher version than the factory image.
debian@BeagleBone:~$ uname -a
Linux BeagleBone 5.10.109-ti-arm64-r49 #1bullseye SMP PREEMPT Tue May 31 22:20:16 UTC 2022 aarch64 GNU/Linux
debian@BeagleBone:~$ lsb_release -a
No LSB modules are available.
Distributor ID: Debian
Description: Debian GNU/Linux 11 (bullseye)
Release: 11
Codename: bullseye
Boot from Micro SD Card
So far we boot from eMMC for quick experiment on BeagleBone AI-64 board (even though we used microSD card to reflash eMMC). To take advantage of my SD card's large capacity, I will download the SD card boot image, i.e., Bullseye XFCE (with graphical desktop) for BeagleBone AI-64 via microSD card from here and create a new SD card and boot the board with it (push and hold BOOT button while power cycle the board).
After booting from SD card, I noticed the root file system didn't use the full SD card's 32GB capacity. Instead, it only use the downloaded image defined capacity (~ 10GB).


To expand the root filesystem to use the full SD card capacity, I used the following commands:
parted -s /dev/mmcblk1 resizepart 2 '100%'
e2fsck -f /dev/mmcblk1p2
resize2fs /dev/mmcblk1p2
Now we can see the root filesystem has 20GB remaining capacity.

Update Software on BeagleBone AI-64
As show above, the latest SD card image has release version "Linux BeagleBone 5.10.109-ti-arm64-r49" which is not the latest version available. To get the latest software, I followed the instructions documented here.
First, do a BeagleBone Linux distribution update and upgrade using the following three commands:
sudo apt update
sudo apt install --only-upgrade bb-j721e-evm-firmware generic-sys-mods
sudo apt upgrade
It will take some time to complete depending on the Internet speed.
Next I updated U-Boot on the SD card then reboot the board using the following two commands:
sudo /opt/u-boot/bb-u-boot-beagleboneai64/install-microsd.sh
sudo reboot
Next I updated the Kernel and xfce desktop
sudo apt install bbb-io-kernel--5.10-ti-k3-j721e
sudo apt install bbb.io-xfce4-desktop
Last but not least, I updated edge AI examples
sudo apt install ti-edgeai-8.2-base ti-vision-apps-8.2 ti-vision-apps-eaik-firmware-8.2
After the above update steps, the web page (http://192.168.7.2) doesn't show the 403 error page anymore. Instead, it shows Nginx web server's welcome page.

The new software version is higher than the original SD card image version.
debian@BeagleBone:~$ uname -a
Linux BeagleBone 5.10.153-ti-arm64-r80 #1bullseye SMP Fri Dec 9 17:47:21 UTC 2022 aarch64 GNU/Linux
debian@BeagleBone:~$ lsb_release -a
No LSB modules are available.
Distributor ID: Debian
Description: Debian GNU/Linux 11 (bullseye)
Release: 11
Codename: bullseye
debian@BeagleBone:~$
Demo Edge AI Python Applications
In this part of the road test, I will try two edge AI examples in BeagleBone online documentation. One is a simple image classification demo and the other one is a single input multi inference object detection example. For each demo, I will try two different image/video input methods, i.e., image/video files as input as well as USB camera C922 as input.
Image Classification
In this demo, a frame is grabbed from an input source (either image files or USB camera image capture) and split into two paths. The “analytics” path resizes the input maintaining the aspect ratio and crops the input to match the resolution required to run the deep learning network. The “visualization” path is provided to the post-processing module which overlays the detected classes. Post-processed output is given to HW mosaic plugin which positions and resizes the output window on an empty background before sending to display.

Image Classification Demo using Image Files as Input
This demo uses images files as input source. From the demo, we can see the usage of A72 dual cores is very light ( less than 10%). All the heavy lift work is done in DSPs and hardware accelerators.
You don't have permission to edit metadata of this video.
Image Classification Demo using C922 USB Camera as Input
This demo uses C922 USB camera as input source. Since the camera can take 60 fps at 720p, the system will classify many more images per second and thus the usage of A72 is much higher but still around 50% in average.
You don't have permission to edit metadata of this video.
Single Input Multi Inference Object Detection
In this demo, a frame is grabbed from an input source (either image files or USB camera image capture) and split into two paths. The “analytics” path resizes the input to match the resolution required to run the deep learning network. The “visualization” path is provided to the post-processing module which overlays rectangles around detected objects. Post-processed output is given to HW mosaic plugin which positions and resizes the output window on an empty background before sending to display.

Single Input Multi Inference Demo using Video Files as Input
This demo uses video files as input source. From the demo, we can see at the beginning, the video was jumpy while loading the video file from SD card but the usage of A72 is around 50%. After the video file had been fully loaded into RAM, the video wasn't jumpy anymore and the CPU usage is almost 100% until the system was frozen. I had to manually kill the process to get out the frozen state. The video was 30 fps at 720p and there're lots of dynamic objects in the video. It seems the object detection part can keep up with the video, but A72 doesn't have enough horse power to handle post-process on time. Thus it may be out of sync with the object detection process chain which may cause the freezing.
You don't have permission to edit metadata of this video.
Single Input Multi Inference Demo using C922 USB Camera as Input
This demo uses C922 USB camera as input source. Since the video only capture a few static objects, the system ran very smooth and no jumpy event was observed.
You don't have permission to edit metadata of this video.
Experiment C++ version of Edge AI Application
In addition to the Python application demoed above, there's a C++ version of the same application. However, it needs to build on the target, i.e., BeagleBone AI-64 board. I followed the instruction in the second half of this page and after solving a few dependence issues, I was able to successfully build the application. However, running C++ application caused segment fault. I haven't figured out how to fix it yet.
Even after updating software, the distribution still missing flatbuffer library so it caused the following build error.
debian@BeagleBone:/opt/edge_ai_apps/apps_cpp/build$ make -j2
[ 6%] Building CXX object dl_inferer/CMakeFiles/ti_dl_inferer.dir/src/ti_dl_inferer.cpp.o
[ 6%] Building CXX object utils/CMakeFiles/edgeai_utils.dir/src/edgeai_perfstats.cpp.o
In file included from /usr/include/tensorflow/lite/core/api/op_resolver.h:22,
from /usr/include/tensorflow/lite/interpreter_builder.h:25,
from /usr/include/tensorflow/lite/model.h:21,
from /opt/edge_ai_apps/apps_cpp/dl_inferer/../dl_inferer/include/ti_tflite_inferer.h:36,
from /opt/edge_ai_apps/apps_cpp/dl_inferer/src/ti_dl_inferer.cpp:37:
/usr/include/tensorflow/lite/schema/schema_generated.h:21:10: fatal error: flatbuffers/flatbuffers.h: No such file or directory
21 | #include "flatbuffers/flatbuffers.h"
| ^~~~~~~~~~~~~~~~~~~~~~~~~~~
compilation terminated.
make[2]: *** [dl_inferer/CMakeFiles/ti_dl_inferer.dir/build.make:76: dl_inferer/CMakeFiles/ti_dl_inferer.dir/src/ti_dl_inferer.cpp.o] Error 1
make[1]: *** [CMakeFiles/Makefile2:188: dl_inferer/CMakeFiles/ti_dl_inferer.dir/all] Error 2
make[1]: *** Waiting for unfinished jobs....
[ 9%] Building CXX object utils/CMakeFiles/edgeai_utils.dir/src/ti_logger.cpp.o
[ 12%] Linking CXX static library ../../lib/Release/libedgeai_utils.a
[ 12%] Built target edgeai_utils
make: *** [Makefile:136: all] Error 2
After I installed flatbuffer library using the following command,
sudo apt install libflatbuffers-dev
the build still failed. It seems I need to install Tensorflow Lite and other software components.
debian@BeagleBone:/opt/edge_ai_apps/apps_cpp/build$ make -j2
[ 6%] Building CXX object dl_inferer/CMakeFiles/ti_dl_inferer.dir/src/ti_dl_inferer.cpp.o
[ 6%] Building CXX object utils/CMakeFiles/edgeai_utils.dir/src/edgeai_perfstats.cpp.o
In file included from /usr/include/tensorflow/lite/core/subgraph.h:28,
from /usr/include/tensorflow/lite/interpreter.h:32,
from /usr/include/tensorflow/lite/interpreter_builder.h:26,
from /usr/include/tensorflow/lite/model.h:21,
from /opt/edge_ai_apps/apps_cpp/dl_inferer/../dl_inferer/include/ti_tflite_inferer.h:36,
from /opt/edge_ai_apps/apps_cpp/dl_inferer/src/ti_dl_inferer.cpp:37:
/usr/include/tensorflow/lite/delegates/nnapi/nnapi_delegate.h:24:10: fatal error: tensorflow/lite/nnapi/NeuralNetworksTypes.h: No such file or directory
24 | #include "tensorflow/lite/nnapi/NeuralNetworksTypes.h"
| ^~~~~~~~~~~~~~~~~~~~~~~~~~~~~~~~~~~~~~~~~~~~~
compilation terminated.
make[2]: *** [dl_inferer/CMakeFiles/ti_dl_inferer.dir/build.make:76: dl_inferer/CMakeFiles/ti_dl_inferer.dir/src/ti_dl_inferer.cpp.o] Error 1
make[1]: *** [CMakeFiles/Makefile2:188: dl_inferer/CMakeFiles/ti_dl_inferer.dir/all] Error 2
make[1]: *** Waiting for unfinished jobs....
[ 9%] Building CXX object utils/CMakeFiles/edgeai_utils.dir/src/ti_logger.cpp.o
[ 12%] Linking CXX static library ../../lib/Release/libedgeai_utils.a
[ 12%] Built target edgeai_utils
make: *** [Makefile:136: all] Error 2
The installation failed because it missed a dependence - meson.
debian@BeagleBone:/opt/edge_ai_apps$ sudo ./setup_script.sh
....
Cloning into 'edgeai-gst-plugins'...
remote: Enumerating objects: 9039, done.
remote: Counting objects: 100% (3042/3042), done.
remote: Compressing objects: 100% (69/69), done.
remote: Total 9039 (delta 3014), reused 2973 (delta 2973), pack-reused 5997
Receiving objects: 100% (9039/9039), 1.34 MiB | 2.36 MiB/s, done.
Resolving deltas: 100% (5179/5179), done.
scripts/install_gst_plugins.sh: line 81: meson: command not found
Setup FAILED! : Make sure you have active network connection
Then I installed meson and rerun the above setup_script.sh
sudo apt install meson
This time the installation and build was successful. However, when I ran the built C++ version app_edgai, it crashed with segmentation fault.
debian@BeagleBone:/opt/edge_ai_apps/apps_cpp$ sudo ./bin/Release/app_edgeai ../configs/image_classification.yaml
APP: Init ... !!!
MEM: Init ... !!!
MEM: Initialized DMA HEAP (fd=4) !!!
MEM: Init ... Done !!!
IPC: Init ... !!!
_rpmsg_char_find_rproc: 5c00000.r5f does not have any virtio devices!
_rpmsg_char_find_rproc: 5d00000.r5f does not have any virtio devices!
IPC: ERROR: Unable to create TX channels for CPU [mcu2_0] !!!
IPC: ERROR: Unable to create TX channels for CPU [mcu2_1] !!!
IPC: Init ... Done !!!
APP: ERROR: IPC init failed !!!
REMOTE_SERVICE: Init ... !!!
_rpmsg_char_find_rproc: 5c00000.r5f does not have any virtio devices!
_rpmsg_char_find_rproc: 5d00000.r5f does not have any virtio devices!
_rpmsg_char_find_ctrldev: could not find the matching rpmsg_ctrl device for virtio0.rpmsg_chrdev.-1.21
_rpmsg_char_find_ctrldev: could not find the matching rpmsg_ctrl device for virtio1.rpmsg_chrdev.-1.21
_rpmsg_char_find_ctrldev: could not find the matching rpmsg_ctrl device for virtio3.rpmsg_chrdev.-1.21
REMOTE_SERVICE: Init ... Done !!!
12380.200076 s: GTC Frequency = 200 MHz
APP: Init ... Done !!!
12380.200196 s: VX_ZONE_INIT:Enabled
12380.200207 s: VX_ZONE_ERROR:Enabled
12380.200213 s: VX_ZONE_WARNING:Enabled
12380.207319 s: VX_ZONE_INIT:[tivxInitLocal:130] Initialization Done !!!
12380.213633 s: VX_ZONE_INIT:[tivxHostInitLocal:86] Initialization Done for HOST !!!
12380.214351 s: VX_ZONE_ERROR:[ownContextCreateCmdObj:161] context object descriptor [0] allocation failed
12380.214620 s: VX_ZONE_ERROR:[vxCreateContext:946] context objection creation failed
12380.214738 s: VX_ZONE_ERROR:[vxGetStatus:713] Reference is NULL
12380.214834 s: VX_ZONE_ERROR:[tivxAddKernelTIDL:233] Unable to allocate user kernel ID
12380.214918 s: VX_ZONE_ERROR:[vxGetStatus:713] Reference is NULL
12380.214997 s: VX_ZONE_ERROR:[vxGetStatus:713] Reference is NULL
12380.215076 s: VX_ZONE_ERROR:[vxGetStatus:713] Reference is NULL
12380.215146 s: VX_ZONE_ERROR:[vxGetStatus:713] Reference is NULL
12380.215224 s: VX_ZONE_ERROR:[vxSetReferenceName:659] Invalid reference
12380.215869 s: VX_ZONE_ERROR:[tivxMapTensorPatch:611] Invalid tensor reference
Segmentation fault
Summary
TDA4M, combining high-performance compute, deep-learning engine, dedicated accelerators for signal and image processing in an functional safety compliant targeted architecture, makes a great fit for several industrial applications, such as: Robotics, Machine Vision, Radar, and so on. BeagleBone AI-64 provides a high performance and low cost experimental solution for TDA4M SoC. The board is well designed and well manufactured. Although there's still room for improvement, BeagleBone does provide sufficient software and documentation to get started on this board and experiment some powerful examples. I really enjoyed playing with the board and there are a lot more can be done. My next step is to fix the C++ app crash issue and customize some examples. I will update here once the issue is fixed. Stay tune and thank you for your reading.