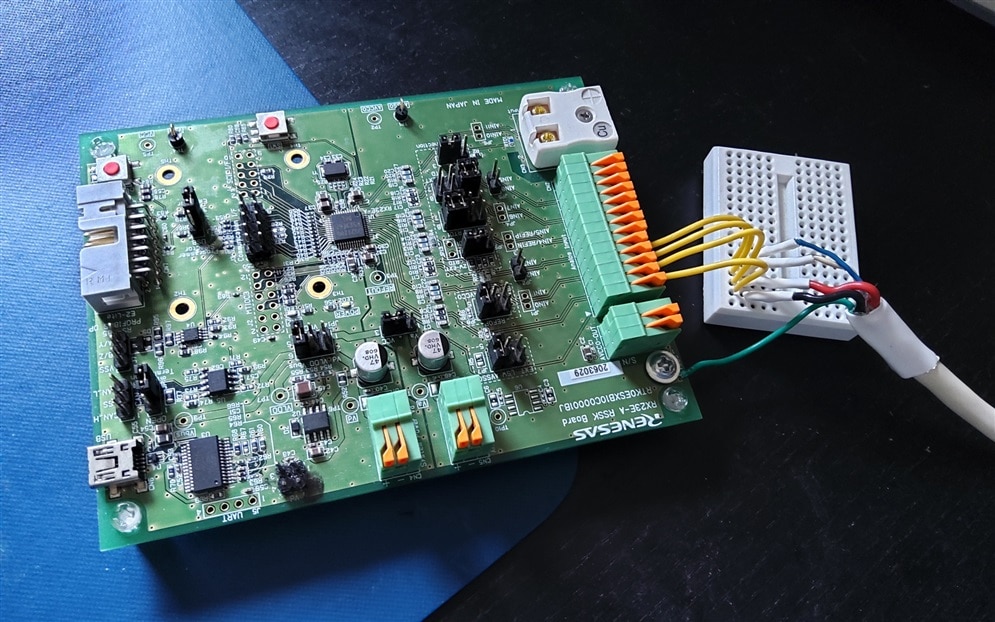
The load cell appnote for Road test: Renesas Solution Starter Kit for RX23E-A comes with example firmware. In combination with the stater kit PC Tool, you get an example that shows how to perform load cell measurements. I reviewed the firmware, and ported the project to the GCC toolchain in a previous experiment.
In this post, I'm doing some measurements, show a bit of the circuitry, and properly wire up the load cell with a shielded cable.
|
For more information on load cells, check
|
First, the cabling. The load cell I have comes with 4 thin stranded wires. A load cell should use shielded wire, so I adapted that.

image: Renesas app note R01AN4789EJ0110: Weight Measurement Example Using a Load Cell
I used thin, flexible shielded cable: 2 twisted pairs + shield. I cut off the original wire, fairly close to the load cell. I left enough to avoid strain.
Then I put heat shrink around the leads. 4 very small ones for each individual lead, and a wider tube to cover everything. Because the wider tube doesn't fully shrinks closed, I dripped a pearl of het glue inside the opening to avoid that the solder joint had to deal with mechanical strain.

On the PCB side, I connected the shield to the central grounding point, and the four bridge leads to the input, as in the schematic above.

Before connecting it up, I made a few measurements on the bridge: All quadrants, without loading, measured around 770 Ohm.
I did some more measurements after connecting and powering the design. More on that in a little bit.

Let's now check what the firmware does. In the previous post I skimmed over it.

The analogue front end applies an excitement voltage to the bridge. In this case, it's the analogue +5V power rail. That same rail is also used as reference for the ADC, so it's ok to have a source with no strong long time stability. As long as it's low noise, it's OK.
The two signal points of the bridge go into the RX23E-A's differential amplifier, with gain set to 128.
I measured the difference between those two signal points with no load (just lying on the table). It was 0.660 mV.
The ADC is set to 4 MHz, with 50.000 oversampling (without averaging). This results in 1000 s / sec.

The code does apply a moving average over 8 samples. It also has "tare" functionality: you press the user button to mark the current state as zero.
According to the application note, this should give:
Effective Resolution: 21.0bit (36.2nVrms)
Noise Free Resolution: 18.4bit (234nV)
I still have to validate what that means in grams, in my setup. I haven't calibrated it yet, so can't translate it into weight ...
But it looks like this design results in a stable setup. Not that easy with the touchy-feely component that the load cell is.
Here is a capture of the cell with weight hanging off it (again the Wera bottle opener :) ), then removing the weight, and putting it back.

Action photo:

The load cell: https://joy-it.net/en/products/SEN-HX711-01

Top Comments