


This week I'm going to learn GoogleTest for c++. Goals for day 2: Test Fixtures.
To run unit tests on an object oriented design, you often require that some objects are created and set up before testing. Multiple tests will very likely need the same setup. GTest provides the fixture mechanism for that. A fixture is [...] a class that sets up your objects, and gives access to those objects to the GTest framework. For each test case, the fixture (and your objects) will be freshly set up before the test, and destroyed when done.
Create objects before running tests
In this post I'll use the same class TestClass that I tested in the previous exercise.
namespace test_module {

class TestClass {
public:
  bool match(const std::string_view& sv);
};

}
Here is how my tests looked like before using a fixture:
TEST(string_view, match) {
    test_module::TestClass o;
    EXPECT_TRUE(o.match("match")); // should pass
}

TEST(string_view, missmatch) {
    test_module::TestClass o;
    EXPECT_FALSE(o.match("mismatch")); // should pass
}
I created the object o at the start of the test myself. And repeated that at the start of each test that tests the object.
With the GTest fixture approach, I learn a class how to create that setup for me, each time I want to run a test:
class TestClassTest : public testing::Test {
protected:
    TestClassTest() {}

    // ~TestClassTest() override = default;
    test_module::TestClass o;
};
The only thing that this class does, is create a member o of the class that I want to test. Then, instead of using the GTest macro TEST, I use the macro TEST_F. First parameter is the name of the fixture class.
TEST_F(TestClassTest, match) {
    EXPECT_TRUE(o.match("match")); // should pass
}
This will automatically set up the fixture before the test is executed. And give us access to the freshly created object o.
In my example, that I kept simple on purpose, there is only one object to set up. But say that you created a more complex class, like a specialised array object. You can use this mechanism to create your container (and add some data to it - a subject for the section below) before the tests execute. You can then run multiple test cases that automatically have this known setup.
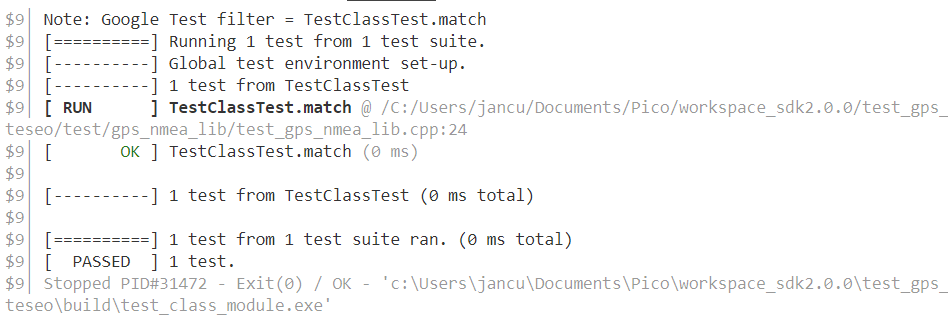
Results of my test run:
Configure those objects before test execution
In the section above, my object under test didn't have a requirement to configure it. When it was created, it was ready to use. It was able to compare a string to the fixed string "match". In this second part of the post, I'm modifying it into a more flexible class. It can compare a string to a configurable string. This new class will allow us to test how the GTest fixture setup functionality works.
Rewritten class, now allows you to define a string to compare to:
// ...

class TestClass {
public:
  TestClass() : match_string() {}
  bool match(const std::string_view& sv);
  void set_match_string(const std::string& s) {
    match_string = s;
  }

private:
  std::string match_string;
};

// ...
The difference with the class in the first part of this post:
- we have a class member match_string
- there is a method set_match_string() to set it
- at object creation, this defaults to an empty string ("").
If we want to use it in a test case without fixture, our tests will look like this:
TEST(string_view, match) {
    test_module::TestClass o;
    o.set_match_string("match");
    EXPECT_TRUE(o.match("match")); // should pass
}

TEST(string_view, missmatch) {
    test_module::TestClass o;
    o.set_match_string("match");
    EXPECT_FALSE(o.match("mismatch")); // should pass
}
If we use the same fixture as in the first part of this post, we 'll get the object created, but not the string set. For that, we'll adapt our fixture class, and give it a SetUp() method:
class TestClassTest : public testing::Test {
protected:
    TestClassTest() {}
    void SetUp() override {
        o.set_match_string("match");
    }

    // ~TestClassTest() override = default;
    test_module::TestClass o;
};
GTest will now do 2 things for us:
- create the object, as before
- call its set_match_string() and set the string to "match".
The fixture test case does not change:
TEST_F(TestClassTest, match) {
    EXPECT_TRUE(o.match("match")); // should pass
}
That's it. In part 1 of the post we learn how to automatically create (a set of) objects before a test gets executed.
In part 2, we configure those objects, after they are created.
This is the main story about test fixtures. They allow you to set up an object structure before a test case is run, and configure those objects. Then it executes your tests on them.
link to all posts.
