I recently needed a VNA, and went with one called NanoVNA-H4. This short blog merely contains an un-boxing.
If you’re interested in finding out what VNAs are used for, check out the earlier blog post: Vector Network Analyzer (VNA): A Practical Getting-Started Guide for the General Reader
There are several versions of NanoVNA. The version I went for isn’t the best, it just happens to be the one I wanted to use for particular needs, and is pretty low-cost (about £45). Although it is stated for operation up to 1.5 GHz, really it only operates in its sweet-spot below 300 MHz. If you need a VNA for a higher frequency range than 300 MHz, this product is probably not worth getting, because apparently its performance is not very good at all beyond 300 MHz. This is fine for my needs as mentioned; I have a higher-frequency VNA. One VNA probably isn’t enough, since all the low-cost ones have various compromises.
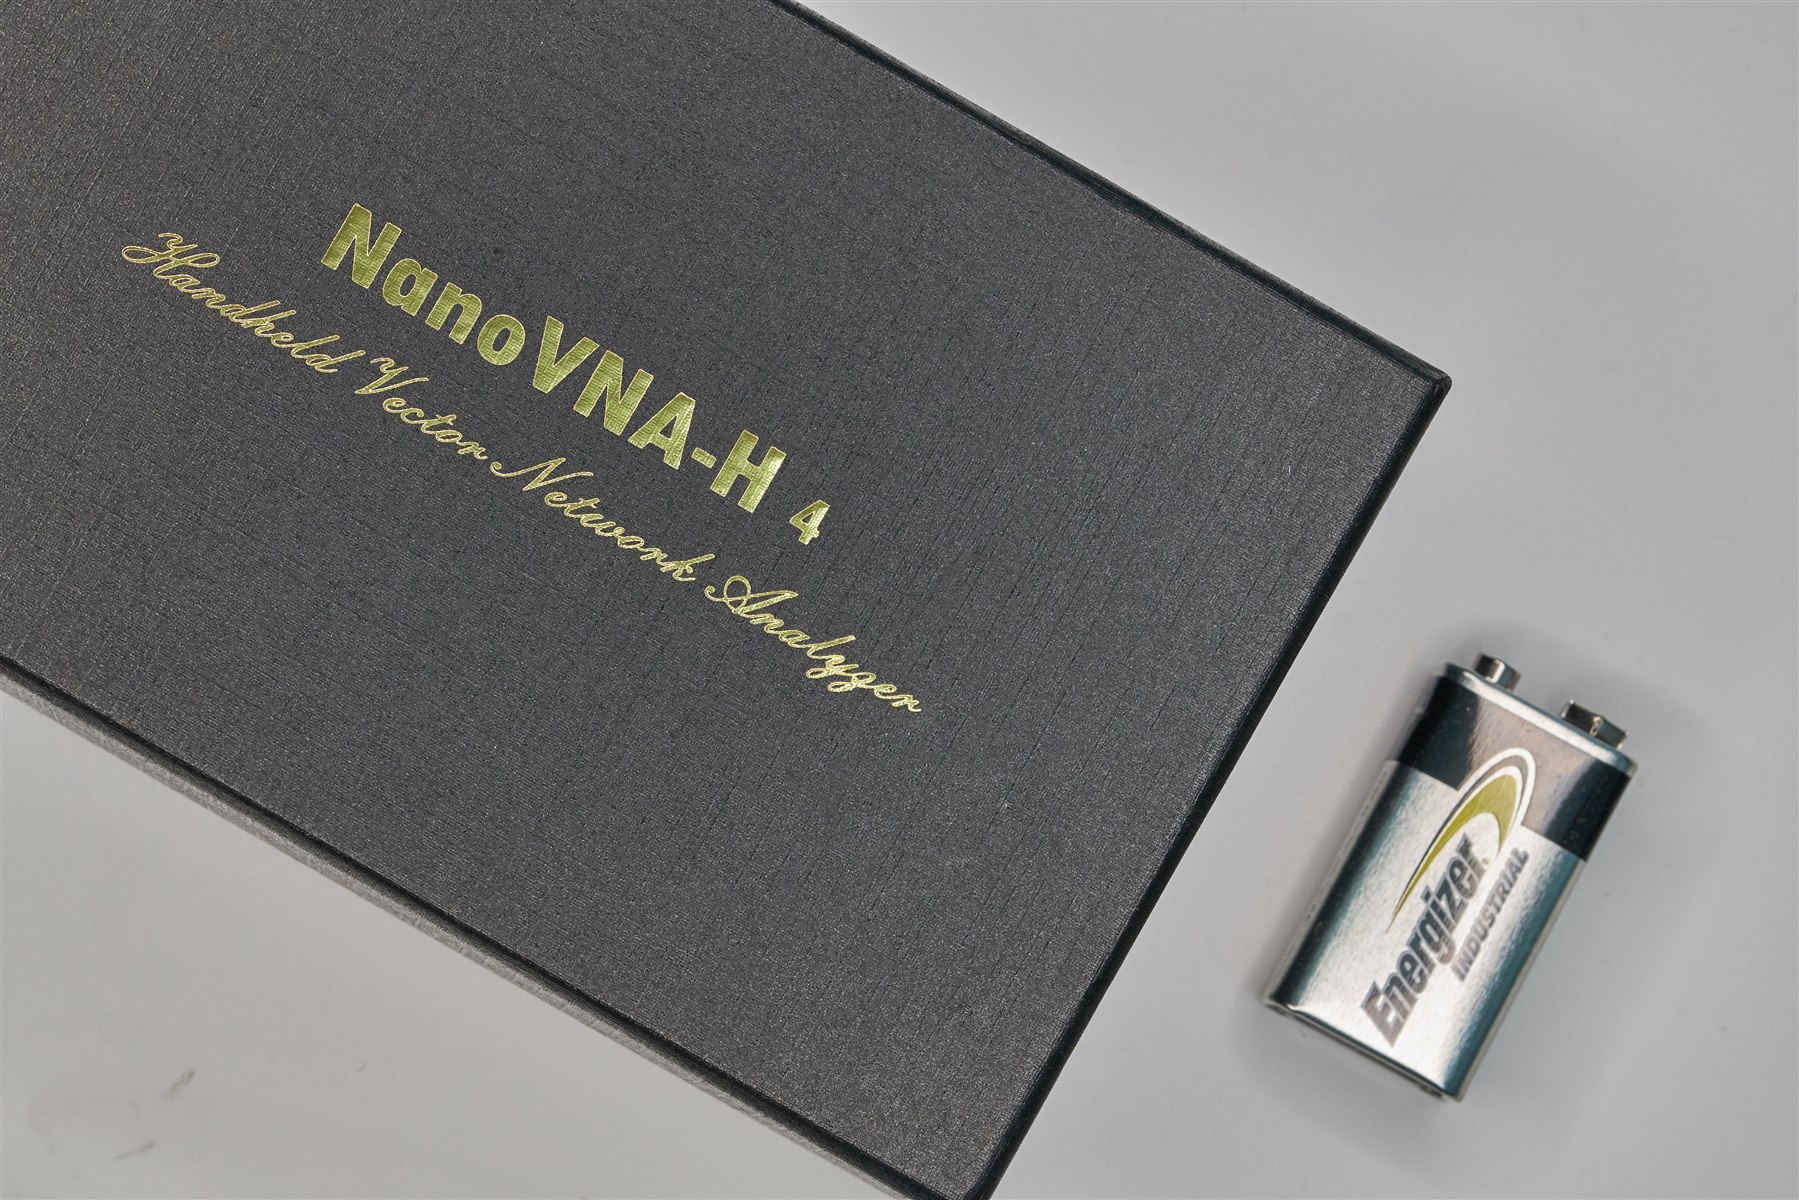
It comes in a sturdy box. The packaging internally is almost as nice as high-end smartphone packaging.
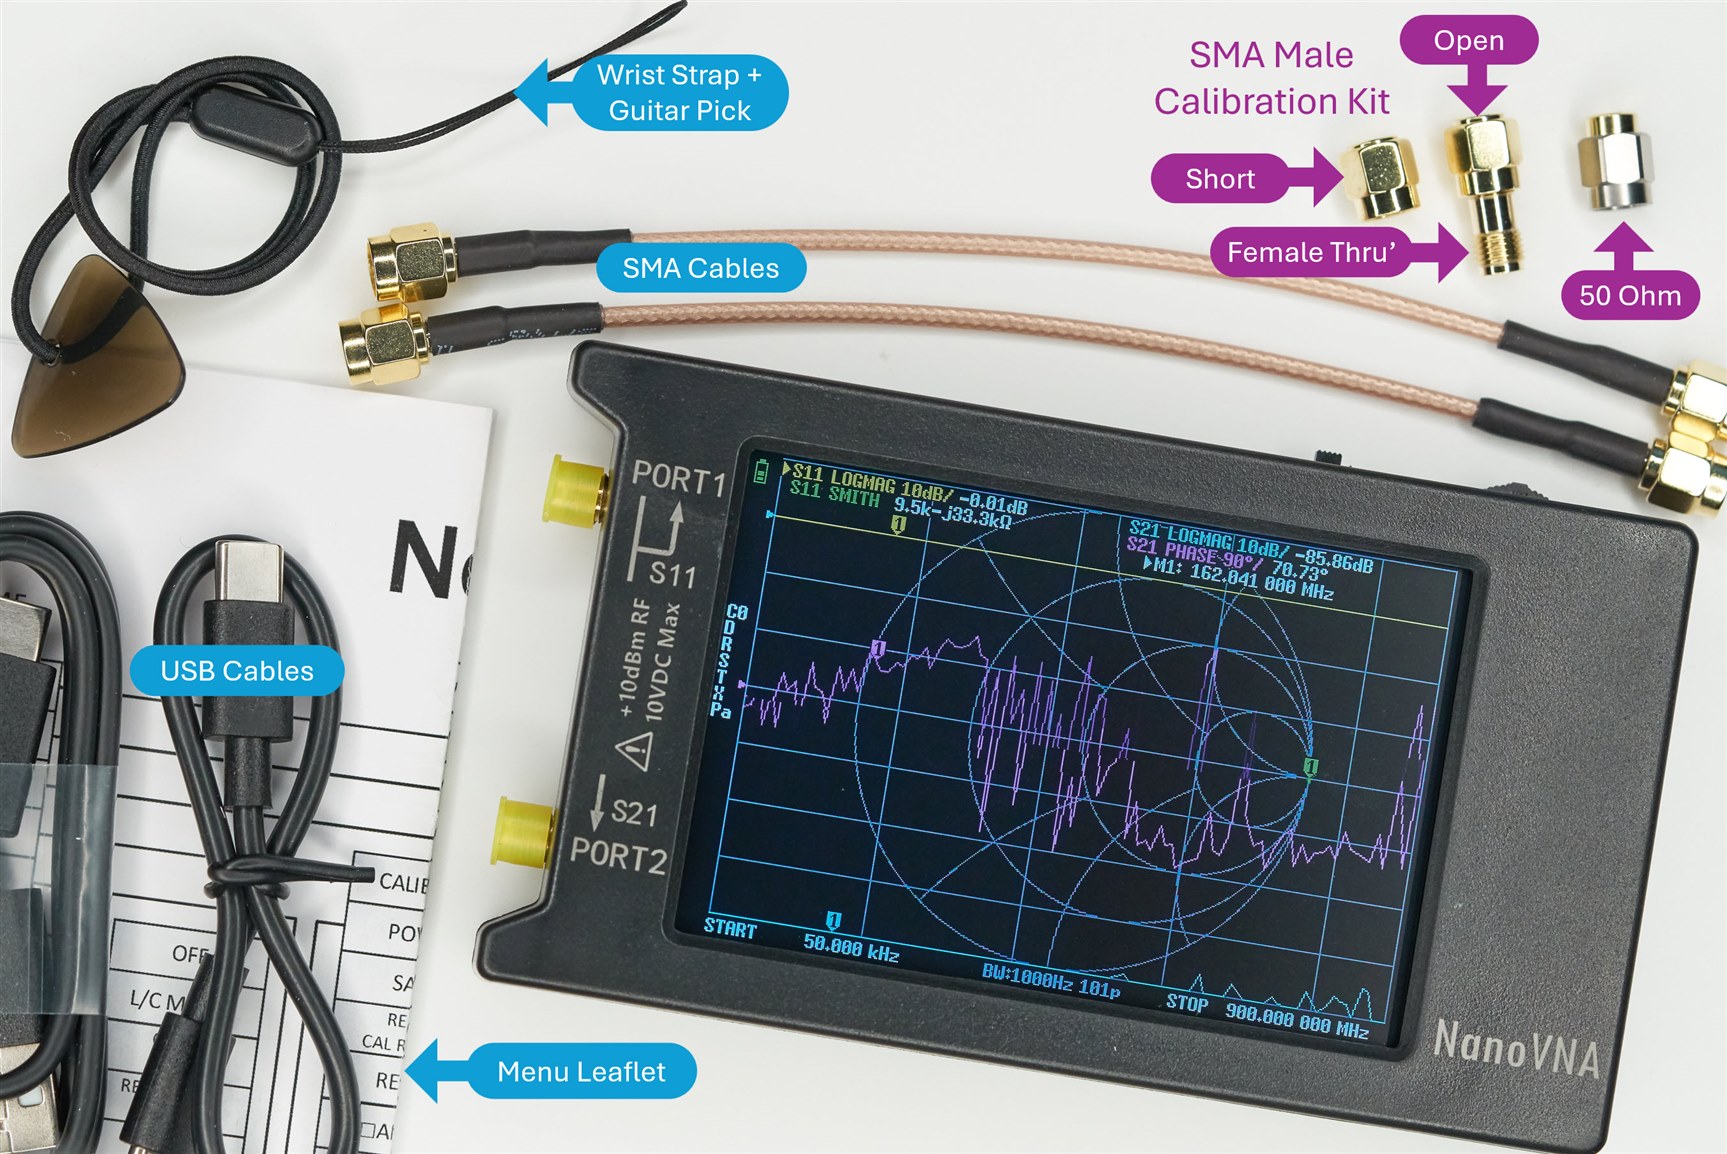
There’s lots in the box. There are a couple of USB cables and an instruction sheet containing the details of the menu system (there are a lot of menu pages!), and a wrist-strap with a guitar pick that is extremely useful for tapping on the screen to configure the instrument. As well as a couple of low-cost SMA cables, there is also an SMA Male calibration kit. To be honest, most of the accessories are not worthwhile, apart from the wrist-strap. The SMA calibration kit is OK, but you’ll want to upgrade that at some point. Same with the SMA cables.
The USB cables are junk; I could not plug them in, they felt incorrectly tight. It’s best to throw them away and use your own USB-C cable.
As for the instrument itself; I was surprised that the screen is of quite decent quality. It is visible from most angles, which I had not expected.
The case is plastic, held together with four screws on the underside. It’s a little basic, but the device is so low-cost, it is to be expected.
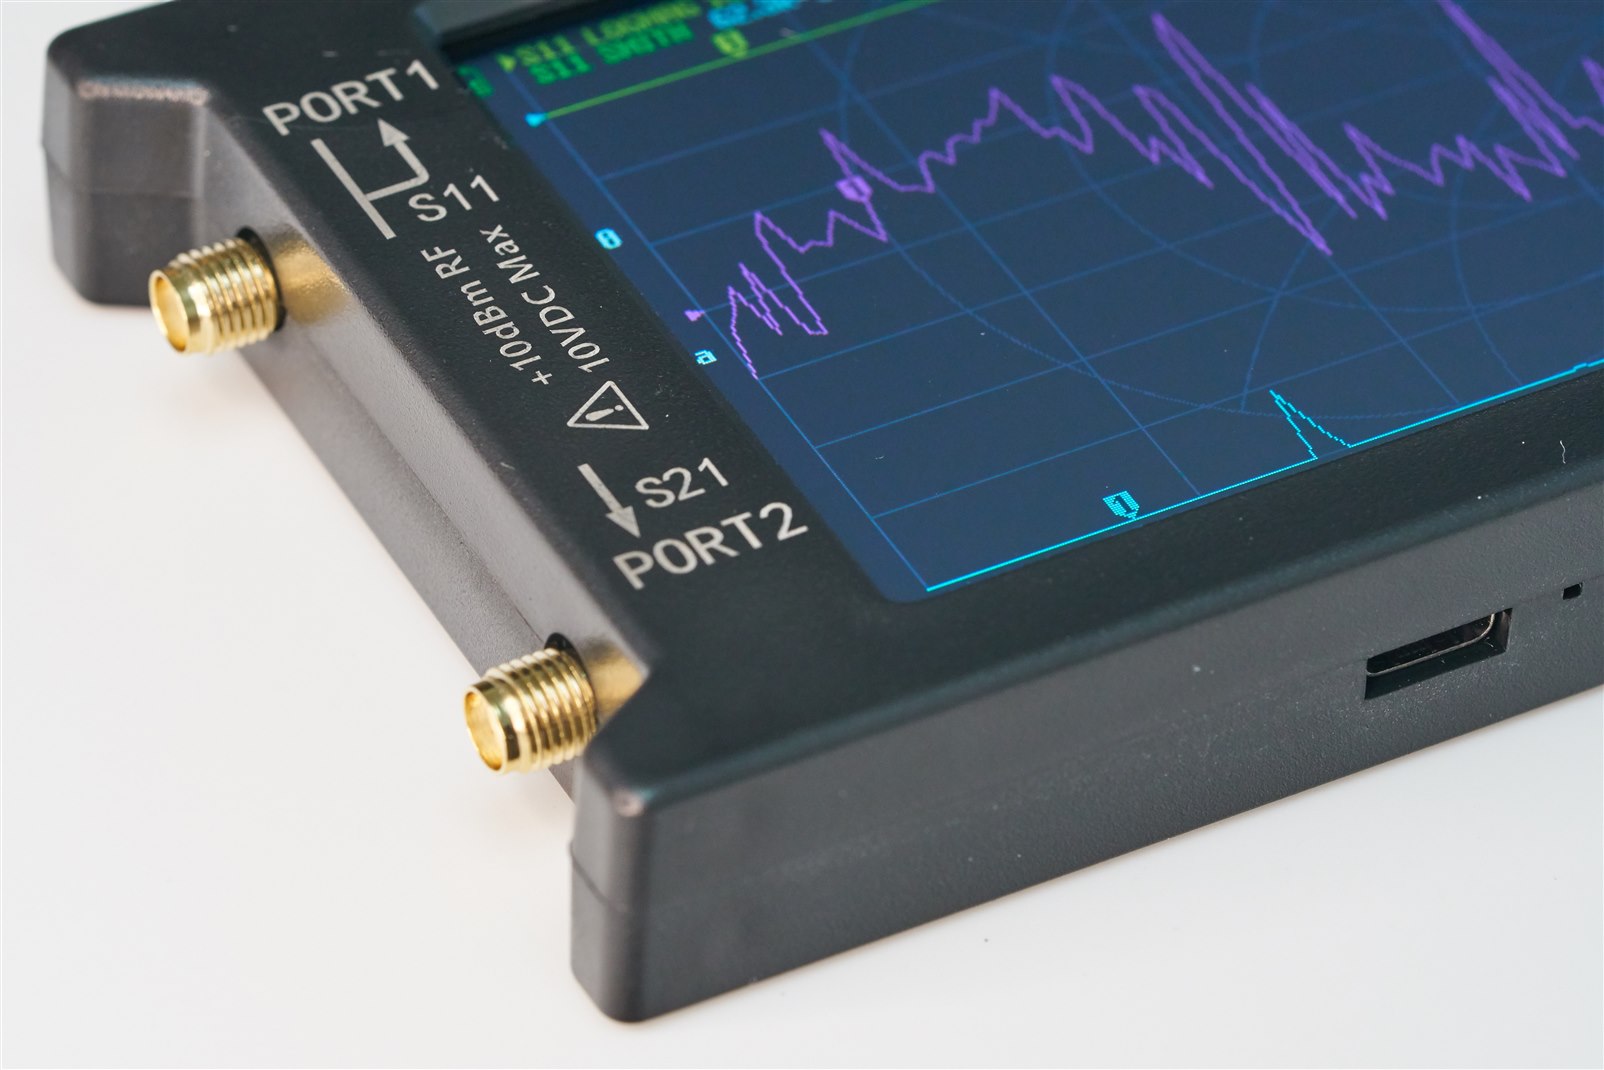
The photo here shows the two SMA connectors (it’s a two-port VNA), and the USB-C socket at the bottom.
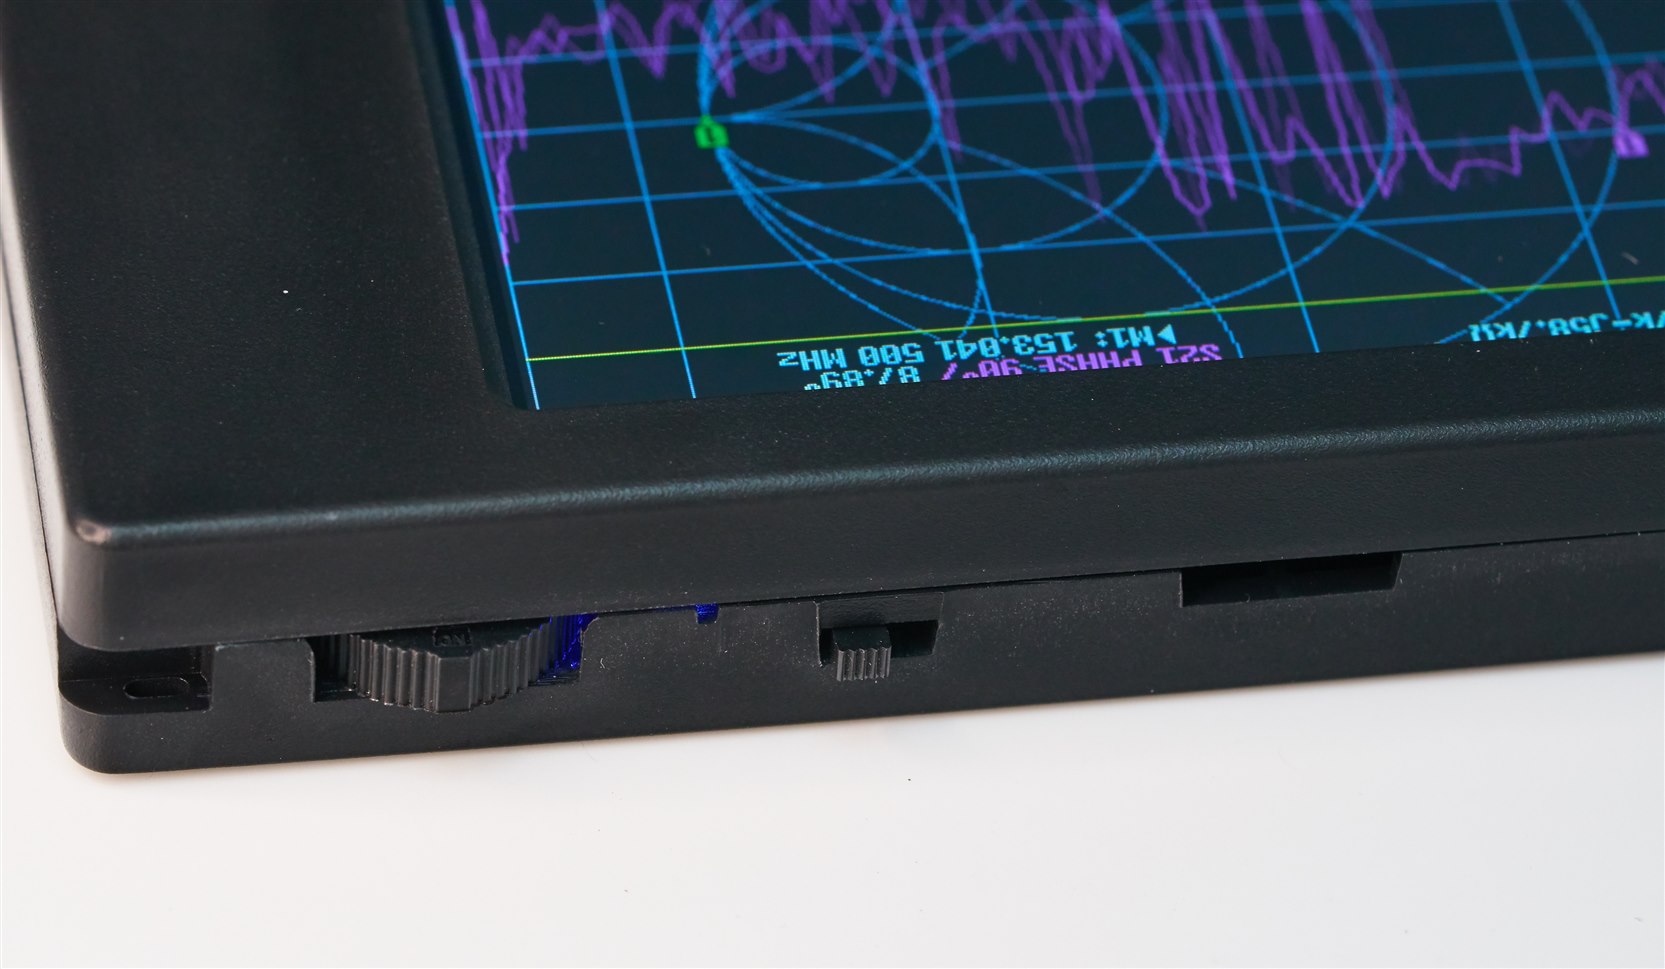
The top edge contains the wrist-strap hole, and a left/right jog-wheel which is pushed inward to enter the menu and to click on items, and a slide-switch for power (there is an internal rechargeable battery).
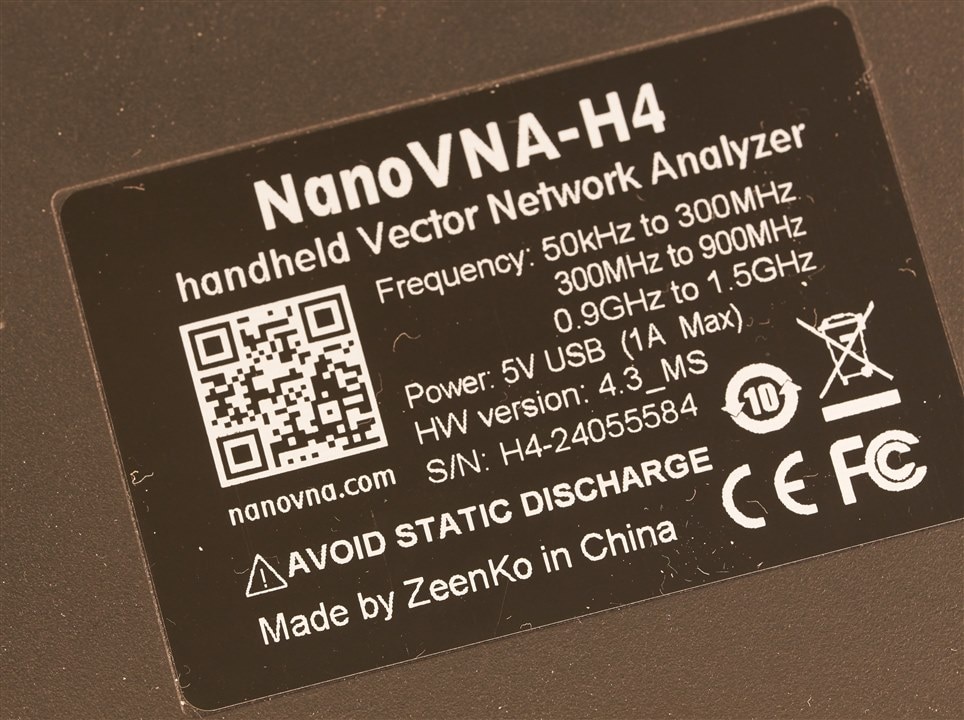
Some info on the rear panel:
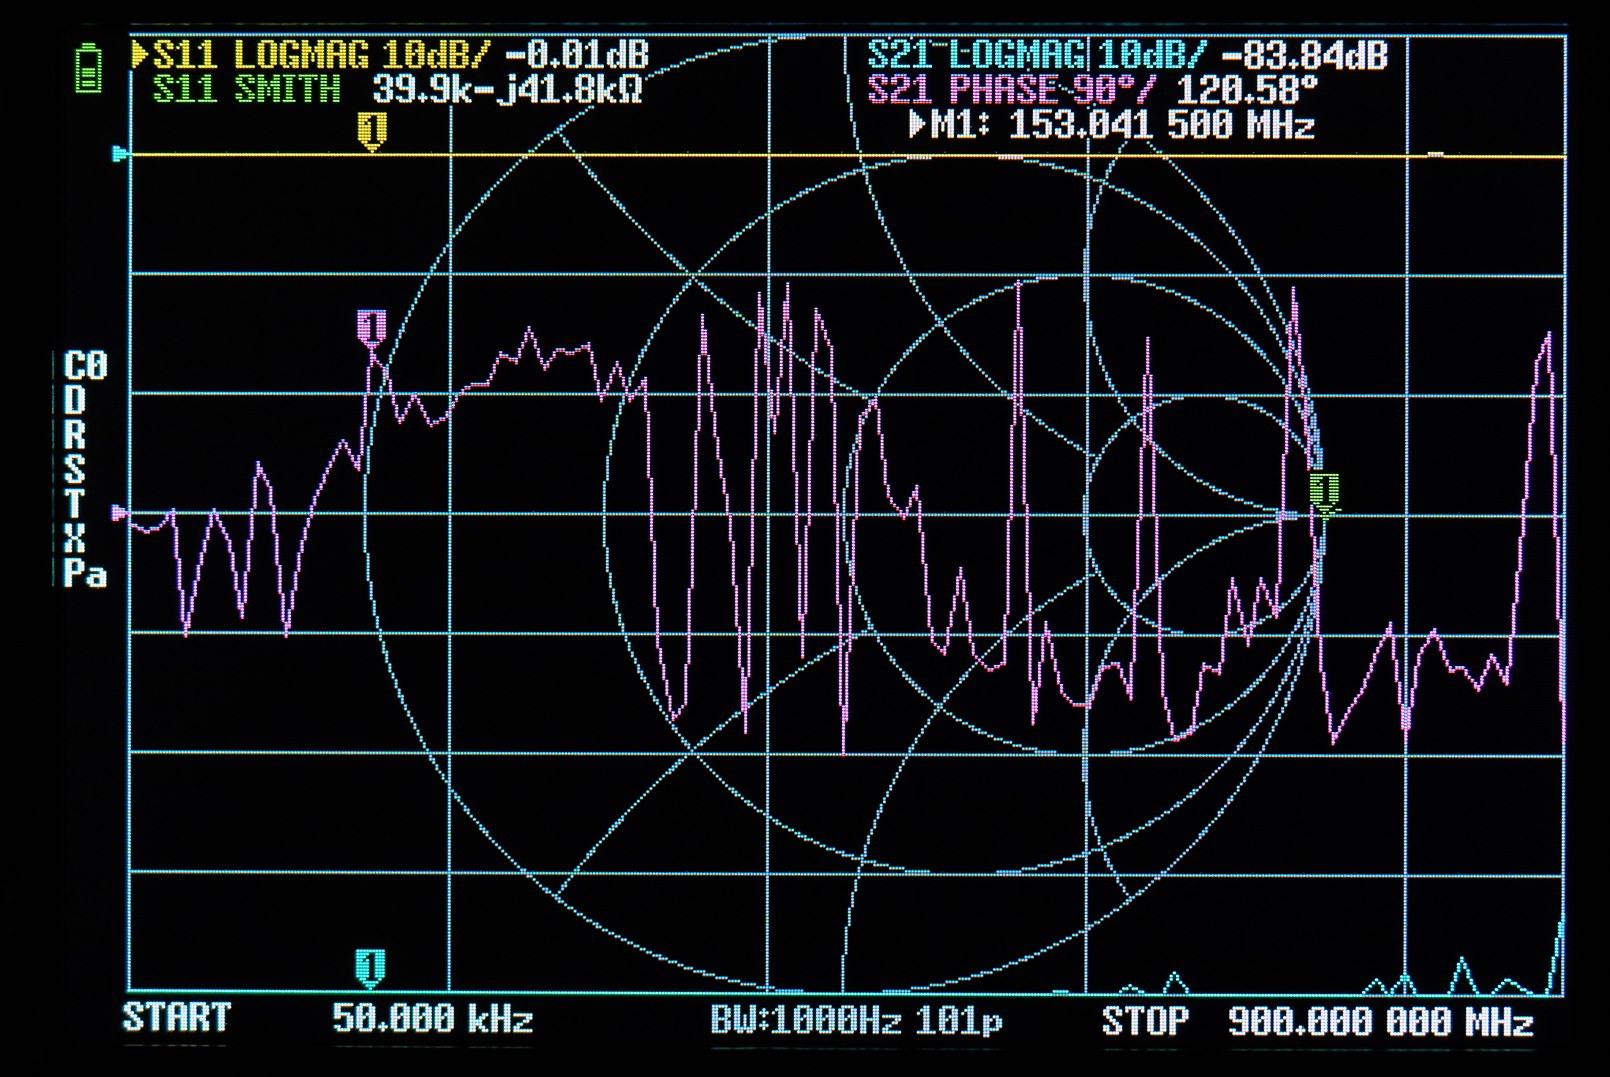
As mentioned, the display is surprisingly good. Not top quality, but better than expected for the price. It’s also of a decent size. I had expected to need to use a PC application to drive the instrument, but the NanoVNA-H4 is actually fairly usable directly from the built-in display, even without teenager-grade eyesight.
This default display is a little busy; not a fan of the multiple overlaid charts! I intend on switching off everything and defaulting to just a Smith Chart display if I can.
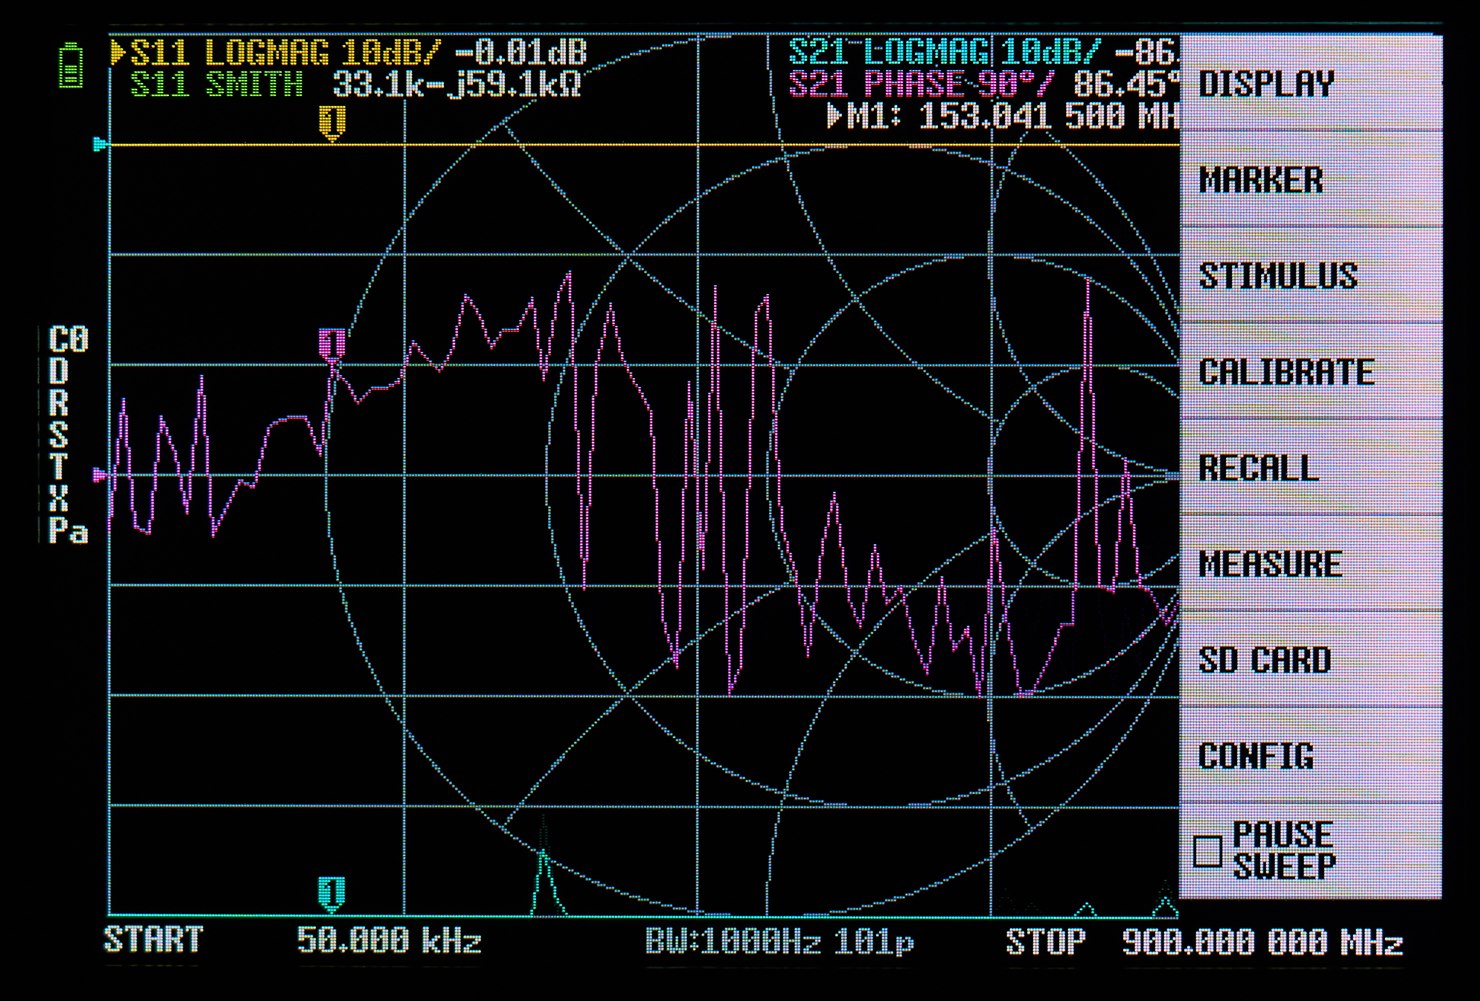
I had been dreading that the user menu (menu structure PDF downloadable below) would be very awkward to control with the jog-wheel method, but it’s not bad at all. Plus, bonus, the guitar-pick on the display makes everything very quick to select if you don’t wish to use the jog-wheel.
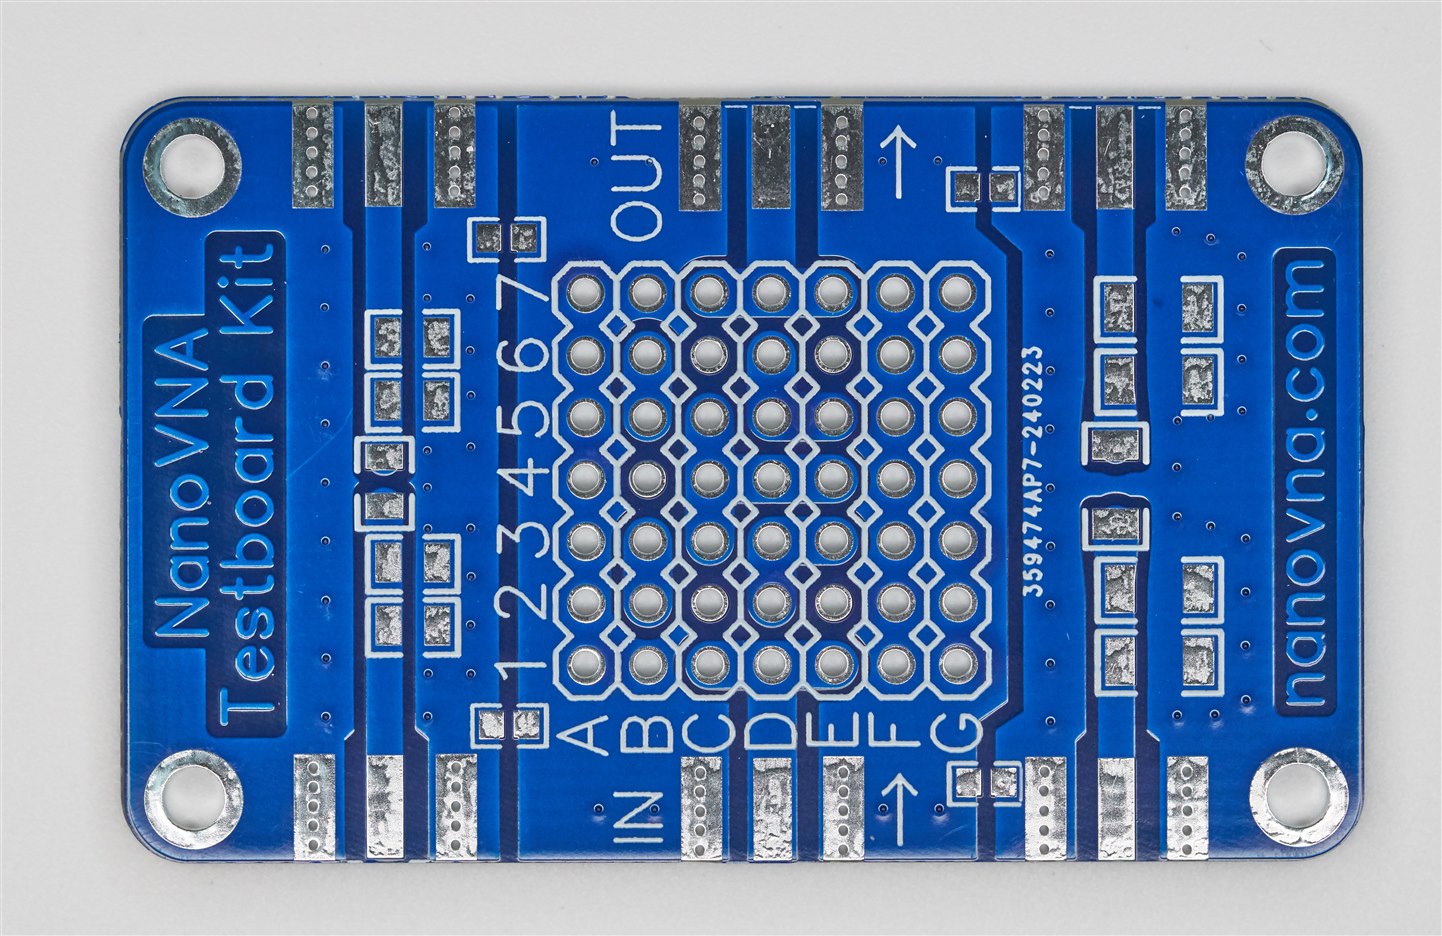
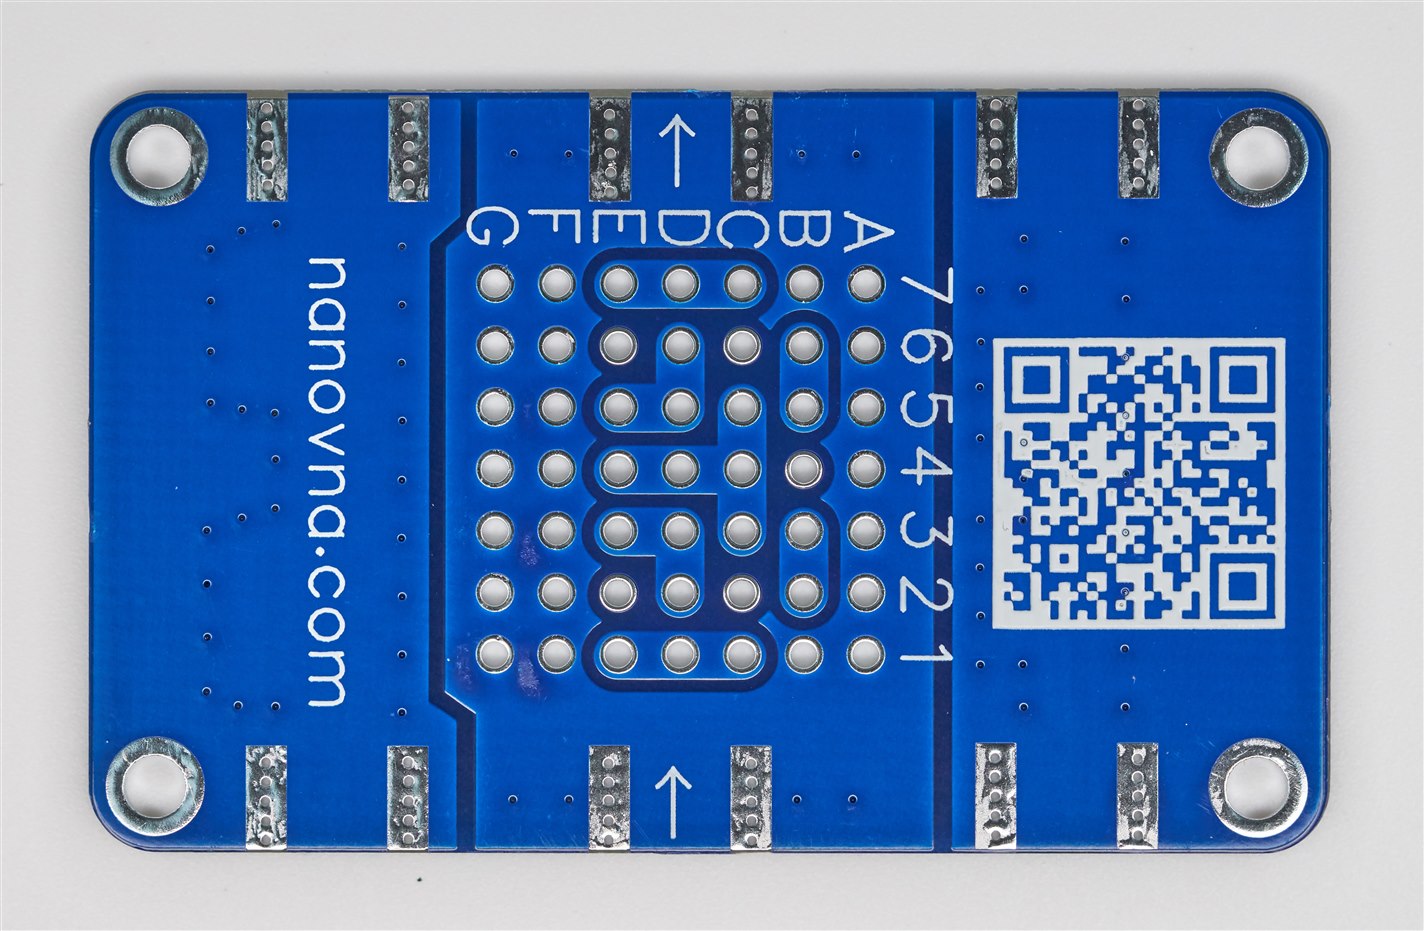
As optional extras, I purchased two better-quality cables (about £7 each from the same store) because a VNA requires that. Also, I purchased a ‘test kit’ which consists of a PCB, some mounting hardware, two 50-ohm surface-mount resistors, four SMA connectors and two strips of pin sockets. I think the aim of this test kit is to be able to solder in a load of the pin sockets, and then you can push in components like capacitors, inductors etc.
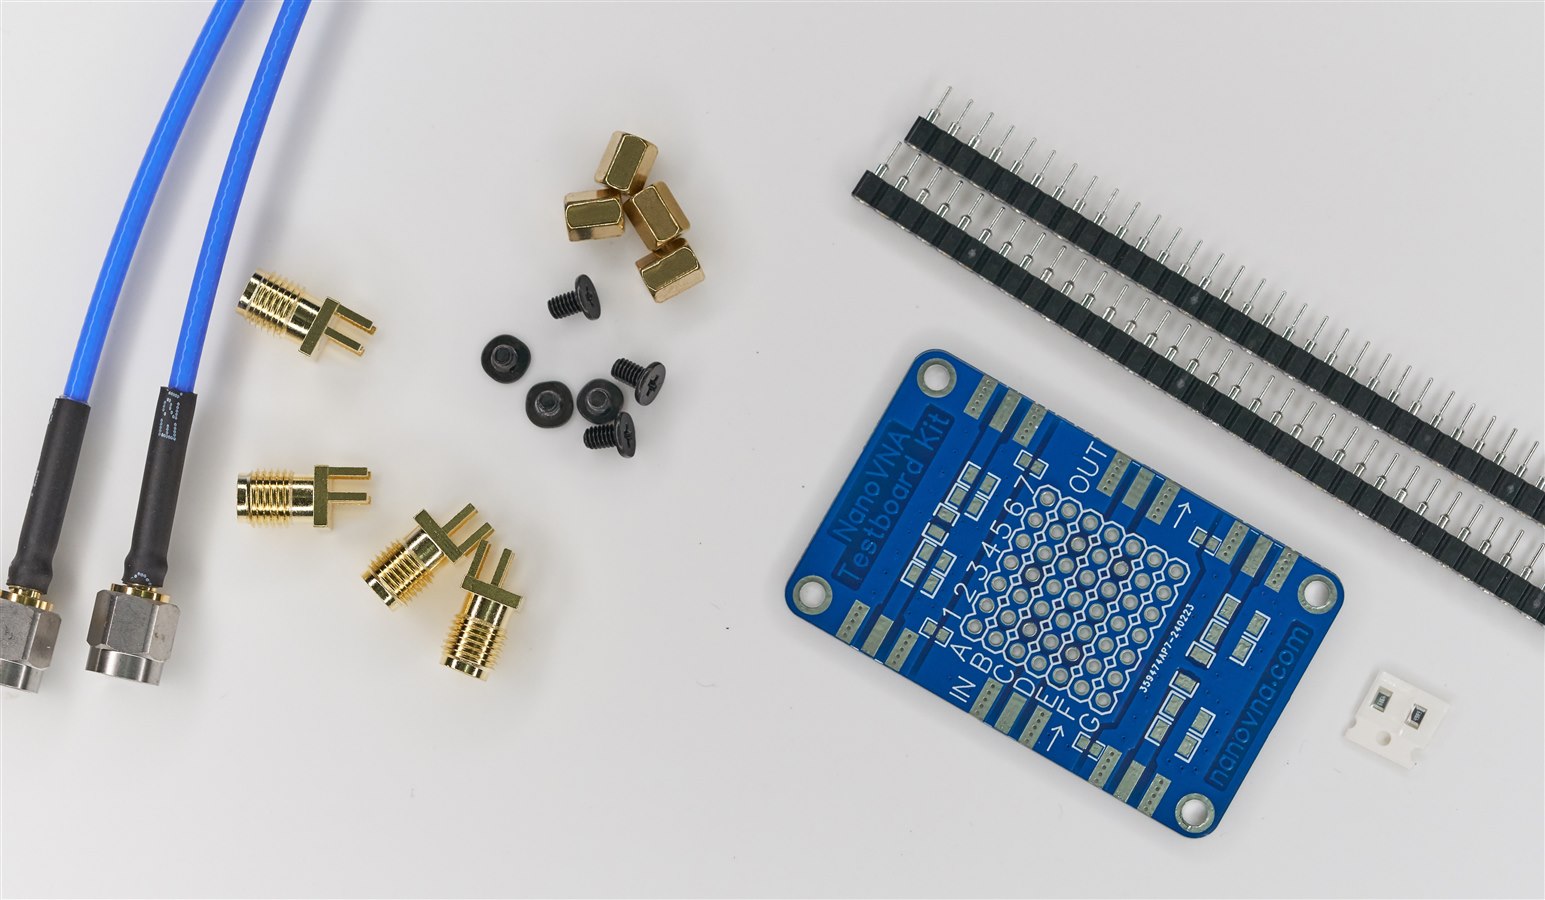
The top side of the test board is hard to follow, but that’s not a big deal because it will be covered with pin headers anyway.
Fortunately it’s clear to consult the layout from the underside.
I have not used the NanoVNA-H4 yet, so I can’t comment on how good/bad it is.
Thanks for reading!

Top Comments
-

Fred27
-
Cancel
-
Vote Up
+1
Vote Down
-
-
Sign in to reply
-
More
-
Cancel
-

shabaz
in reply to Fred27
-
Cancel
-
Vote Up
0
Vote Down
-
-
Sign in to reply
-
More
-
Cancel
Comment-

shabaz
in reply to Fred27
-
Cancel
-
Vote Up
0
Vote Down
-
-
Sign in to reply
-
More
-
Cancel
Children