I've been experimenting with temperature sensors, and really liked Sensirion products, since they are pretty accurate and reasonably low cost, and have a sensible board-level interface, I2C. However, they are quite small!
The good thing, is that they are not too difficult to solder by hand. This ultra-short blog post shows how I went about it.
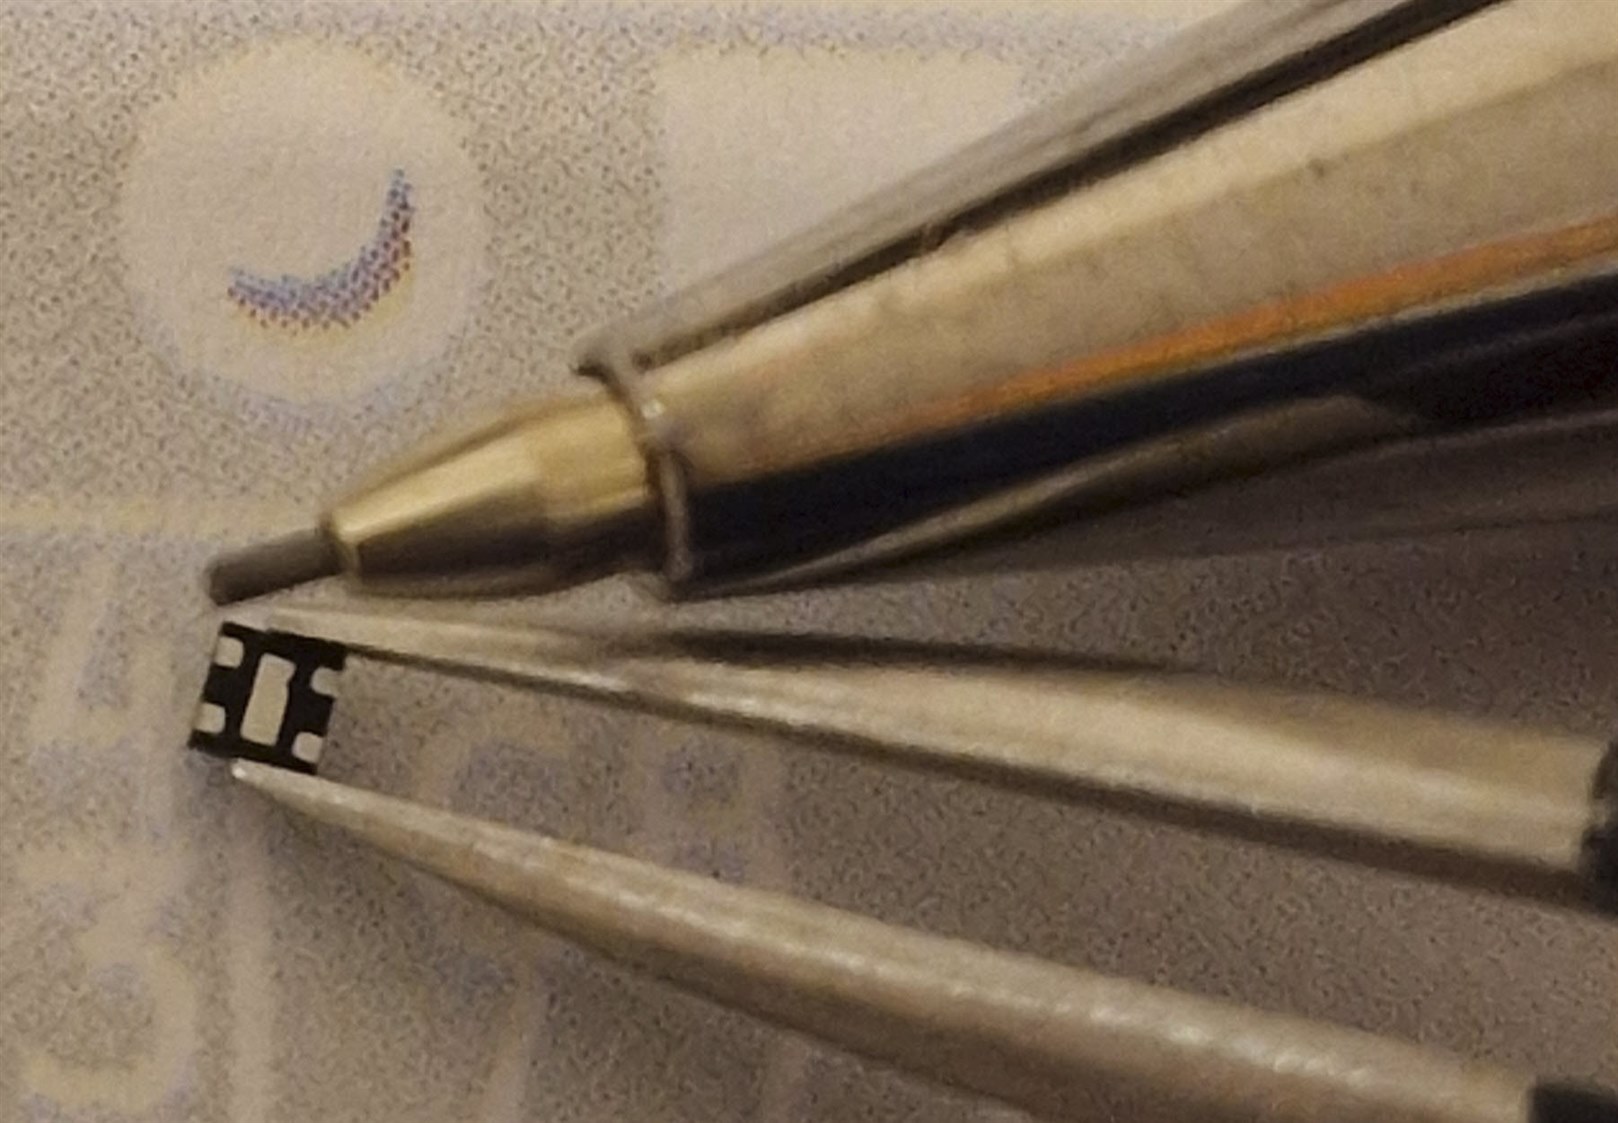
The part is 1.5 mm on its longest edge (i.e. it is smaller than the thickness of a normal PCB). The photo shows a 0.5 mm pencil for a size comparison.
So, first of all a decent pair of tweezers is needed, otherwise the part will go flying. Squared-end tweezers provide a lot of grip on the part, and it is a reliable way to manipulate the part. Good eyewear or a magnifier is needed to notice the tiny notch on the underside, which indicates pin 1 (there is a marking on the top side too). I used a mobile phone camera for this snapshot, and it was good enough to be sure of the part orientation.
I could have used a hot air tool, but I wanted to stick with a soldering iron for this exercise. First off, I applied flux paste to the four pads on the circuit board, which happened to have a small amount of solder already on it as manufactured (it's known as a HASL finish on the board). HASL isn't great, but it's cheap.
Another thing to pay attention to, is the component footprint. Unless you've got excellent eyesight or a microscope, you're going to be relying a lot on the silkscreen outline to align the part to the PCB. Therefore, it's quite important to have a decent silkscreen that is of the correct dimensions to match the part. In the screenshot below, since the part is 1.5 mm square, I made sure that the silkscreen was that size too (with a fraction of a millimeter exceeding the package size, so that I could place the part and still be able to see the outline an equal amount on all sides.
The pads were extended slightly, to suit the soldering iron method, since the iron tip needs to touch the pads.

Speaking of soldering iron tips, for this scenario, a pointy tip works great, because it needs to get right into the corner between the component body and the pad. I used the tip shown in the drawing below, which to all intents and purposes is a pointy tip, since the dimensions of the end are so small (0.4 x 0.2 mm).
Any decent manufacturer soldering iron (JBC, Weller, etc) would work great, provided small tips are available. An integrated heater in the tip can make a good difference too. A low-cost soldering iron that uses tips with integrated heaters is the Secure S60; it supports such small dimension tips, and also works with larger tips for more normal soldering too. Note that if you're using a USB soldering iron, then it needs to be grounded when soldering semiconductors.

As mentioned, I splurged some flux paste onto the pads. Apologies for the photo quality, it was done with a shaky mobile phone. There's not much to see anyway, it's just flux. At these dimensions, the flux paste will be a single blob, it won't be precisely dispensed just on the pads.
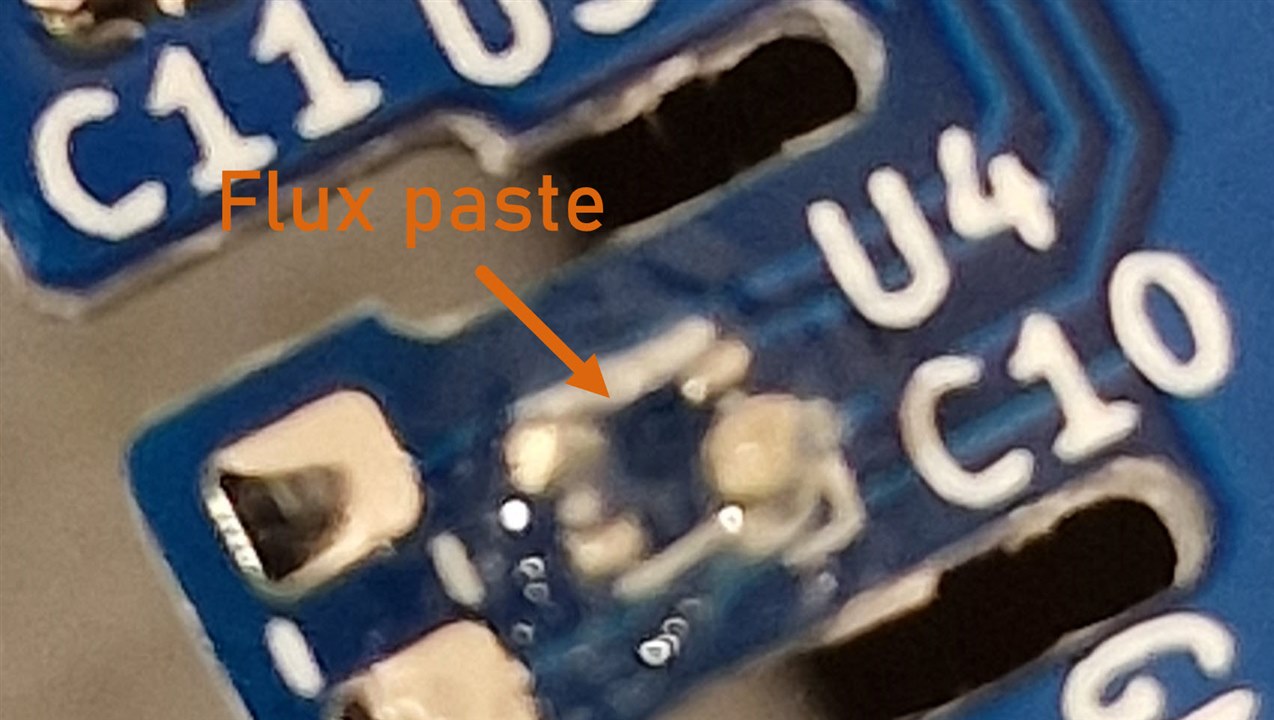
The flux paste was called MG Chemicals 8341 others would be fine too, I'm just used to using that stuff so I stuck with what works.
Next, the part was oriented correctly and placed inside the silkscreen box shape with the tweezers, flat against the board. With the other hand, the soldering iron (with a small amount of solder on the tip was dabbed into the corner to touch the pads and the side of the component. Surface tension allowed the metal parts to retain just enough solder for a nice fillet, although really you're flying blind at this point, because the flux covers your view. Anyway, you can trust science at this point, and just dab in the general corner areas.
Once that's done, the board is cleaned. I used isopropyl alcohol and a brush (it is very expensive for a brush, but it is brilliant, and will last for a decade or longer). The cheap brushes on Amazon are hopeless compared to that one, and then I used a wipe to mop things up.
Finally, the fillets of solder need to be inspected. You could use a mobile phone camera if nothing else is handy. I used a normal camera here:
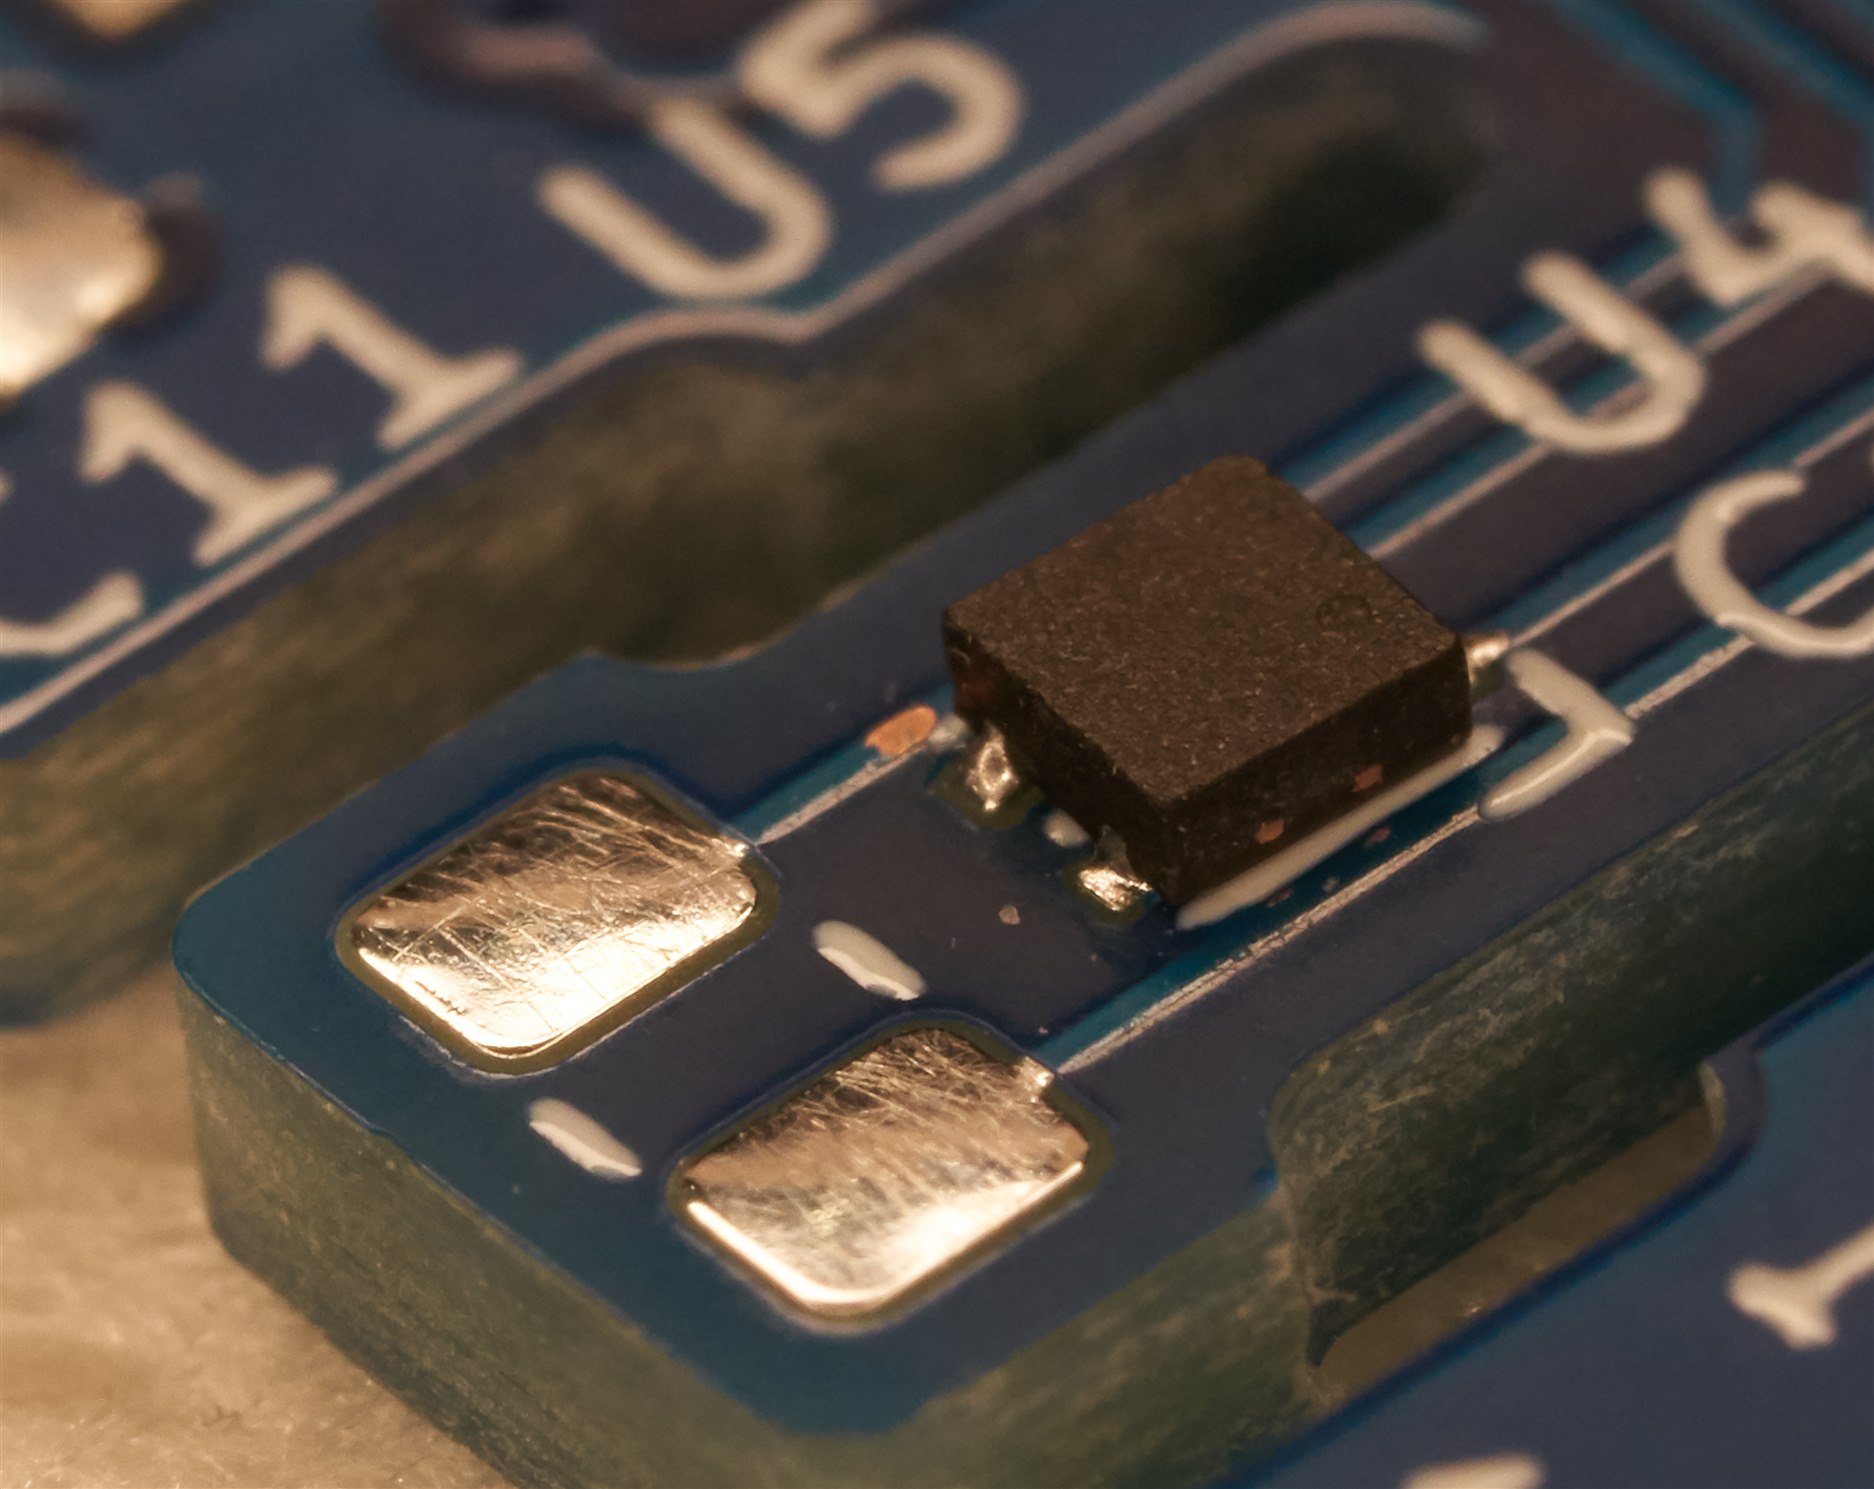
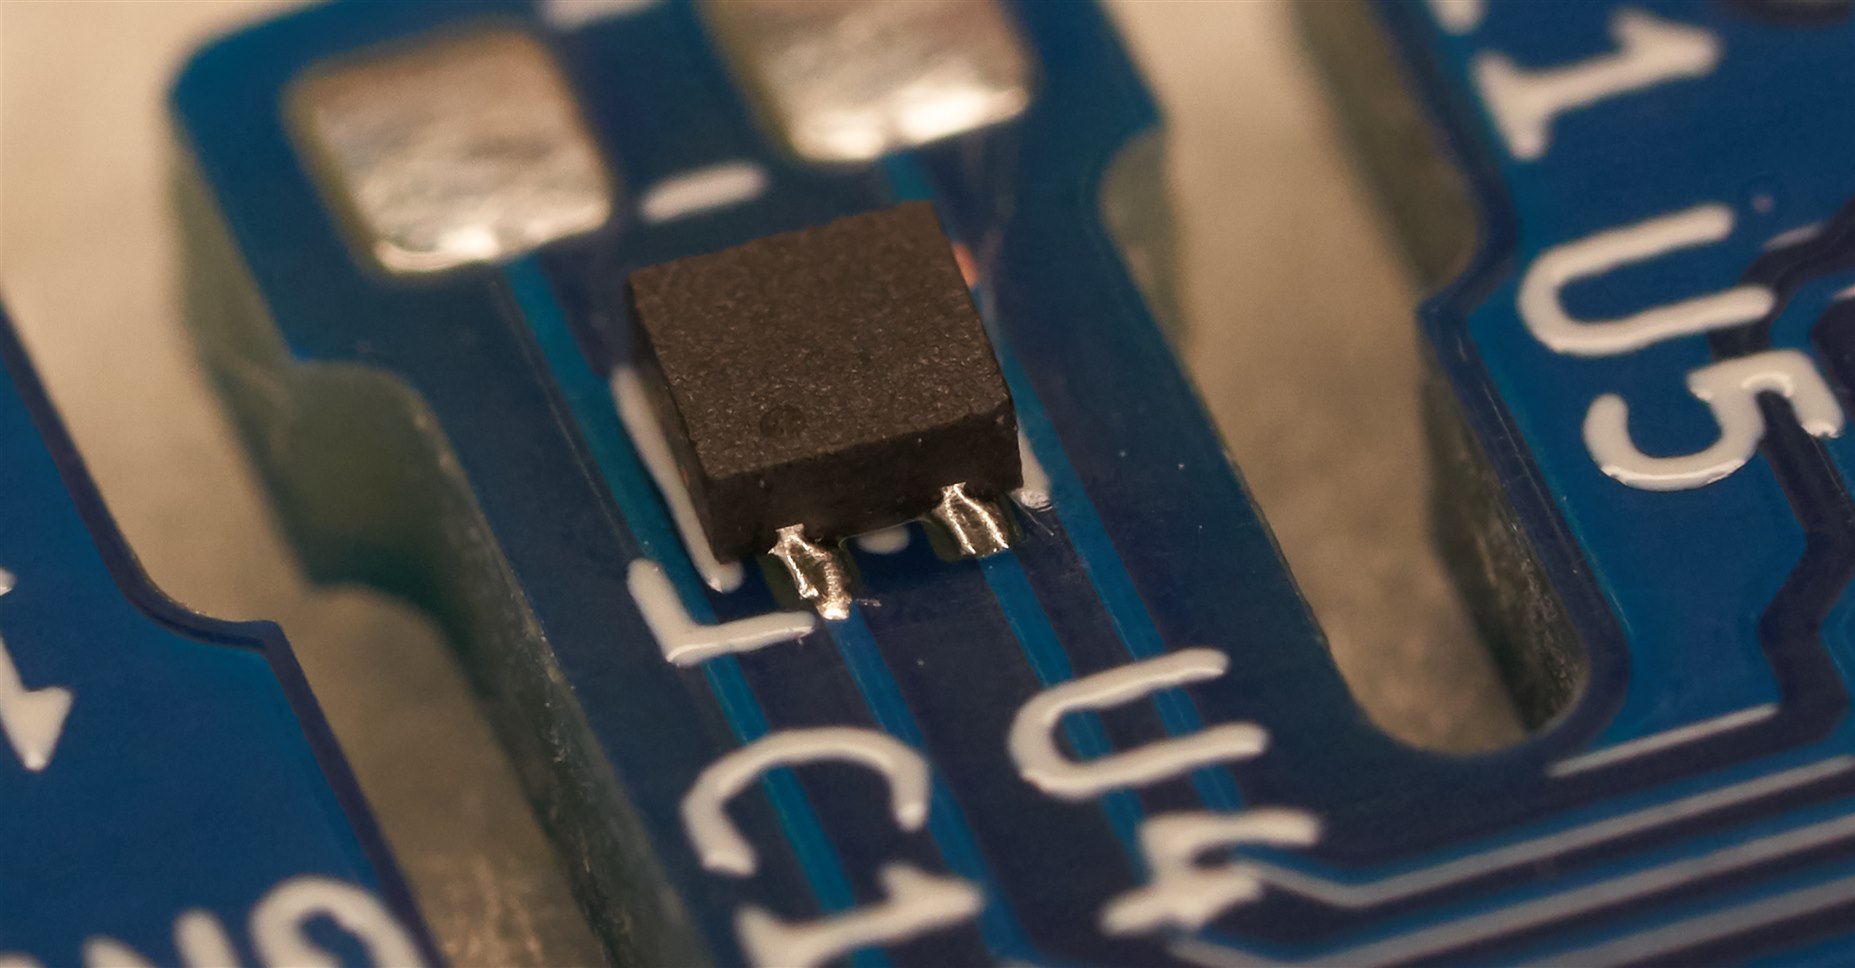
As you can see, it's a bit wonky, but nevertheless all the pads are soldered with no shorts, and that's all that matters for this part.
Summary
With not a lot of effort or cost, it is feasible to solder quite tiny parts, relying on surface tension and flux to manage the distribution of solder with no short circuits. Still, a fairly decent soldering iron and tip is needed, but they are not necessarily expensive these days. Particularly for a temperature sensor, you might want low thermal mass, and so using a small part might make the difference between merely an adequate solution or a (hopefully) better performing one.
Thanks for reading!

Top Comments
-

genebren
-
Cancel
-
Vote Up
+1
Vote Down
-
-
Sign in to reply
-
More
-
Cancel
-

shabaz
in reply to genebren
-
Cancel
-
Vote Up
0
Vote Down
-
-
Sign in to reply
-
More
-
Cancel
Comment-

shabaz
in reply to genebren
-
Cancel
-
Vote Up
0
Vote Down
-
-
Sign in to reply
-
More
-
Cancel
Children