


When I started with the electronics I scoured around my workshop to pull all the parts out of bins to see what I go, low and behold I had some items. But not sure how or if they will work I decided to go ahead with the project of getting the electronics together. I ordered some cheap parts as well and off to the races I went frantically trying to get things together. Finding out things didn't work and purchased items were not labelled correctly on the listings causing some issues.
Lets start with a breakdown of the parts I wanted to start with.
- Raspberry Pi 4 4GB
- Water pump 12v
- Flow Sensor
- 12v - 5v 3a dual USB step down converter
- 12v - 5v single USB step down converter
- 300w 12v powersupply
- toggle switch for one step down converter
- LED Grow lights 60w 16ft
- Fused box - 6 way blade fuse
- 12v relays
- 5v relays
- 4 port water valve relay 12v
- terminal blocks for 12v 5v and ground
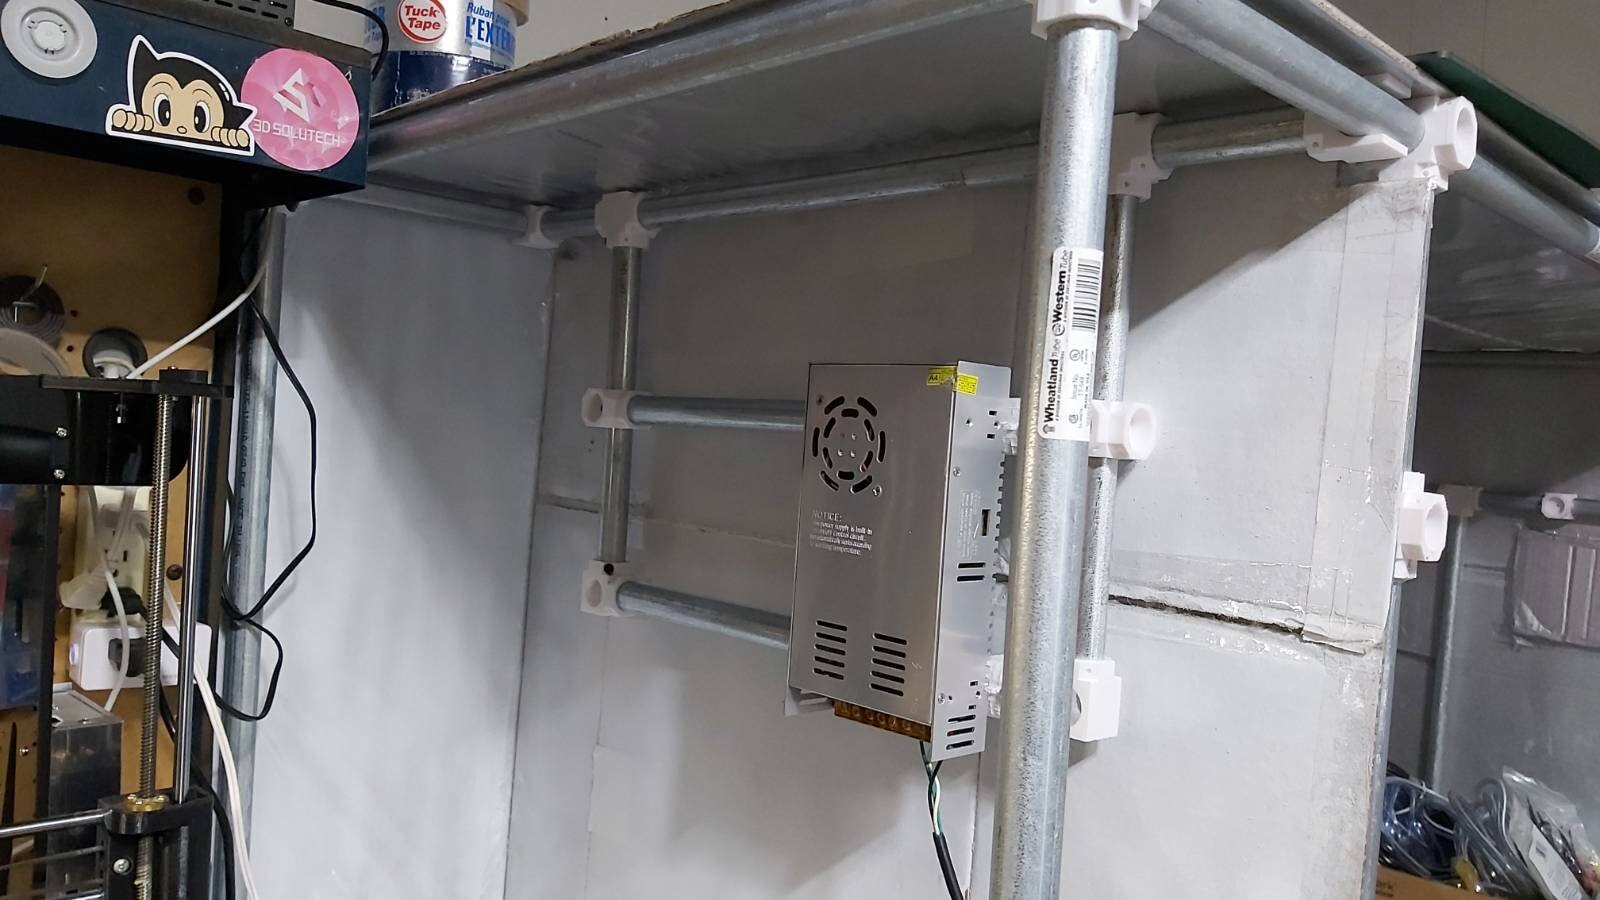
When I started I thought I was coming up with a great Idea that I would be able to 3d print panels to unit and have it work well. So I tried but made my prints to thin. Causing some issues and flexing and bending I used nylon standoffs on them but was far from happy with the results of what was actually produced the image in my head and what came out were two completely different things.
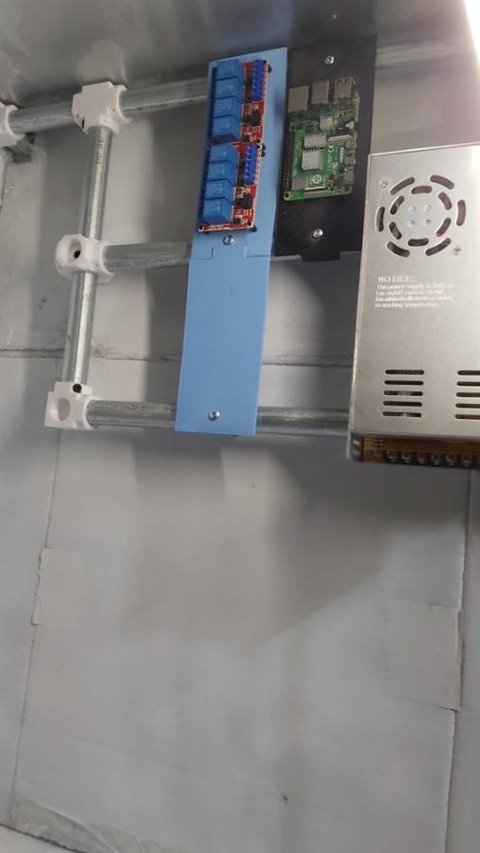
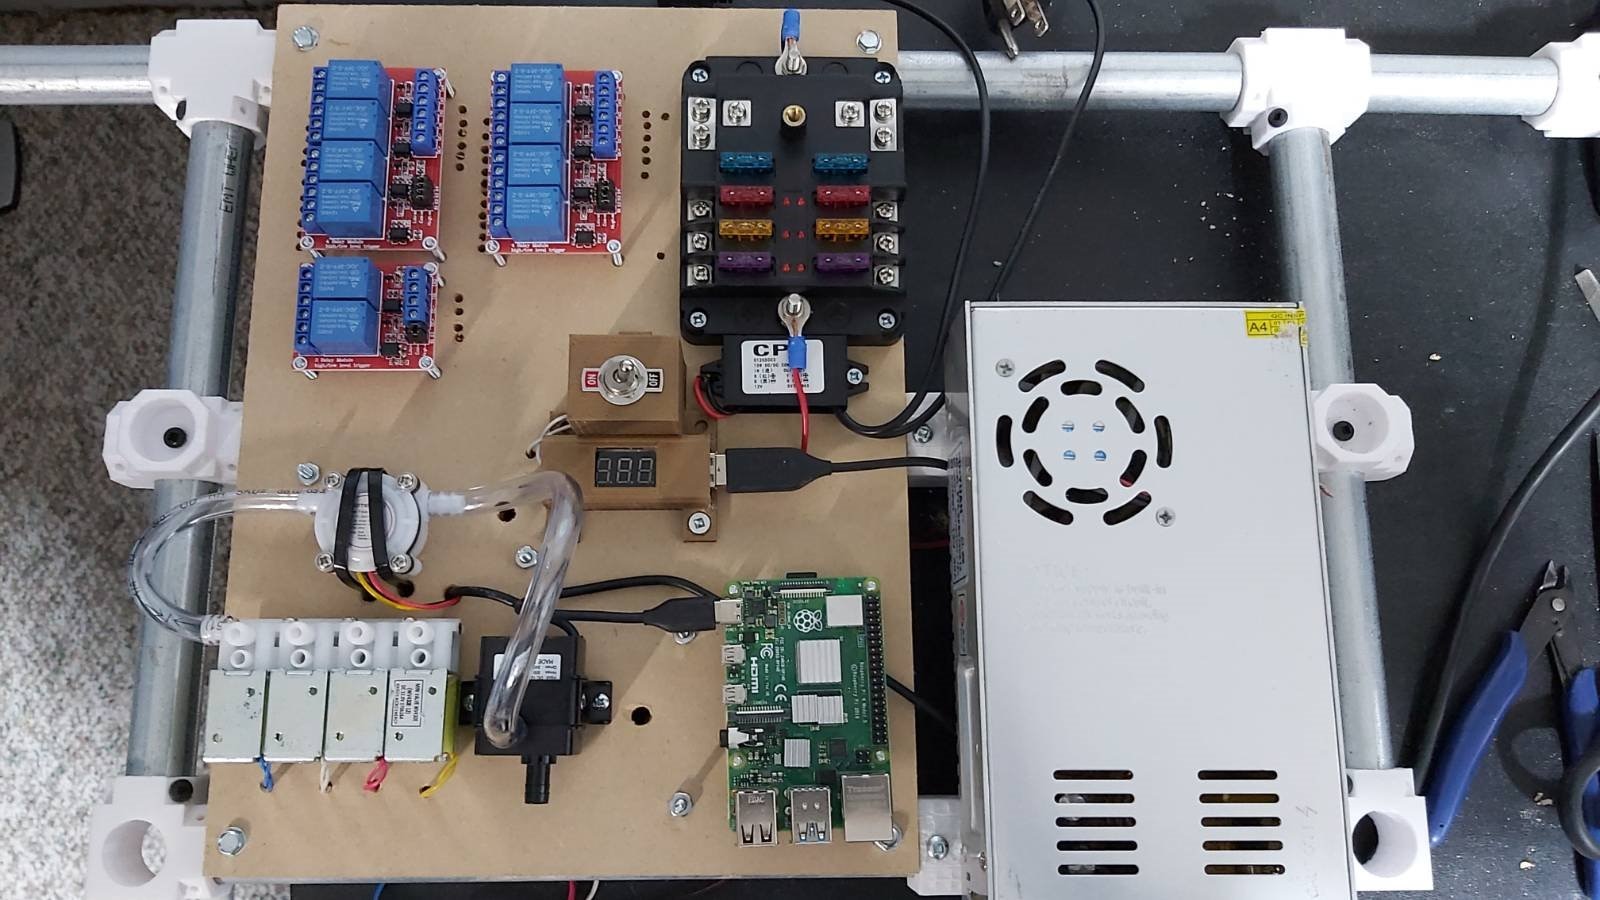
As you can see it wasn't what I was hoping but in theory it would work but due to the time it would take to print out new ones as the bar adapters where the longer portions of the print were now just a waste of filament so I opted for a scrap piece of wood that was laying around.
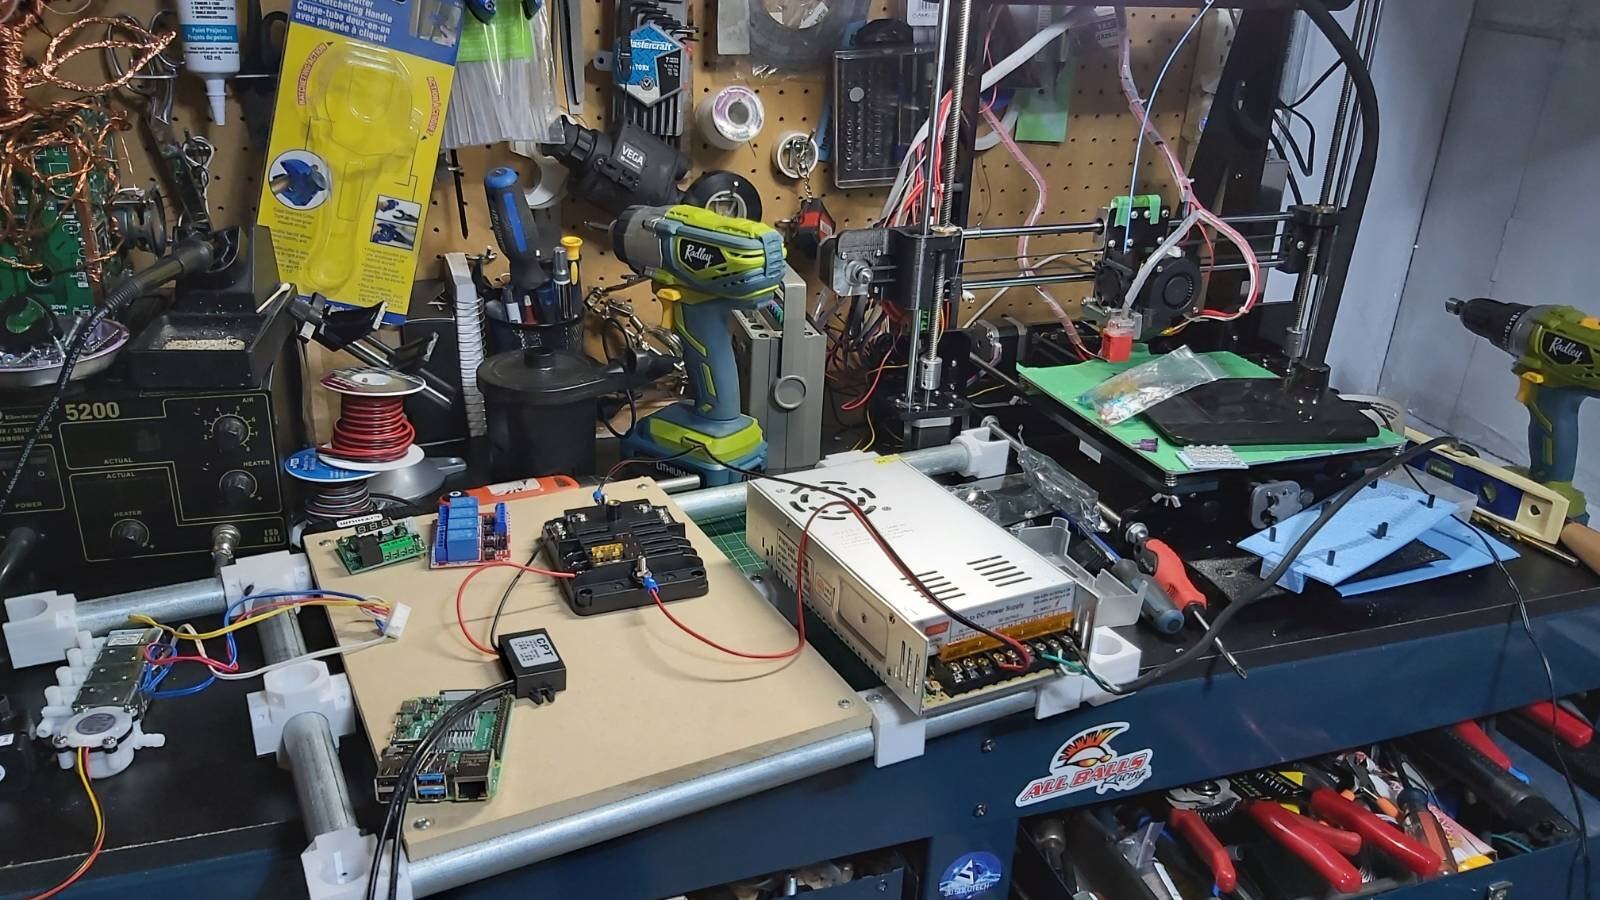
as you can see it certainly made more sense but at this point I was trying to figure out the best way to mount everything and route the wires. By route the wires I mean hide them all behind it in a big mess.
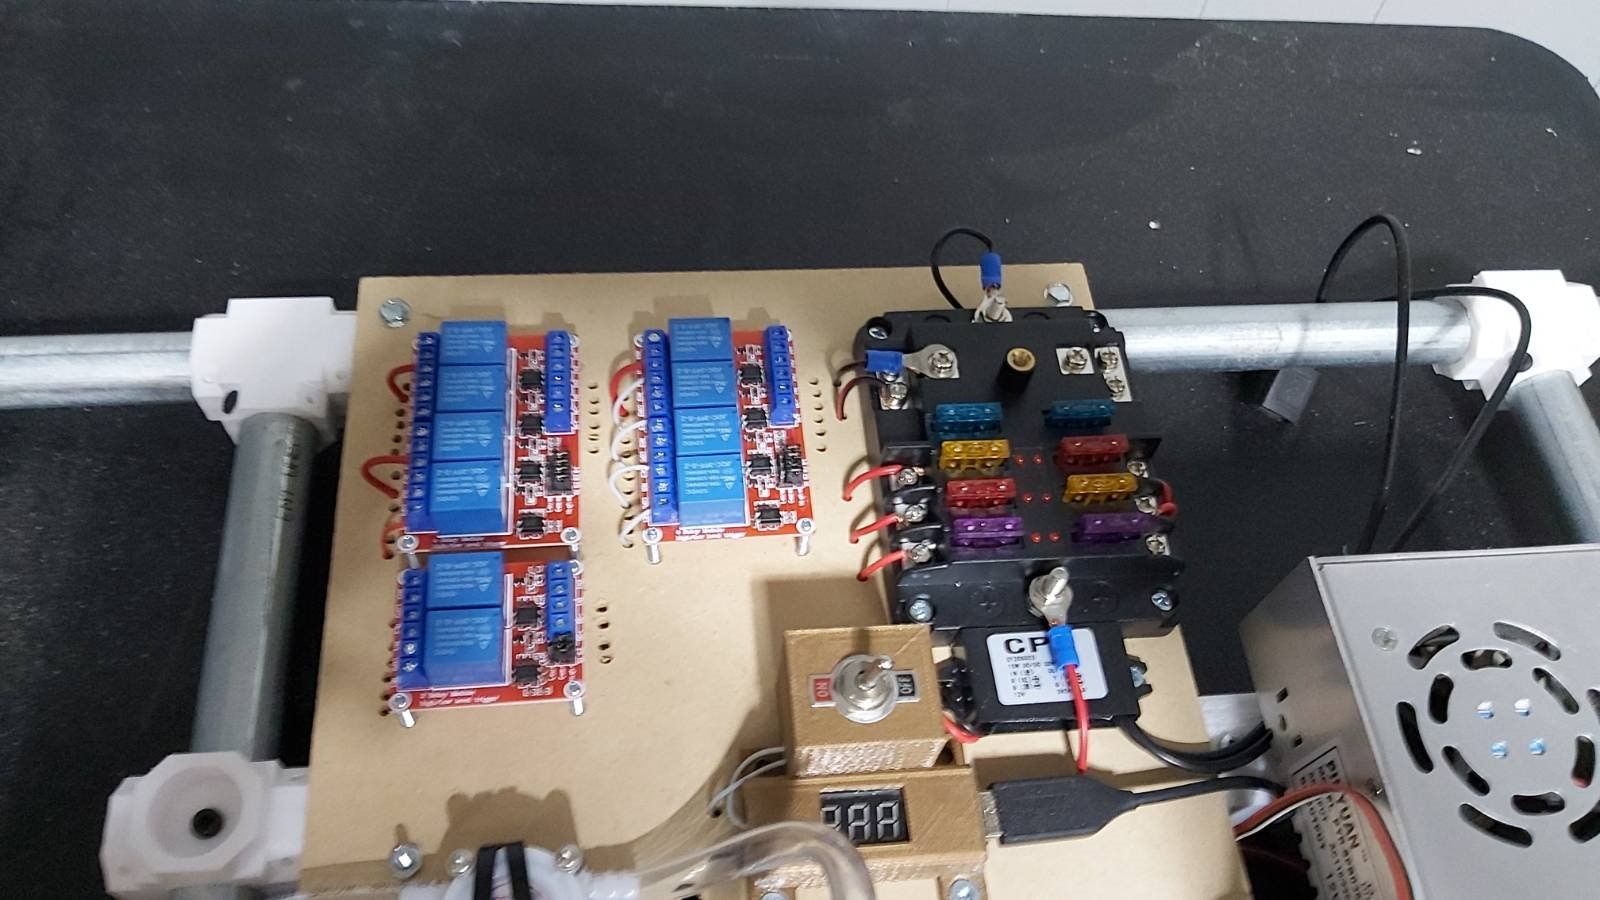
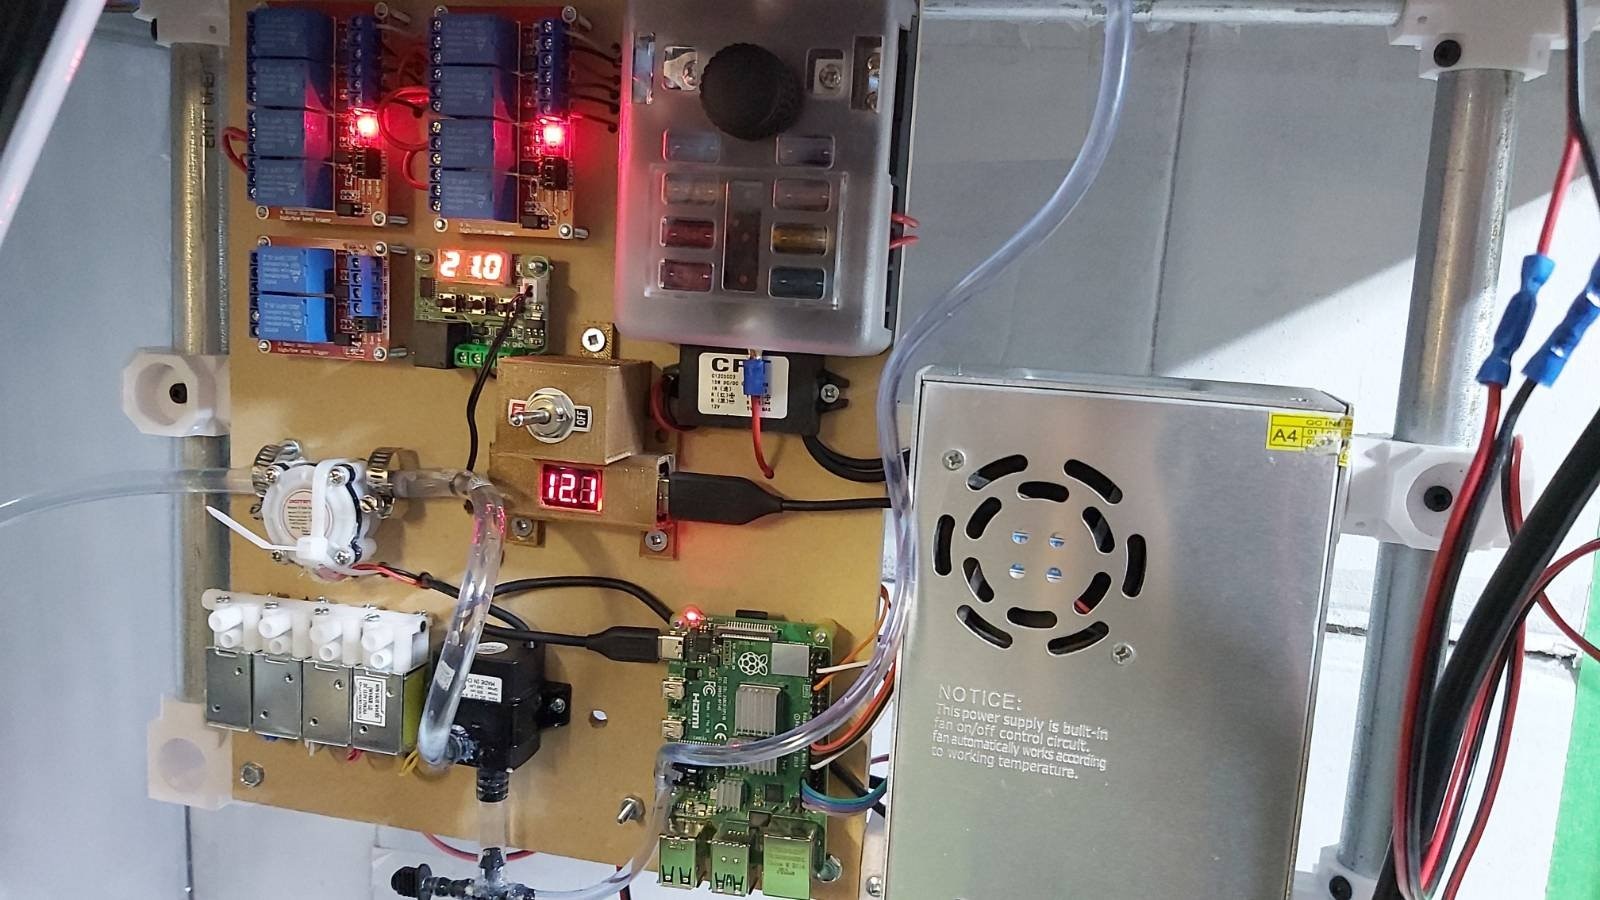
But it did manage to turn out looking pretty tidy which I was happy with everything was connected and ready to go ahead with the next parts testing out what would and what wouldn't work for me and I had to do it quickly. I posted a picture on Instagram this one here....
Someone pointed our right away that there was a gopro USB cable connected to it to the raspberry pi. Now the reason I went with this cable was because it was part of previous design challenge I had done and gotten it from that. So what better way then to use what I have and add a little something to personalize it in my own way then with the gopro cable to power the unit.
So it turned out pretty good I was happy with how it turned out but........ There was many obstacles and trials ahead.
When I planned it out I wanted to have the inside of the main growing area have a lower growing area and then a upper growing area which would have been nice but it wasn't going to work not without the water valve that I had purchased and later found out that it was only for air so now I had to come up with and idea to actually get water to the units without being able to control the zones. This right away put a stop to my upper idea since well today is the 1st of January and I am trying to get all my posts together and get things done. So really was zero time to order another solenoid to get things going. So there is leaks in the unit so I will probably pull it off and seal it up better and make it more air tight and possibly add an oxygen line to the system as well so I can add it into the atmosphere as well as the watering enclosure
I had a project I was going to do in the summer for outside growing and automation and well I just so happen to have one 12v solenoid kicking around.....well it was attached to my water reservoir for my outdoor project I had to pull it off to be able to complete the project.
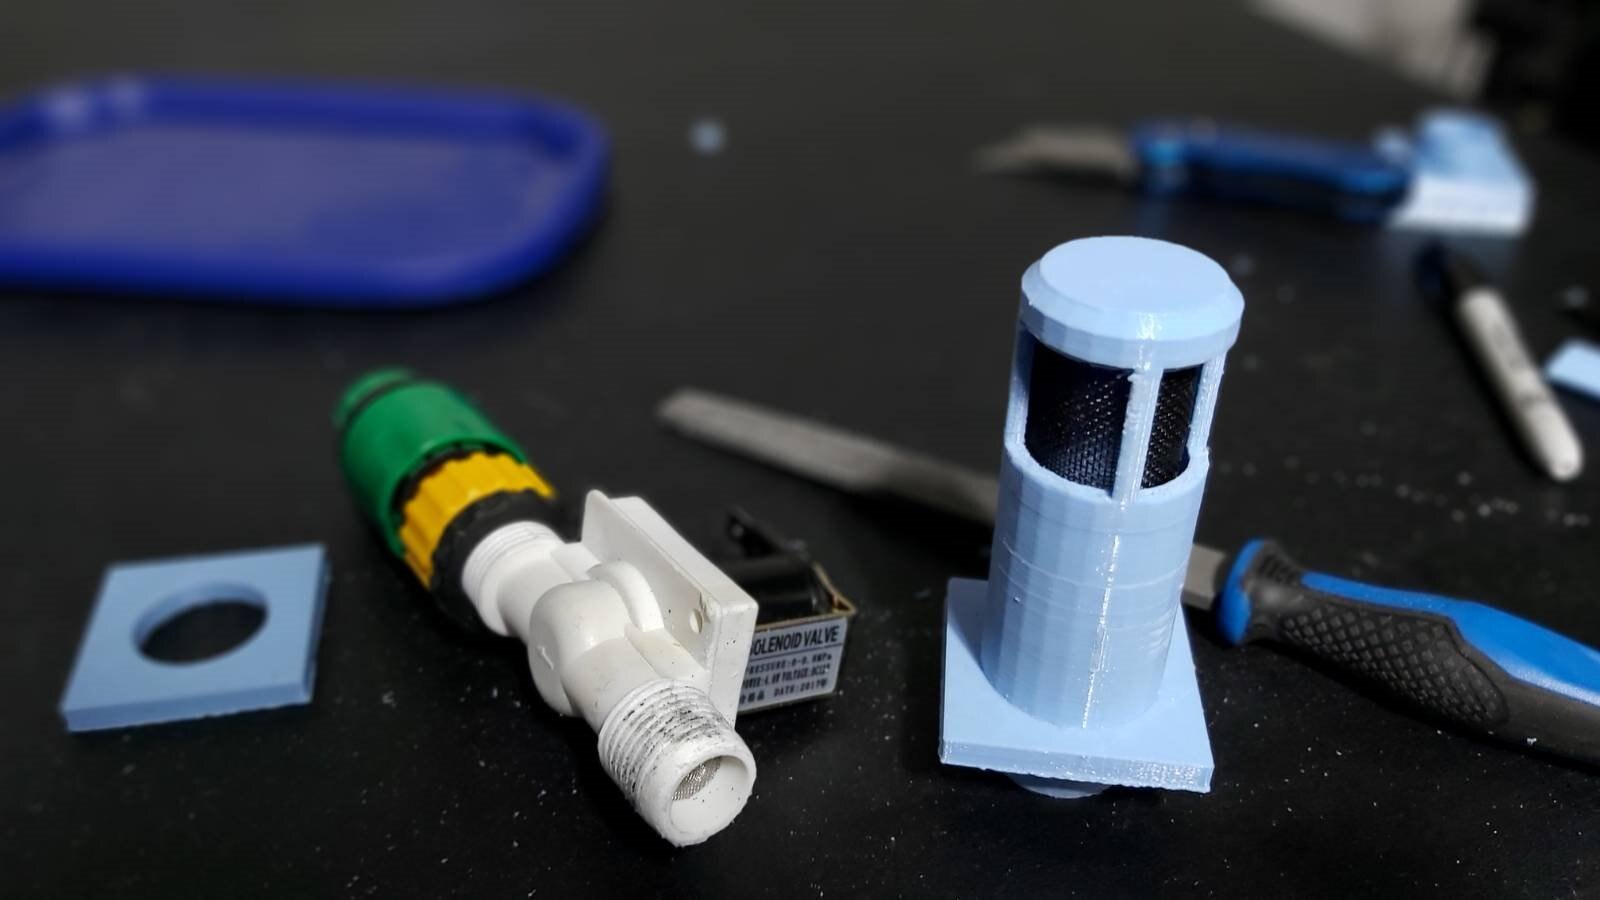
It's just your basic solenoid valve that you can get on any hobby site for cheap. But had I had more time I think I would have opted for something like this which after my first harvest I might upgrade it to this one here.
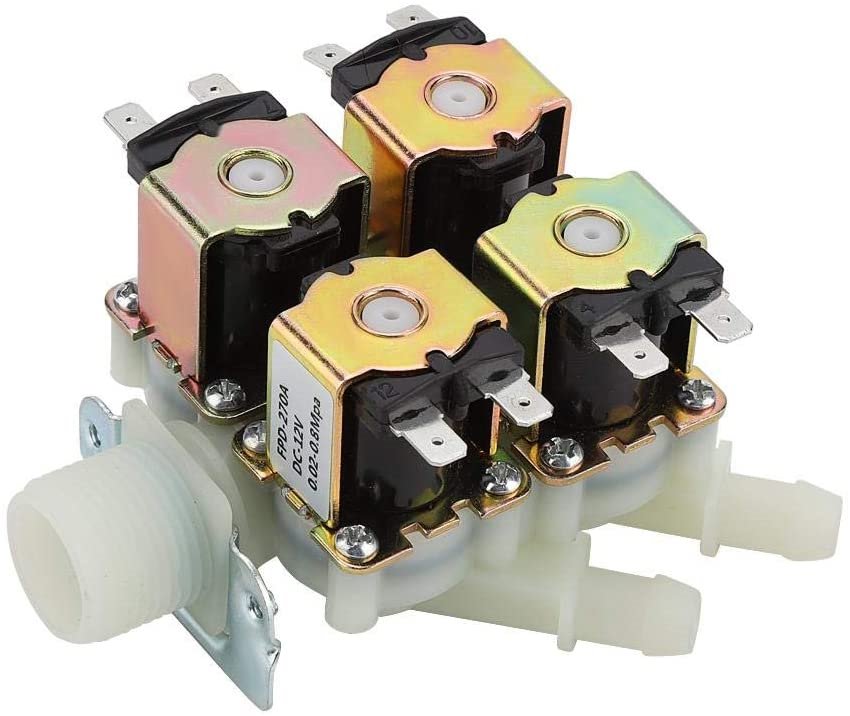
To me this would be a more ideal valve for my setup and since I got relays for days here I wouldn't have to worry about having to mount anything else as I already have enough extra relays installed on the unit.
So there is also a thermostat installed on the unit as well I thought I would show what I did there so I used one of these cheap guys here I bought a 2 pack for under 15 bucks Canadian so I was happy about it....if it did the trick.
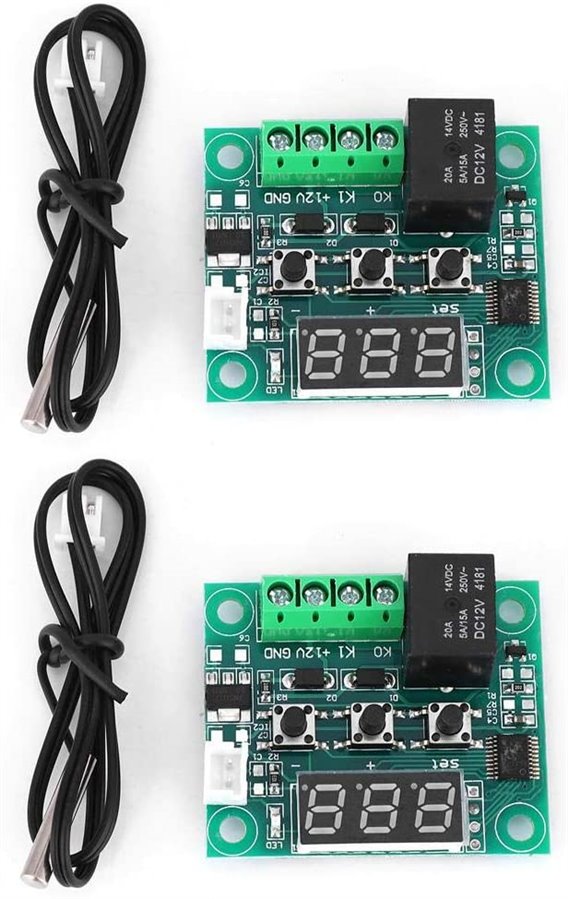
My initial thought was to use it with a a 12v car heater to keep the temperature at a certain level. Well.....with the lights on the temperature in the enclosure is about 23-24oC and at night when it's off its about 20oC but I didn't want it dropping below that since it is winter time and it is in my basement in a cold area as well anything to maintain the heat was good for me.
I do have dht11 sensors that will be installed and this can also be produced that way in the software as well if temp is lower then stated then heater relay turns on. But I wanted to make sure it was separate just in case there was a issue with the raspberry pi or something else the heating would still do its thing if required.
After realizing the power consumption of 12v car heater I didn't want to allow for more strain on the power supply then needed and also risk blowing a fuse as well. So what I ended up doing was getting one of these 5v USB heating elements. Now I was worried at first it wouldn't be sufficient enough But thought if need I would get something bigger. I was so wrong it worked and worked great it did. The worst part of the thermostat tho was configuring it directions were junk so I ended up having to play with it until I found out what each setting did and the main relay would click on when I required. Now after doing so I ended up searching youtube for a how to on it. Guess I should have done that from the start as it made a heck of a lot more sense once I did.

More stuff to come with the electronics and sensors ........
All 3d printed parts can be found here:
https://www.thingiverse.com/thing:4644039