element14 Community
element14 Community
    Register Log In
  • Site
  • Search
  • Log In Register
  • About Us
  • Community Hub
    Community Hub
    • What's New on element14
    • Feedback and Support
    • Benefits of Membership
    • Personal Blogs
    • Members Area
    • Achievement Levels
  • Learn
    Learn
    • Ask an Expert
    • eBooks
    • element14 presents
    • Learning Center
    • Tech Spotlight
    • STEM Academy
    • Webinars, Training and Events
    • Learning Groups
  • Technologies
    Technologies
    • 3D Printing
    • FPGA
    • Industrial Automation
    • Internet of Things
    • Power & Energy
    • Sensors
    • Technology Groups
  • Challenges & Projects
    Challenges & Projects
    • Design Challenges
    • element14 presents Projects
    • Project14
    • Arduino Projects
    • Raspberry Pi Projects
    • Project Groups
  • Products
    Products
    • Arduino
    • Avnet Boards Community
    • Dev Tools
    • Manufacturers
    • Multicomp Pro
    • Product Groups
    • Raspberry Pi
    • RoadTests & Reviews
  • Store
    Store
    • Visit Your Store
    • Choose another store...
      • Europe
      •  Austria (German)
      •  Belgium (Dutch, French)
      •  Bulgaria (Bulgarian)
      •  Czech Republic (Czech)
      •  Denmark (Danish)
      •  Estonia (Estonian)
      •  Finland (Finnish)
      •  France (French)
      •  Germany (German)
      •  Hungary (Hungarian)
      •  Ireland
      •  Israel
      •  Italy (Italian)
      •  Latvia (Latvian)
      •  
      •  Lithuania (Lithuanian)
      •  Netherlands (Dutch)
      •  Norway (Norwegian)
      •  Poland (Polish)
      •  Portugal (Portuguese)
      •  Romania (Romanian)
      •  Russia (Russian)
      •  Slovakia (Slovak)
      •  Slovenia (Slovenian)
      •  Spain (Spanish)
      •  Sweden (Swedish)
      •  Switzerland(German, French)
      •  Turkey (Turkish)
      •  United Kingdom
      • Asia Pacific
      •  Australia
      •  China
      •  Hong Kong
      •  India
      •  Korea (Korean)
      •  Malaysia
      •  New Zealand
      •  Philippines
      •  Singapore
      •  Taiwan
      •  Thailand (Thai)
      • Americas
      •  Brazil (Portuguese)
      •  Canada
      •  Mexico (Spanish)
      •  United States
      Can't find the country/region you're looking for? Visit our export site or find a local distributor.
  • Translate
  • Profile
  • Settings
Design For A Cause 2021
  • Challenges & Projects
  • Design Challenges
  • Design For A Cause 2021
  • More
  • Cancel
Design For A Cause 2021
Blog Design for A Cause 2021 - Health Monitoring in Home Utilizing IoT - Infrared Thermometer with ThingSpeak, Part 2 – Blog #8
  • Blog
  • Forum
  • Documents
  • Polls
  • Files
  • Mentions
  • Sub-Groups
  • Tags
  • More
  • Cancel
  • New
  • Share
  • More
  • Cancel
Group Actions
  • Group RSS
  • More
  • Cancel
Engagement
  • Author Author: guillengap
  • Date Created: 8 May 2021 9:08 PM Date Created
  • Views 662 views
  • Likes 3 likes
  • Comments 0 comments
  • pandemic
  • health monitoring
  • health care
  • ir thermometer
  • arduino_nano_33_iot
  • iot system
  • design_for_a_cause_2021
Related
Recommended

Design for A Cause 2021 - Health Monitoring in Home Utilizing IoT - Infrared Thermometer with ThingSpeak, Part 2 – Blog #8

guillengap
guillengap
8 May 2021

INFRARED THERMOMETER WITH THINGSPEAK, PART 2


THINGSPEAK IOT SERVER CONFIGURATION


In the steps below I show you how to configure our first application using the ThingSpeak IoT service provider.


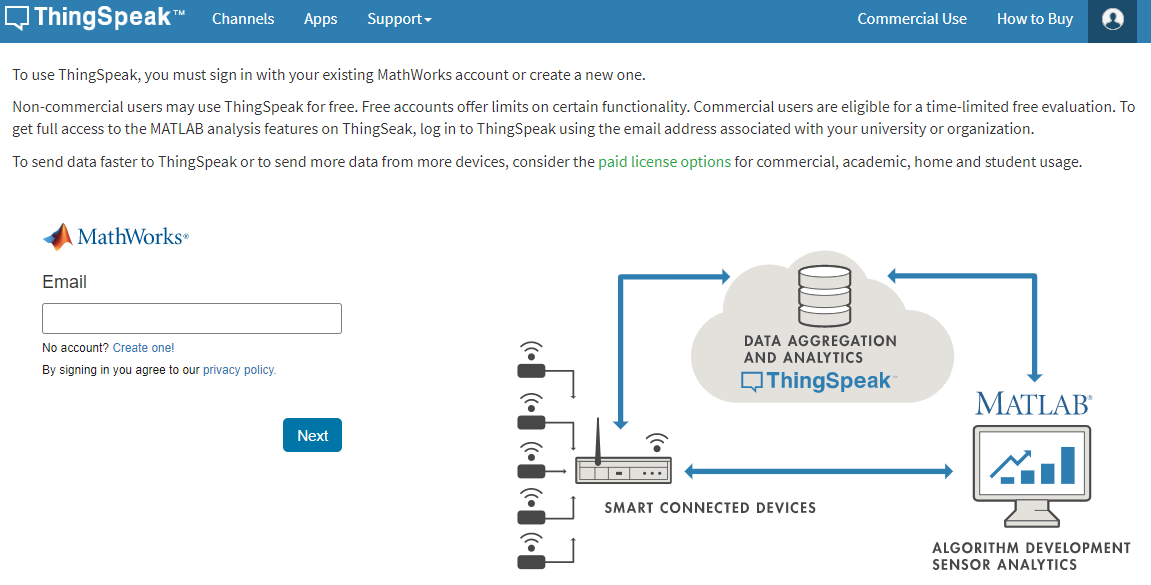
STEP 1.- First you have to open a free account on the official ThingSpeak IoT site: https://thingspeak.com/login?skipSSOCheck=true

image

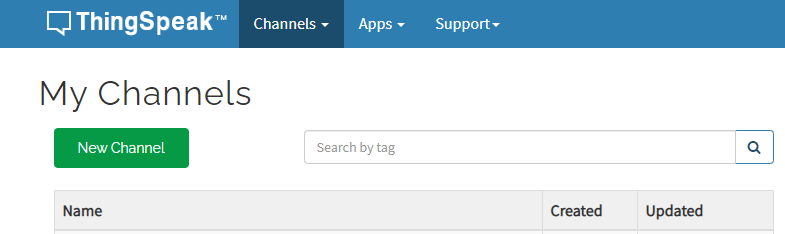
STEP 2.- Now is the time to create a new channel:

image

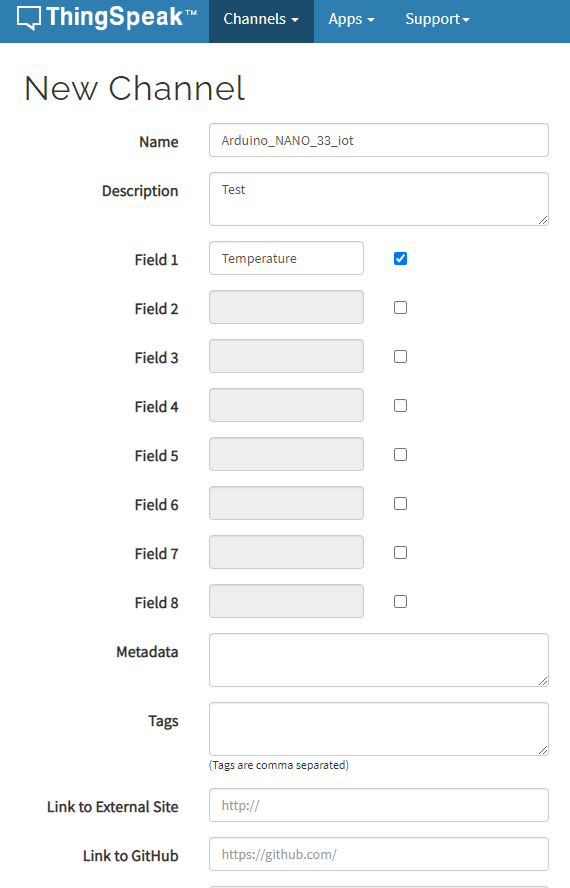
STEP 3.- Remember that the free license has a limit of four channels. Now we edit our channel with the data shown below:

image

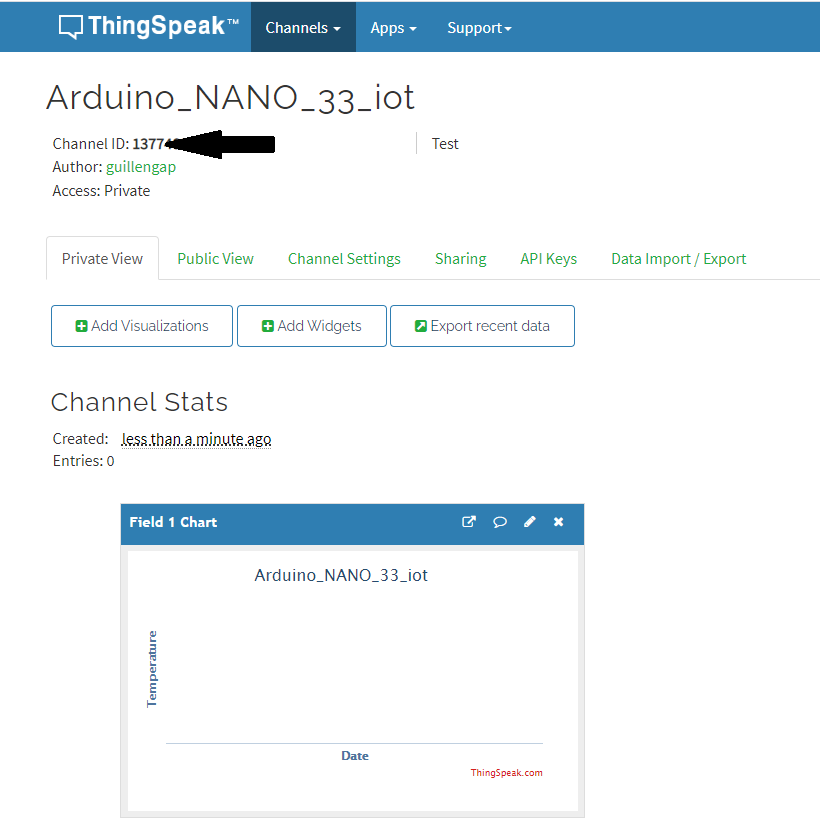
STEP 4.- Now we can see the visualization of our channel and the Channel ID value, which is useful in the previous chapter: Blog #7

image

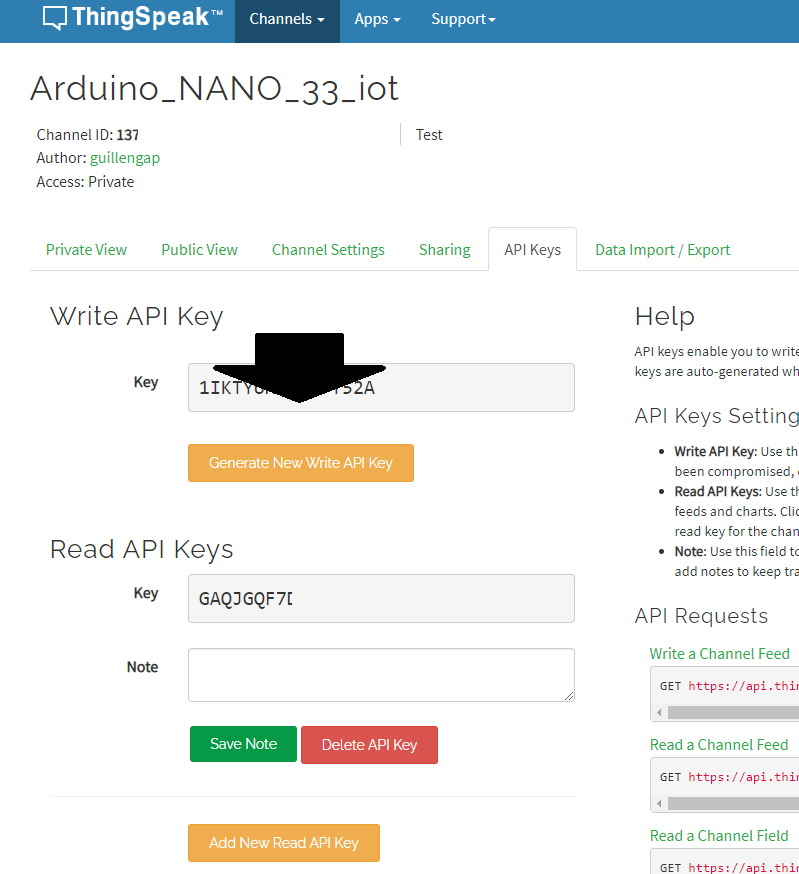
STEP 5.- In the API Key tab we see the "Write API Key", which will also be used in the previous chapter.

image

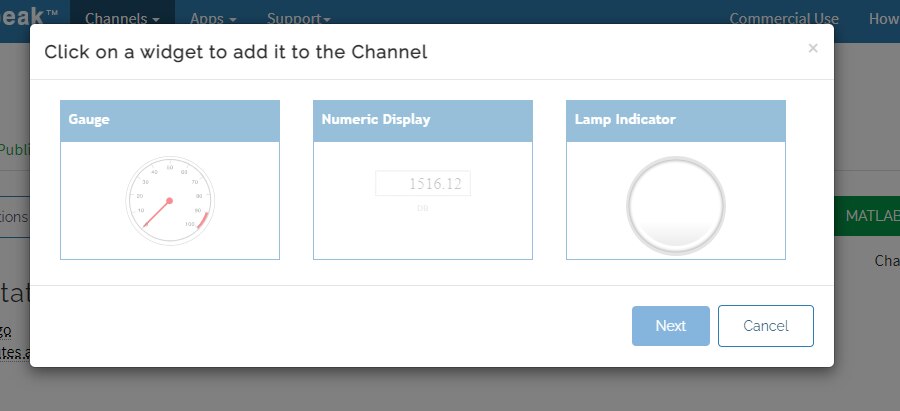
STEP 6.- Click on the gauge widget to add iit to the channel.

image

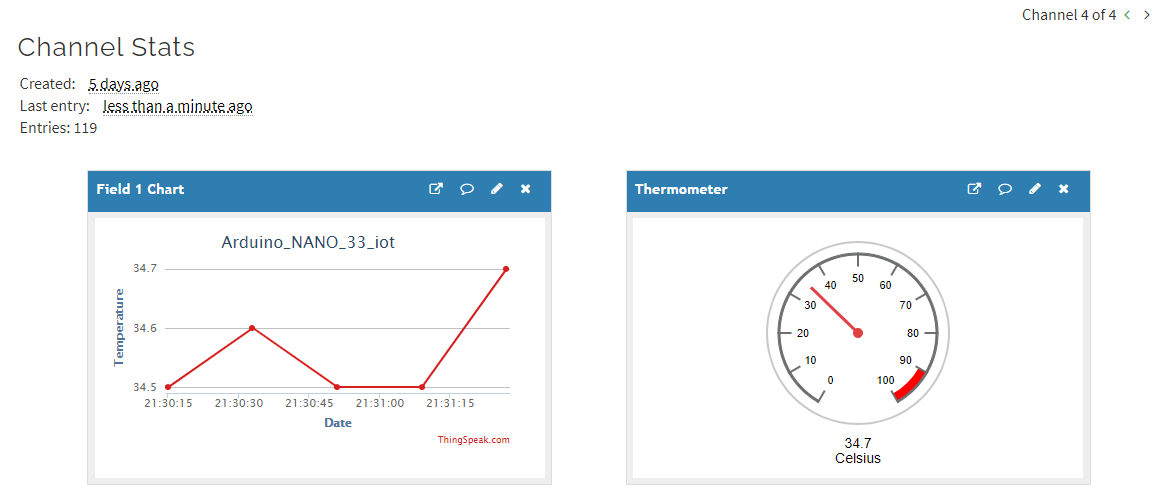
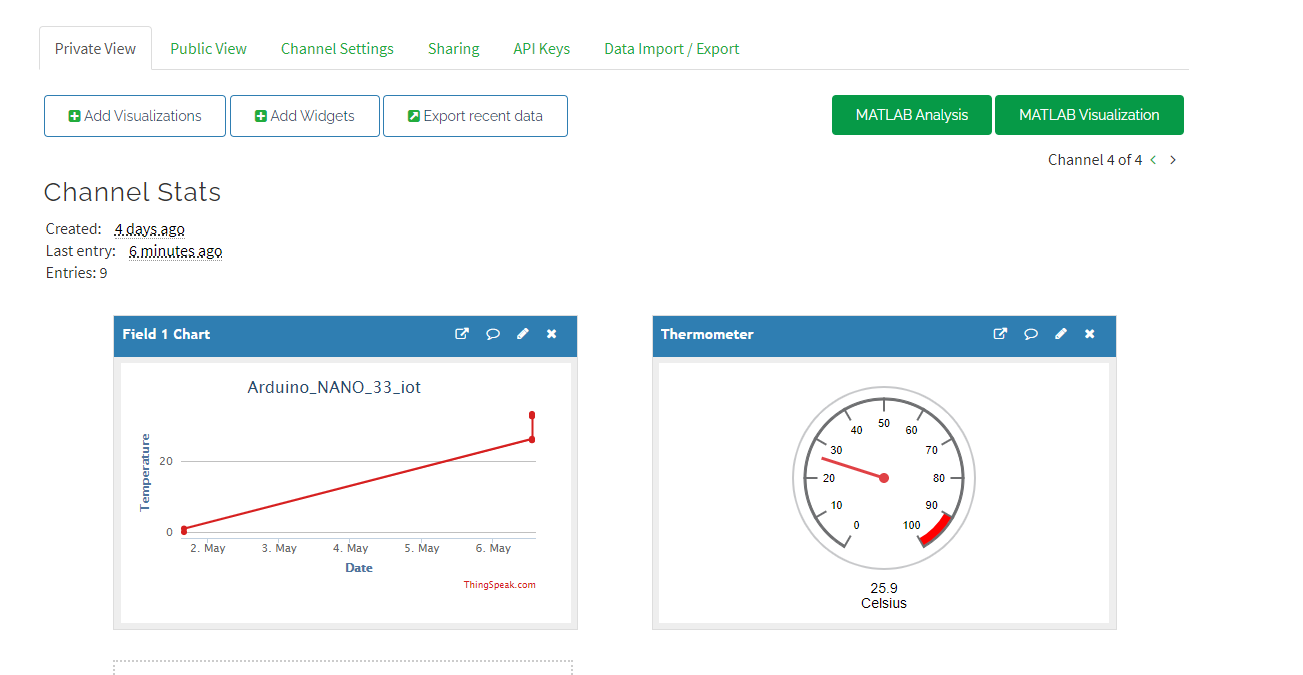
Finally, the image below shows how our work looks.

image

TEST

The video below shows the tests carried out with this IoT server.

You don't have permission to edit metadata of this video.
Edit media
x
image
Upload Preview
image


In the image below I show you a screenshot. In the image below we can see the measured temperature, on the left is the graphic visualization and on the right a gauge.


image

________________________________________

  • Click here for the main menu

  • Click here for the next post

  • Click here for the previous post

  • Sign in to reply
element14 Community

element14 is the first online community specifically for engineers. Connect with your peers and get expert answers to your questions.

  • Members
  • Learn
  • Technologies
  • Challenges & Projects
  • Products
  • Store
  • About Us
  • Feedback & Support
  • FAQs
  • Terms of Use
  • Privacy Policy
  • Legal and Copyright Notices
  • Sitemap
  • Cookies

An Avnet Company © 2025 Premier Farnell Limited. All Rights Reserved.

Premier Farnell Ltd, registered in England and Wales (no 00876412), registered office: Farnell House, Forge Lane, Leeds LS12 2NE.

ICP 备案号 10220084.

Follow element14

  • X
  • Facebook
  • linkedin
  • YouTube