


IOT SYSTEM WITH Thinger.io PLATFORM, PART 1
In this final part of my project, I'm going to explore the design of an IoT system that can serve the doctor who attends his patients remotely, since he will not only measure his patient's medical parameters but can also activate switches. for example a fan or an oxygen tank remotely through the internet of things. We start from simple things to more complex things as we will see below.
SIMPLE IOT PROJECT
Thinger.io is an open source iot platform, here we will find many free resources as we will see below. The first step will be to open a free account on thinger.io
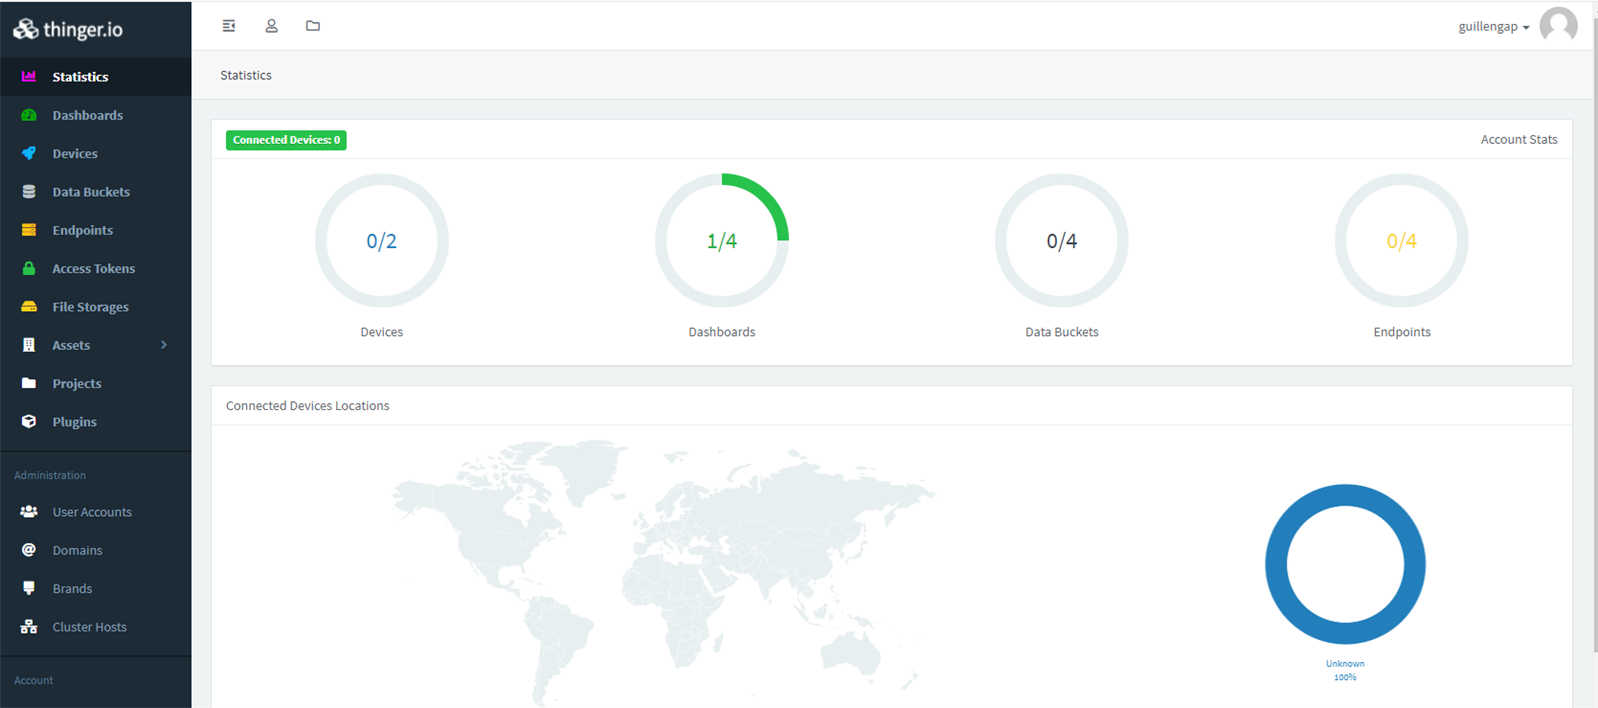
The console dashboard is shown below.
ADDING DEVICES
We go to the Devices section and click on Add Devices.

We click on the Add Devices button after filling in the "Device Id" and "Device Credentials" fields.
We type this data in our Arduino NANO 33 IoT board code as shown below: switch.ino
#define _DISABLE_TLS_
// other includes goes here
#include <ThingerWiFiNINA.h>
#define USERNAME "guillengap"
#define DEVICE_ID "SWITCH_ARDUINO_NANO_33_IOT"
#define DEVICE_CREDENTIAL "7%fV8d#44HvqaWsY"
#define SSID "*********"
#define SSID_PASSWORD "************"
ThingerWiFiNINA thing(USERNAME, DEVICE_ID, DEVICE_CREDENTIAL);
void setup() {
// configure wifi network
thing.add_wifi(SSID, SSID_PASSWORD);
pinMode(LED_BUILTIN, OUTPUT);
// pin control example (i.e. turning on/off a light, a relay, etc)
thing["led"] << digitalPin(LED_BUILTIN);
// resource output example (i.e. reading a sensor value, a variable, etc)
thing["millis"] >> outputValue(millis());
// more details at http://docs.thinger.io/arduino/
}
void loop() {
thing.handle();
}
NOTES:
You can download the code here: switch.rar
Don't forget to include our SSID and our SSID PASSWORD.
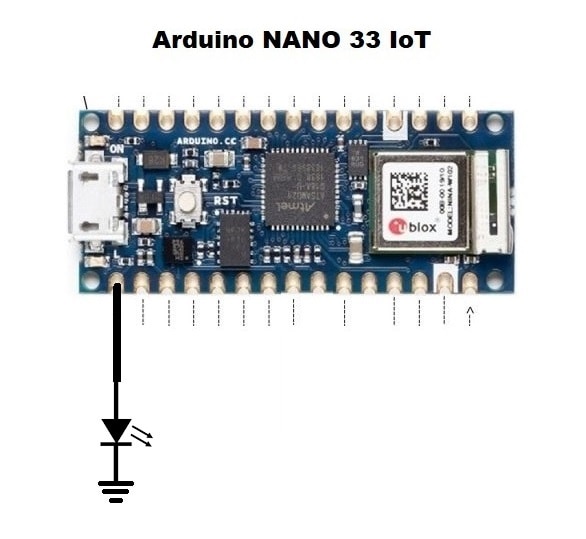
The electrical diagram is shown below.
The image below is shown to us after uploading the code on our Arduino NANO 33 IoT board:

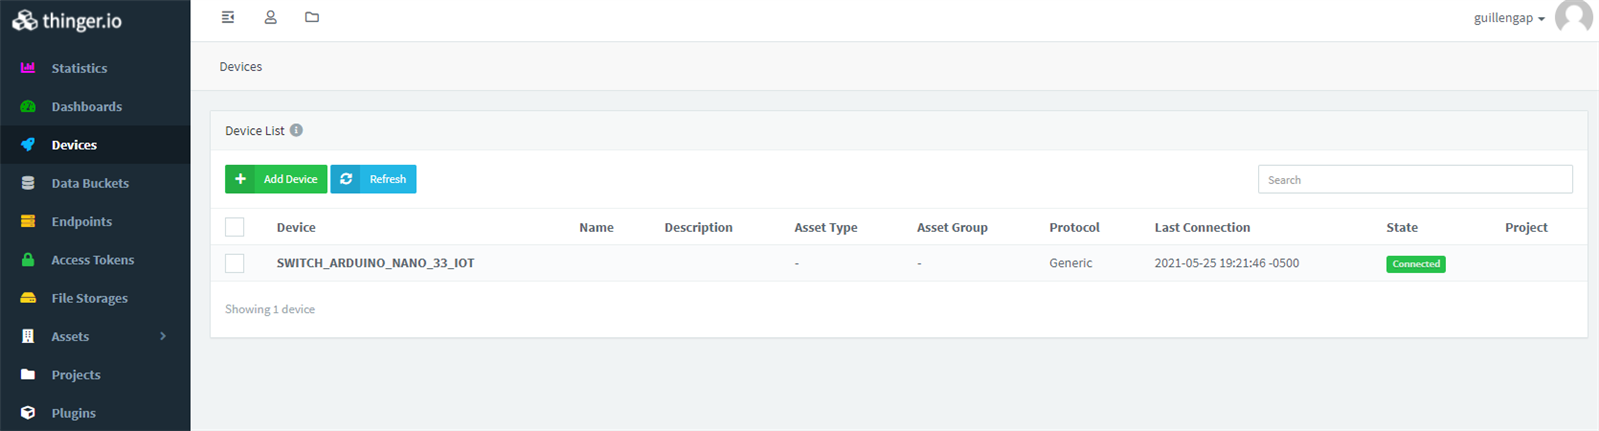
In our Devices section, we also see the connection established with our board.
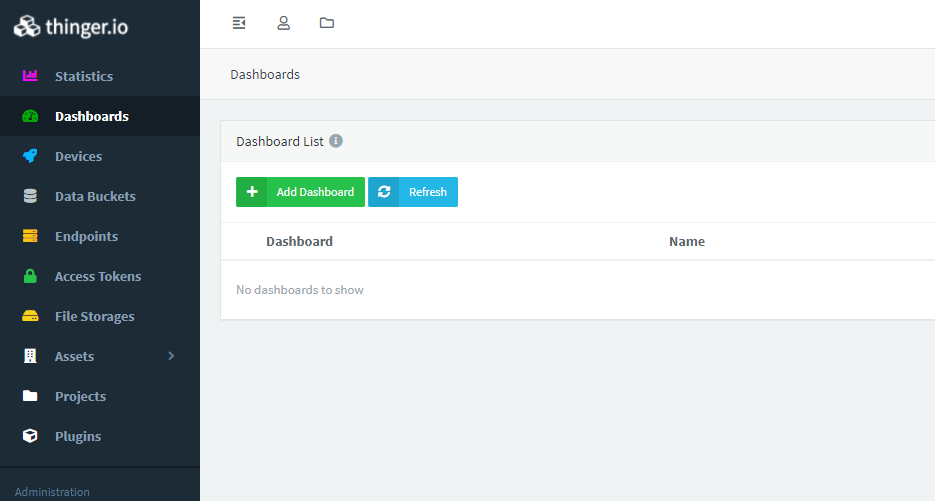
ADDING DASHBOARDS
Now we go to the Dashboards section, it is empty as we see below. Click Add Dashboard
As shown below, we fill in the following fields: Dashboard Id, Dashboard name, and Dashboard description.
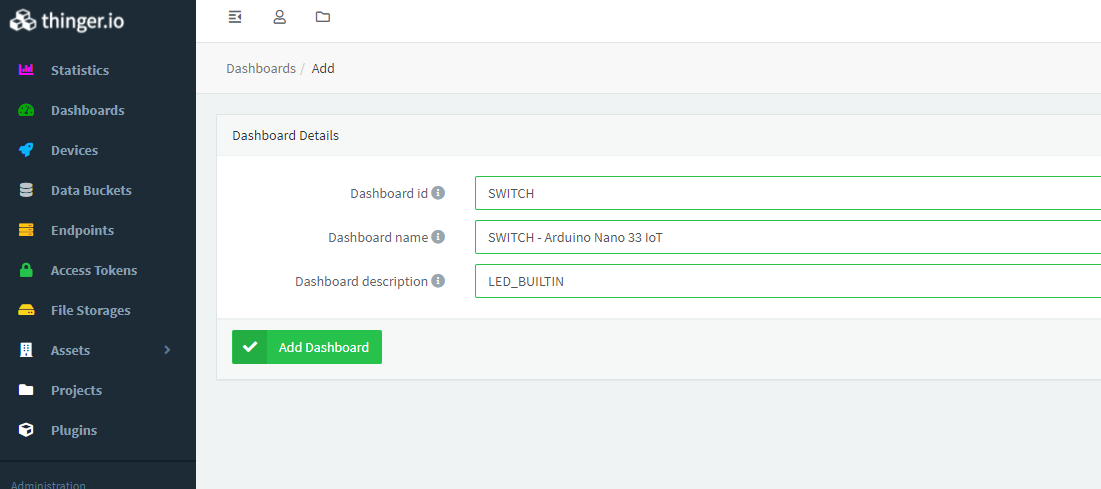
Click on the Add Dashboard button and the message below appears:
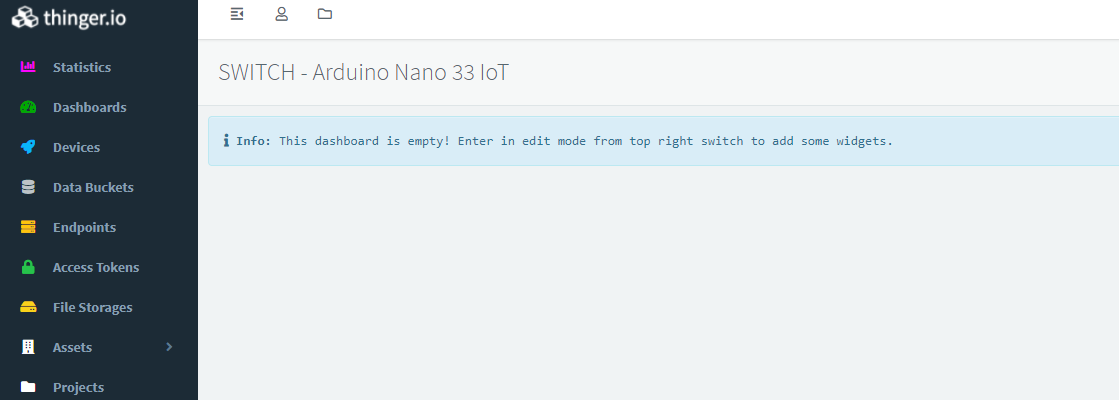
Info: This dashboard is empty! Enter in edit mode from top right switch to add some widgets.
ADDING WIDGETS
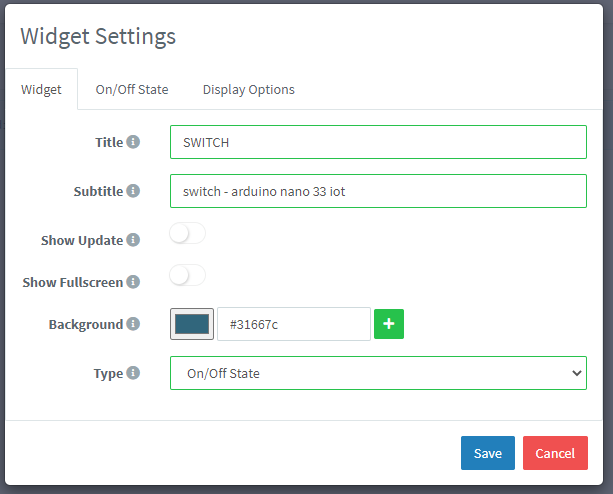
To enter the widget editing mode, we click the right button on our screen as shown below:

We fill in the next information in the "Widget" tab
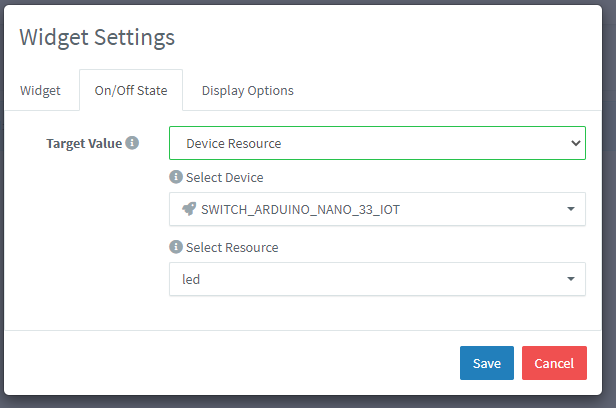
We fill in the next information in the "On/Off State" tab
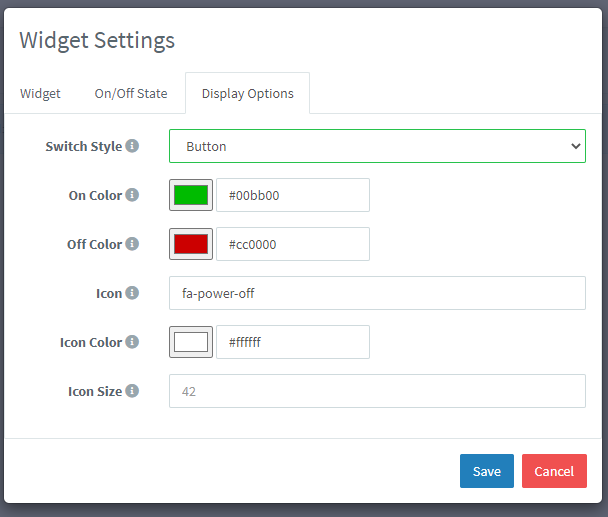
We fill in the next information in the "Display Optins" tab
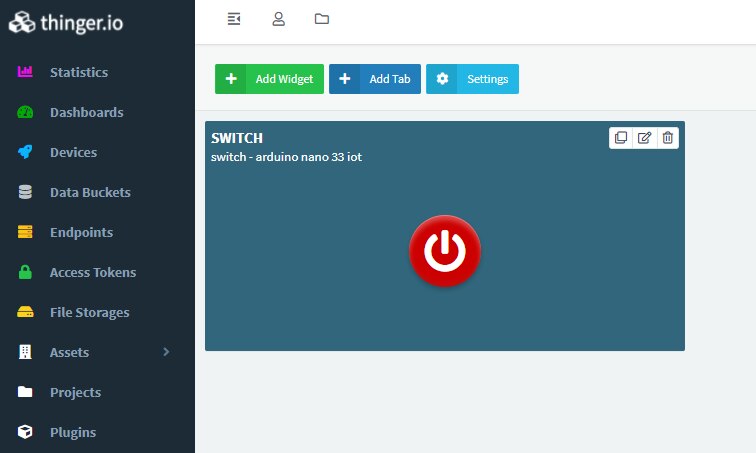
When we click on the Save button, we are shown the following image below with our button edited.
TEST
A test done with the PC is shown in the video below.
Finally we see in the video below a test made with the android application thinger.io