Intro
This design challenge is about protecting electronic systems in extreme environments. Hammond Manufacturing and element14 provided a weatherproof Hammond enclosure, a weatherproof Amphenol connector and some Raspberry Pi electronics and a Midas display to protect from extreme environments. Hammond had exercised one of their normal services to make a custom cutout in their enclosure to fit the Amphenol connector.
My project idea was to create a multi-camera system to monitor my backyard for signs of animals. I collected 4 Raspberry Pi camera modules and 4 more Hammond enclosures plus a Raspberry Pi Pico to drive the Midas display and a DC motor to pan one of the cameras.
The plan morphed a bit during the project to accommodate issues with delivery of some parts and some issues with the Compute Module 4 running cameras, but it still ended up with 4 working cameras streaming video to local browsers and having one camera able to pan the yard.. It even had the NoIR camera capturing images with just IR illumination.
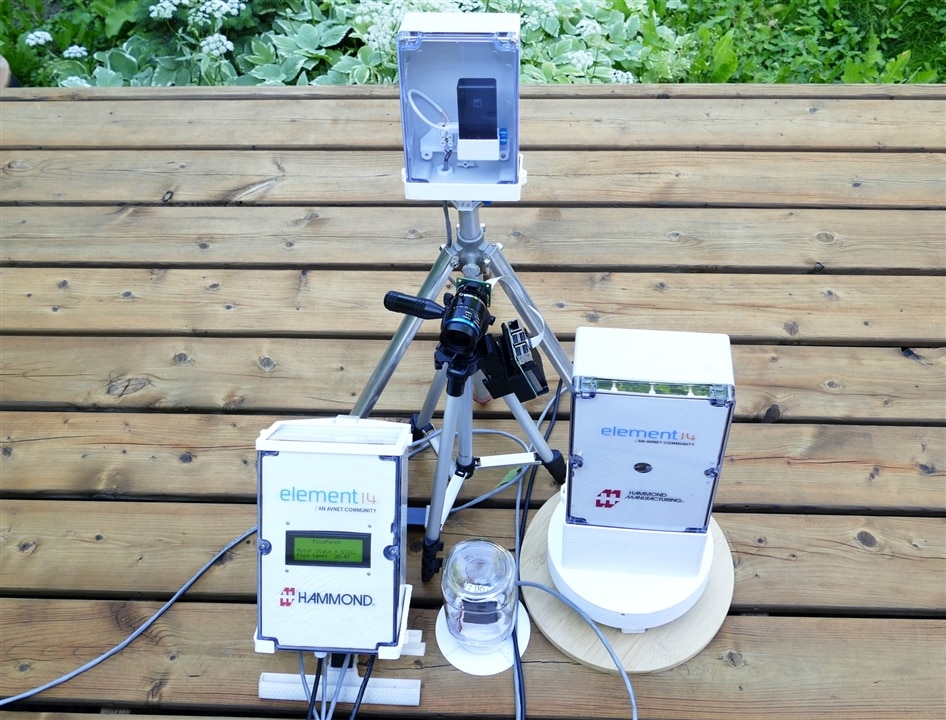
Group Photo - Four Cameras & a Motor Controller
Here is the abbreviated story of the project .... it would be too much to cram it all into this one blog but there is more detail in the other 11 blogs, hopefully just covering some of the highlights in this blog will keep it more readable:
System Overview Video
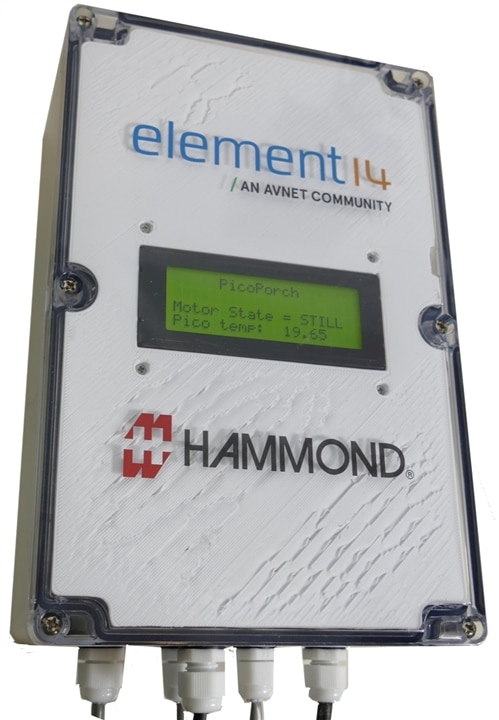
The PicoPorch Motor Controller and Temperature Display
The PicoPorch subsystem uses a Raspberry Pi Pico to control a panning motor for one of the cameras, and it also uses the Midas LCD to display the temperature. It is housed in its own Hammond enclosure along with the power supplies for all outdoor subsystems. It uses waterproof plastic glands to get cables out to all the other systems and to mains power. It has reeds switches to allow manual triggering of panning rotations without needing a waterproof switch.
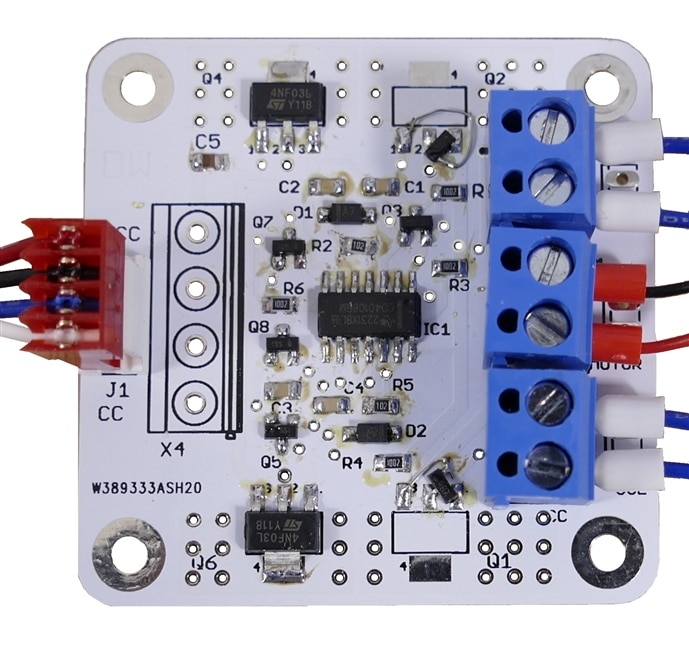
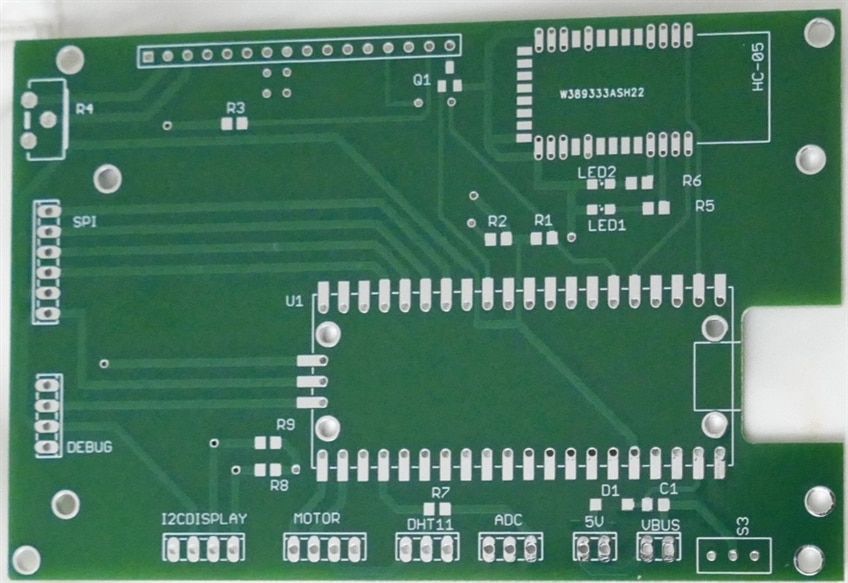
The Motor Controller PCB
The motor controller is a specialized H-bridge with shoot-through prevention and b-directional limit switch over-ride. The 2 limit switches cut power in one direction of travel when tripped.
The LCD PCB
The LCB PCB connects a Raspberry Pi Pico or Pico W to a Midas LCD. It also includes a connector to the above motor controller PCB. There are other interfaces as well to allow the card to be used in different applications.
Raspberry Pi Zero 2W + a Raspberry Pi Camera Module V2 + MotionEyeOS
There are two Pi Zero 2W modules, each connected to a camera. One is connected to a standard Pi Camera Module V2 while the other is connected to the NoIR version of the V2 camera. Both Pi Zero's are running MotionEyeOS.
MotionEyeOS Images
This first image is a screen shot of MotionEye monitoring 3 camaras at the same time. The camera on the left is a Raspberry Pi HQ Camera connected to a Raspberry Pi 3B. The middle image is from the Camera Module V2 mentioned above and the image on the right is from the NoIR camera mentioned above.The extra IR light allowed in to the No IR filter camera makes the image appear tinted red.

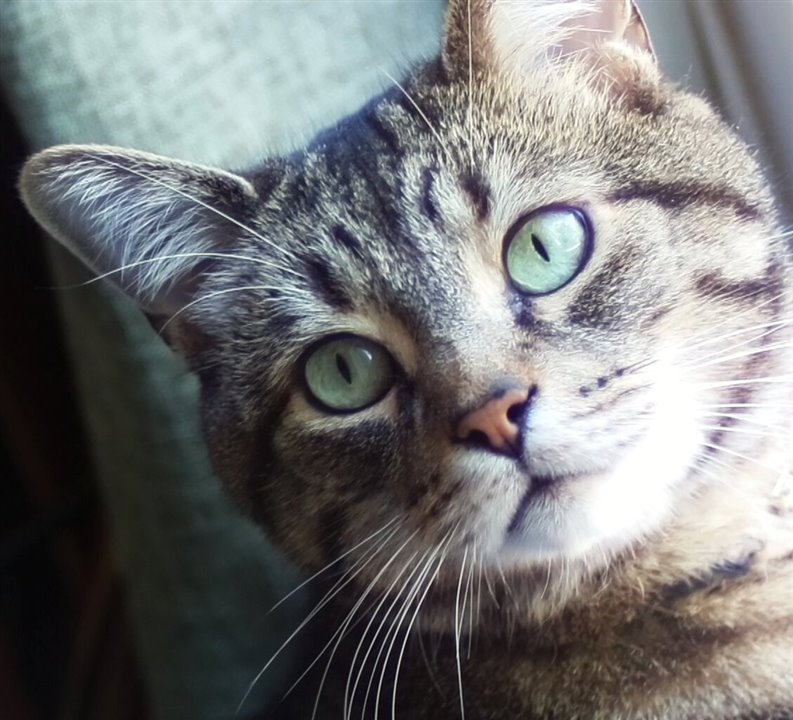
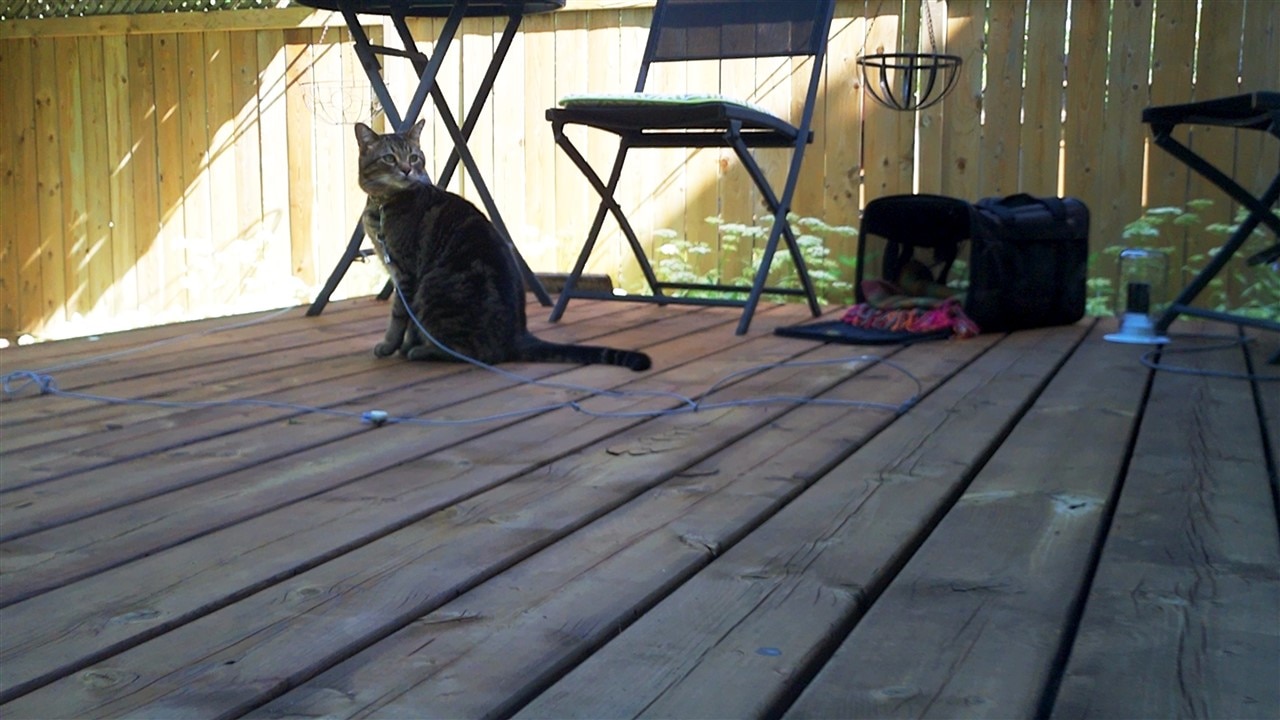
The image on the left below is captured from the standard V2 camera, while the image on the right is from the HQ camera (Nugget was curious about the system setup).
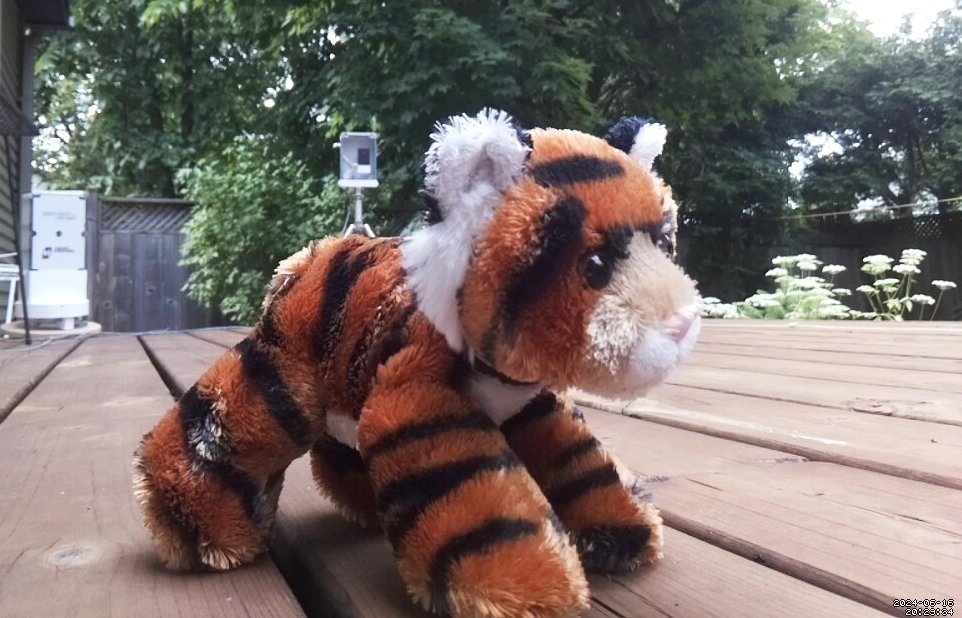
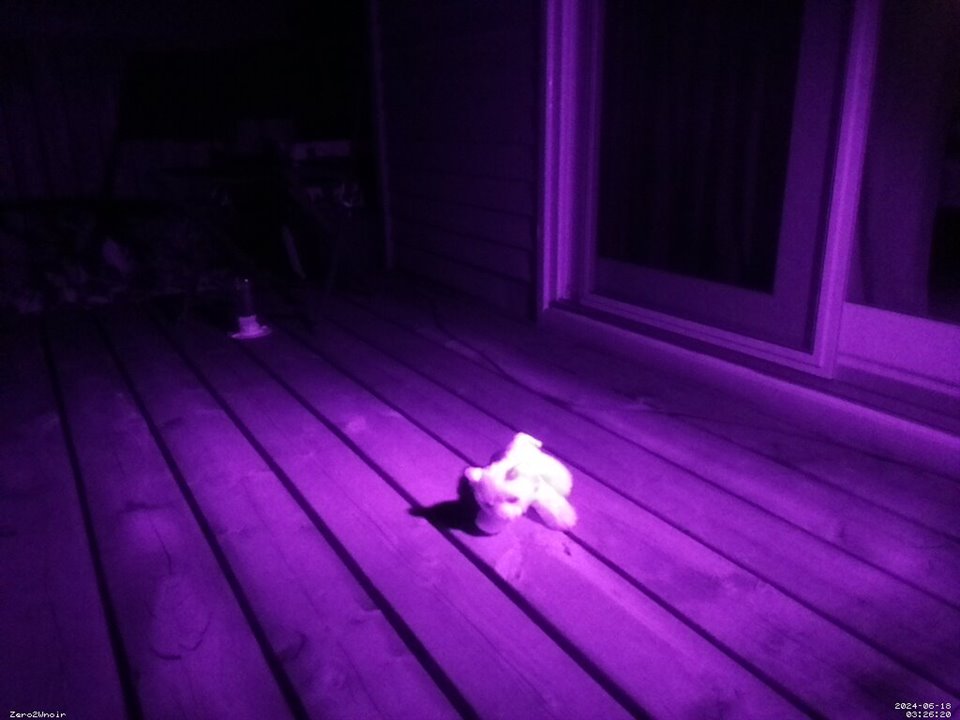
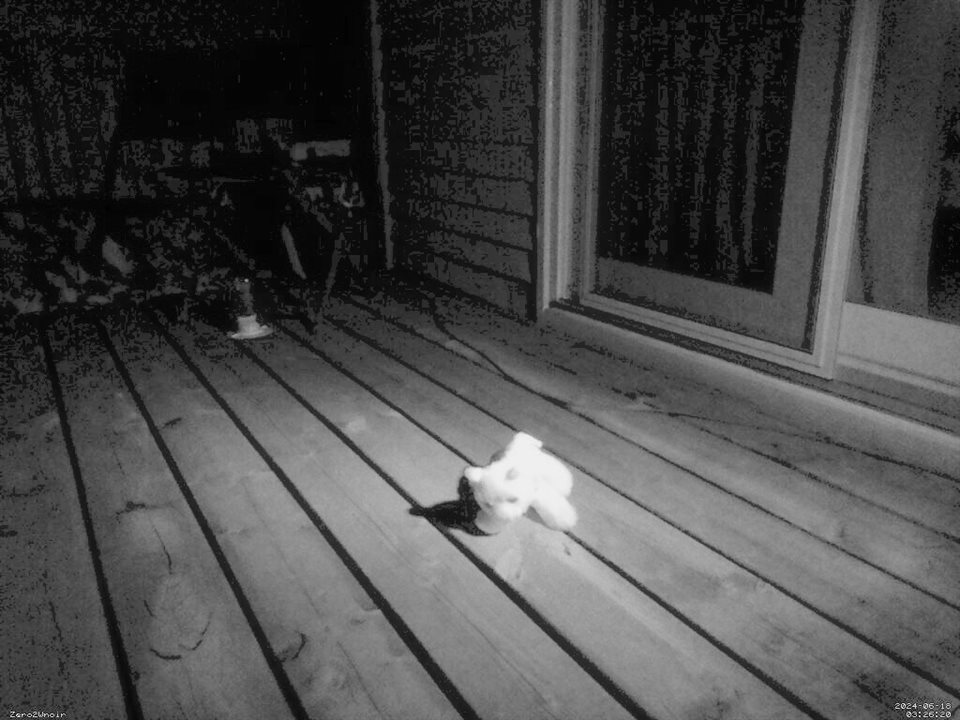
Pi NoIR Camera Image with IR Illumination (raw and processed)
Raspberry Pi 4B + a Raspberry Pi Camera Module V3 + WebUI - Lite
One of the large Hammond enclosures houses a Raspberry Pi 4B connected to a Raspberry Pi Camera Module V3 (with autofocus). This Raspberry Pi is running WebUI-Lite, which allows total control over camera settings, including autofocus. This enclosure is mounted on the panning mechanism controlled by the PicoPorch subsystem.
Camera Module V3 Images
The WebUI-Lite python app allows streaming video plus capture of images and downloading via Wi-Fi.
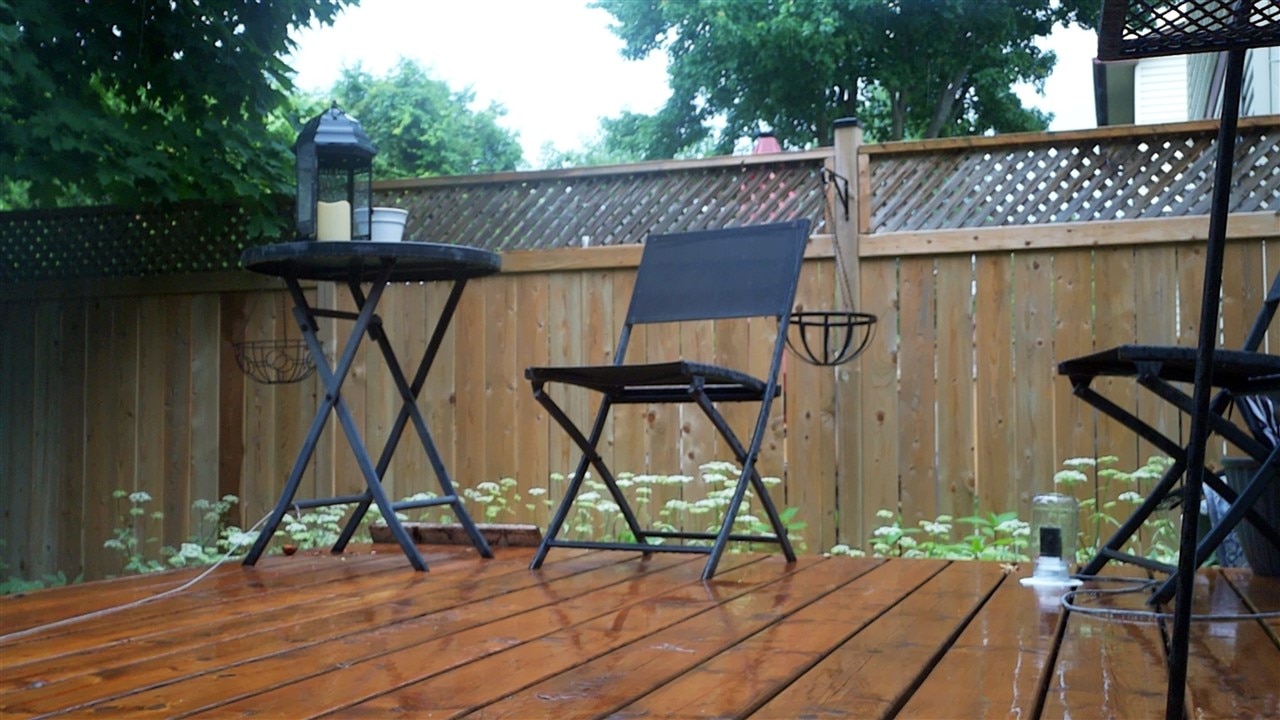
The image below was taken in the rain. There were a couple of heavy rainfalls during the week which did not hinder any system operations.
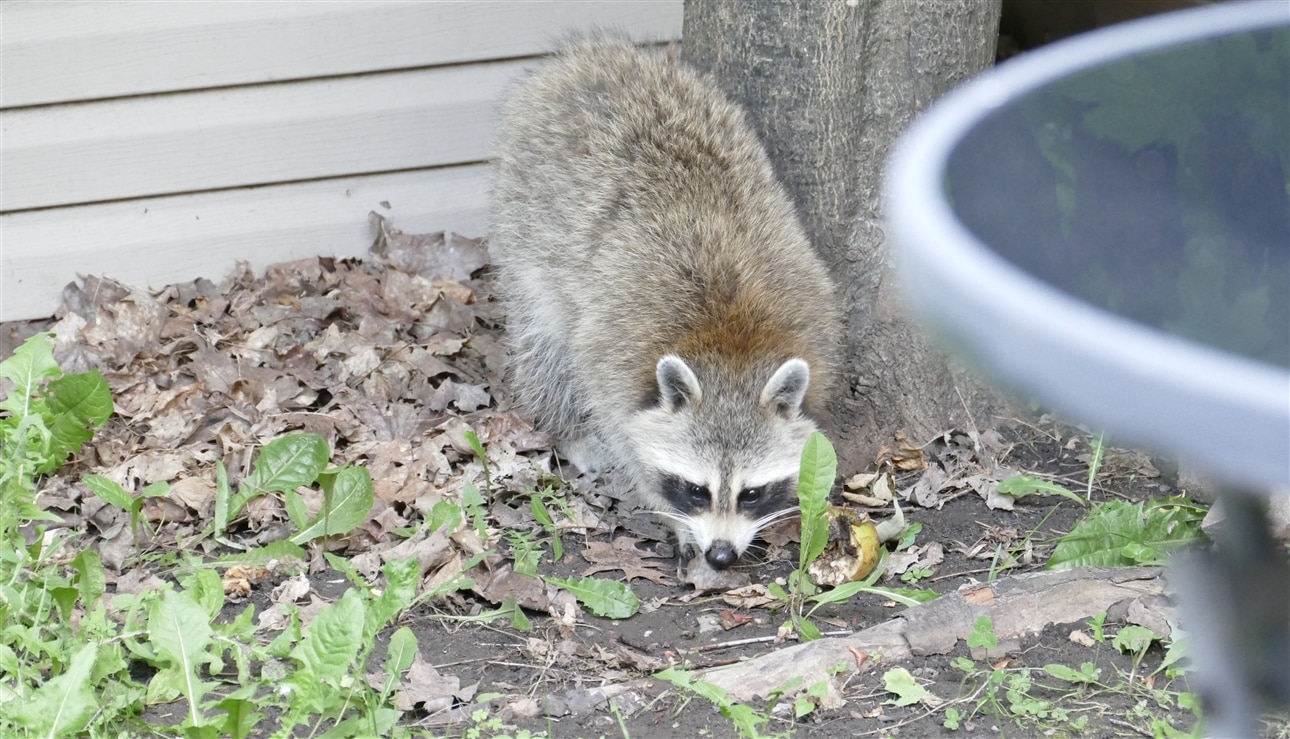
Animal - Racoon by the shed
This picture of a racoon was captured during testing of the system. He didn't hang around long so I was lucky to grab this image.
Camera Module 3 Panning
I took a quick video of WebUI while the Camera Module V3 was panning in response to reed switch activation:
Discussion
This project was quite a blast. I got to indulge in a lot more mechanical design than normal but the project still had lots of electronic design and software programming to make it a solid element14 project. This is the twelfth blog for this project and there were 14 videos before this blog. The project included work with 5 cameras, 5 Hammond enclosures, 6 Raspberry Pi computer modules, 2 custom printed circuit cards, and at least 31 3D printed parts. The Pi Camera V3 was not in the original block diagram, but I had ordered one in the hopes it would arrive in time to explore, and it did. It made up for the Pico W that did not arrive. There were lots of other miscellaneous parts as well, notably lots of wiring and connectors. I always like to design a printed circuit board for design challenges. In this case I designed 2 PCBs, but they get lost in the massive amount of other things going on in this project, especially the extensive amount of mechanical design of 3D printed parts. It was lots of work, and consequently very satisfying when the whole system successfully came together.
The actual theme is extreme environments and suitable enclosures .... In the introductory blog I indicated that my city experienced temperatures ranging from -38C to +38C, and guess what, today it hit +38C, which is quite unusual for June. It was actually a lot hotter than that inside the enclosures due to the Raspberry Pi's running inside, plus the direct sun loading. Actually the PLA bracket holding the Pi 4B sagged a bit due to the temperature. I was quite surprised none of the other PLA structures deformed at all, but the inside of that box was very likely hotter than anywhere else in the system and that bracket also has a significant weight on it.. However, all the Hammond enclosures had no trouble with the heat. They also handled several torrential downpours during the week without any sign of a leak. Although we didn't hit all the extremes during the week of testing, we definitely hit some and all the Hammond enclosures performed flawlessly. It definitely highlights some of the advantages of Hammond enclosures over 3D printed enclosures. A couple of other advantages are they have a better, more professional finish, they are stronger, much easier to work with and their clear lids are optically clear, which is essential for my camera applications and the LCD as well..
I would like to thank Hammond Manufacturing, Amphenol and element14 for the opportunity to participate in this design challenge. It has been a ton of fun and has kept me out of trouble for months.
Links:
- Garden Secrets System
- ComputeCam and PicoPorch - Early Muddling
- PicoPorch and ComputeCam - The Motor System
- PicoPorch - LCD PCB & Bezel
- PicoPorch power wiring
- PicoPorch Motor Controller Demo
- PicoPorch System Demo
- PicoPorch Final Touches
- Deep Dive On Kit Components
- Backyard Secrets 1
- MotionEyeOS Tutorial

