


#6 Person Detection with OpenCV--Final?Not Yet!
Table of Contents
1 Summary of the work
Throughout the building period, the challenges is exciting. There are five blogs showing how to build the project with DPU. But the times seems still not enough for right solution, FPGA DPU building and programming.
(+) Person Detection with yolo #1 Vision AI with Arty Z7 for Person Detection - element14 Community
(+) Person Detection with yolo #2 Software-->from Vivado to Vitis to Petalinux - element14 Community
(+) Person Detection with yolo #3 Vitis AI and DPU behind Arty Z7 - element14 Community
Import DPU in vivado and export xsa hardware definition file for vitis AI in petalinx, the move to pynq DPU for fast deployment.
2 Person Detection with OpenCV
The easiest solutoin is with OpenCV in Pynq v3.0.0. Here is the minor modification on demo ipython notebook file.
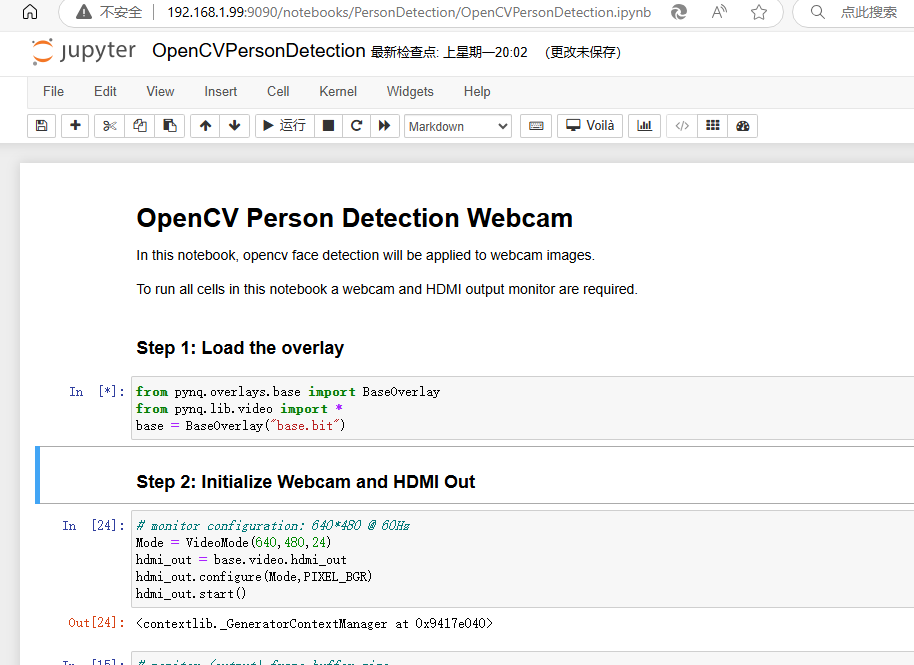
from pynq.overlays.base import BaseOverlay
from pynq.lib.video import *
base = BaseOverlay("base.bit")

# monitor configuration: 640*480 @ 60Hz
Mode = VideoMode(640,480,24)
hdmi_out = base.video.hdmi_out
hdmi_out.configure(Mode,PIXEL_BGR)
hdmi_out.start()

# monitor (output) frame buffer size
frame_out_w = 1920
frame_out_h = 1080
# camera (input) configuration
frame_in_w = 640
frame_in_h = 480

import os
os.environ["OPENCV_LOG_LEVEL"]="SILENT"
# initialize camera from OpenCV
import cv2

videoIn = cv2.VideoCapture(0)
videoIn.set(cv2.CAP_PROP_FRAME_WIDTH, frame_in_w);
videoIn.set(cv2.CAP_PROP_FRAME_HEIGHT, frame_in_h);
print("Capture device is open: " + str(videoIn.isOpened()))

# Capture webcam image
import numpy as np

ret, frame_vga = videoIn.read()

# Display webcam image via HDMI Out
if (ret):
    outframe = hdmi_out.newframe()
    outframe[0:480,0:640,:] = frame_vga[0:480,0:640,:]
    hdmi_out.writeframe(outframe)
else:
    raise RuntimeError("Failed to read from camera.")

# Output webcam image as JPEG
%matplotlib inline
from matplotlib import pyplot as plt
import numpy as np
plt.imshow(frame_vga[:,:,[2,1,0]])
plt.show()

import cv2

np_frame = frame_vga

face_cascade = cv2.CascadeClassifier('data/haarcascade_frontalface_default.xml')
eye_cascade = cv2.CascadeClassifier('data/haarcascade_eye.xml')

gray = cv2.cvtColor(np_frame, cv2.COLOR_BGR2GRAY)
faces = face_cascade.detectMultiScale(gray, 1.3, 5)

for (x,y,w,h) in faces:
    cv2.rectangle(np_frame,(x,y),(x+w,y+h),(255,0,0),2)
    roi_gray = gray[y:y+h, x:x+w]
    roi_color = np_frame[y:y+h, x:x+w]

    eyes = eye_cascade.detectMultiScale(roi_gray)
    for (ex,ey,ew,eh) in eyes:
        cv2.rectangle(roi_color,(ex,ey),(ex+ew,ey+eh),(0,255,0),2)


# Output OpenCV results via matplotlib
%matplotlib inline
from matplotlib import pyplot as plt
import numpy as np
plt.imshow(np_frame[:,:,[2,1,0]])
plt.show()

videoIn.release()
hdmi_out.stop()
del hdmi_out
Key code is
face_cascade = cv2.CascadeClassifier('data/haarcascade_frontalface_default.xml')
This is how to find face with key point configuration.
3 Person Detection with DPU in pynq
There is still work to do in put dpu work in Pynq. As previous 5 blogs run through.
The dpu binary file is still can not run properly in this version. Maybe the version compatible is reason why it can not work well. That is how Arty Z7 is brought here.
Or else Raspberry Pi can do much similar work in hours.
4 Not Yet!
It is close to the end of schedule. So, Not yet shall be present progress. Therefore, another blog shall be added for this one if several days extend to find how it works.
Try Pynq 2.4, Pynq2.5 and Pynq2.7 with dpu support in Vivado 2018.3, vivado 2019.2 and vivado 2020.1, hopefully, some useful result can be poped up.
-

DAB
-
Cancel
-
Vote Up
0
Vote Down
-
-
Sign in to reply
-
More
-
Cancel
Comment-

DAB
-
Cancel
-
Vote Up
0
Vote Down
-
-
Sign in to reply
-
More
-
Cancel
Children