element14 Community
element14 Community
    Register Log In
  • Site
  • Search
  • Log In Register
  • Community Hub
    Community Hub
    • What's New on element14
    • Feedback and Support
    • Benefits of Membership
    • Personal Blogs
    • Members Area
    • Achievement Levels
  • Learn
    Learn
    • Ask an Expert
    • eBooks
    • element14 presents
    • Learning Center
    • Tech Spotlight
    • STEM Academy
    • Webinars, Training and Events
    • Learning Groups
  • Technologies
    Technologies
    • 3D Printing
    • FPGA
    • Industrial Automation
    • Internet of Things
    • Power & Energy
    • Sensors
    • Technology Groups
  • Challenges & Projects
    Challenges & Projects
    • Design Challenges
    • element14 presents Projects
    • Project14
    • Arduino Projects
    • Raspberry Pi Projects
    • Project Groups
  • Products
    Products
    • Arduino
    • Avnet Boards Community
    • Dev Tools
    • Manufacturers
    • Multicomp Pro
    • Product Groups
    • Raspberry Pi
    • RoadTests & Reviews
  • Store
    Store
    • Visit Your Store
    • Choose another store...
      • Europe
      •  Austria (German)
      •  Belgium (Dutch, French)
      •  Bulgaria (Bulgarian)
      •  Czech Republic (Czech)
      •  Denmark (Danish)
      •  Estonia (Estonian)
      •  Finland (Finnish)
      •  France (French)
      •  Germany (German)
      •  Hungary (Hungarian)
      •  Ireland
      •  Israel
      •  Italy (Italian)
      •  Latvia (Latvian)
      •  
      •  Lithuania (Lithuanian)
      •  Netherlands (Dutch)
      •  Norway (Norwegian)
      •  Poland (Polish)
      •  Portugal (Portuguese)
      •  Romania (Romanian)
      •  Russia (Russian)
      •  Slovakia (Slovak)
      •  Slovenia (Slovenian)
      •  Spain (Spanish)
      •  Sweden (Swedish)
      •  Switzerland(German, French)
      •  Turkey (Turkish)
      •  United Kingdom
      • Asia Pacific
      •  Australia
      •  China
      •  Hong Kong
      •  India
      •  Korea (Korean)
      •  Malaysia
      •  New Zealand
      •  Philippines
      •  Singapore
      •  Taiwan
      •  Thailand (Thai)
      • Americas
      •  Brazil (Portuguese)
      •  Canada
      •  Mexico (Spanish)
      •  United States
      Can't find the country/region you're looking for? Visit our export site or find a local distributor.
  • Translate
  • Profile
  • Settings
Upcycle It
  • Challenges & Projects
  • Design Challenges
  • Upcycle It
  • More
  • Cancel
Upcycle It
Blog Upcycled Clock - Soldering and more 3D printing
  • Blog
  • Forum
  • Documents
  • Polls
  • Files
  • Events
  • Mentions
  • Sub-Groups
  • Tags
  • More
  • Cancel
  • New
  • Share
  • More
  • Cancel
Group Actions
  • Group RSS
  • More
  • Cancel
Engagement
  • Author Author: carmelito
  • Date Created: 31 May 2017 1:19 AM Date Created
  • Views 997 views
  • Likes 7 likes
  • Comments 5 comments
  • upcycledclock
  • upcycleit
  • led stirp
  • 3D Printing
  • upcycle it
  • soldering
  • 3d print
  • intel edison
Related
Recommended

Upcycled Clock - Soldering and more 3D printing

carmelito
carmelito
31 May 2017

This weekend was all about mounting most of the electronic components to the back of the clock, and soldering the pieces of the LED strip together which will be used for diffusion for the panels as shown in the picture below, which were 3D printed in a previous blog post at - 3D Printing LED diffusers for the panels

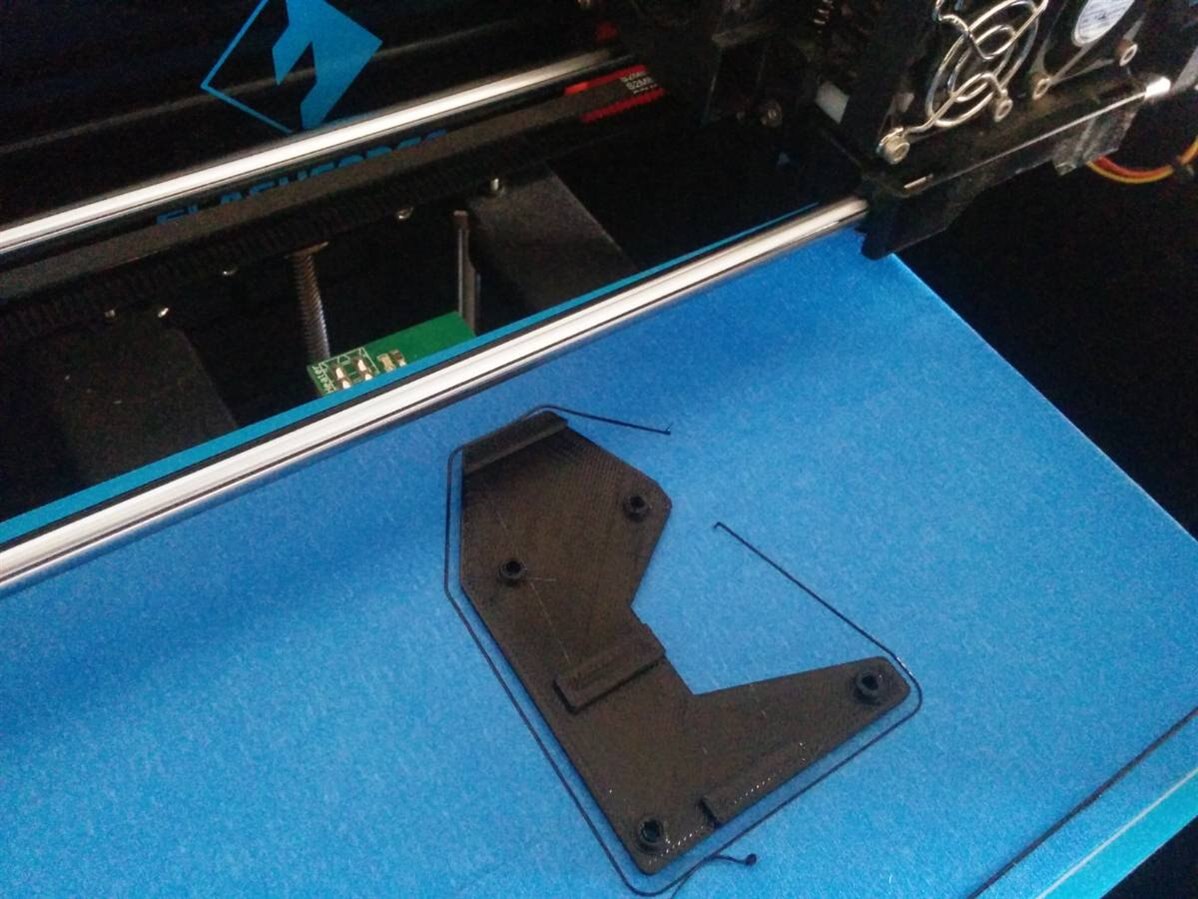
In addition, I have also 3D printed holders for the electronic components using black PLA , instead of hot gluing the electronics directly to  back, which mean I can reuse/replace the components in the future if I need to..

image


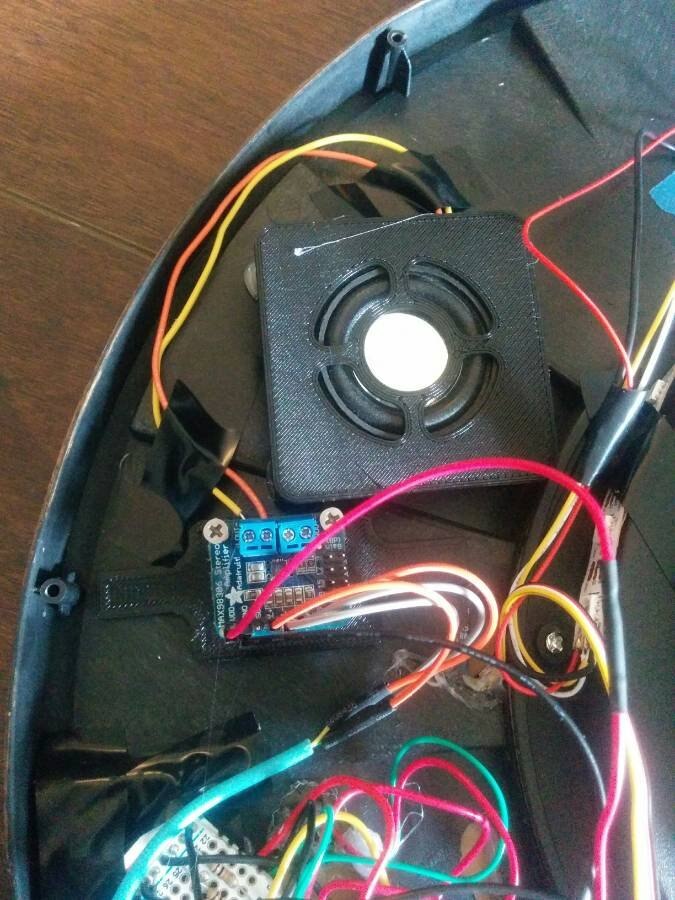
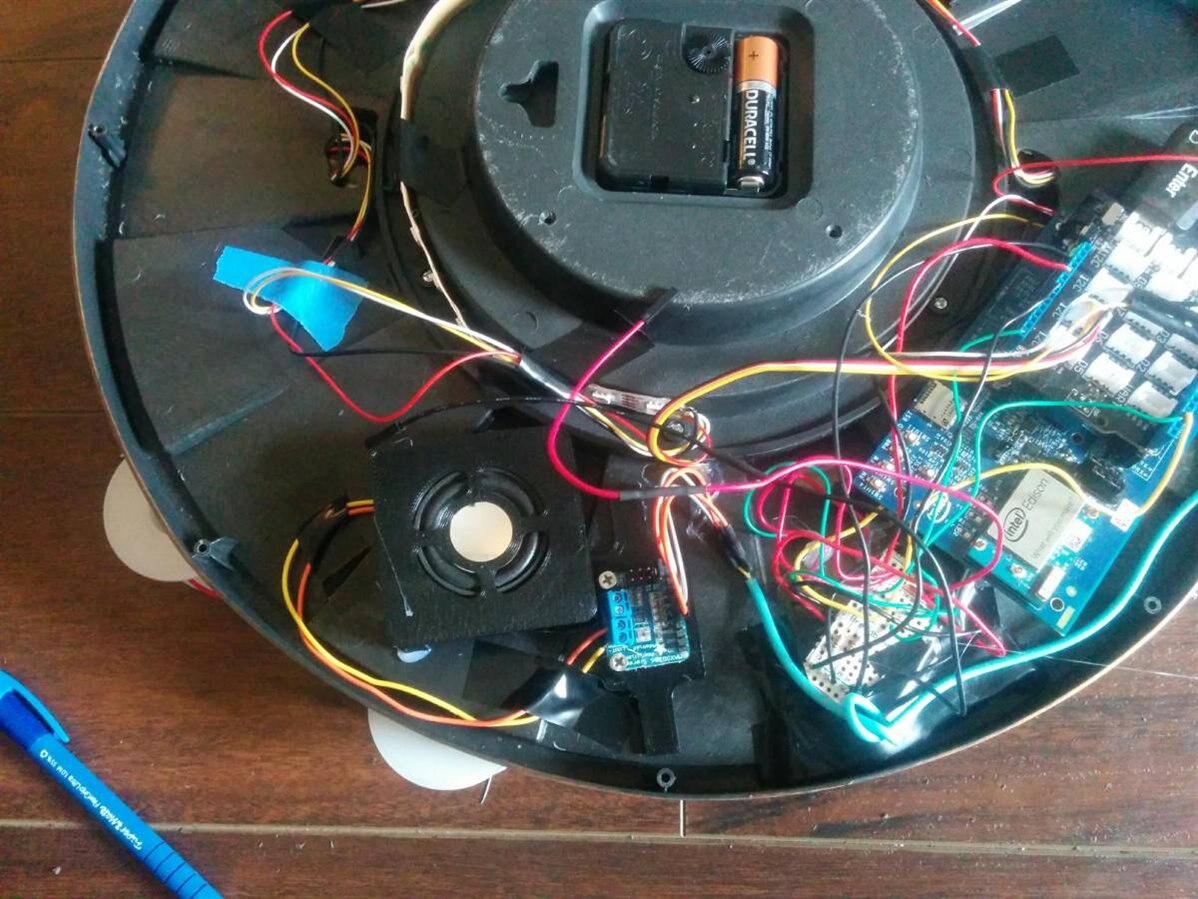
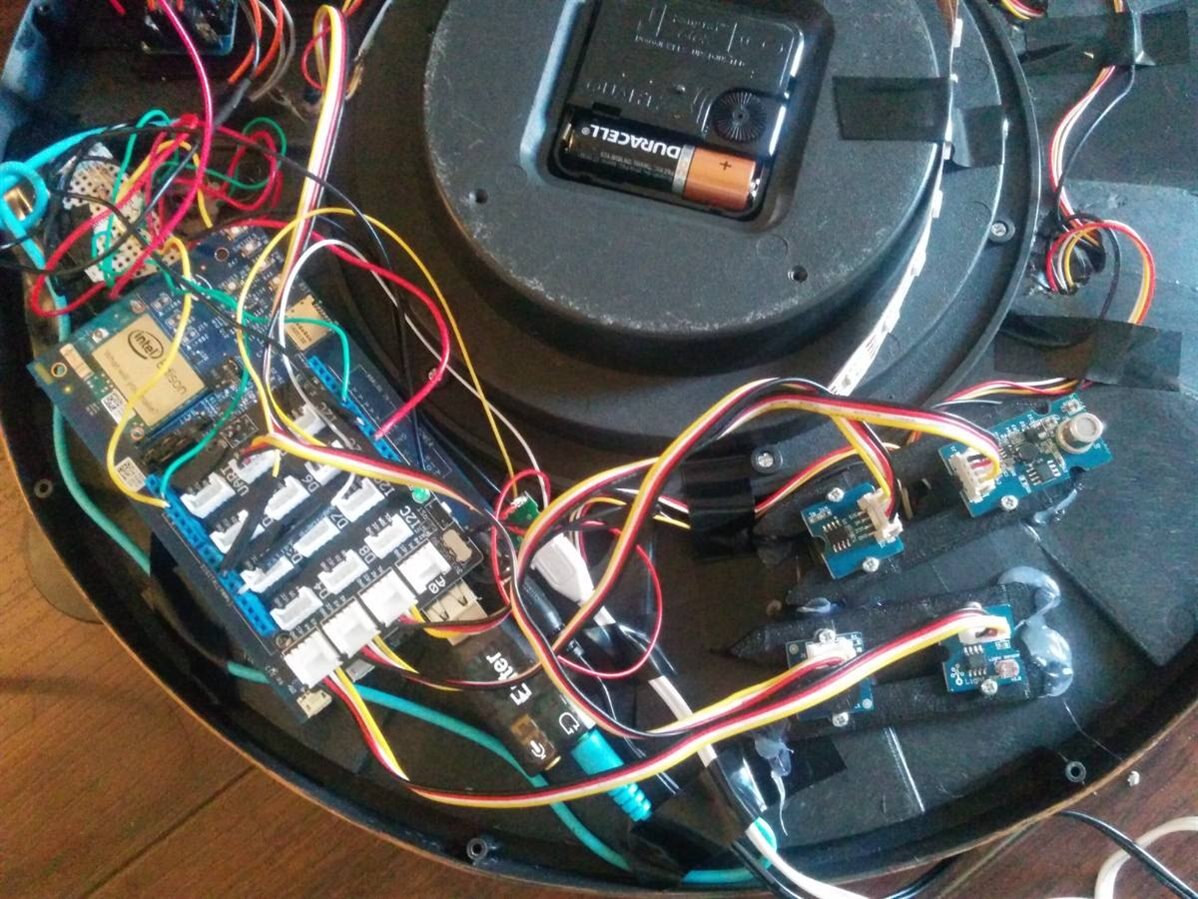
Here is a picture of all the electronic components mounted to the back of the clock,I know it is kind of messy! image, but here is the list of connection to the Intel Edison via the Grove connector shield

image

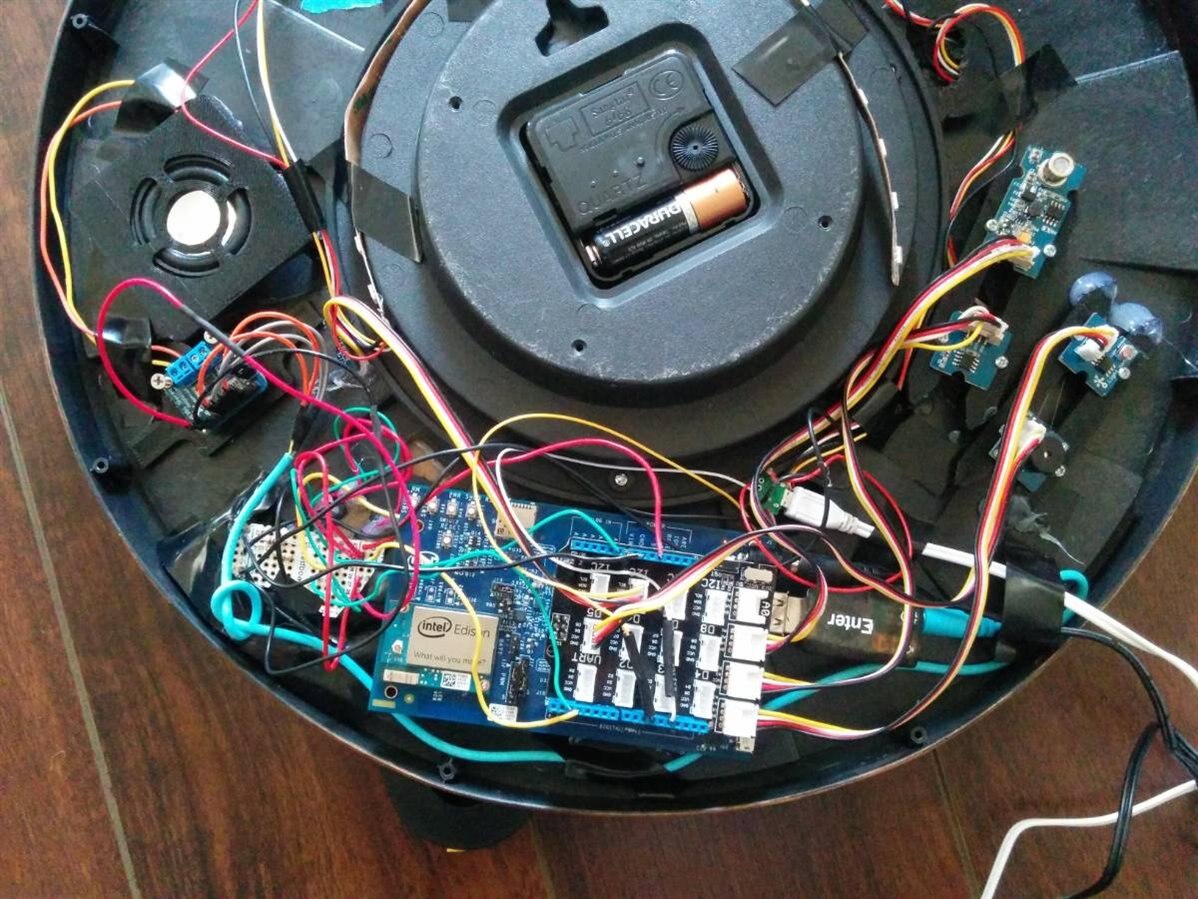
  • A0 – Potentiometer which is used to control features on the clock and display things like weather condition, Temperature extra.
  • D2 – Top button
  • D3 -  Bottom button
  • D5 – Grove buzzer sensor for sound notification
  • D11 - LED strip (APA102) Data
  • D13 – LED strip Clock
  • A1 – Grove Air quality sensor v1.3
  • A2 – Grove temperature sensor
  • A3 – Grove Light sensor
  • I2C connector on grove shield (A4, A5) - connected to the Grove RGB LCD display
  • In addition, I am also using Adafruit’s Stereo 3.7W Class D Audio Amplifier - MAX98306 with a 4 ohms 3 watt speaker connected to the USB sound card, which you see on the left of the picture above. But I should have ideally gone with Adafruit Mono 2.5W Class D Audio Amplifier - PAM8302, since I am using only one speaker,which means I will have to order one later.
  • To power the Intel Edison I am using the power adapter that came in as part of the kit that is Triad Magnetic  WSX120-2000WSX120-2000 AC/DC Power Supply 1 Output 24 W 12 V,2 A
  • And power the LED strip I am currently using another power adapter 5V and 2.5 A.


Here are a few pictures of build process


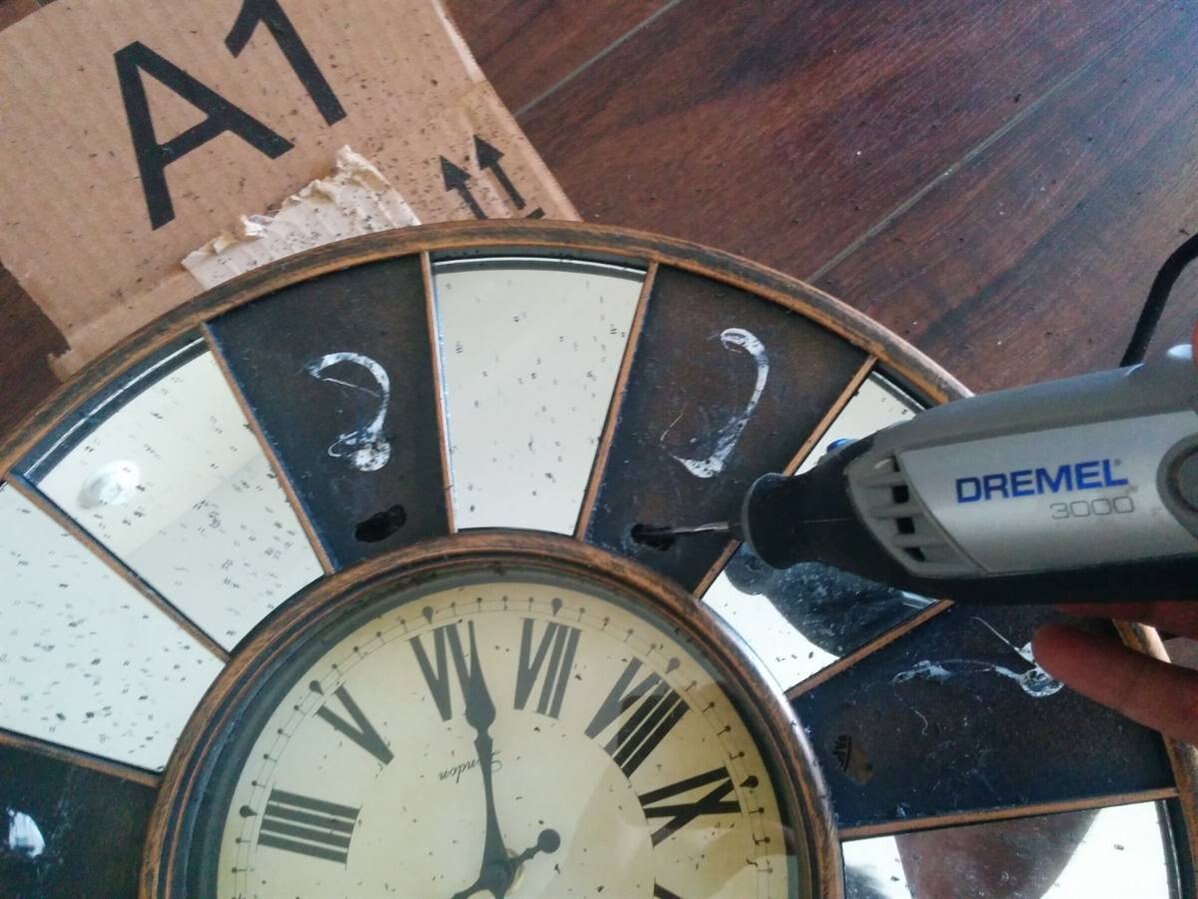
It was finally time! to pull out the Dremel and try and cut through panels. This was the part of the build that had me all worked up, basically I knew that I had to cut through a materials that was old, and it was not plastic, but is very close and extremely brittle. I started with the circular cutting bit on the Dremel and soon realized it was a bad idea. And then had to muster some courage to use the drill bit.

image

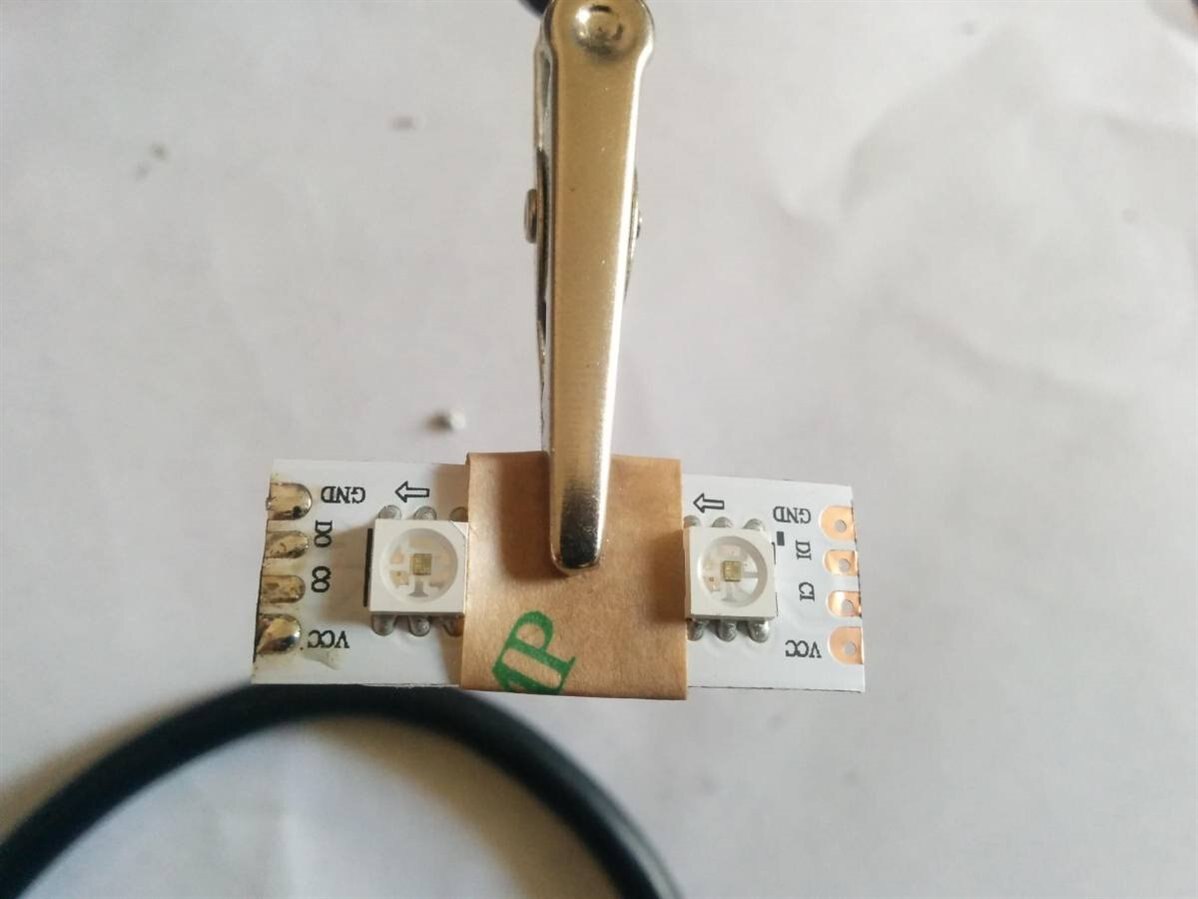
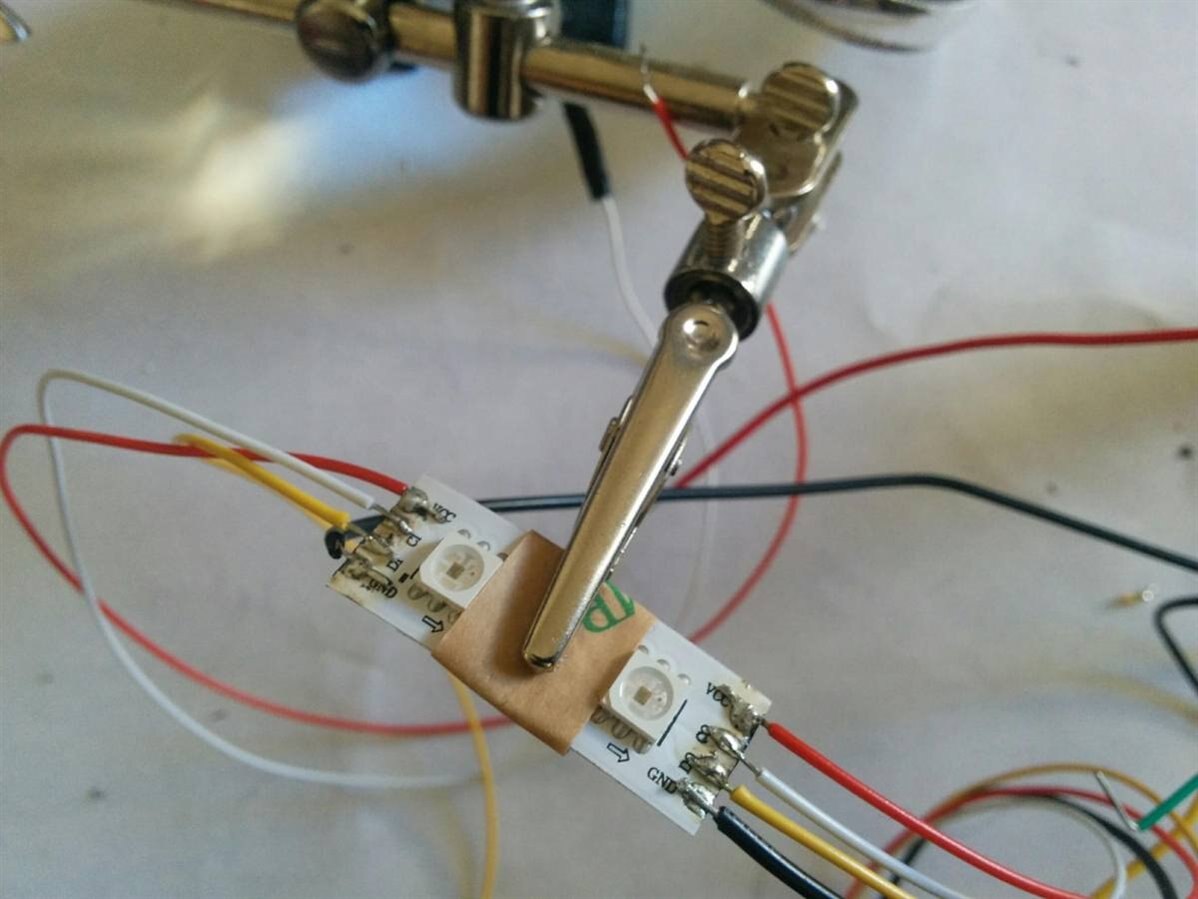
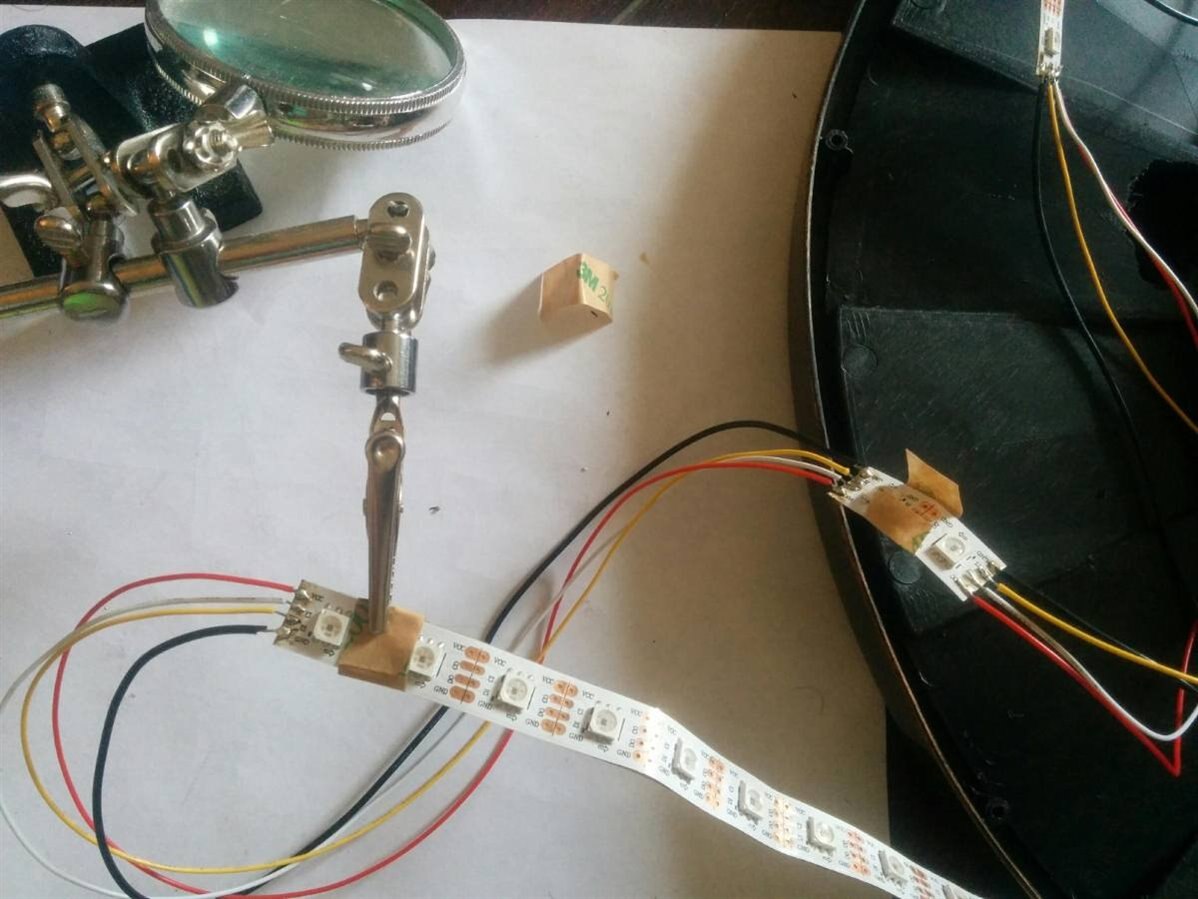
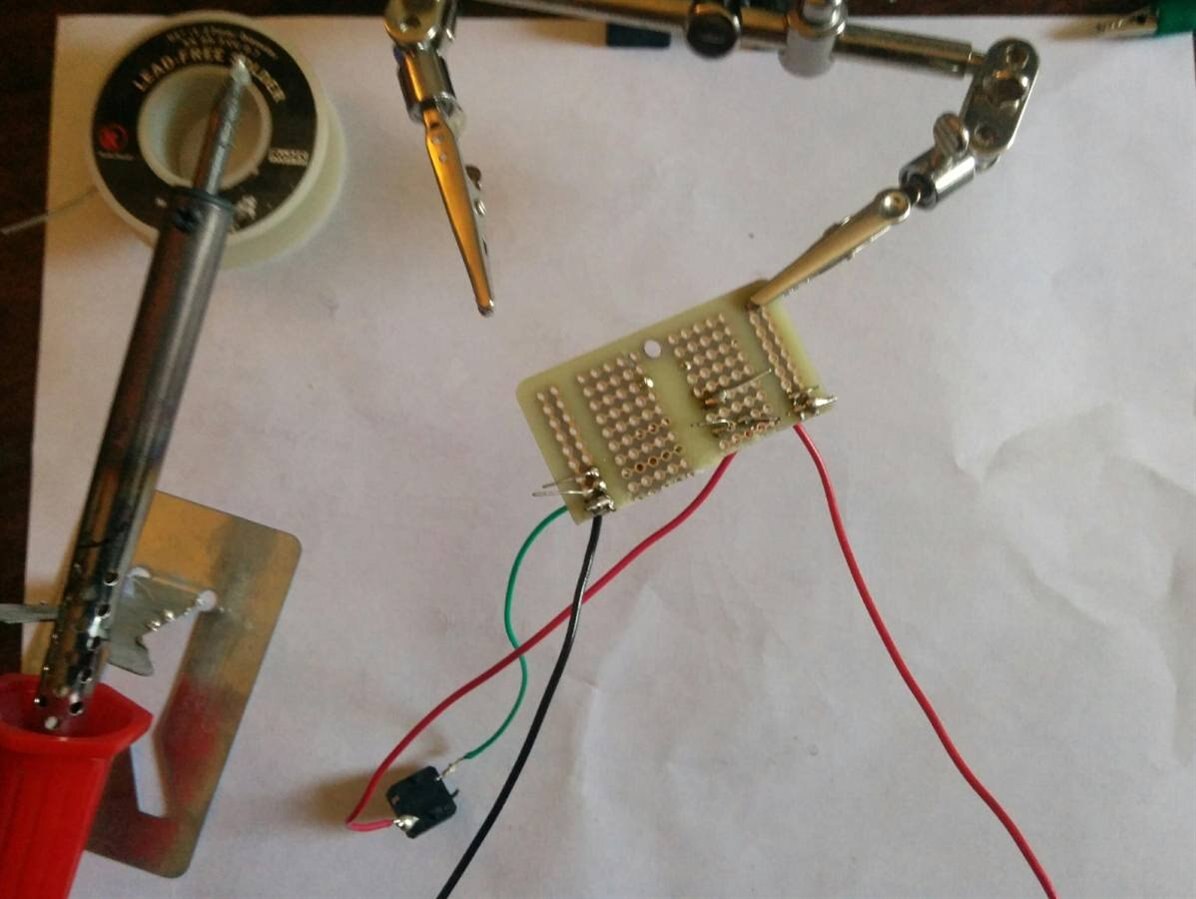
Once I had the drilling holes out of the way, the next part of the build was a test of my patience image , where I had to cut 5 pieces of the LED strip and then tin the ends and chain them together as shown in the picture below. In addition, since I am using 2 buttons and  a pot, I had to solder connections onto a Adafruit’s perma-proto PCB, and I also need a common ground for the LED strip.


{gallery} Soldering LED strip

image

Tinning the ends..

image

Soldering wire to the 2 LED piece

image

2 LED piece soldered to the remaning LED strip

image

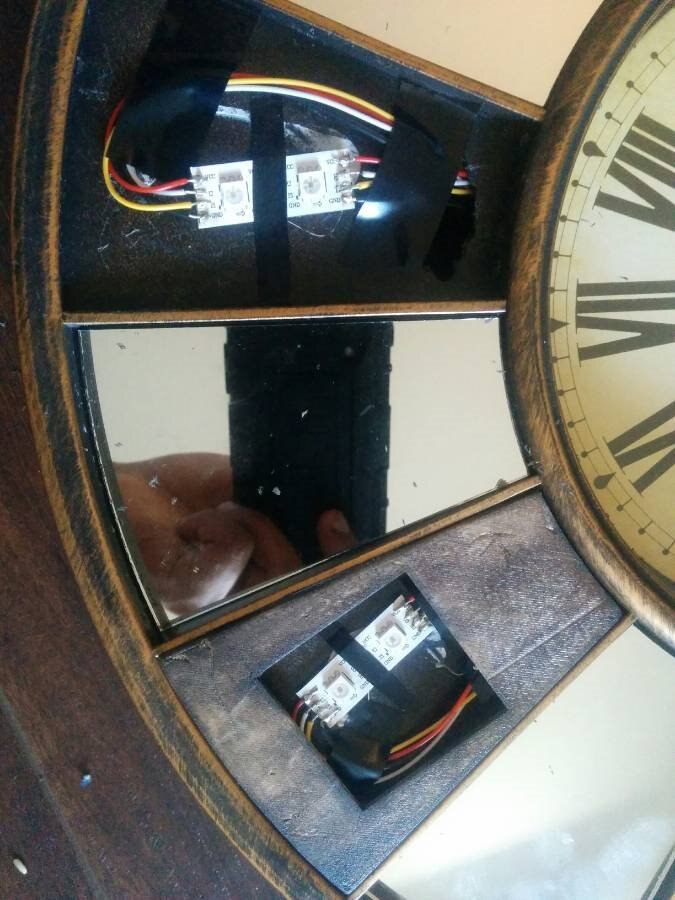
taping and gluing the LED strips to the pannels

image

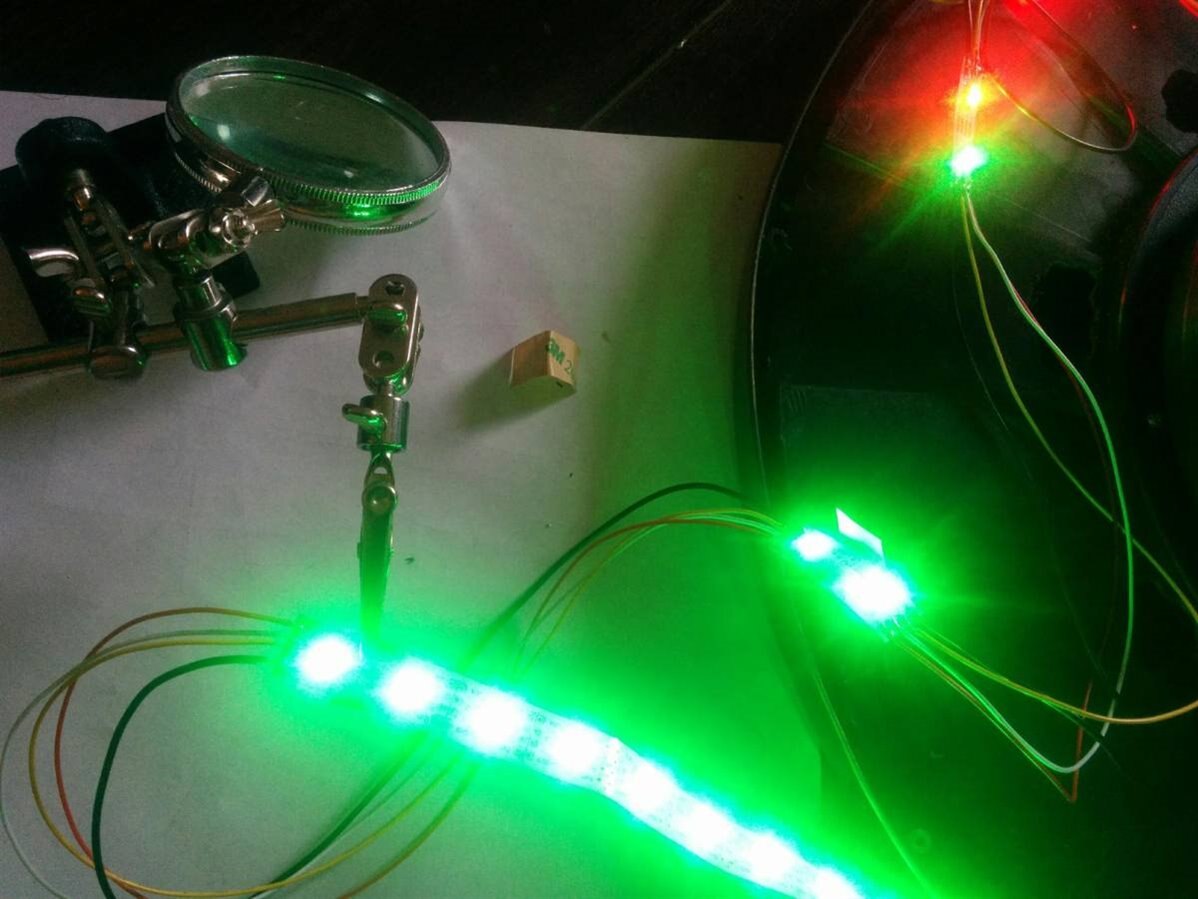
Running a test, and hoping all the soldering joints on the LED strip still hold image

image

soldering the buttons and pot to the prema-proto PCB, also using 2x10Kohms resistors for the buttons

image

Soldering the common ground from the LED strip to the prema-proto PCB


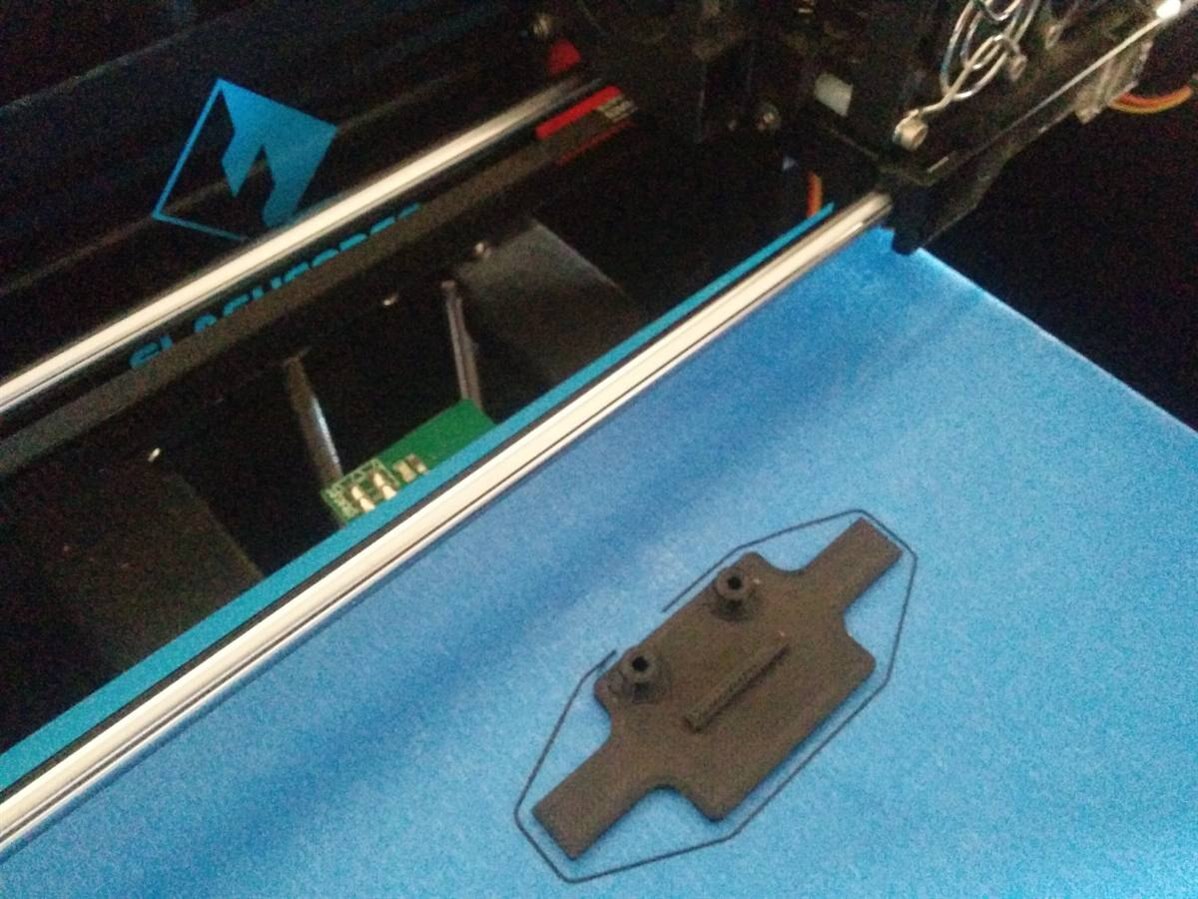
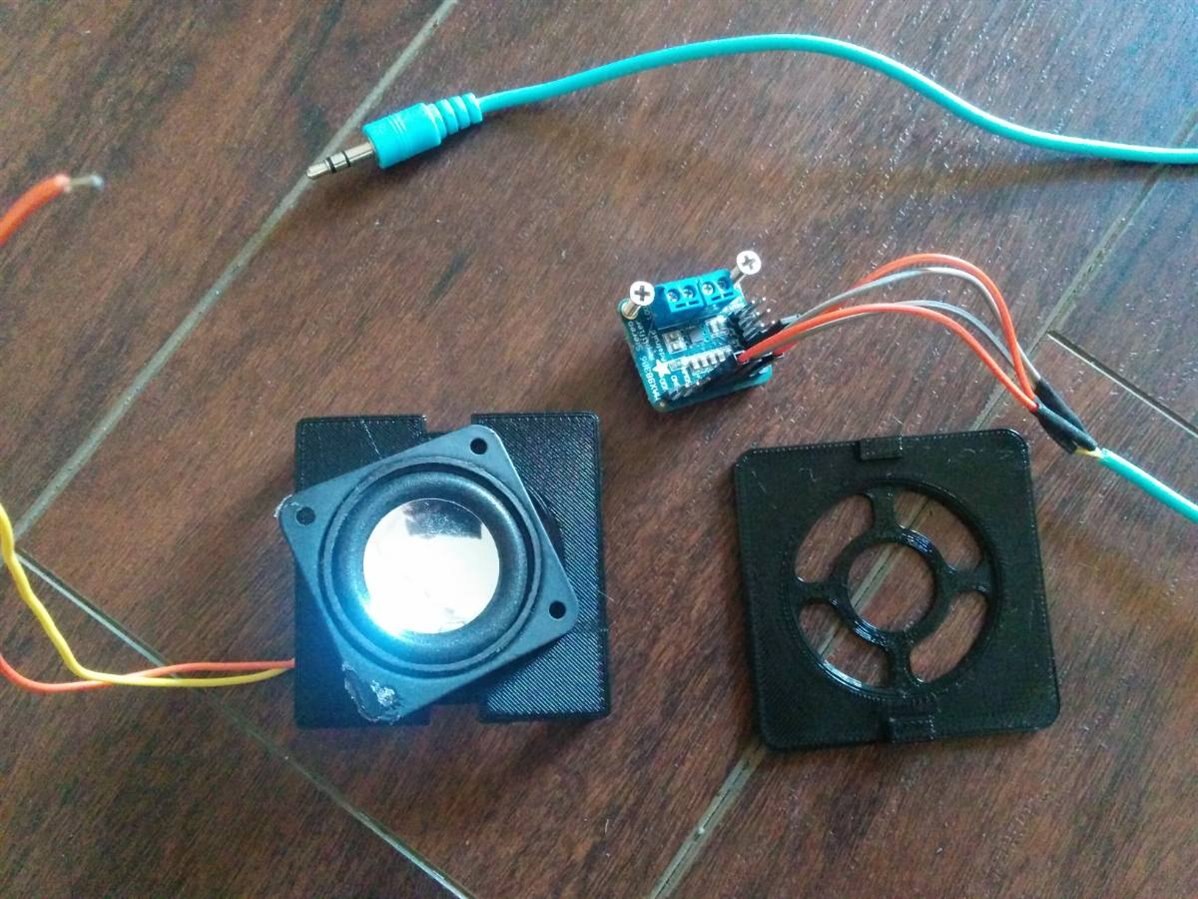
For sound, I used a Adafruit’s Stereo 3.7W Class D Audio Amplifier which was connected to the USB sound card. And for the speaker I am using a 4 ohms 3 watt speaker. I designed and 3D printed holders for both the amplifier and speaker as shown in the pictures below.In addition, I designed a base holder for the Intel Edison Arduino board, so that it would be easy to add to the clock.


{gallery} Adding Speaker

image

3D printed holder for the amplifier

image

3D printed speaker holder

image

Glue the 3D printed parts of the speaker and amp to the back

image

3D printed base for the Intel Edison Arduino board

image

screwing the 3D Printed part to the Intel Edison Arduino breakout board and gluing it to the back of the clock


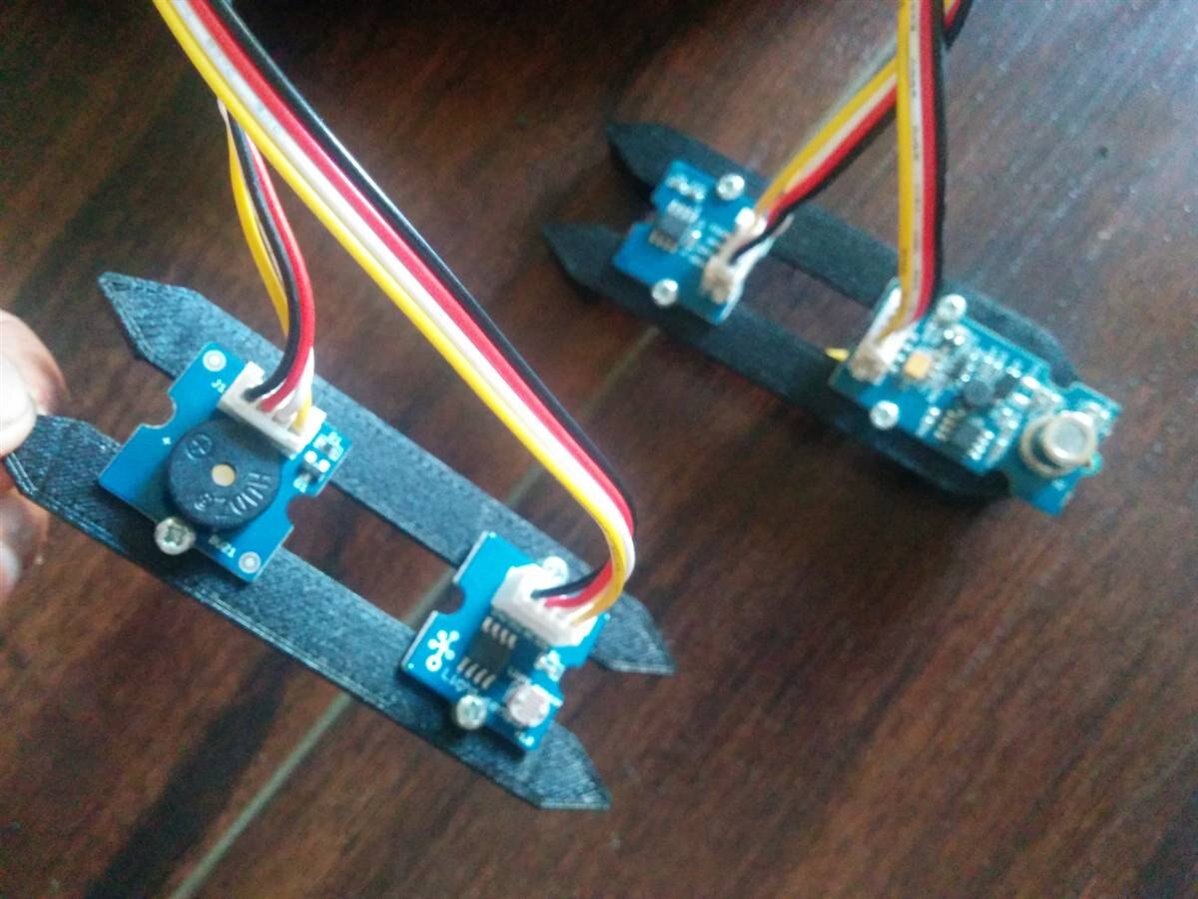
For the grove sensors (Temperature, Light , Air Quality  and buzzer), I designed and 3D printed holder.


{gallery} Adding the Grove sensor

image

3D printed parts to hold the sensor

image

Add the sensors to the 3D printed parts using screws

image

Hot Glue the 3D printed parts to the back


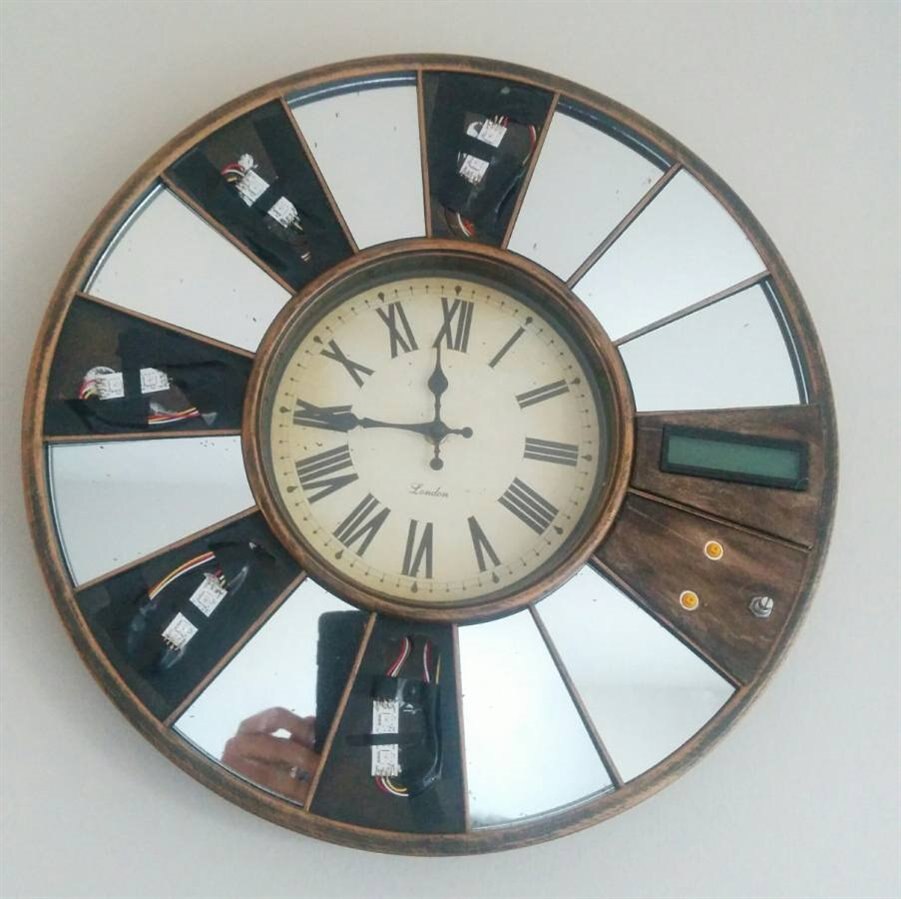
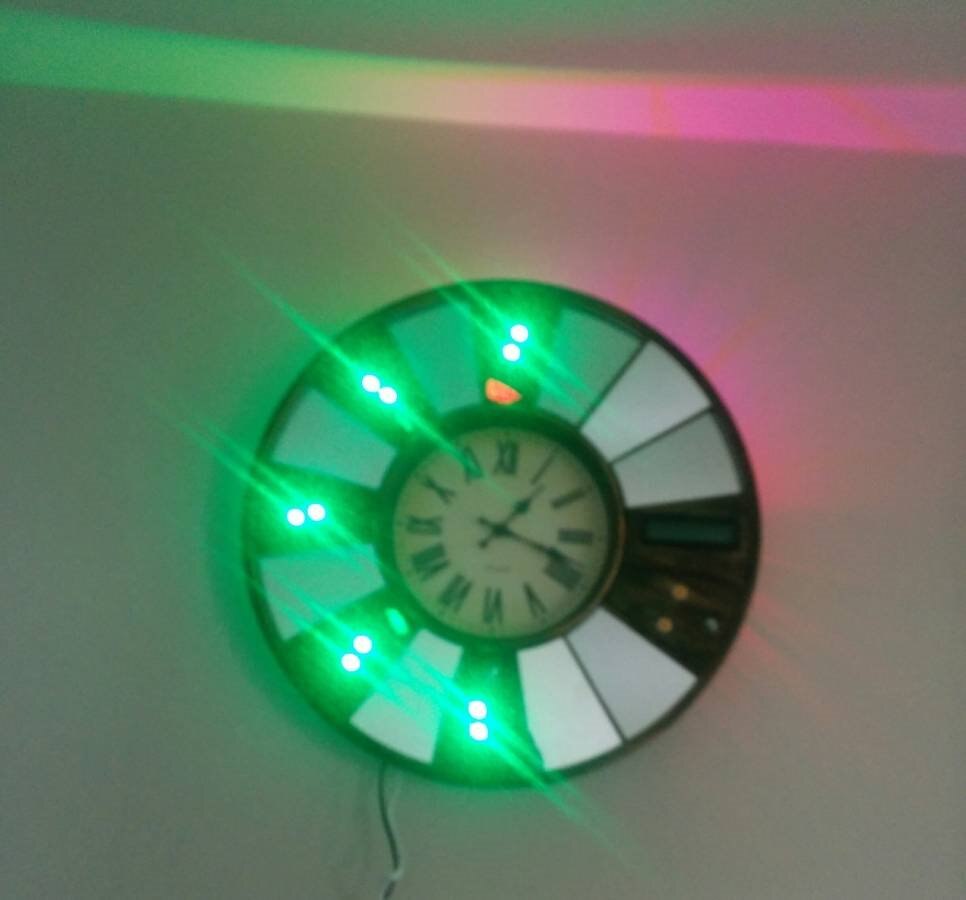
Finally, I mounted the clock on the wall and ran a test for the LED strip, here I wanted to check how the 20 LEDs strip on the back rim of the clock would glow onto the roof, which will act as a quick visual indicator in the morning before I head out to work..

image

  • Sign in to reply

Top Comments

  • Workshopshed
    Workshopshed over 8 years ago in reply to mcb1 +3
    And make a demo
  • carmelito
    carmelito over 8 years ago +3
    Workshopshed - for now the amp is staying in the project at-least for the next couple of months , but I may move to a cheaper amp based on balearicdynamics advice in the future.. Video demo recording day…
  • mcb1
    mcb1 over 8 years ago +2
    It's all coming together nicely. Few more days to perfect any issues and test it out. Mark
  • carmelito
    carmelito over 8 years ago

    Workshopshed - for now the amp is staying in the project at-least for the next couple of months image, but I may move to a cheaper amp based on balearicdynamics advice in the future.. Video demo recording day is planned Saturday 06/03..

    • Cancel
    • Vote Up +3 Vote Down
    • Sign in to reply
    • More
    • Cancel
  • Workshopshed
    Workshopshed over 8 years ago in reply to mcb1

    And make a demo

    • Cancel
    • Vote Up +3 Vote Down
    • Sign in to reply
    • More
    • Cancel
  • mcb1
    mcb1 over 8 years ago

    It's all coming together nicely.


    Few more days to perfect any issues and test it out.


    Mark

    • Cancel
    • Vote Up +2 Vote Down
    • Sign in to reply
    • More
    • Cancel
  • balearicdynamics
    balearicdynamics over 8 years ago

    Great, really.

    I think you can find very cheap stereo amp kits; not a high power is needed and you can embed also the sound quality in the project.


    BTW, instead of the traditional large speakers I suggest you to use the mobile device form factor speakers (there are several at low price on Farnell site). They can provide good sound quality and are very small, ideal for this kind of projects.


    Enrico

    • Cancel
    • Vote Up +1 Vote Down
    • Sign in to reply
    • More
    • Cancel
  • Workshopshed
    Workshopshed over 8 years ago

    Great work. Unless the amp is causing a problem or was very expensive, I'd leave the stereo one in.

    • Cancel
    • Vote Up 0 Vote Down
    • Sign in to reply
    • More
    • Cancel
element14 Community

element14 is the first online community specifically for engineers. Connect with your peers and get expert answers to your questions.

  • Members
  • Learn
  • Technologies
  • Challenges & Projects
  • Products
  • Store
  • About Us
  • Feedback & Support
  • FAQs
  • Terms of Use
  • Privacy Policy
  • Legal and Copyright Notices
  • Sitemap
  • Cookies

An Avnet Company © 2025 Premier Farnell Limited. All Rights Reserved.

Premier Farnell Ltd, registered in England and Wales (no 00876412), registered office: Farnell House, Forge Lane, Leeds LS12 2NE.

ICP 备案号 10220084.

Follow element14

  • X
  • Facebook
  • linkedin
  • YouTube