


| {gallery} post 9 |
|---|
|
|
|
|
|
|
|
|
|
|
|
|
|
|


Parts have started to arrive !!
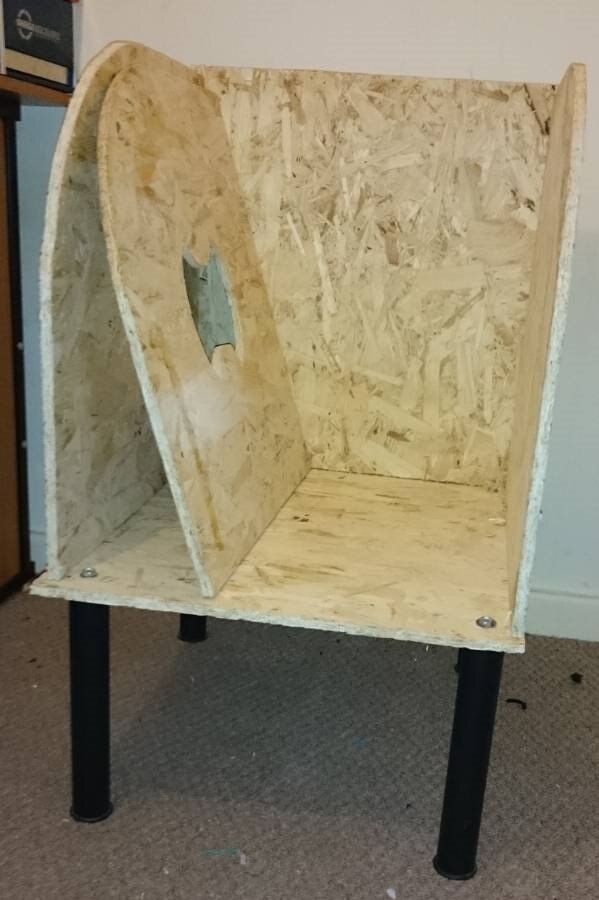
I have now started a dry run building the design so far i have
installed the PSU
installed the fans
1st coat of varnish on the wood
nailed and glued the sides and back
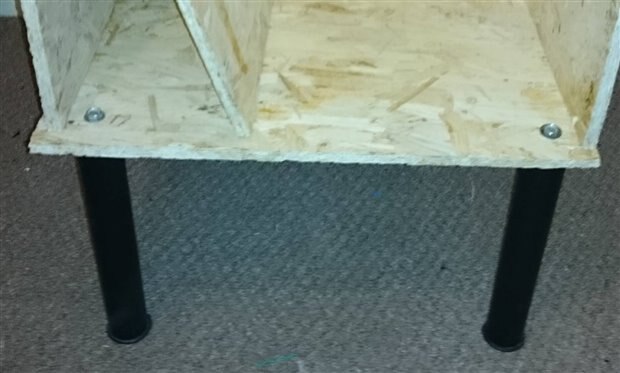
installed the legs
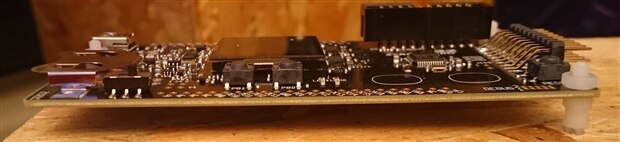
test fit the mounts for the dev boards
soldering and crimping wires and connectors
sizing up where the parts that have not arrived will go
PSU
the power for this unit will come from a pc power supply that has been adapted
i will be using the 3.3,5 and 12v lines from the PSU
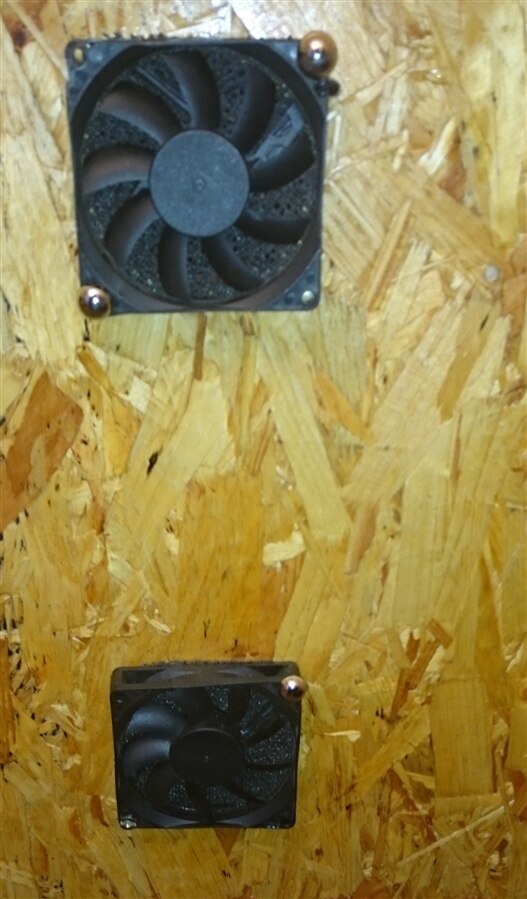
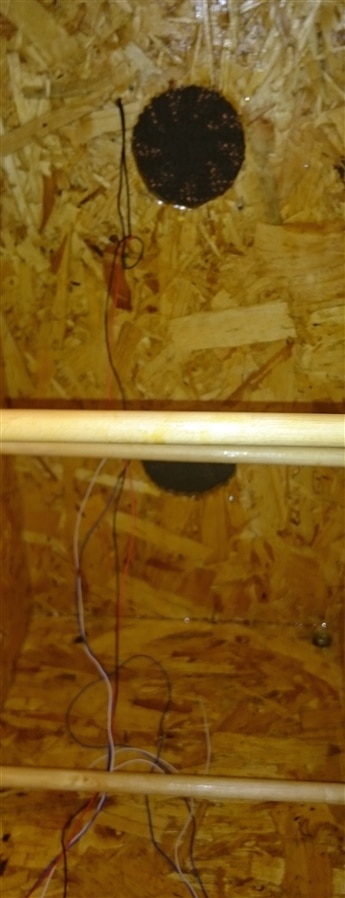
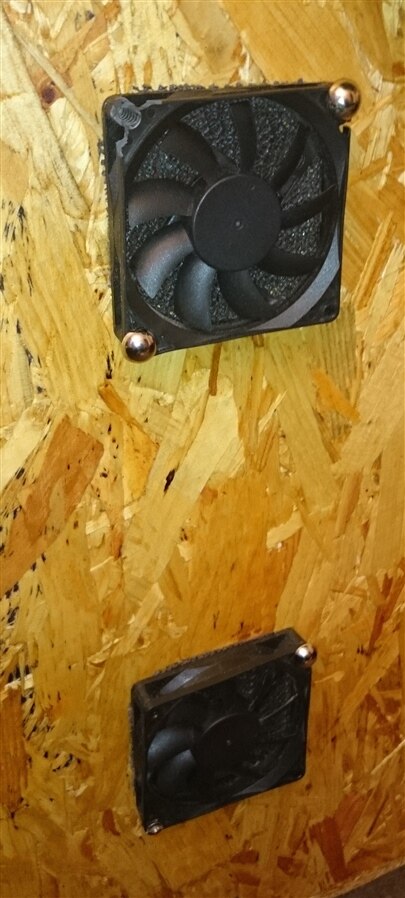
Fans
I went with 2 5v fans that were repurposed from an old laptop cooling stand
in front of the fans are 3 layers of mesh this is to stop insects from entering the unit and also to restrict air flow to a lower amount
Varnish
After a long discussion with myself i decided to go with a varnish on the unit instead of a paint to keep the look of the OSB
the top of the unit also has a stain on as well this was a test to see what looked the best and decided just to keep the top stained
Board mount
i have used 3 pcb spacers to mount the board on a scrap piece of wood to test the idea and it worked out really well and this is how i will be mounting the board inside the unit
Cables
I have started to solder the connectors onto the cables ready for the boards to arrive that way i can solder them straight onto the boards and save some time as well
Lighting
for the lighting i am testing out using red green and blue LEDs i will be usign a total of 60 LEDs 20 of each colour i will have these mounted but connect them up so many at a time to get the best amount of light
still to be updated when parts arrive
rotation
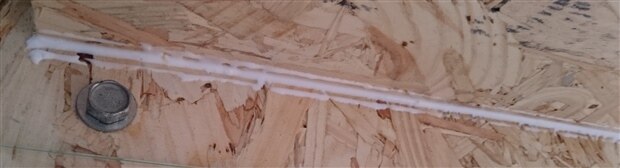
moisture sensor and my crazy way of connecting them to the board through 2 axis of rotation
watering system
lighting
silver lining (mylar)
Top Comments