


 | Enter Your Project for a chance to win a Nano Grand Prize bundle for the most innovative use of Arduino plus a $400 shopping cart! Back to homepage | Project14 Home |
| Monthly Themes | ||
| Monthly Theme Poll |
Overview
This is to chronicle my experience with running TinyML on the Arduino 33 BLE Sense.
I initially followed the TensorFlow Lite for Microcontrollers examples using a STM32F746G Discovery kit, but moved to the Arduino TinyML Workshop Examples created by Sandeep Mistry and Dominic Pajak to gain familiarity with running TinyML on the Nano board for the NanoRama thing. This includes both an Arduino and TensorFlow post as well as using Google's Colaboratory , or 'Colab' to run Python code in Jupyter Notebooks. This eliminates the need to install all the dependencies on a system or use a Docker Container to run the examples.
What is TinyML
TinyML came about when Pete Warden joined Google in 2014 and discovered how the OK Google group was using neural networks that were just 14 kilobytes (KB) running on DSP's to process the 'OK Google" wake word from Android smart phones. Warden's background was from the image side of the house so seeing something run in such a limited space stirred a bit of curiosity in him. He initially worked on getting TensorFlow to run on Android and iOS devices and then later moved to TensorFlow Lite but then sought to use even smaller devices. Warden discovered in the audio arena there was Pixel’s Music IQ for predictive maintenance (like PsiKick) and on the vision side Qualcomm’s Glance camera module which combines image sensor and a low-power processor that runs computer-vision algorithms. After conversations with colleagues, Warden focused on getting a neural network to run on a device that consumes only 1 mW of power and without the need of wired power. The other constraint was that the processor should cost less than $1. The main focus for TinyML use is for edge devices where a sensor can be deployed with little or no maintenance. A phrase that pops up with regards to devices running TinyML is “peel-and-stick sensors”. This is the concept that the device is to run for years without the need of a battery change and be placed and forgot except when data is needed from it. An area that Warden mentions where these sort of devices could be used is in Industrial Production lines where running power to a device is not very feasible.
The 3 main devices that are used to run TinyML examples are the Sparkfun Edge Board, STM32F746G Discovery kit, and the Arduino Nano 33 BLE Sense. There are others that are moving to use TinyML but in this post the Arduino Nano 33 BLE Sense will be used.
Related Post:
TinyML on Arduino Nano 33 BLE Sense - Fruit Identification
TinyML on Arduino Nano 33 BLE Sense - Person Detection with BLE
References:
TensorFlow for Microcontrollers
https://www.tensorflow.org/lite/microcontrollers
How-to Get Started with Machine Learning on Arduino
https://blog.tensorflow.org/2019/11/how-to-get-started-with-machine.html
Get started with machine learning on Arduino
https://blog.arduino.cc/2019/10/15/get-started-with-machine-learning-on-arduino/
TinyML on Arduino Workshop 2019
https://github.com/sandeepmistry/aimldevfest-workshop-2019
TinyML Book
What’s TinyML good for (video)
https://www.youtube.com/watch?v=Wuq2aP5O5Z0
How-to Get Started with Machine Learning on Arduino (Colab example)
https://blog.tensorflow.org/2019/11/how-to-get-started-with-machine.html
Hardware
- Arduino Nano 33 BLE Sense
https://store.arduino.cc/usa/nano-33-ble-sense
Prepare Arduino IDE
1. Install Arduino Nano 33 BLE Sense Board Libraries
- Arduino nRF528x Boards (Mbed OS)
2. Install Arduino Nano 33 BLE Sense Peripheral Libraries
- ST LSM9DS1 - 3-axis accelerometer and 3-axis gyroscope and 3-axis magnetometer
Library: Arduino_SM9DS1
- ST MP34DT05 - Digital MEMS microphone
Library: AudioSound
- ST LPS22HB - barometer sensor
Library: Arduino_LPS22HB
- BC APDS9960 - Gesture sensor
Library: Arduino_APDS9960
- ST HTS221 - Relative humidity and temperature sensor
Library: Arduino_HTS221
- Nano 33 BLE
Library: ArduinoBLE
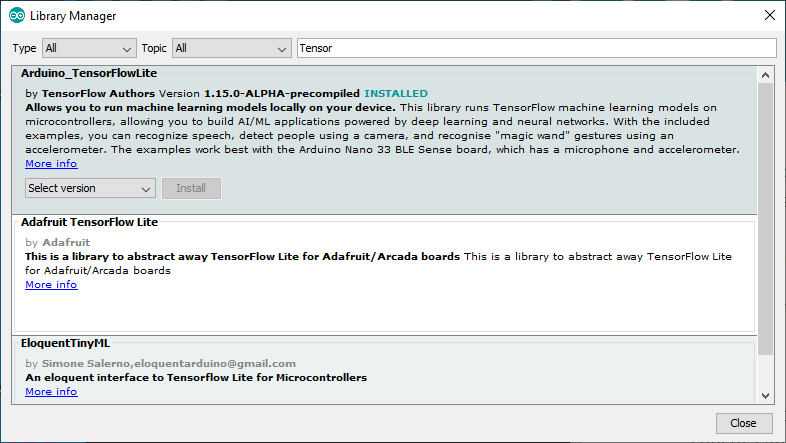
3. Install TensorFlow Lite library (Arduino IDE)
Library: Arduino_TensorFlowLite
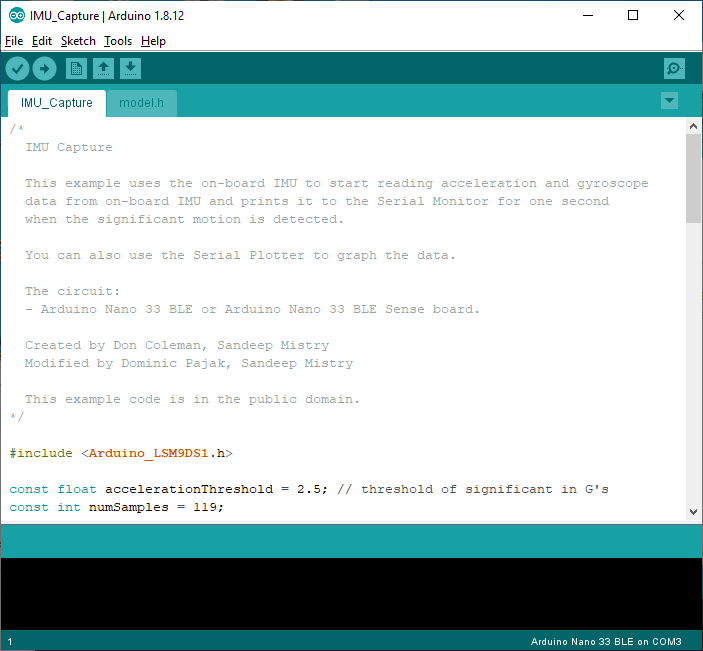
4. Download IMU_Capture.ino example and load into Arduino IDE :
https://blog.tensorflow.org/2019/11/how-to-get-started-with-machine.html
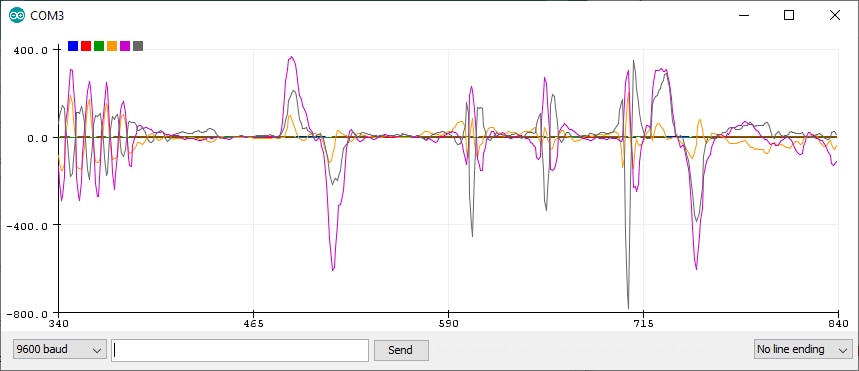
5. Use Arduino IDE Serial Plotter to view sensor data
Tools→Serial Plotter
a. Pickup the Nano 33 BLE Sense and simulate a punch or arm flex movement to see the data plotted in the Serial Plotter:
Get started with machine learning on Arduino
https://blog.arduino.cc/2019/10/15/get-started-with-machine-learning-on-arduino/
1. Capture gesture data
Collected data for the following files from the Serial Monitor
- punch.csv (10 times)
- flex.csv (10 times)
NOTE: Ensure to disable “Show timestamp” from Serial Monitor
Example Punch:
a. Pickup the Nano 33 BLE Sense and simulate a punch motion with the board in your hand.
b. Repeat 10 times
c. Notice the data that is collected in the Serial Monitor.
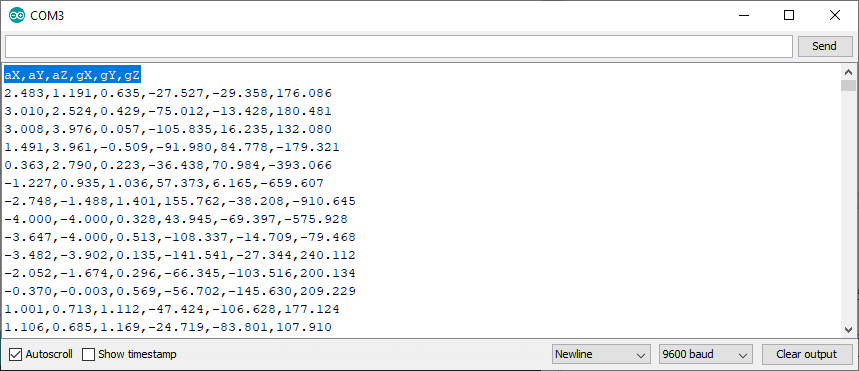
d. Copy the data from the Serial console and create a .csv file associated with the action: either punch.csv or flex.csv.
NOTE: Ensure the first line in the file looks like the following:
aX,aY,aZ,gX,gY,gZ
2. Go to Colab for Jupyter notebook
Arduino Example:
GitHub Examples:
https://github.com/arduino/ArduinoTensorFlowLiteTutorials/

NOTE: When first loading the Jupyter Notebook, a Warning screen will appear.
Just click RUN ANYWAY

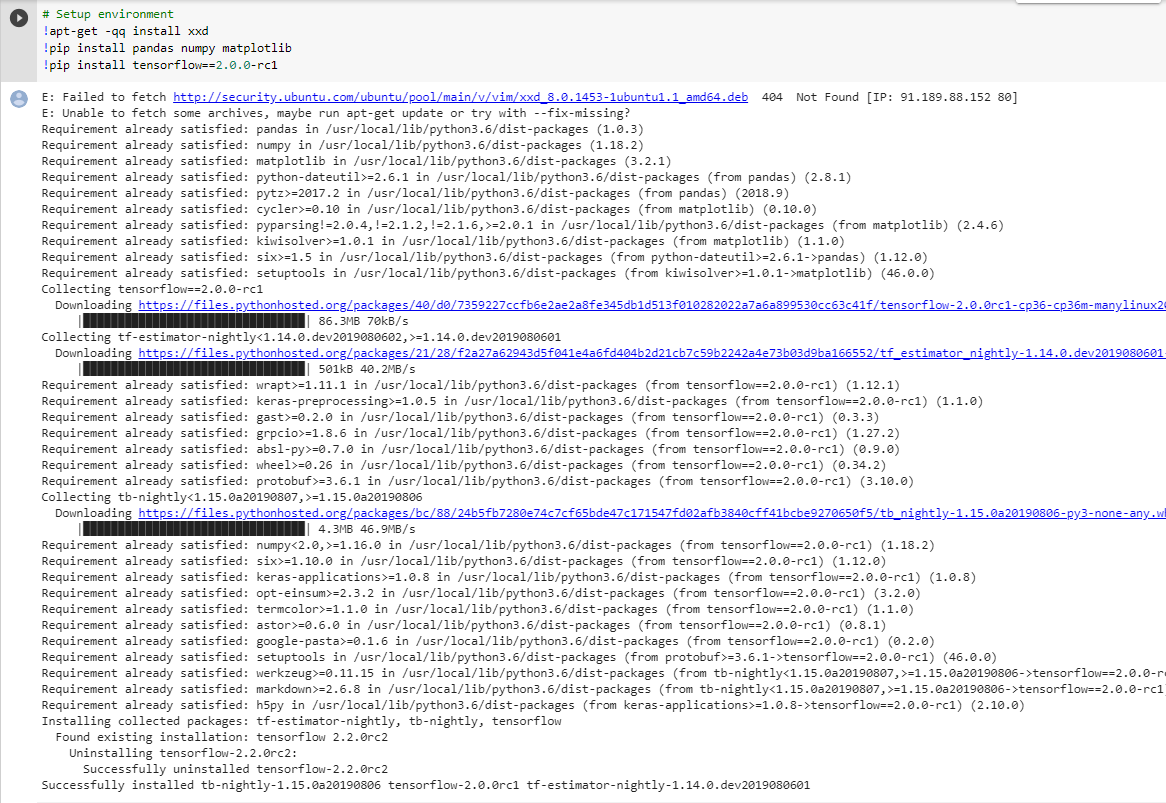
3. Run Setup Environment.
NOTE: This will result in the install of a number of required packages
4. Upload the capture data
- punch.csv
- flex.csv
Select the Folder icon in the left Window Pane to upload the .csv files

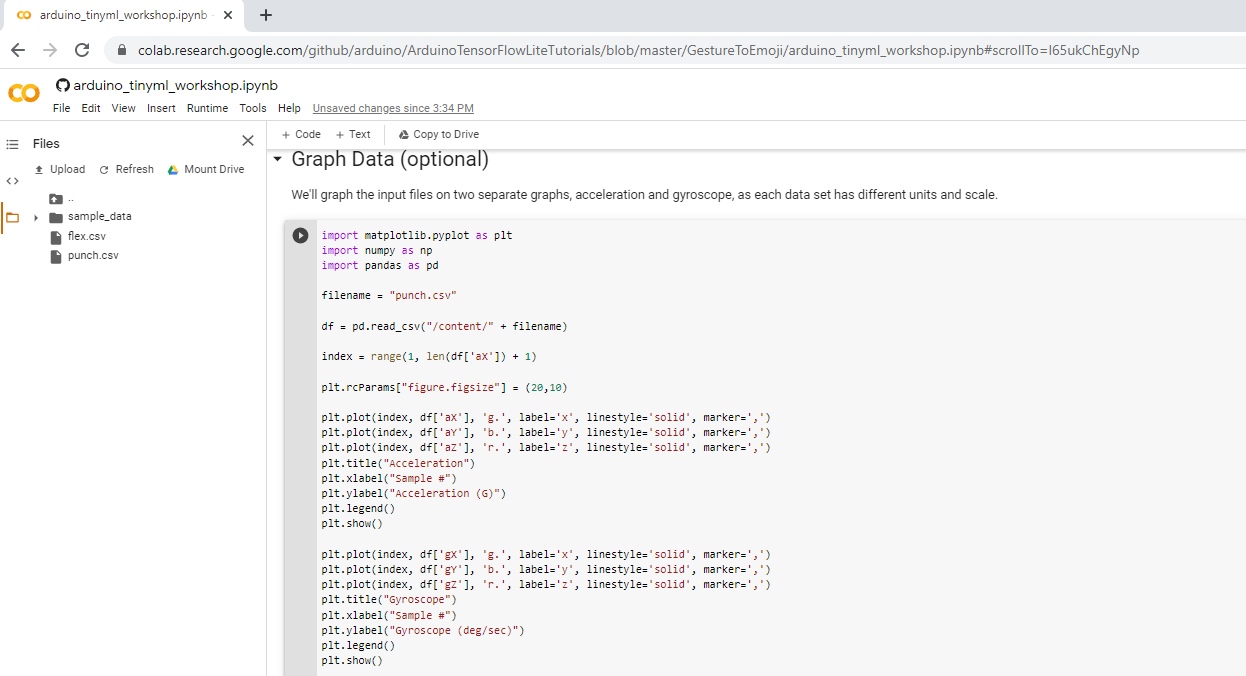
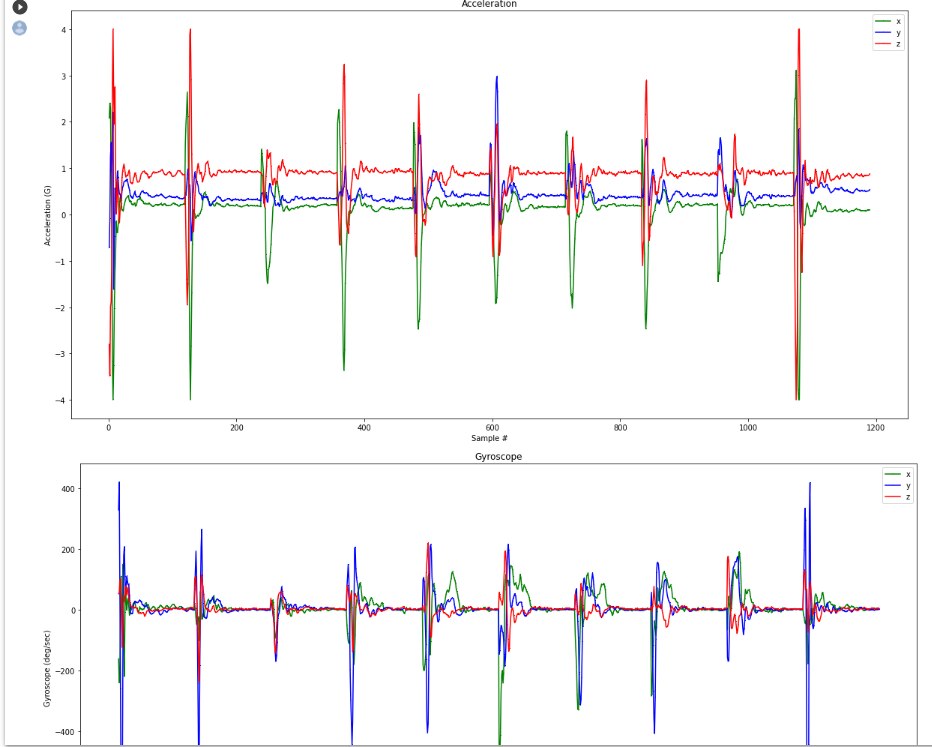
5. Graph Data (Optional)
6. Train Neural Network based on .csv data
Output if successful:
TensorFlow version = 2.0.0-rc1

 Processing index 0 for gesture 'punch'.
  There are 10 recordings of the punch gesture.
 Processing index 1 for gesture 'flex'.
  There are 10 recordings of the flex gesture.
 Data set parsing and preparation complete.
7. Randomize and split the input and output pairs for training
Output if successful:
Data set randomization and splitting complete.
8. Build and Train the Model
From Notebook:
- Build and train a TensorFlow model using the high-level Keras API
Output when run:
Train on 12 samples, validate on 4 samples
 Epoch 1/600
 WARNING:tensorflow:Entity <function Function._initialize_uninitialized_variables.<locals>.initialize_variables at 0x7fe172912ae8> could not be transformed and will be executed as-is. Please report this to the AutoGraph team. When filing the bug, set the verbosity to 10 (on Linux, `export AUTOGRAPH_VERBOSITY=10`) and attach the full output. Cause: module 'gast' has no attribute 'Num'
 WARNING: Entity <function Function._initialize_uninitialized_variables.<locals>.initialize_variables at 0x7fe172912ae8> could not be transformed and will be executed as-is. Please report this to the AutoGraph team. When filing the bug, set the verbosity to 10 (on Linux, `export AUTOGRAPH_VERBOSITY=10`) and attach the full output. Cause: module 'gast' has no attribute 'Num'
 12/12 [==============================] - 1s 50ms/sample - loss: 0.3119 - mae: 0.5501 - val_loss: 0.2502 - val_mae: 0.4998
 Epoch 2/600
 12/12 [==============================] - 0s 3ms/sample - loss: 0.2653 - mae: 0.5116 - val_loss: 0.2498 - val_mae: 0.4994
 Epoch 3/600
 12/12 [==============================] - 0s 3ms/sample - loss: 0.2620 - mae: 0.5116 - val_loss: 0.2493 - val_mae: 0.4991
 Epoch 4/600
 12/12 [==============================] - 0s 3ms/sample - loss: 0.2628 - mae: 0.5082 - val_loss: 0.2488 - val_mae: 0.4985
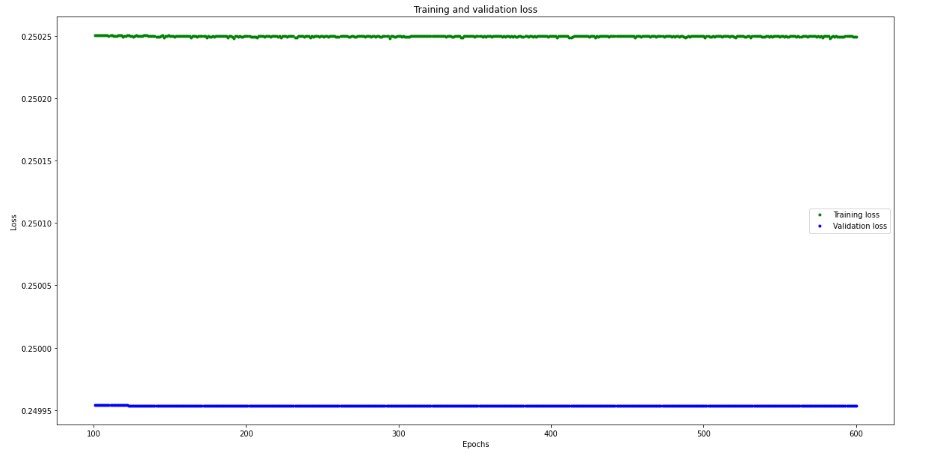
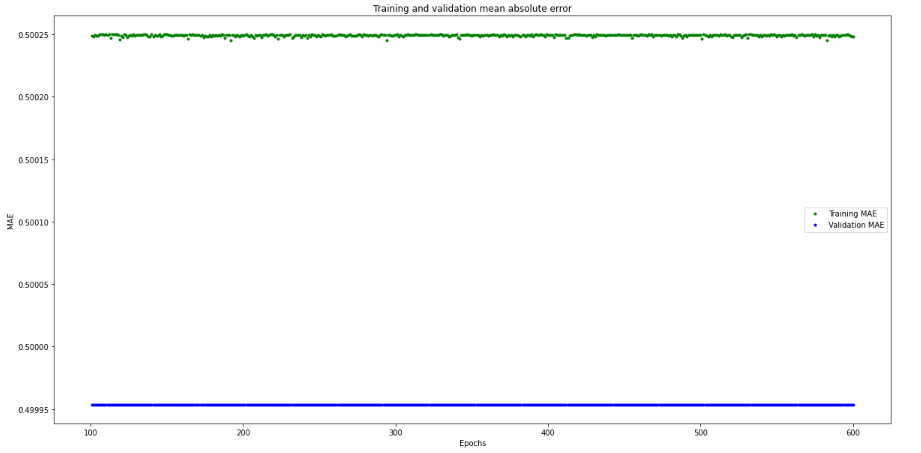
9. Verify
Graph the models performance vs validation
- Graph Loss
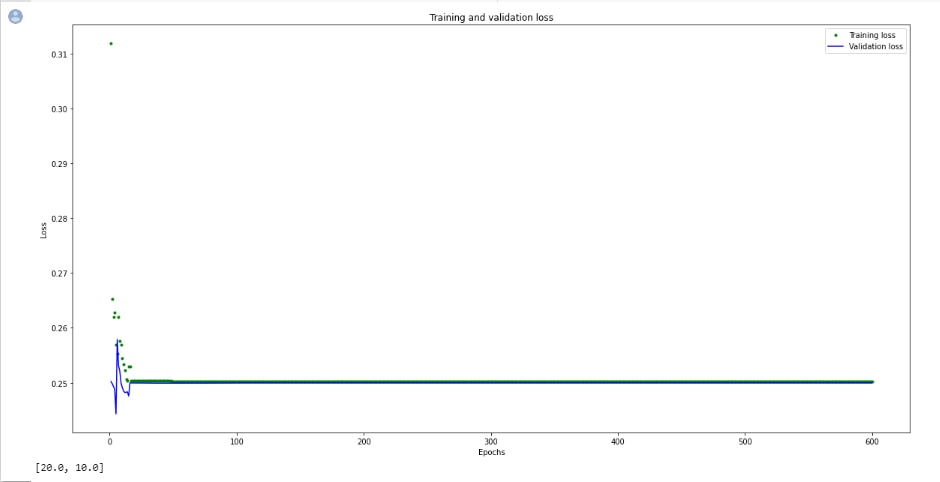
- Graph the loss again, skipping a bit of the start
- Graph the mean absolute error
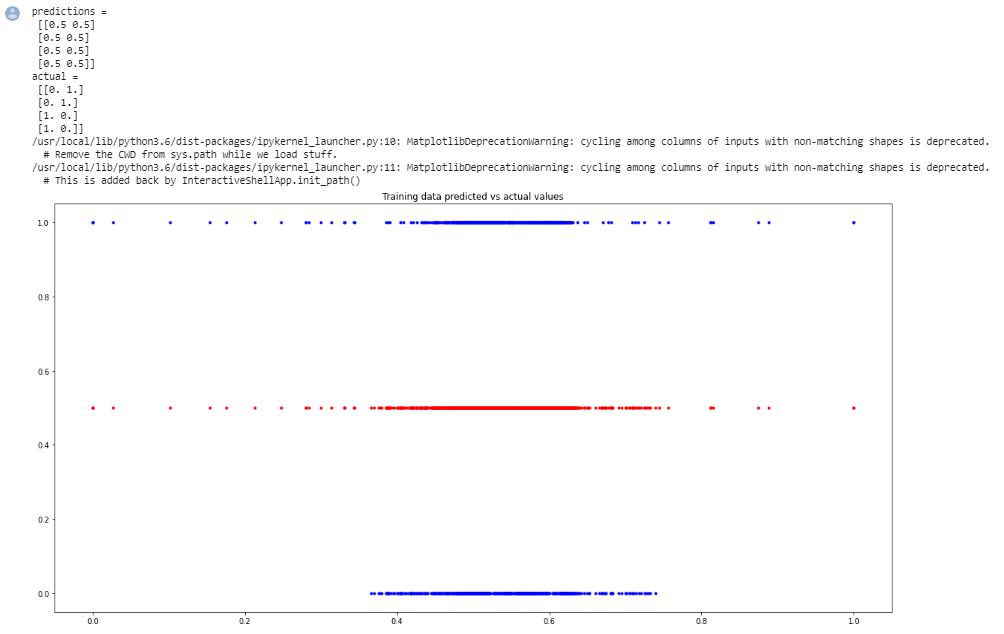
10. Run with Test Data
11. Convert the Trained Model to Tensor Flow Lite
- Output from Notebook
WARNING:tensorflow:Entity <function Function._initialize_uninitialized_variables.<locals>.initialize_variables at 0x7fe16a17d598> could not be transformed and will be executed as-is. Please report this to the AutoGraph team. When filing the bug, set the verbosity to 10 (on Linux, `export AUTOGRAPH_VERBOSITY=10`) and attach the full output. Cause: module 'gast' has no attribute 'Num' WARNING: Entity <function Function._initialize_uninitialized_variables.<locals>.initialize_variables at 0x7fe16a17d598> could not be transformed and will be executed as-is. Please report this to the AutoGraph team. When filing the bug, set the verbosity to 10 (on Linux, `export AUTOGRAPH_VERBOSITY=10`) and attach the full output. Cause: module 'gast' has no attribute 'Num' Model is 147764 bytes
12. Encode the Model in an Arduino Header File
- Output from Notebook
/bin/bash: xxd: command not found
Header file, model.h, is 35 bytes.
Open the side panel (refresh if needed). Double click model.h to download the file.
NOTE: The model.h file has a blank array from the Colab exercise.
Issues were seen while running the example and an issue was filed on GitHub:
https://github.com/arduino/ArduinoTensorFlowLiteTutorials/issues/11
- Found I had to copy the files to a Linux system and run the commands manually:
- create_content.sh
#!/bin/bash


 echo "const unsigned char model[] = {" > content/model.h
 cat gesture_model.tflite | xxd -i >> content/model.h
 echo "};" >> content/model.h
- get_header_size.py
#!/usr/bin/env python3

 import os
 model_h_size = os.path.getsize("./content/model.h")
 print(f"Header file, model.h, is {model_h_size:,} bytes.")
 print("\nOpen the side panel (refresh if needed). Double click model.h to download the file.")
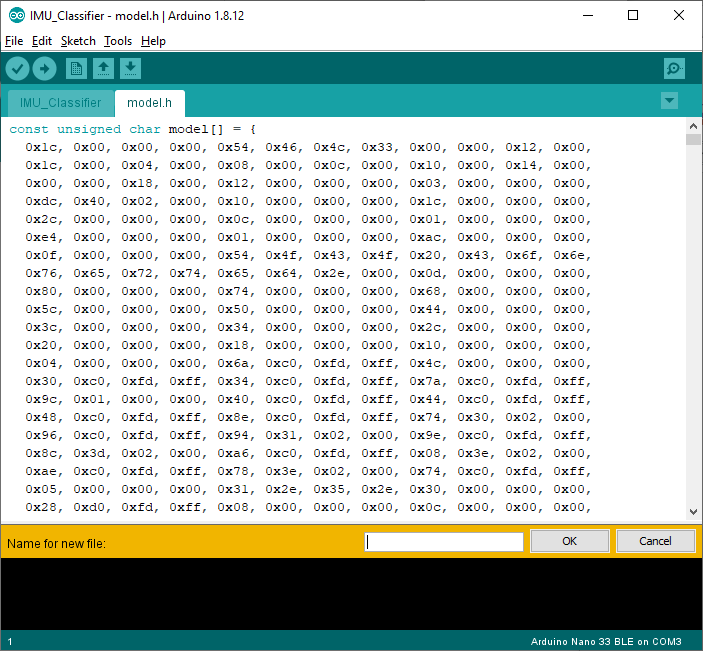
- Once complete, copy the contents of the model.h file to the model.h in the Arduino IDE
13. Classifying IMU Data
- Switch back to tutorial
https://blog.arduino.cc/2019/10/15/get-started-with-machine-learning-on-arduino/
14. Down load the IMU_Classifier.ino Sketch and create a model.h tab in the IMU Arduino IDE project to load the model.h code from step 12.
15. Compile and Upload the Sketch to the Nano 33 BLE Sense
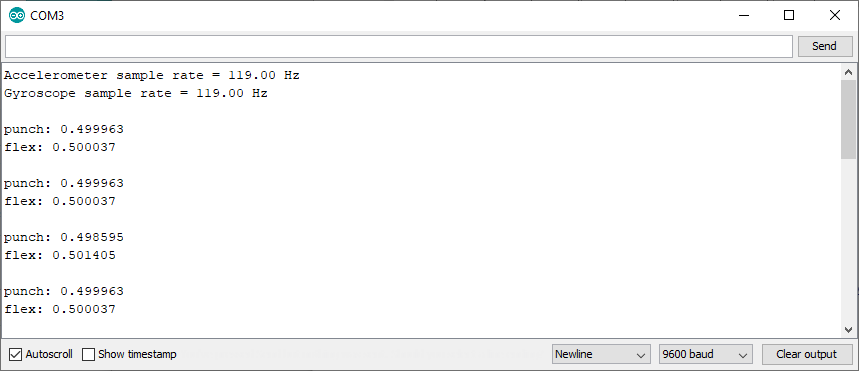
16. Open the Serial Monitor and perform the punch or flex motions again.
The results from the model will be shown in the Serial console:
NOTE: This example resulted in about 50/50 split when doing a punch or flex
That is it for this example.
NEXT: Fruit Identification
Top Comments
-

carstenbe
-
Cancel
-
Vote Up
0
Vote Down
-
-
Sign in to reply
-
More
-
Cancel
Comment-

carstenbe
-
Cancel
-
Vote Up
0
Vote Down
-
-
Sign in to reply
-
More
-
Cancel
Children