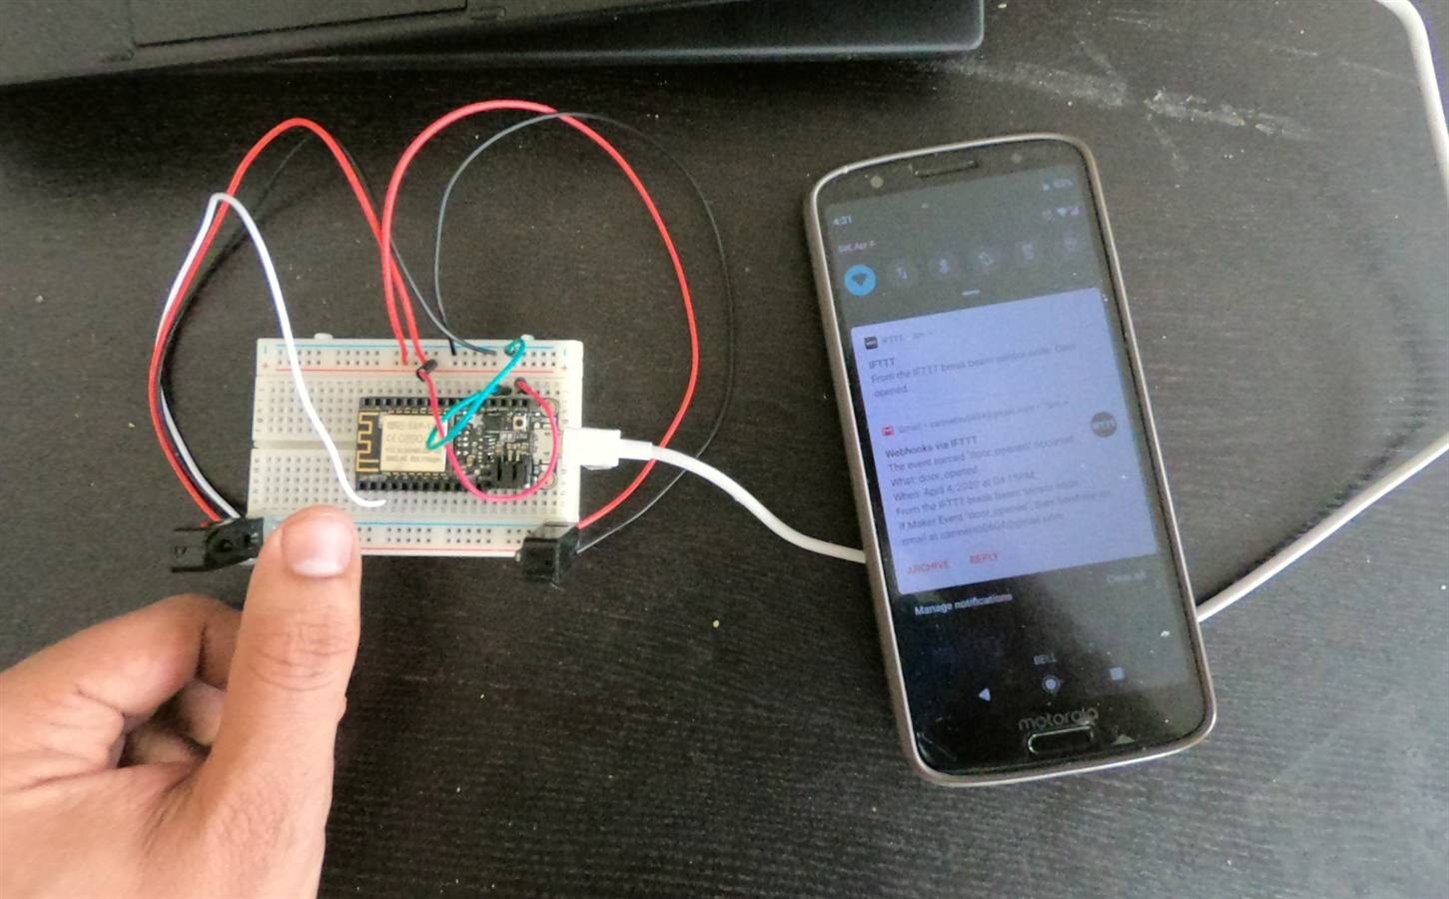
If you are into home automation or just starting with home automation, then this is a simple project to undertake. Basically as part of this project I am putting together IR break Beam IFTTT node, which send a message to the IFTTT cloud based on which you can trigger events, like send you a text message, email , turning on the lights in your home etc, when the IR beam is broken. In my case, I am using Adafruit Feather HUZZAH which uses the ESP8266, which I think is most famous WiFi thing in the world today. Hoping this will spark some idea’s, and please leave a comment below, if you an interesting use-case.
The circuit is simple, the IR break beam sensor receiver the one with the three wires is connected to the pin#4 of the ESP8266 feather. And if you wondering how I got the transmitter and receiver to point to each other, I just hot glued them to the end of the bread board.
The best part about the Adafruit Feather HUZZAH in addition to its WiFi capability, is that you can use a Lipo battery and it has a built in battery charging circuit, which means you can use the sensor node when you are out an about.In the picture above, I am using a OLED feather wing, which is not really required. I am using one because I have one handy and it help debugging , if you plan on doing something a little more complex,in the field.
Here is the link and some more info on the IR break beam sensor’s I am using. The sensor is maded of an emitter side that sends out a beam of human-invisible IR light, then a receiver across the way which is sensitive to that same light. When something passes between the two, and it’s not transparent to IR, then the 'beam is broken' and the receiver will let you know
Compared to PIR sensors, break beams are faster and allow better control of where you want to detect the motion. Compared to Sonar modules, they're less expensive. However, you do need both emitter and receiver on opposite sides of the area you want to monitor.
The IR beam break sensor that I am using in my project are 3mm IR version. It works up to 25cm / 10". You can power it from 3.3V or 5V, but 5V will get you better range and is what we suggest. The receiver is open collector transistor output which means that you do need a pull up resistor if you want to read a digital signal off the signal wire. Most microcontrollers have the ability to turn on a built in pull up resistor. And you will need an Arduino IDE, with the esp8266 package installed, to upload the code. Check out this learning guide .
As part of the code above, a IFTTT webhook is invoked, which acts as the IF part of the applet and for the else/THEN part you can either trigger a text message, email or even switch on the lights if you have a Phillips Hue setup at home, you have a lot of option on the THEN side-
Here is are screenshots of the notifications received, from IFTTT


Top Comments
-

Fred27
-
Cancel
-
Vote Up
+2
Vote Down
-
-
Sign in to reply
-
More
-
Cancel
-

carmelito
in reply to Fred27
-
Cancel
-
Vote Up
+1
Vote Down
-
-
Sign in to reply
-
More
-
Cancel
Comment-

carmelito
in reply to Fred27
-
Cancel
-
Vote Up
+1
Vote Down
-
-
Sign in to reply
-
More
-
Cancel
Children