element14 Community
element14 Community
    Register Log In
  • Site
  • Search
  • Log In Register
  • About Us
  • Community Hub
    Community Hub
    • What's New on element14
    • Feedback and Support
    • Benefits of Membership
    • Personal Blogs
    • Members Area
    • Achievement Levels
  • Learn
    Learn
    • Ask an Expert
    • eBooks
    • element14 presents
    • Learning Center
    • Tech Spotlight
    • STEM Academy
    • Webinars, Training and Events
    • Learning Groups
  • Technologies
    Technologies
    • 3D Printing
    • FPGA
    • Industrial Automation
    • Internet of Things
    • Power & Energy
    • Sensors
    • Technology Groups
  • Challenges & Projects
    Challenges & Projects
    • Design Challenges
    • element14 presents Projects
    • Project14
    • Arduino Projects
    • Raspberry Pi Projects
    • Project Groups
  • Products
    Products
    • Arduino
    • Avnet Boards Community
    • Dev Tools
    • Manufacturers
    • Multicomp Pro
    • Product Groups
    • Raspberry Pi
    • RoadTests & Reviews
  • Store
    Store
    • Visit Your Store
    • Choose another store...
      • Europe
      •  Austria (German)
      •  Belgium (Dutch, French)
      •  Bulgaria (Bulgarian)
      •  Czech Republic (Czech)
      •  Denmark (Danish)
      •  Estonia (Estonian)
      •  Finland (Finnish)
      •  France (French)
      •  Germany (German)
      •  Hungary (Hungarian)
      •  Ireland
      •  Israel
      •  Italy (Italian)
      •  Latvia (Latvian)
      •  
      •  Lithuania (Lithuanian)
      •  Netherlands (Dutch)
      •  Norway (Norwegian)
      •  Poland (Polish)
      •  Portugal (Portuguese)
      •  Romania (Romanian)
      •  Russia (Russian)
      •  Slovakia (Slovak)
      •  Slovenia (Slovenian)
      •  Spain (Spanish)
      •  Sweden (Swedish)
      •  Switzerland(German, French)
      •  Turkey (Turkish)
      •  United Kingdom
      • Asia Pacific
      •  Australia
      •  China
      •  Hong Kong
      •  India
      •  Korea (Korean)
      •  Malaysia
      •  New Zealand
      •  Philippines
      •  Singapore
      •  Taiwan
      •  Thailand (Thai)
      • Americas
      •  Brazil (Portuguese)
      •  Canada
      •  Mexico (Spanish)
      •  United States
      Can't find the country/region you're looking for? Visit our export site or find a local distributor.
  • Translate
  • Profile
  • Settings
Arduino Projects
  • Products
  • Arduino
  • Arduino Projects
  • More
  • Cancel
Arduino Projects
Blog Arduino Project : Three-Finger Ring - Part 3 Assemble the Ring!
  • Blog
  • Documents
  • Events
  • Polls
  • Files
  • Members
  • Mentions
  • Sub-Groups
  • Tags
  • More
  • Cancel
  • New
Join Arduino Projects to participate - click to join for free!
  • Share
  • More
  • Cancel
Group Actions
  • Group RSS
  • More
  • Cancel
Engagement
  • Author Author: Catwell
  • Date Created: 24 Jun 2017 7:13 PM Date Created
  • Views 566 views
  • Likes 3 likes
  • Comments 0 comments
  • project
  • arduino_projects
  • 3D Printing
  • cad
  • Design
  • cabeatwell
  • art
  • step by step
  • arduino
Related
Recommended

Arduino Project : Three-Finger Ring - Part 3 Assemble the Ring!

Catwell
Catwell
24 Jun 2017

Project build Index:

Arduino Project : Three-Finger Ring - Part 1 Getting started and 3D Printing

Arduino Project : Three-Finger Ring - Part 2 Code & the Circuit

Arduino Project : Three-Finger Ring - Part 3 Assemble the Ring!


----------------------------------------------------------------------------------


Step 6: Assemble the ring and install the components.

At this point, disassemble the breadboarded circuit and begin installing it into the ring. Glue and a hobby knife are essentials in this step. Unless you got lucky or have a printer that fabricates with a nigh-zero deviation from mathematical perfection, you will need to use a hobby knife to trim the printed parts.


The power pack is made by sandwiching the batteries together with a positive and negative wire and wrapping the whole affair tightly with electrical tape (Figure 5).


Hot glue was used to fasten the parts in place (Figure 6).


The #4 screws are used as pins for the hinge and to fasten the ring’s lid down (Figure 7).


   image

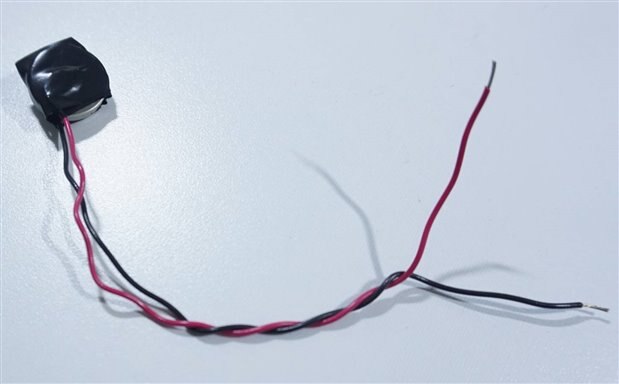
Figure 5: The ring battery pack. It is a bit inelegant, but it works.


image

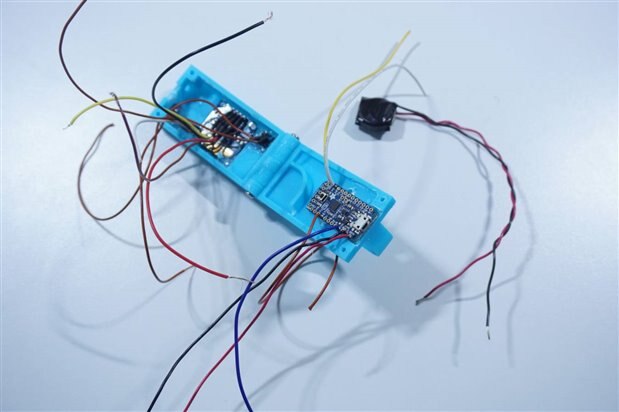
Figure 6: Glue the parts into the ring.


  image

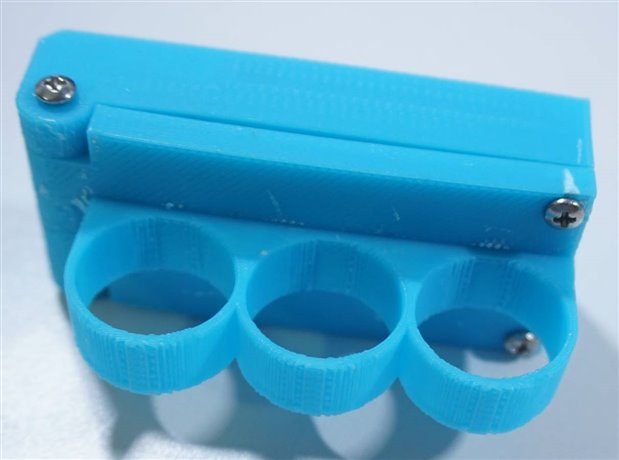
Figure 7: The #4 screws fasten the ring together.


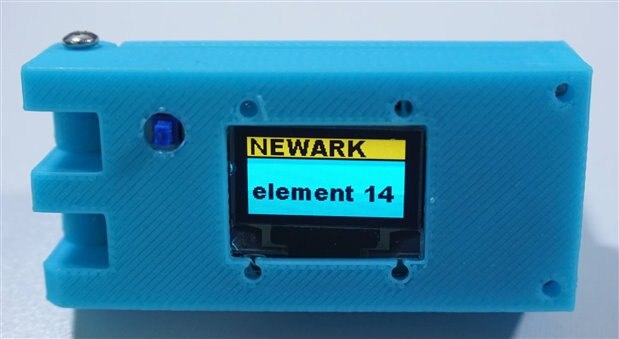
Step 7: Power it up and show it off.

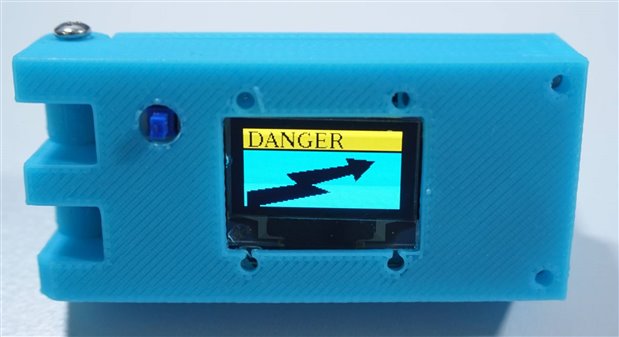
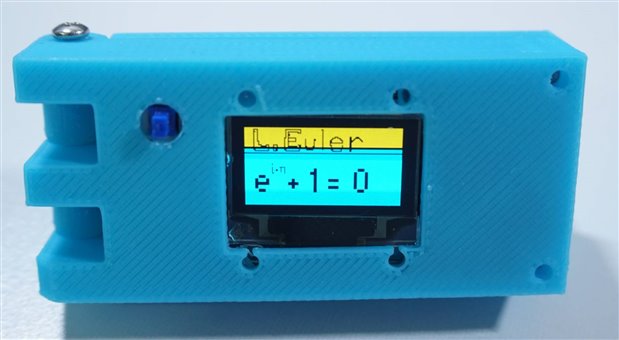
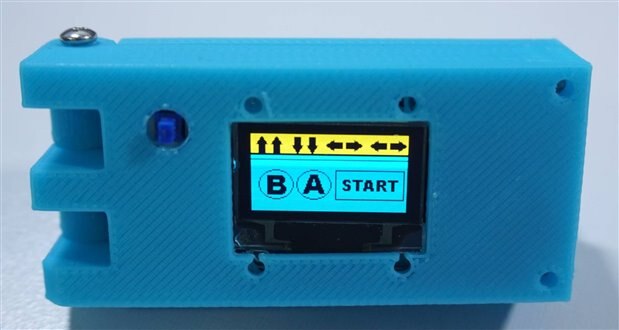
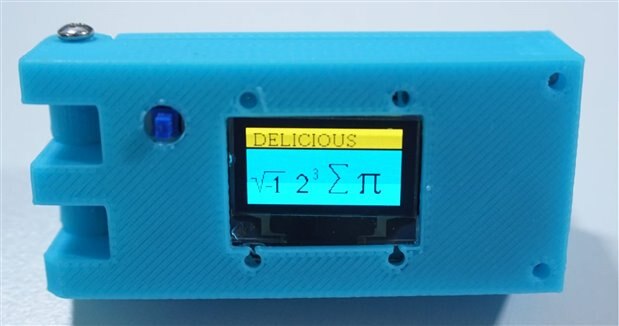
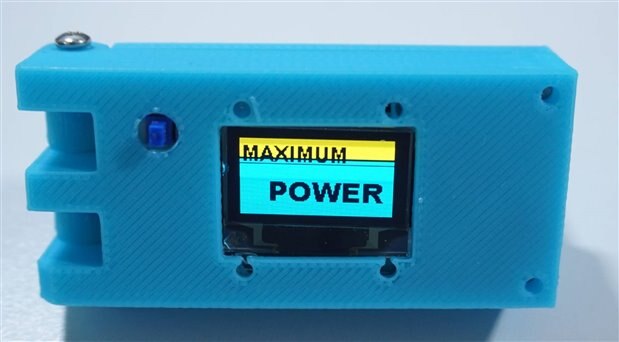
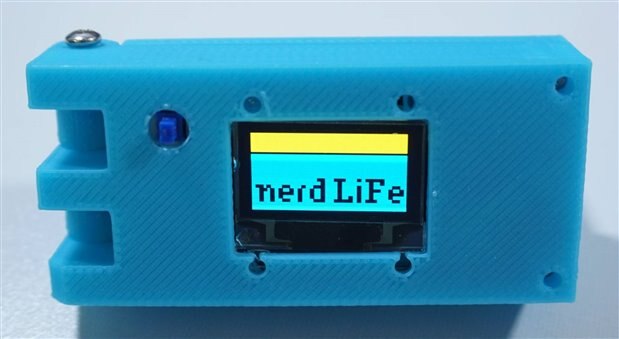
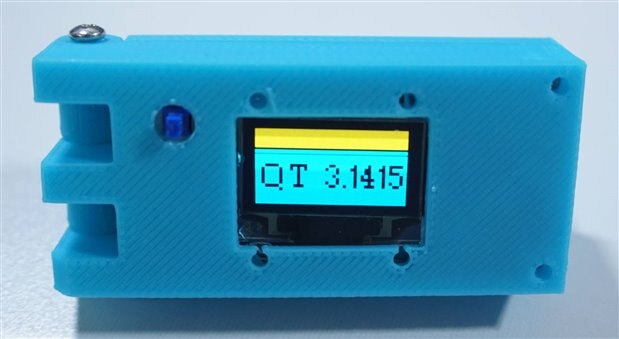
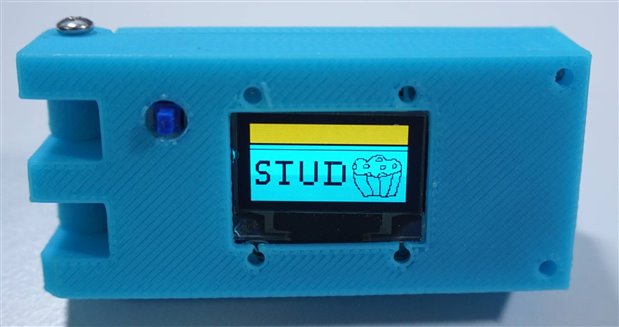
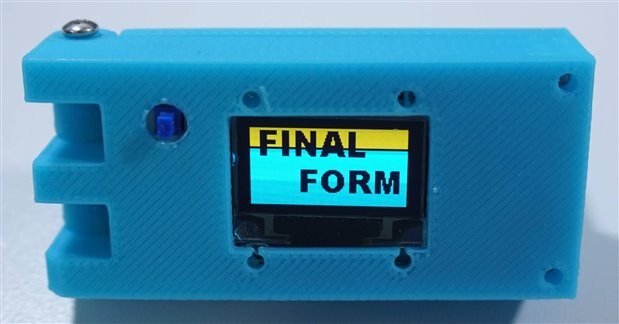
You might want to create some fresh images for your ring. Our pics didn’t increase our popularity quite as much as was hoped. Here are a few examples.


image

image

image

image

image

image

image

image

image

image

image


Final Notes:

We used a 128x64 OLED screen with that goofy yellow and blue background color. You can use whatever screen you want (almost whatever screen) as long as you adhere to a few guidelines. Make sure that the screen communicates via I2C.


The circuit and code do not use the RESET line. If the screen you get does have a RESET line, pull it HIGH by wiring it to the 5V output on the Trinket Pro.


If the resolution of the screen is anything other than 128x64 pixels, you will have to:

  • Size your images appropriately using a picture editor. You will not be able to use the CPP arrays in the provided code. You will have to create new arrays for your screens exact resolution.
  • You will have to adjust the U8GLIB_SH1106_128X64 u8g(U8G_I2C_OPT_NO_ACK) line in the code so that the U8glib library knows what screen size to work with. There are no provisions in the code or the hardware for detecting any information on the screen, so you have to tell it what is going on.


You are not obligated to use two CR2032 batteries to power your ring. Use a Li-Po battery back, an AAA with a boost converter, whatever. It doesn’t matter. The Trinket Pro can be powered by anything from 5.5-16 volts. If you wanted, there is no reason why a tiny Lithium-polymer battery and a battery management board couldn’t be used in place of the coin cells. Or a solar cell in conjunction with a super-cap or rechargeable battery.


Thanks for reading! Good luck with you own ring project!

  • Sign in to reply
element14 Community

element14 is the first online community specifically for engineers. Connect with your peers and get expert answers to your questions.

  • Members
  • Learn
  • Technologies
  • Challenges & Projects
  • Products
  • Store
  • About Us
  • Feedback & Support
  • FAQs
  • Terms of Use
  • Privacy Policy
  • Legal and Copyright Notices
  • Sitemap
  • Cookies

An Avnet Company © 2025 Premier Farnell Limited. All Rights Reserved.

Premier Farnell Ltd, registered in England and Wales (no 00876412), registered office: Farnell House, Forge Lane, Leeds LS12 2NE.

ICP 备案号 10220084.

Follow element14

  • X
  • Facebook
  • linkedin
  • YouTube