


Overview
Lately there is a haze hazard happening in Malaysia. I thought of doing the air quality project using the Azure Sphere MT3620 Starter Kit. While researching on doing the project, I found out that I do not have the air quality sensor to use with the Azure Sphere. Hence I change it to this project which I use the onboard temperature sensor and a relay click board.
Features
The idea is simple. The context is my home where I want to keep it comfortable whenever it is too hot or cold, especially at night. This is important if you have elderly persons and kids at home. The project uses the onboard temperature sensor to monitor the temperature and sends the telemetries to Azure IoT Hub. Using Azure Function, a simple app will be triggered when telemetries arrive and send a command to turn on an air-conditioner or fan in my home.
Basically the project showcases a working configuration between Azure Sphere and IoT Hub with device twins.
Devices
Azure Sphere MT3620 Starter Kit
You certainly can find out tons of details here.
Mikroe relay click
Relay click is a dual relay Click board, which can be operated by the host MCU. This Click board offers an elegant and easy solution for controlling a wide range of high power applications. Since it is able to operate on mains voltage level, it can even be used control the power for a number of small home appliances. It can also be used to activate various electromotors, switch on the lights, or power on the entire embedded system.

Find details here.
Setup Azure Sphere MT3620 Starter Kit with Azure IoT Hub
There are a few tutorials about the above matter. I follow the following tutorials from element14 to make this project:
- Avnet's Azure Sphere Starter-Kit (Out of Box Demo) Part 1 of 3
- Avnet's Azure Sphere Starter-Kit (Out of Box Demo) Part 2 of 3
Setup RELAY click with the Starter Kit
I attached the relay click to the starter kit and follow this tutorial: Using MikroE Click Boards with Microsoft Sphere. I added the Avnet clickmodules Git submodule and ClickLib source code to the Visual Studion solution created from earlier section. Here is a video of the setup:
Codes
The codes used in this project are based on tutorials in this repository.
ReadDeviceToCloudMessagesUpdateTwins.js
This code will read and print the messages from a Azure IoT Hub and turn on the relay click when the onboard temperature is above 33.8 degree Celcius. This is accomplished thru updating the device twins at IoT Hub.
// Copyright (c) Microsoft. All rights reserved.
// Licensed under the MIT license. See LICENSE file in the project root for full license information.
'use strict';
const turnrelay = require('./turn-relays.js');
// Connection string for the IoT Hub service
//
// NOTE:
// For simplicity, this sample sets the connection string in code.
// In a production environment, the recommended approach is to use
// an environment variable to make it available to your application
// or use an x509 certificate.
// https://docs.microsoft.com/azure/iot-hub/iot-hub-devguide-security
//
// Using the Azure CLI:
// az iot hub show-connection-string --hub-name {YourIoTHubName} --policy-name service --output table
var connectionString = '{Your service connection string here}';
// Using the Node.js SDK for Azure Event hubs:
// https://github.com/Azure/azure-event-hubs-node
// The sample connects to an IoT hub's Event Hubs-compatible endpoint
// to read messages sent from a device.
var { EventHubClient, EventPosition } = require('@azure/event-hubs');
var printError = function (err) {
console.log(err.message);
};
// Display the message content - telemetry and properties.
// - Telemetry is sent in the message body
// - The device can add arbitrary application properties to the message
// - IoT Hub adds system properties, such as Device Id, to the message.
var printMessage = function (message) {
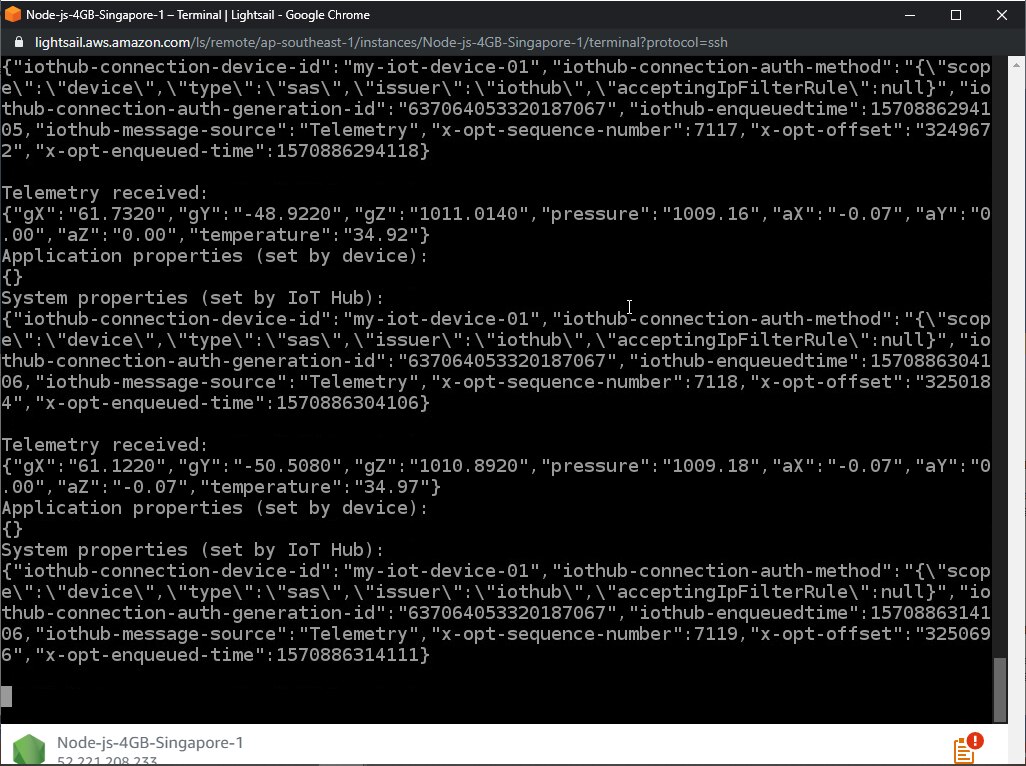
console.log('Telemetry received: ');
console.log(JSON.stringify(message.body));
console.log('Application properties (set by device): ')
console.log(JSON.stringify(message.applicationProperties));
console.log('System properties (set by IoT Hub): ')
console.log(JSON.stringify(message.annotations));
console.log('');
// print temperature and update twins
console.log('temperature is ' + message.body.temperature);
console.log('');
if (message.body.temperature > 33.8) {
turnrelay.run(1, true);
} else {
turnrelay.run(1, false);
}
};
// Connect to the partitions on the IoT Hub's Event Hubs-compatible endpoint.
// This example only reads messages sent after this application started.
var ehClient;
EventHubClient.createFromIotHubConnectionString(connectionString).then(function (client) {
console.log("Successfully created the EventHub Client from iothub connection string.");
ehClient = client;
return ehClient.getPartitionIds();
}).then(function (ids) {
console.log("The partition ids are: ", ids);
return ids.map(function (id) {
return ehClient.receive(id, printMessage, printError, { eventPosition: EventPosition.fromEnqueuedTime(Date.now()) });
});
}).catch(printError);
turn-relays.js
var CryptoJS = require("crypto-js");
var hubname= 'hubname';
var expiresinmins = '60';
var signingkey = 'shared-access-key'; // policy shared access key
var policyname = 'iothubowner';
function run(o1, o2) {
var resourceUri = encodeURIComponent(hubname + '.azure-devic.net');
var expiry = Math.ceil((Date.now() / 1000) + expiresinmins * 60);
var uriExpiry = resourceUri + '\n' + expiry;
var decodedKey = CryptoJS.enc.Base64.parse(signingkey);
var signature = CryptoJS.HmacSHA256(uriExpiry, decodedKey);
var encodedUri = encodeURIComponent(CryptoJS.enc.Base64.stringify(signature));
var token = "SharedAccessSignature sr=" + resourceUri + "&sig=" + encodedUri + "&se=" + ex
piry;
token += "&skn="+ policyname;
var v = o2;
switch (o1) {
case 1:
a = "clickBoardRelay1"; // switch1
break;
case 2:
a = "clickBoardRelay2";
break;
default:
a = "clickBoardRelay1";
}
var unirest = require("unirest");
var req = unirest("PATCH", "https://hubname.azure-devices.net/twins/device-name");
req.query({
"api-version": "2018-06-30"
});
req.headers({
"Authorization": token,
"Content-Type": "application/json"
});
req.type("json");
req.send({
"properties": {
"desired": {
[a]: v,
}
}
});
req.end(function (res) {
if (res.error) throw new Error(res.error);
});
} // end run function
module.exports = {
run: function(o1, o2) { run(o1, o2) }
}
Demo
Here is a picture of hardware setup. The onboard temperature sensor and a relay click are used in this project.

Here is the video. When the temperature of the onboard temperature sensor is above 33.8 degree Celcius, it wil turn on the relay click. Refer to the code above for details.
Summary
In this simple project, an onboard temperture sensor is used to turn a piece of appliant e.g air conditioner. For a air quality monitoring system, an air quality sensor or PM2.5 sensor will be used instead.
.And the relay click can be used to turn on an air purifier.


