


Introduction
This blog post contains information on some of the important steps worth taking if you've purchased a Pi and are getting ready to set it up all ready for creating projects.
It covers the practical points up to installing a fresh copy of Raspbian.
The key steps are listed and all the links to click on for more information on topics.
The bare essential things needed are:
A Raspberry Pi (for example the Pi 4, but earlier models will work too)
A USB power supply (if you're using a Pi 3 or Pi 4 then save trouble by using the recommended supply - a mobile phone charger isn't the same thing even though it has the same connector on the end - it's electrically different!)
A micro SD card (8GB minimum but 16GB is cheap these days; use a reputable brand from a reputable source since there are fake cards around)
An Ethernet cableEthernet cable (this is needed to plug the Pi into your home router - it is essential for troubleshooting if wireless doesn't work, so definitely keep an Ethernet cable handy)
What do I do with the Circuit Board?
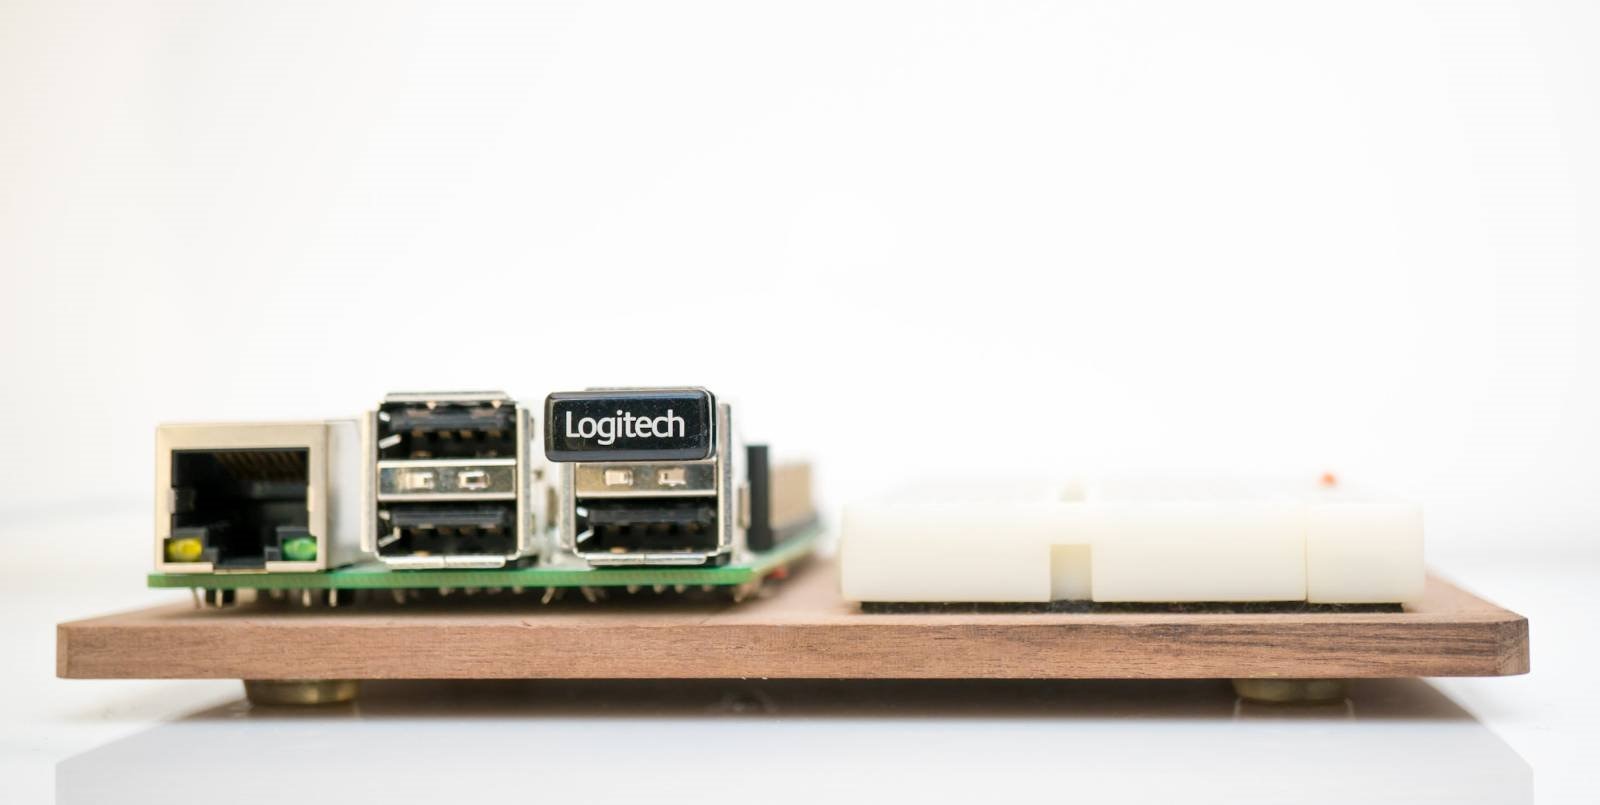
There are enclosures available for the Pi, but perhaps it is better to spend that money on other parts, and build a more practical base for hardware and software development purposes. Access is often required to attach external hardware, and a closed enclosure doesn’t make that practical.
3mm or so thick plastic could make a nice base for the Pi. I used a 4mm thick sheet of wood which was cut and sanded. SpacersSpacers hold it all together, and rubber feet are on the underside. For hardware experiments a breadboard could be attached alongside it. These are just some basic ideas, I'm sure others will have much better tips in this area. The four holes on the Pi are suitable for 2.5 mm diameter threaded hardware. Consider using plastic spacers or stand-offs to prevent accidental electrical shorts to the nearby circuitry. Plastic screws are an option too. In particular, you want to avoid anything metal for the hole nearest the built-in antenna. Metal will de-tune the antenna and will affect its performance. The antenna is close to the hole on the Micro SD card end, closest to the 40-way connector.
Installing Raspbian
Raspbian is the most popular operating system distribution for the Pi, and it is to be installed on a micro SD card.
Follow these three steps!
1. Go to raspberrypi.org Downloads->Raspbian (direct link) and download the latest Raspbian image. It is a zip file, so unzip it.
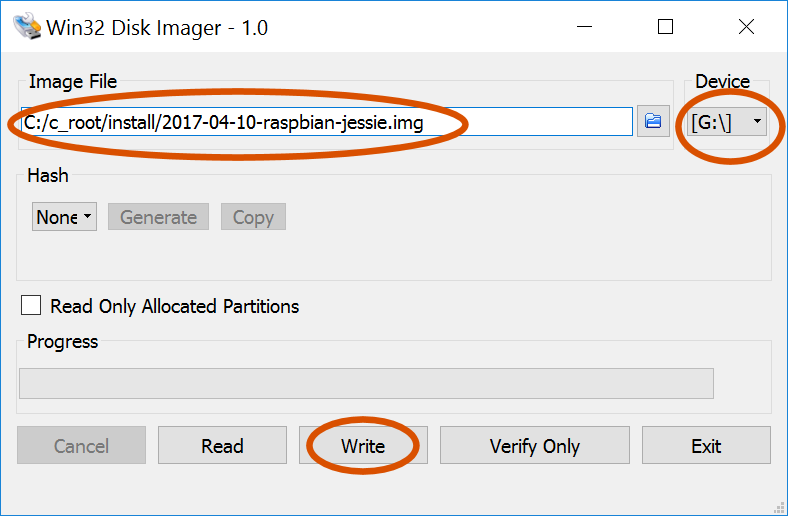
2. Follow the installation guide for Mac/Linux/Windows; for windows, insert a blank microSD card (8GB or higher) and download Win32DiskImager, install it, and then run it and select the unzipped Raspbian file, and click on ‘Write’. It should take about a minute to successfully complete.
3. If you have a keyboard/mouse and TV with HDMI then plug the card into the Pi, and continue with the setup.
Alternatively, if you want to set up the Pi without a keyboard/mouse and TV with HDMI, then plug an Ethernet cable into it, attach to the home router and then follow the Pi setup here. Technically the Pi does work with some non-HDMI displays but if you're setting up the Pi the last thing you want is to get stuck with no display due to some incompatibility with your display and the cable connecting it to the Pi. As a result, it is better to play it safe and either use a display with HDMI, or alternatively follow the link mentioned above which uses your PC to set it up.
Powering it off Safely
Now that the Pi has the latest copy of Raspbian installed, you can log in (initial username/password is pi/raspberry) and begin using it. When finished, a controlled shutdown is needed by using the menu option. Disconnecting the power without doing a controlled shutdown could result in a corrupted micro SD card.
Next Steps
Now you can proceed to Accessing and Controlling the Pi
Top Comments